Now Reading: How Do You Reset a Clicker Garage Door Opener: Step-by-Step Guide
- 01
How Do You Reset a Clicker Garage Door Opener: Step-by-Step Guide

Imagine you’re in a hurry, ready to rush out of the house, and your garage door refuses to open. Frustrating, isn’t it?
If your trusty Clicker garage door opener isn’t responding, resetting it might be the solution you need. You rely on your garage door opener every day, and when it doesn’t work, it can throw a wrench in your plans. But don’t worry; you’re not alone, and the fix might be simpler than you think.
Discover how you can easily reset your Clicker garage door opener, restoring your peace of mind and smooth routine. Keep reading to learn the quick steps that will get your garage door opener back on track, saving you time and hassle.
Tools Needed
Resetting a Clicker garage door opener can be a simple task. Knowing the right tools you need is crucial. This ensures the process is smooth and efficient. Let’s explore the essential tools required for this task.
Phillips Screwdriver
A Phillips screwdriver is vital. It helps in removing screws from the garage door opener. This tool allows access to the internal components. Ensure the screwdriver fits the screws properly to avoid damage.
Flathead Screwdriver
A flathead screwdriver is another important tool. It assists in prying open parts that snap together. This tool is perfect for gently lifting delicate components. Make sure it’s the correct size for the job.
Step Ladder
A sturdy step ladder is necessary. It provides access to the garage door opener, which is usually high. Ensure the ladder is stable to prevent accidents. This tool is essential for reaching the device safely.
Replacement Battery
A replacement battery might be needed. The garage door opener relies on a battery to function. Having a spare battery ensures uninterrupted operation. Make sure the battery matches the device specifications.
Credit: heritagedoor.com
Safety Precautions
Resetting a Clicker garage door opener requires caution. Ensuring safety is vital. Familiarize yourself with the correct steps before starting. This reduces the risk of accidents or damage. Here are some essential safety precautions to consider.
Understanding Your Garage Door Opener
Know your garage door opener model. Different models have unique features and requirements. Read the user manual thoroughly. This helps in understanding specific safety instructions.
Disconnect Power Supply
Always disconnect the power supply before working. This prevents accidental operation. It ensures your safety while handling the device.
Use Protective Gear
Wear protective gear such as gloves. This reduces the risk of injuries. Especially when dealing with moving parts or sharp edges.
Ensure Stability Of The Door
Check that the garage door is stable. A moving door can cause harm. Ensure it is in the closed position before proceeding.
Work In A Clear, Well-lit Area
Ensure the area around the garage door is clear. A well-lit workspace helps avoid accidents. It makes handling tools and components easier.
Keep Children And Pets Away
Keep children and pets at a safe distance. Their presence can be distracting. It is crucial for maintaining focus and safety.
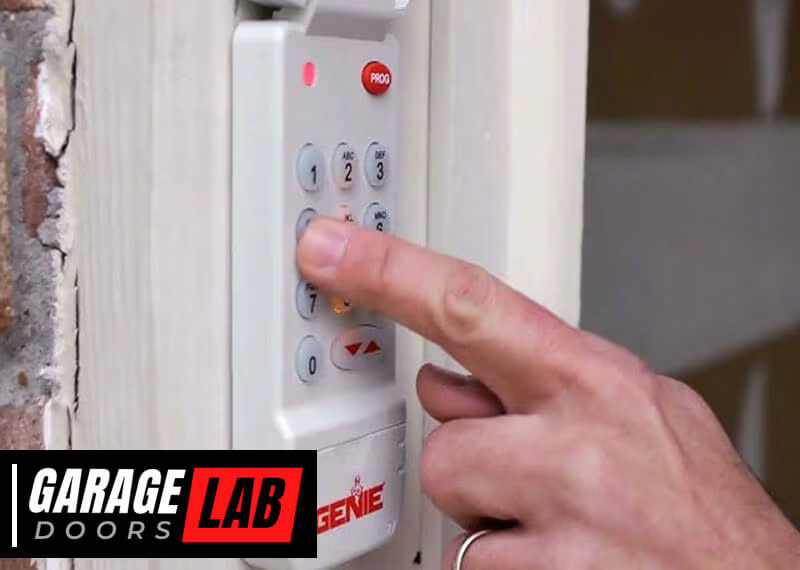
Locate The Learn Button
Find the Learn Button on your garage door opener unit. Usually located on the back or side. Press it to reset your clicker garage door opener effortlessly.
Resetting a Clicker garage door opener may seem like a daunting task, but it’s simpler than you might think. One of the key steps involves locating the “Learn” button on your garage door opener. This button is your gateway to resetting and reprogramming your remote. Once you find it, you’ll be halfway to resolving issues with your garage door opener. But where exactly is this elusive button, and why is it so crucial?Where Is The Learn Button Located?
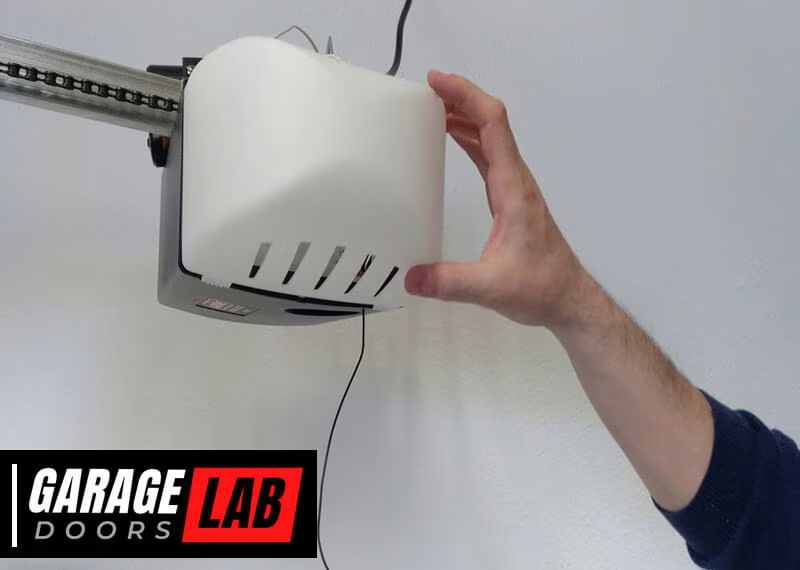
Usually, the “Learn” button is found on the back or side of your garage door opener unit. It’s typically close to the antenna wire that hangs from the motorhead.The button is often small, and you might need a flashlight to spot it if your garage is dimly lit. Keep an eye out for a small LED light next to it that activates when pressed.Have you ever had that moment when you think something is lost, only to find it right under your nose? The “Learn” button might give you that same feeling. It’s a small yet powerful component that can save you hours of frustration.Why Is The Learn Button Important?
The “Learn” button is essential because it allows you to sync your remote with the opener. This is crucial when your remote stops working or if you’ve purchased a new one.It essentially resets the opener’s memory, enabling it to recognize new commands. This ensures that your garage door opens and closes smoothly.Remember that feeling of satisfaction when you finally solve a puzzle? Pressing the “Learn” button and successfully resetting your opener can give you that same sense of achievement.How To Use The Learn Button
First, press the “Learn” button until the LED light turns on. This indicates the opener is ready to accept new commands.Next, press the button on your remote. The LED light should blink, confirming the remote is paired.If you’re worried about making a mistake, don’t be. This process is straightforward, and you can always try again if needed.What To Do If You Can’t Find The Learn Button
Sometimes, the “Learn” button can be hidden due to the model or installation. Check your owner’s manual for specific instructions.If you’re still unable to find it, consider reaching out to customer support. They can provide guidance tailored to your specific opener model.Imagine calling a friend to help find something you misplaced. Customer support can be that friend, guiding you through the process with ease.Navigating the process of resetting your Clicker garage door opener can be a rewarding experience. By locating the “Learn” button, you unlock the potential to resolve issues swiftly. Wouldn’t you agree that sometimes, the smallest steps lead to the biggest solutions?Clear Existing Codes
Resetting a Clicker garage door opener involves erasing existing codes. Start by pressing and holding the ‘learn’ button until the indicator light turns off. This action clears all stored codes, allowing you to set new ones effortlessly.
Resetting a Clicker garage door opener might seem daunting at first, but it’s a straightforward process once you get the hang of it. The first crucial step in this process is clearing the existing codes. This action is essential if you want to ensure the security of your garage, especially if you’ve recently moved into a new home or have lost a remote. Clearing the codes will wipe out all the previous settings, allowing you to start fresh with your own secure code.Why Clearing Existing Codes Is Important
Clearing existing codes is more than just a reset. It’s about safeguarding your home. Imagine handing out a key to your house and not knowing who has a copy. By clearing old codes, you eliminate any unauthorized access. This is especially important if you’ve acquired a pre-owned garage door opener.Steps To Clear Existing Codes
To clear the existing codes, locate the “Learn” or “Smart” button on your garage door motor unit. This button is usually found at the back or side of the unit. Press and hold it until the indicator light turns off. This usually takes about 6 to 10 seconds.After the light goes off, all the previous codes will be erased. It’s as if you’ve wiped the slate clean. This step ensures that no old remotes can operate your garage door anymore.Things To Keep In Mind
Be mindful of the number of remotes you have in use. Make sure all users are informed that the codes will be cleared and new ones will be set. Communication is key to avoid any inconvenience.Think about how often you should clear your codes. If you’re someone who loses things easily or has a lot of foot traffic at home, consider doing this more frequently. Regularly resetting your codes can keep your home more secure.Common Mistakes To Avoid
Don’t forget to reset the codes on all remotes. Missing even one remote can leave your garage vulnerable. Ensure that every device linked to your garage door is updated with the new code.Avoid rushing through the process. It can be tempting to skip steps, but patience ensures that your reset is effective. Take your time to follow each step carefully for a secure setup.Resetting your Clicker garage door opener by clearing existing codes is a simple yet powerful way to enhance your home security. Have you ever thought about how many people might have access to your garage? Taking control of your security settings could give you peace of mind.Program New Code
Resetting a Clicker garage door opener involves clearing its memory and reprogramming the remote. Begin by locating the “learn” button on the opener. Press and hold it until the indicator light turns off, erasing previous codes.
Programming a new code for your Clicker garage door opener might seem daunting at first, but it’s a straightforward process. Whether you’re replacing an old remote or setting up a brand-new system, understanding how to program a new code is crucial. With a few simple steps, you can ensure the security of your garage and make sure everything operates smoothly.###Step 1: Locate The Learn Button
Begin by finding the “Learn” button on your garage door opener. This button is typically located on the back or side of the motor unit. It might be under a light cover or near the antenna wire.Identifying this button is the first step in resetting your clicker. Once you find it, you’ll be ready to proceed with programming a new code.###Step 2: Press And Release The Learn Button
Press the “Learn” button and release it. You’ll usually have about 30 seconds to move to the next step.During this time, an indicator light might flash, signaling that the unit is ready to accept a new code. This is a crucial window—act promptly to ensure the new code is set correctly.###Step 3: Enter The New Code
On your Clicker remote, enter the new code you wish to use. This code should be something you’ll remember but not easily guessed by others.Once entered, press the button you wish to use for opening the garage. The motor unit should respond with a click or another indicator, confirming the code is accepted.###Step 4: Test Your New Code
Test the newly programmed code by pressing the button on your remote. The garage door should open or close, verifying the success of your programming.If the door doesn’t respond, repeat the steps and ensure all inputs are correct. It’s always a good idea to double-check your work for peace of mind.###Common Mistakes To Avoid
Programming a Clicker garage door opener isn’t free from potential hiccups. One common mistake is not pressing the Learn button firmly enough, which might prevent the unit from entering programming mode.Another oversight could be a drained battery in the remote, leading to unsuccessful attempts. Always ensure your remote is in good working condition before programming.###Why Regularly Update Your Code?
Updating your garage door code periodically enhances security. It prevents unauthorized access, especially if you’ve shared your code with service providers or neighbors in the past.How often do you update your code? Consider setting reminders to refresh it every few months. This simple step can safeguard your home and provide peace of mind.Programming a new code isn’t just about functionality; it’s about maintaining control over your home’s entry points. By mastering this process, you take an active role in your household’s security.
Credit: www.youtube.com
Test The Clicker
Resetting a Clicker garage door opener involves pressing and holding the learn button until the light turns off. This clears old codes, allowing you to set a new one. Always ensure the garage door is closed for safety while resetting.
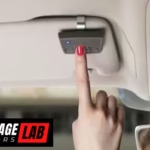
Testing your Clicker garage door opener is an essential step after resetting it. This ensures that everything is working correctly and safely. Imagine pressing the button and nothing happens—frustrating, right? Let’s dive into how you can test your Clicker effectively.Check The Battery
Before you start testing, ensure the battery is fresh. A weak battery can cause the Clicker to malfunction. Swap it out for a new one. This simple check can save you from unnecessary troubleshooting later on.Stand At A Reasonable Distance
Testing too close to the garage door might not give accurate results. Stand a few feet away from the door. This distance helps the signal to travel properly, mimicking real-life use. Have you ever found yourself standing in the driveway, wondering why it’s not working? Distance can make a difference.Press The Button
Press the main button on your Clicker. Listen for sounds and watch for movement. If the door opens smoothly, your reset was successful. If not, you might need to repeat the reset process or check for other issues. Seeing that door open is a satisfying moment—your efforts paid off!Observe The Door Movement
Watch the garage door closely as it opens or closes. Is it moving smoothly? Any jerky motions could indicate a problem. A smoothly operating door is not only convenient but also safe. Wouldn’t you prefer knowing your garage door won’t slam shut unexpectedly?Test Multiple Times
Don’t just test once and call it a day. Try opening and closing the door several times. Consistency is key. If it works every time, you can trust your Clicker is reliable. A few extra presses can give you peace of mind.Testing your Clicker not only confirms that your reset was successful but also highlights any potential issues. What steps will you take to ensure your garage door opener is reliable every time?Troubleshooting Tips
Resetting a Clicker garage door opener can be tricky. A few simple troubleshooting tips can simplify the process. This section offers practical solutions to common issues faced during reset. These tips help in identifying and resolving problems quickly.
Check The Batteries
Batteries often cause many issues. Make sure they’re not dead. Replace old batteries with new ones. Fresh batteries ensure a strong signal.
Inspect The Antenna
The antenna should be straight. A bent antenna affects signal reception. Adjust it gently to ensure it points downward. This improves performance.
Review The Programming
Programming errors are common. Re-read the instructions for programming. Ensure each step is followed precisely. This avoids unnecessary hiccups.
Look For Interference
Electronic devices can interfere. Move items like microwaves away. They disrupt signals. Keeping a clear area around the opener helps.
Test The Remote
Test the remote close to the garage door. Distance affects signal strength. If it works nearby, range might be the issue. Consider a signal booster.
Maintaining Your Garage Door Opener
Resetting a Clicker garage door opener involves locating the reset button on the device. Press and hold it until the LED light blinks, then release. This simple process ensures your garage door opener functions smoothly.
Maintaining your garage door opener is not just about ensuring smooth operation; it’s about extending its lifespan and avoiding unexpected malfunctions. Imagine the inconvenience of a garage door that won’t open, especially when you’re in a rush. Regular maintenance can save you from such frustrating situations and keep your garage door opener running efficiently.Inspect The Hardware Regularly
Take a few moments each month to check the hardware of your garage door opener. Look for any loose bolts or screws and tighten them if needed. A simple inspection can prevent larger problems down the road.Test The Balance Of Your Garage Door
A well-balanced door can ease the strain on your opener. Disconnect the opener and manually lift the door halfway. If it stays in place, it’s balanced; if not, it may need adjustment.Lubricate Moving Parts
Lubrication keeps your garage door opener running smoothly. Use a silicone-based lubricant on rollers, hinges, and tracks. Avoid over-lubricating, as this can attract dust and grime.Check The Auto-reverse Feature
Safety first! Test the auto-reverse feature by placing a small object in the door’s path. The door should reverse immediately upon contact. If it doesn’t, adjust the settings or consult a professional.Replace Remote Batteries
Have you ever experienced a remote that suddenly stops working? Avoid this by replacing the batteries regularly. A fresh set of batteries ensures your remote functions when you need it.Keep The Tracks Clean
Dirt and debris can accumulate in the tracks over time. Use a damp cloth to wipe them clean. Clean tracks make for a smoother and quieter operation.Reprogramming The Opener
Sometimes your garage door opener may need a reset. This could be due to security reasons or a malfunction. Follow the manufacturer’s instructions to reprogram your opener effectively.Regular maintenance is key to a hassle-free garage door opener. What steps will you take today to ensure your opener is in top shape?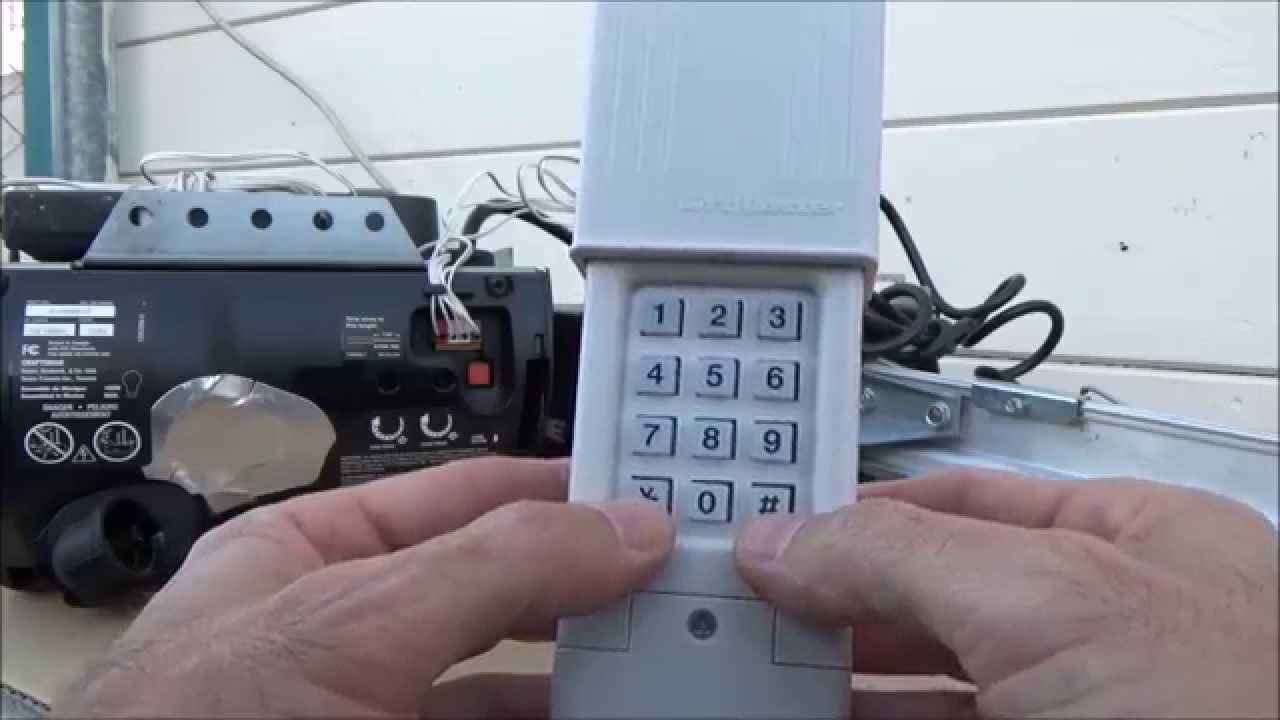
Credit: m.youtube.com
Frequently Asked Questions
How Do I Reprogram My Clicker Garage Door Opener?
Press the “Learn” button on the garage opener. Within 30 seconds, press the remote button. This syncs the remote and opener.
How Do I Reset A Garage Door Clicker?
Press the “Learn” button on the garage door opener. Hold the button on the clicker until the light blinks.
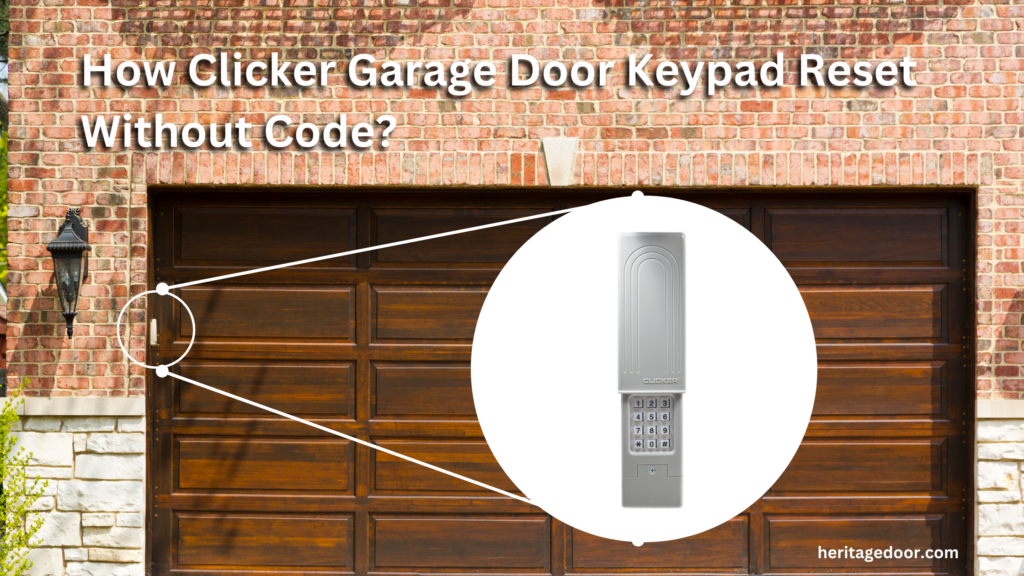
How To Reset Garage Door Remote Clicker Without Code?
Press the “Learn” button on the garage motor unit. Hold until the light turns off. Then, press the desired remote button. The garage light should blink, indicating successful reset.
How Do I Resync My Garage Door Remote?
To resync your garage door remote, locate the “Learn” button on the opener. Press it, then press the button on your remote. Wait for the light to blink, confirming the sync. Test the remote to ensure it works.
How Do I Identify The Reset Button On A Clicker Remote?
Look for a small, often red button. It’s usually on the back or side.
Conclusion
Resetting a Clicker garage door opener is simpler than it seems. Follow the steps carefully. Start by locating the “learn” button on the motor. Press and hold it until the light blinks. This erases old codes. Next, press the button on the remote.
The light blinks again, confirming the reset. Test the opener to ensure it works. Repeat if necessary. These steps help regain control. No need for expert help. You can do it yourself. Enjoy a secure, smoothly operating garage door. Regular checks keep your opener reliable.
Safety and convenience are just a reset away.