
When you sell a car, change the opener in your home, or simply want to enhance your vehicle’s security, removing the garage door opener code from your car is a crucial step. This process ensures that the new owner, or anyone else who might gain access to your vehicle, cannot operate your garage door. Modern vehicles often integrate garage door opener functionality directly into the car’s design, typically through built-in visor buttons or even advanced systems that can be controlled via a smartphone app. Understanding how to properly disassociate these systems is key to maintaining privacy and preventing unauthorized access.
The integration of garage door openers into vehicles has evolved significantly. Early systems relied on external remote controls that were often clipped to the sun visor. Today, many cars come equipped with HomeLink or similar universal transceiver systems built directly into the vehicle’s interior. These systems are designed to learn and transmit the radio frequency signals of most standard garage door openers. This convenience, however, necessitates a clear understanding of how to erase these learned codes when the vehicle changes hands or when you want to update your security protocols. This article will guide you through the process of removing garage door opener codes from your car, covering various methods and common systems.
Key Takeaways
- Security is Paramount: Removing garage door opener codes from a vehicle is essential for security when selling, trading, or loaning the car, or when upgrading your home’s opener system.
- Built-in Systems: Most modern vehicles use integrated systems like HomeLink, which learn and store opener codes.
- HomeLink Reset: HomeLink systems typically require a specific reset procedure involving holding down buttons on the in-car module.
- Manual Remote Removal: If using an external remote, simply remove it from the vehicle.
- Opener Reprogramming: For maximum security, it’s often recommended to reprogram your garage door opener itself, assigning it new codes.
- Consult Manuals: Always refer to your vehicle’s owner’s manual and your garage door opener’s manual for specific instructions.
- Professional Help: If unsure, consult a professional automotive technician or garage door specialist.
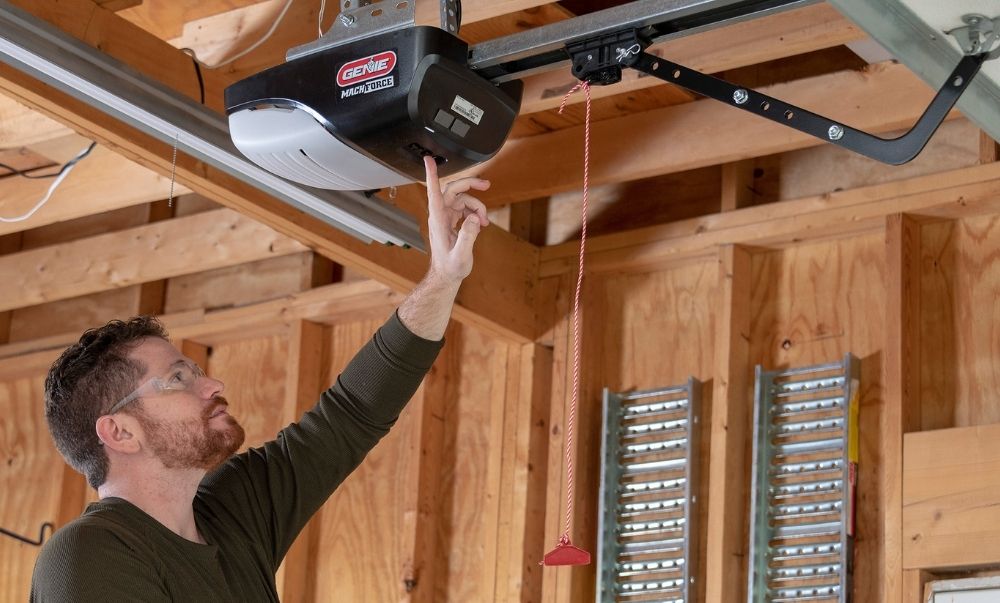
Credit: store.geniecompany.com
Understanding Integrated Garage Door Opener Systems
Many contemporary vehicles come equipped with integrated systems designed to control garage doors and other radio-controlled devices. The most prevalent of these is HomeLink, but other manufacturers may offer similar proprietary systems. These systems essentially act as a universal remote control, capable of learning the unique radio frequency signals emitted by your garage door opener.
How Integrated Systems Work
These in-car systems typically consist of a small module, often located on the sun visor, in the rearview mirror, or on the dashboard. This module contains a transmitter and receiver. When you program it, you usually hold your existing garage door remote next to the in-car module and press the desired button on both.
The in-car system then “learns” the signal from your remote and can replicate it to open or close your garage door. The vehicle’s computer stores this learned code.
The process of programming a HomeLink system, for example, involves a sequence of button presses on the in-car module and your existing remote. Once programmed, the vehicle can transmit the correct signal to your garage door opener. This is incredibly convenient, eliminating the need for a separate remote.
However, it also means that anyone with access to your car’s interior buttons can potentially operate your garage door if the code hasn’t been removed.
Common Integrated Systems
- HomeLink: This is the most widespread system, found in millions of vehicles from various manufacturers including Ford, General Motors, Toyota, Honda, Chrysler, and many more. HomeLink systems are designed to be compatible with a vast array of garage door openers, gates, and other radio-controlled devices. They typically feature three or four programmable buttons.
- Other Manufacturer-Specific Systems: Some automakers have developed their own versions of integrated garage door control systems. While the underlying technology is similar to HomeLink, the programming and reset procedures might differ slightly. It’s always best to consult your vehicle’s owner’s manual for specifics related to your car’s particular system.
The primary concern when removing these codes is ensuring that the learned signal is permanently erased from the vehicle’s memory. This prevents unauthorized access to your garage, especially if you are selling the car or if the car has been stolen.

Credit: www.turanfoleycadillac.com
Why Removing The Code Is Important
The act of removing the garage door opener code from your car is a fundamental security measure with several critical implications. Neglecting this step can lead to significant vulnerabilities, compromising your home’s safety and your personal property.
Selling Or Trading Your Vehicle
This is perhaps the most common reason for needing to remove the code. When you sell your car privately or trade it in at a dealership, the new owner will have the ability to open your garage door if the code remains programmed.
This could lead to unauthorized entry into your home, theft of vehicles or belongings stored in the garage, and potential personal safety risks. Ensuring the code is erased provides a clean slate and protects your former property.
Vehicle Theft Or Unauthorized Access
If your car is stolen, the thief could potentially use the programmed garage door opener to gain access to your home. Even if the car is recovered, the risk of the code being exploited remains. Similarly, if someone gains unauthorized access to your car while it’s parked, they could use the integrated opener.
Removing the code mitigates this risk significantly.
Upgrading Your Home’s Garage Door Opener
When you replace your existing garage door opener unit with a new one, the old opener’s rolling code or fixed code will likely be incompatible with the new system. Even if it were compatible, it’s a good security practice to clear any old codes that might be stored in vehicles.
New openers often come with a new set of codes, and vehicles should be reprogrammed to learn these new codes. Before reprogramming your vehicle to the new opener, you should clear any old codes to avoid confusion or potential conflicts.
Shared Vehicle Use
If you frequently lend your car to friends, family members, or valet services, you might want to remove the code temporarily or permanently depending on the situation. This prevents others from accessing your garage without your explicit permission, especially if you have security concerns or are using a fixed-code remote that is less secure.
Peace Of Mind
Ultimately, knowing that your garage door opener code is not accessible from your vehicle provides significant peace of mind. It’s a simple yet effective step in maintaining control over who can access your home and property. The process, while sometimes requiring a bit of technical know-how, is generally straightforward and well worth the effort.
How To Remove Homelink Codes From Your Car
HomeLink is the most prevalent integrated garage door opener system in vehicles. Removing codes from a HomeLink system typically involves a specific reset procedure that erases all previously learned signals. The exact steps can vary slightly depending on the model year and manufacturer of your vehicle, but the general principle remains the same.
The Homelink Reset Procedure
The standard HomeLink reset procedure involves pressing and holding the two outer HomeLink buttons (usually Button 1 and Button 3) simultaneously.
- Ignition ON: Turn your vehicle’s ignition to the ON or Accessory position. You do not need to start the engine.
- Press and Hold Outer Buttons: Locate the HomeLink buttons, typically found on the overhead console, sun visor, or rearview mirror. Press and hold the leftmost button (Button 1) and the rightmost button (Button 3) at the same time.
- Observe the Indicator Light: Continue holding these buttons. You will see the HomeLink indicator light, which is usually a small LED near the buttons, begin to flash slowly. After about 10-20 seconds, the indicator light will flash rapidly. This rapid flashing signifies that the system’s memory has been cleared, and all previously programmed codes have been erased.
- Release Buttons: Once the light flashes rapidly, release both buttons.
- Test: To confirm the reset, try pressing any of the HomeLink buttons. If the reset was successful, the indicator light will either not illuminate or will flash rapidly (indicating it’s searching for a signal, as no code is programmed). It will not activate your garage door opener.
Pro Tip: It is crucial to perform this reset with the vehicle’s ignition in the ON position. If the ignition is off, the HomeLink system will not be able to reset its memory.
Example: Resetting Homelink In A 2020 Toyota Camry
For a 2020 Toyota Camry, the HomeLink buttons are typically located on the overhead console near the sunroof controls.
- Turn the car’s ignition to the ON position.
- Press and hold the first and third HomeLink buttons simultaneously.
- Watch the small LED indicator light above the buttons. It will initially flash slowly, then turn solid. Continue holding the buttons.
- After approximately 20 seconds, the LED will flash rapidly. This indicates all previous programming has been erased.
- Release both buttons.
- Press any HomeLink button briefly. The LED should flash rapidly, confirming that no codes are stored.
What If The Reset Doesn’t Seem To Work?
If you perform the reset procedure and your garage door opener still activates when you press the HomeLink buttons, there might be a few reasons:
- Incorrect Procedure: Double-check that you followed the steps precisely, especially holding the correct buttons for the required duration.
- Vehicle Specifics: Some older or specific vehicle models might have a slightly different reset sequence. Always consult your vehicle’s owner’s manual for the most accurate instructions. You can usually find digital copies of owner’s manuals on the manufacturer’s website.
- Interference: Ensure there are no other electronic devices nearby that could be interfering with the reset process.
If you are consistently unable to reset the HomeLink system, it might be worth contacting a dealership’s service department or a qualified automotive technician. They have the expertise and tools to diagnose and resolve any issues with the vehicle’s electronic systems.
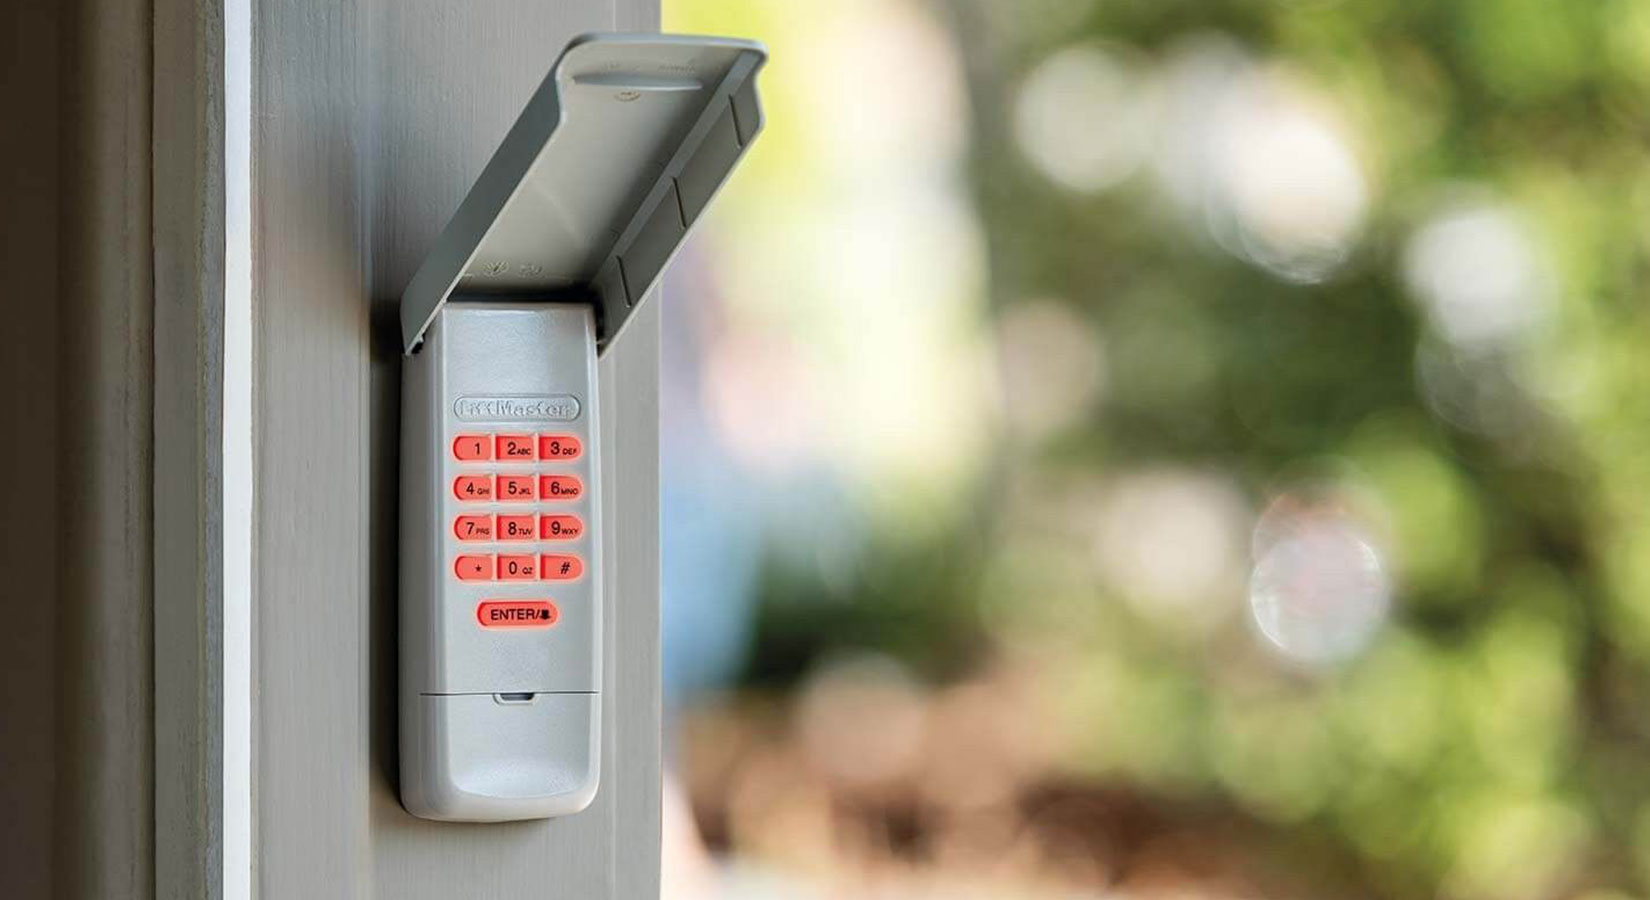
Credit: allsecurityequipment.com
Removing Codes From Other Integrated Systems
While HomeLink is the most common, other manufacturers may use different integrated systems or variations. The core principle of erasing learned codes remains, but the method might differ.
Manufacturer-specific Systems
Some car manufacturers, like BMW, Mercedes-Benz, or Audi, might have their own branded integrated garage door opener systems or use a version of HomeLink that has a slightly customized interface or reset process.
- Consult Your Owner’s Manual: This is the most critical step. Your vehicle’s owner’s manual will provide the definitive instructions for your specific car’s integrated system. Look for sections related to “Garage Door Opener,” “Universal Transmitter,” or “HomeLink.”
- Button Combinations: Similar to HomeLink, these systems usually involve pressing and holding specific buttons on the module. The buttons might be labeled differently, or the sequence might involve more buttons or a different duration.
- Indicator Lights: Pay close attention to any indicator lights or sounds that signal the system’s status, programming, learning, or erasing.
Example: Programming And Erasing In A Generic Integrated System
Let’s consider a hypothetical system that isn’t explicitly HomeLink but functions similarly:
- Locate the Module: Find the integrated transmitter buttons, often on the sun visor or overhead console.
- Access Programming Mode: This might involve pressing a specific button or combination of buttons to enter a “learn” or “program” mode. The manual will detail this.
- Learn Signal: Hold your existing remote near the module and press the desired button on the module. The indicator light will likely change to show it’s receiving the signal.
- Confirm Signal: Press the learned button on the module again. If it works, the code is learned.
- Erasing Codes: To erase, there’s usually a “reset” function. This could be:
- Pressing and holding specific buttons (e.g., the two most prominent buttons) for an extended period until an indicator light flashes rapidly.
- A separate “clear” or “reset” button that needs to be pressed with a thin object (like a paperclip) while the ignition is on.
- Disconnecting the vehicle’s battery for a period (though this will reset other vehicle settings like clock and radio presets). This is a more drastic measure and less common for just erasing opener codes.
Warning: Disconnecting the car battery can reset other electronic systems in your vehicle, such as the clock, radio presets, and trip computer. While effective for a complete electronic reset, it’s usually overkill for simply removing garage door opener codes and requires reconfiguring other settings afterward.
For any system other than standard HomeLink, the owner’s manual is your primary resource. If the manual is lost, searching online for “[Your Car Make/Model/Year] garage door opener system reset” will often yield helpful guides and videos.
Removing Codes From External Garage Door Remotes
If your car doesn’t have an integrated system and you simply use a traditional, external garage door opener remote clipped to your visor or stored in a console, removing the code is much simpler.
The Simplest Method: Removal
The most straightforward way to remove the “code” associated with an external remote is to physically remove the remote itself from the vehicle.
- Locate the Remote: Find the physical garage door opener remote that you have been using with the car.
- Remove from Vehicle: Take the remote out of the car. This could mean unhooking it from the visor clip, taking it out of the glove compartment, or any other place it’s stored.
- Secure the Remote: Keep the remote in a safe place at home. It will still be programmed to your garage door opener and can be used manually.
This method is foolproof because the car no longer has the physical device capable of transmitting the signal. There is no electronic code stored within the vehicle’s systems to erase.
What If You Want To Use The Remote With A New Car?
If you’re selling your current car and want to use the same external remote with a new one, you simply take the remote with you. Ensure you’ve removed it from the old car. The remote itself is programmed to your garage door opener, not to the car.
Reprogramming The Remote (optional But Recommended)
While physically removing the remote is sufficient, for enhanced security, especially if you’ve had the car for a long time or suspect potential security breaches, you might consider reprogramming your garage door opener itself. This assigns a completely new code to your opener, rendering any previously learned codes (from old remotes or integrated systems) obsolete.
- Check Your Opener Manual: Your garage door opener’s manual will have specific instructions on how to erase all existing remote codes and program new ones. This often involves pressing a “Learn” button on the motor unit itself and then pressing buttons on the remotes you want to use.
- New Codes for All Devices: If you reprogram your opener, you’ll need to reprogram all your remotes and any integrated car systems to work with the new code. This is a comprehensive security update.
For external remotes, the concept of “removing the code from the car” is essentially about removing the physical device. There’s no internal electronic memory in the car to clear related to these standalone remotes.
Reprogramming Your Garage Door Opener For Enhanced Security
While removing the code from your car is essential, the most robust security measure you can take is to reprogram your garage door opener itself. This process changes the unique code that your opener uses to communicate with remotes and integrated systems. By doing so, you effectively invalidate any previously stored codes, including those potentially still lingering in your old car or any unauthorized remotes that might have been cloned.
Why Reprogram The Opener?
- Invalidate Old Codes: If you’ve ever had your remote lost or stolen, or if you suspect a code might have been compromised, reprogramming the opener ensures that any old, potentially compromised codes are no longer valid.
- New Security Standard: Newer garage door openers often use rolling codes, which change the security code every time the opener is used. This is a significant security upgrade over older fixed-code systems. Reprogramming ensures you’re using the most secure settings available for your opener model.
- Comprehensive Security Update: When selling a car or changing your security habits, reprogramming the opener provides a complete security refresh. It ensures that only authorized devices (those programmed after the reset) can operate your garage door.
The General Reprogramming Process
The exact steps for reprogramming a garage door opener vary significantly by manufacturer (e. g. , LiftMaster, Chamberlain, Genie, Craftsman, Overhead Door). However, most processes involve interacting directly with the motor unit mounted on your garage ceiling.
- Locate the “Learn” Button: Find the “Learn” or “Program” button on the garage door opener’s motor unit. This button is often located near the antenna wire or the wiring terminals. It might be a colored button (e.g., red, purple, yellow, green, black) depending on the brand and model.
- Press and Release the “Learn” Button: Press and release the “Learn” button. A small LED indicator light next to the button will typically illuminate or begin to flash, indicating that the opener is in programming mode. You usually have a limited time (e.g., 30 seconds) to complete the next step.
- Program the Remote/System:
- For External Remotes: Immediately after pressing the “Learn” button on the motor unit, press and hold the desired button on the garage door remote you want to program. Hold it until the opener’s lights flash or it clicks, indicating the code has been accepted.
- For Integrated Car Systems (HomeLink): This is where it gets slightly more complex. After pressing the “Learn” button on the motor unit, you’ll need to go to your car and press and hold the desired HomeLink button. The HomeLink system needs to receive the signal from the opener. In many cases, you’ll then need to press and hold the same HomeLink button again for a few seconds to complete the process. Some systems may require you to press the garage door opener’s “Lock” or “Vacation” button on the wall control panel after the initial remote programming.
- For Keypads: Similar to remotes, press the desired button on the keypad after activating the opener’s “Learn” mode.
- Test: Once the opener indicates the code is learned (lights flash, motor clicks), test the remote or integrated system to ensure it operates the garage door.
Example: Reprogramming a LiftMaster with Security+ 2.0 (common in newer models):
- Locate the purple “Learn” button on the back or side of the LiftMaster motor unit.
- Press and release the purple “Learn” button. The red LED will light up.
- Within 30 seconds, press and hold the desired button on your remote for about 2 seconds. The opener lights will flash, or the unit will click.
- Release the remote button.
- To program a HomeLink system, after pressing the purple Learn button, go to your car and press and hold the desired HomeLink button. The opener lights will flash or the unit will click. Then, press and hold the same HomeLink button again for 2 seconds. Release. The opener lights will flash or the unit will click again.
Note: Always refer to your specific garage door opener’s manual. You can usually find these online by searching for “[Manufacturer Name] [Model Number] manual.” For instance, searching for LiftMaster manuals can provide detailed instructions for their various models.
Reprogramming your opener is a proactive step that significantly enhances your home security. It’s a task that, while requiring careful attention to detail, is well within the capabilities of most homeowners.
Troubleshooting Common Issues
Even with careful adherence to instructions, you might encounter issues when trying to remove or reprogram garage door opener codes. Here are some common problems and their potential solutions.
Homelink Buttons Not Responding After Reset
- Problem: You performed the reset procedure, but the HomeLink buttons still seem to activate the garage door opener.
- Solution:
- Ignition Position: Ensure the vehicle ignition was in the ON or Accessory position during the reset. If it was off, the memory won’t clear.
- Button Hold Duration: You might not have held the buttons long enough for the rapid flashing. Try the reset again, holding the outer buttons for a full 20-30 seconds until the light flashes rapidly.
- Vehicle-Specific Reset: Consult your owner’s manual. Some vehicles have unique reset procedures. For example, some might require pressing and holding all three buttons for a specific duration.
- System Malfunction: In rare cases, the HomeLink module itself might be malfunctioning. If other reset attempts fail, professional diagnosis may be needed.
Garage Door Opener Not Responding To Reprogramming
- Problem: You’re trying to program a remote or HomeLink system to your garage door opener, but it’s not working.
- Solution:
- Timing: The crucial window after pressing the “Learn” button on the motor unit is often short (30 seconds). Ensure you are performing the remote/HomeLink programming step immediately after pressing “Learn.”
- Correct “Learn” Button: Make sure you’re pressing the correct “Learn” button for your opener model. Different models