
A garage door that drips when opening can be a puzzling and messy issue for homeowners. It’s not just about the unsightly water stains; it can indicate underlying problems with your garage door system, potentially leading to more significant damage if left unaddressed. Understanding the root cause is the first step toward a swift and effective solution. This phenomenon can stem from various sources, ranging from simple condensation to more complex issues like leaks in the door itself or problems with its operational components.
This article will systematically explore the common reasons behind a garage door dripping, providing you with the knowledge to diagnose the problem and implement the necessary fixes. We’ll cover everything from environmental factors to mechanical failures, equipping you with the expertise to keep your garage door functioning smoothly and preventing potential water damage to your home and belongings.
Key Takeaways
- Condensation is a frequent culprit, especially in humid environments or during temperature fluctuations, forming on cold surfaces like metal garage doors.
- Leaks in the door panel itself, caused by cracks, damaged seals, or faulty construction, can allow water to seep through.
- Damaged or worn weatherstripping at the bottom or sides of the door allows external water to enter.
- Issues with the garage door opener mechanism, such as a leaking motor or lubrication problems, can also cause drips.
- Clogged or damaged gutters and downspouts above the garage can direct water flow directly onto the door.
- Proper maintenance, including regular cleaning, lubrication, and inspection of seals and components, is crucial for prevention.
- Addressing drips promptly prevents potential water damage, mold growth, and more costly repairs down the line.
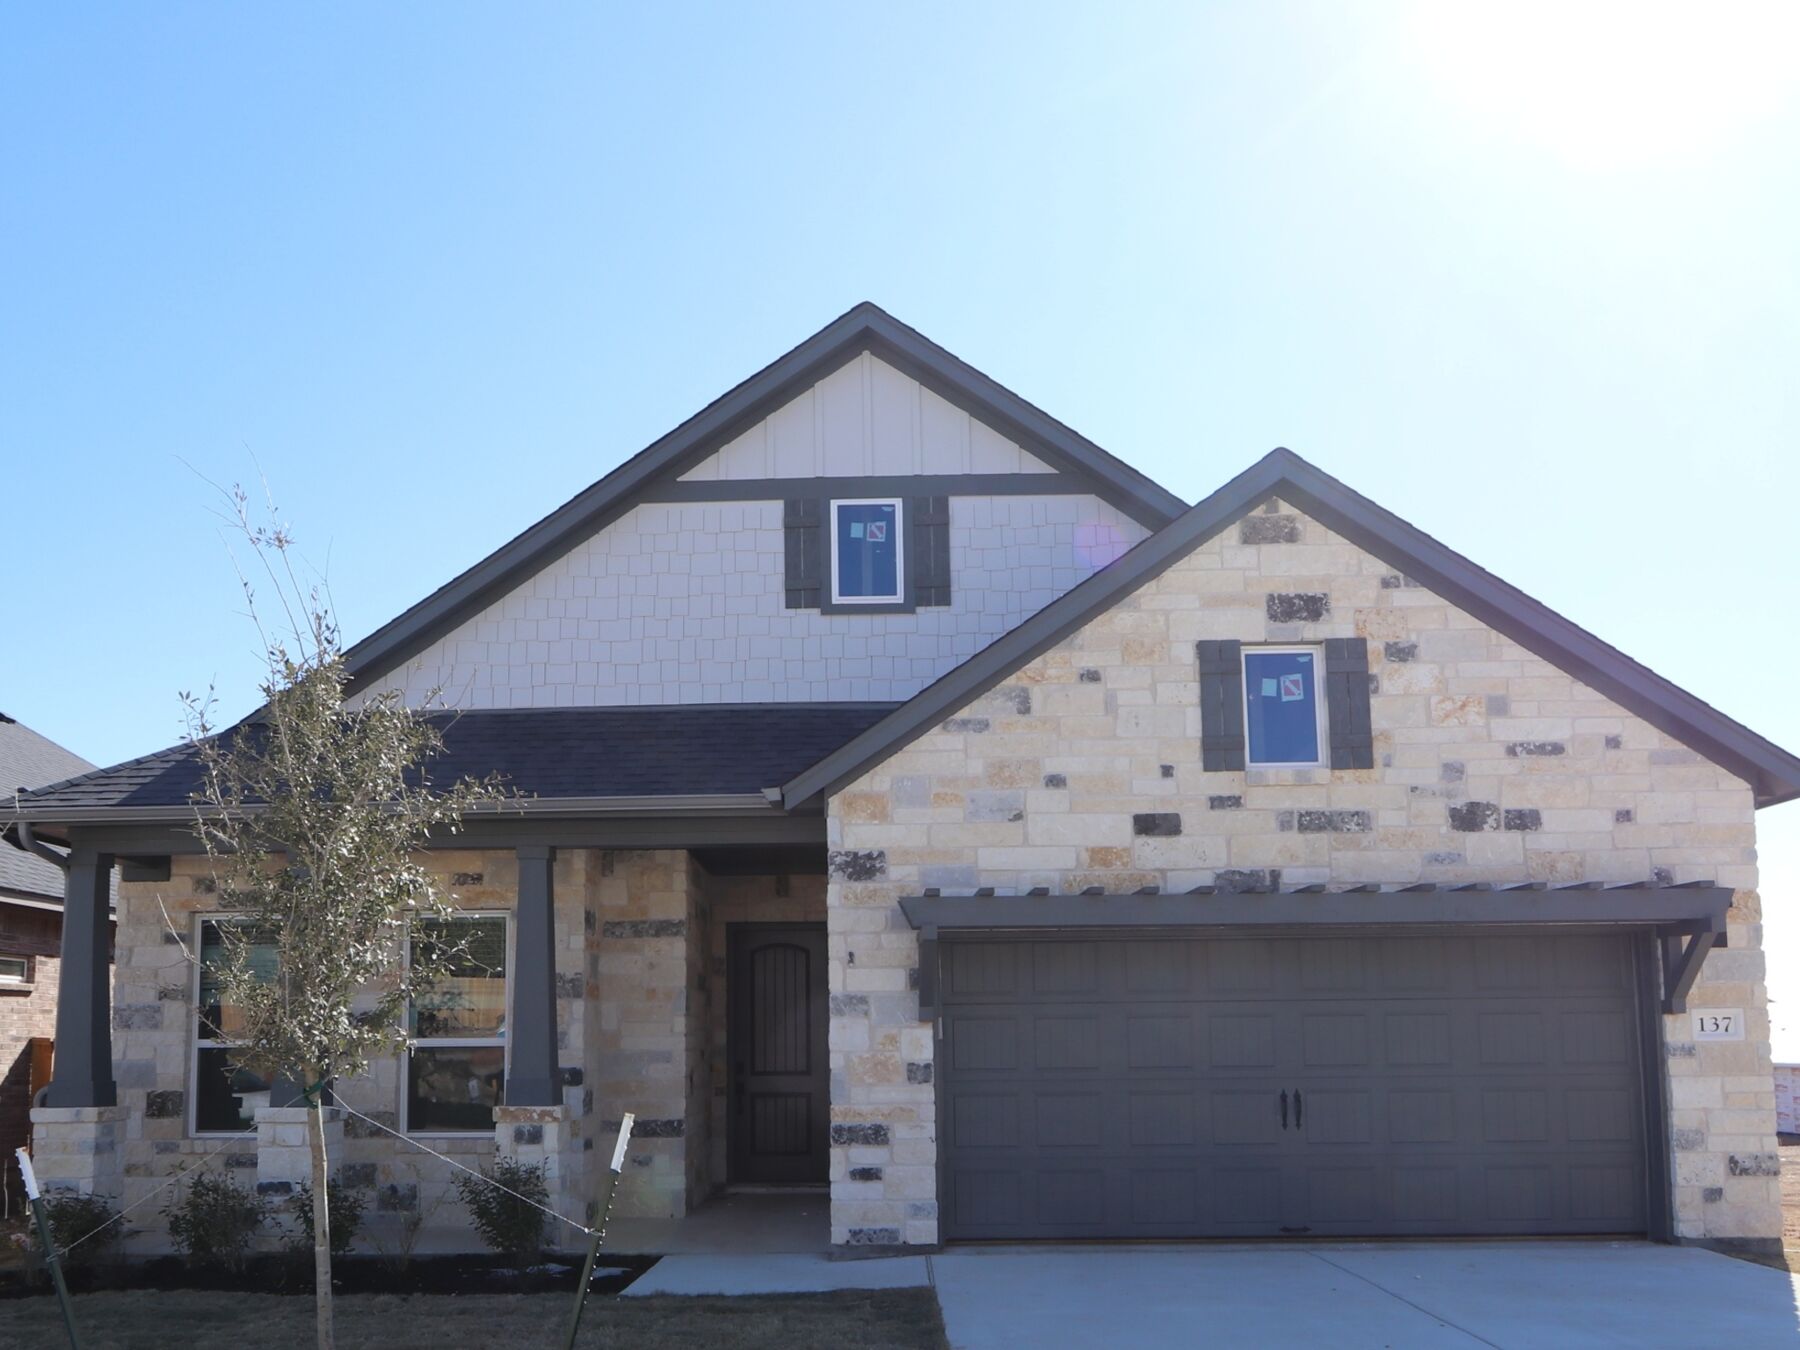
Credit: www.mihomes.com
Understanding The Common Causes Of Garage Door Drips
The sight of water dripping from your garage door as it operates can be disconcerting. While it might seem like a minor inconvenience, it often signals that something isn’t quite right with your garage door system. The dripping can occur from the top, sides, or bottom of the door, and each location can point to different potential causes.
Identifying the source of the drip is paramount to implementing the correct repair strategy and preventing further issues.
We’ll break down the most prevalent reasons why your garage door might be dripping, focusing on both internal and external factors that contribute to this problem. By understanding these causes, you’ll be better equipped to troubleshoot and maintain your garage door effectively.
Condensation: The Silent Dripper
One of the most common, yet often overlooked, reasons for a garage door to drip is condensation. This occurs when warm, moist air comes into contact with a colder surface, causing the water vapor in the air to turn into liquid. Garage doors, especially those made of metal, can become significantly colder than the ambient air, particularly during cooler months or overnight.
- Temperature Fluctuations: When the outside air is cold and the inside of the garage is warmer (due to residual heat from a car, or simply being enclosed), moisture in the warmer air can condense on the cooler inner surface of the garage door. As the door moves, this accumulated condensation can drip.
- Humidity: High humidity levels, whether from external weather or internal sources like stored items or a damp garage floor, exacerbate condensation issues. The more moisture in the air, the more readily it condenses.
- Insulated vs. Uninsulated Doors: While insulated garage doors are designed to mitigate temperature differences, they are not immune to condensation. In fact, the insulation can sometimes trap moisture, leading to condensation on the inner surfaces if ventilation is poor. Uninsulated metal doors are particularly prone to being cold surfaces.
- Example: Imagine a cool morning after a humid night. The metal of your garage door is cold from the night air. As the sun warms the exterior, the interior surface remains cold. The warm, moist air inside your garage (perhaps from a recently parked car) hits this cold surface, and water droplets form, eventually dripping as the door moves.
Leaks Within The Door Panel Itself
Beyond condensation, the garage door panel might have actual physical breaches that allow water to enter. These are often more serious and require direct repair to the door structure.
- Cracks and Punctures: Over time, garage doors can sustain damage from impacts, weather, or wear and tear. Small cracks or punctures, especially in older doors or those made of less durable materials like certain types of composite or wood, can allow water to seep in. This water can then drip from the bottom or even along the seams of the panels.
- Damaged Seals or Gaskets: The seals between individual panels of a sectional garage door are designed to prevent water ingress. If these seals are cracked, brittle, or missing, water can easily find its way between the panels and drip down.
- Structural Integrity: For wooden garage doors, delamination or rot can create pathways for water. Similarly, in metal doors, corrosion can weaken sections and lead to small holes.
Worn Or Damaged Weatherstripping
The weatherstripping at the bottom of your garage door (the bottom seal or astragal) and along the sides (jamb seals) is your primary defense against external water infiltration. When this rubber or vinyl material becomes worn, cracked, or detached, it loses its sealing ability.
- Bottom Seal (Astragal): If the bottom seal is degraded, it can no longer create a tight barrier between the door and the driveway or floor. Rainwater, snowmelt, or even water splashed from the street can then easily enter the garage, and if the door is slightly ajar or the seal is uneven, this water can appear to be dripping from the door itself.
- Side Seals (Jamb Seals): These seals prevent water from coming in around the edges of the door frame. If they are damaged, water can be channeled directly onto the door’s path or even into the garage, leading to drips.
- Inspection: Regularly inspect the weatherstripping for signs of cracking, hardening, or separation from the door or frame. A simple test is to close the door and try to slide a piece of paper between the seal and the frame. If you can pull the paper out easily, the seal needs replacement.
Issues With Garage Door Opener Mechanisms
While less common than condensation or seal issues, the garage door opener mechanism itself can sometimes be the source of drips, particularly if it involves lubrication or a faulty component.
- Leaking Motor or Gearbox: Some older or malfunctioning garage door openers have a motor unit or gearbox that contains lubricant. If seals within these components fail, lubricant can leak out. This lubricant, often dark and oily, can drip onto the door or the floor.
- Over-Lubrication: In some cases, if the chain or screw drive of the opener has been over-lubricated during maintenance, excess lubricant can be flung off as the mechanism operates, potentially dripping onto the door. This is why proper lubrication techniques are essential. You can learn more about this in our guide on how to lube garage door rollers.
- Water Intrusion into Opener: If the opener unit itself is exposed to water (e.g., due to a leak in the garage ceiling or poor mounting), internal components could corrode or malfunction, leading to drips.

Credit: www.tripointehomes.com
Diagnosing The Drip Source: A Step-by-step Approach
Pinpointing the exact origin of the drip is crucial for an effective repair. A systematic approach will help you rule out possibilities and zero in on the true cause. Before you begin, ensure you have good lighting and perhaps a helper.
Step 1: Observe The Drip’s Characteristics
The nature of the drip itself can provide valuable clues.
- What is dripping?
- Clear water: This strongly suggests condensation or external rainwater/snowmelt.
- Oily or dark liquid: This points towards a lubricant leak from the opener mechanism or potentially old, dirty water from the opener’s housing.
- Slightly discolored water: This might indicate water that has picked up dirt or debris from the door’s tracks, seals, or the opener mechanism.
- When does it drip?
- Only when opening/closing: This suggests movement is agitating the source, like condensation pooling or a loose component.
- During humid weather: Points heavily towards condensation.
- After rain or snow: Indicates an external water ingress issue, likely with seals or the door panel.
- Consistently, regardless of weather: Could be a persistent leak from the opener or a significant breach in the door.
Step 2: Inspect The Garage Door Exterior And Seals
Start your investigation on the outside of the garage door.
- Bottom Seal: Examine the rubber or vinyl seal at the bottom of the door. Is it cracked, brittle, torn, or detached? Does it make full contact with the floor when the door is closed?
- Side Seals: Check the seals along the vertical jambs of the garage door frame. Are they intact and making good contact with the door?
- Door Panels: Look for any visible cracks, holes, or signs of damage on the surface of the door panels. Pay attention to the seams between panels.
- Top of the Door: Check the area above the garage door. Are there any signs of water pooling or dripping from the header or frame?
Step 3: Examine The Garage Door Interior And Opener
Move to the inside of the garage.
- Opener Unit: Inspect the garage door opener motor unit. Look for any signs of leaks, especially around the motor housing or gearbox. Check the chain or screw drive for excessive lubricant.
- Tracks and Rollers: While less likely to cause drips *from* the door, ensure the tracks are clean and the rollers are in good condition. Debris in the tracks can sometimes get picked up and deposit grime that mixes with moisture. You can learn more about lubricating rollers to ensure smooth operation.
- Ceiling and Walls: Check the ceiling and walls around the garage door opener for any signs of water damage, mold, or active leaks, which could indicate a larger issue affecting the opener.
Step 4: Consider Environmental Factors
Think about the conditions surrounding your garage.
- Gutters and Downspouts: Are the gutters above your garage clean and functioning correctly? A clogged gutter or a downspout that directs water directly towards the garage door can be a major source of water entry.
- Landscaping and Drainage: Does water pool near your garage door after rain? Improper grading or drainage can direct water towards the opening.
- Recent Weather: Has there been significant rain, snowmelt, or a sudden temperature shift? This can help correlate the drips with specific events.
Example Scenario: Identifying A Drip Source
Let’s say you notice clear water dripping from the bottom edge of your garage door only after it rains. You perform the diagnostic steps:
- Observation: Clear water, drips after rain.
- Exterior Inspection: You find the bottom weather seal is cracked and torn in one section, and it doesn’t seem to be making full contact with the concrete floor.
- Interior Inspection: The opener unit looks dry, and there are no signs of oil leaks.
- Environmental Factors: You notice that during heavy rain, water appears to be pooling slightly at the base of the garage door.
Diagnosis: The primary cause is the damaged bottom weather seal, allowing rainwater to enter. The pooling water exacerbates the issue.

Credit: www.tripointehomes.com
Addressing Condensation Drips
Condensation is a common issue, especially in garages that are not climate-controlled. The good news is that it can often be managed with a few key strategies. The goal is to reduce the temperature difference between the door surface and the air, or to reduce the moisture content in the air.
Improving Garage Ventilation
Proper airflow is your best friend when combating condensation. Stagnant air holds more moisture.
- Open the Garage Door: When weather permits and security isn’t a concern, simply opening the garage door for a few hours can significantly reduce indoor humidity.
- Install Vents: Consider installing passive vents near the top of the garage door or on the walls. Ridge vents or soffit vents, similar to those used in attics, can create a natural convection current that expels moist air.
- Exhaust Fan: For persistent problems, a small exhaust fan, potentially on a timer or humidity sensor, can actively remove moist air from the garage. Ensure it’s rated for damp environments if necessary.
- Consider an Insulated Door: If your garage door is uninsulated metal, upgrading to an insulated model can help reduce the surface temperature, thereby decreasing condensation formation. However, ensure the insulated door is also properly ventilated to prevent moisture buildup within the door itself.
Reducing Indoor Humidity
Beyond ventilation, controlling the moisture sources inside the garage is key.
- Dehumidifier: A portable dehumidifier can be highly effective in reducing overall humidity levels in the garage. Choose a unit appropriately sized for your garage space.
- Eliminate Water Sources: Ensure there are no leaks from pipes within the garage. Also, address any standing water on the floor from melting snow or ice, or from washing cars inside. Promptly sweep or squeegee away excess water.
- Store Items Properly: Avoid storing damp items or materials that off-gas a lot of moisture in the garage. Ensure stored items have some space around them for air circulation.
Managing Temperature Differences
While you can’t always control the weather, you can sometimes mitigate its effects.
- Insulate Garage Walls: If your garage walls are uninsulated, adding insulation can help maintain a more stable temperature, reducing the extreme cold surfaces that promote condensation.
- Seal Air Leaks: Check for gaps around windows, doors, and where the garage meets the house. Sealing these leaks can prevent warm, moist air from entering the garage in cooler months.
Fixing Leaks In The Door Panel And Seals
If your diagnosis points to actual breaches in the door panel or worn seals, these issues require more direct repair or replacement.
Repairing Or Replacing Damaged Weatherstripping
The bottom seal (astragal) and side seals are relatively easy to replace and are critical for preventing water intrusion.
- Inspect and Purchase: Carefully examine the existing seal to determine its type (e.g., bulb, bead, T-style) and measure its length. You can purchase replacements at most hardware stores or from garage door specialists.
- Removal: Typically, the old seal slides out of a track at the bottom of the door. You might need to loosen screws or clips holding it in place.
- Installation: Slide the new seal into the track, ensuring it’s snug and fully seated. For T-style seals, the T-ends usually slide into a corresponding channel. Ensure the new seal is long enough and trim any excess.
- Cost: Replacement weatherstripping typically costs between $20-$50 for the material, plus labor if you hire a professional. This is a relatively inexpensive fix compared to potential water damage.
Repairing Cracks And Punctures In The Door Panel
The repair method depends heavily on the door material.
- Metal Doors: Small dents or punctures in steel or aluminum doors can sometimes be repaired using automotive body filler. For larger holes, a patch might be necessary, but this can be challenging to make look seamless.
- Wood Doors: Cracks in wood can be filled with wood filler or epoxy. Significant rot or delamination may require replacing the affected panel or the entire door.
- Composite/Fiberglass Doors: These can often be repaired with specialized fillers or epoxy. Punctures might require a patch.
- Professional Assessment: For significant damage, it’s often best to consult a garage door professional. They can assess whether a repair is feasible or if replacing a panel or the entire door is more cost-effective and structurally sound. The cost of a new garage door can range from $400 to $4,000 or more, depending on size, material, and features, as noted in our guide on garage door costs.
Replacing Damaged Panel Seals
If the seals *between* the panels are compromised, this is a more involved repair.
- Sectional Doors: These seals are often part of the panel construction or are adhered to the edges. Replacement might involve disassembling sections of the door or carefully applying new sealant or gasket material.
- Professional Help: Due to the complexity and the need for the door to remain structurally sound and weather-tight, replacing inter-panel seals is often best left to experienced garage door technicians.
Investigating Garage Door Opener Drips
If you’ve identified an oily or lubricant-based drip coming from the opener unit itself, it requires specific attention.
Checking For Lubricant Leaks
The primary concern here is a leak from the motor or gearbox.
- Visual Inspection: Carefully examine the opener unit, especially the casing around the motor and the drive mechanism (chain, screw, or belt). Look for wet spots, trails of oil, or dripping lubricant.
- Identify the Source: Determine if the leak is coming from a seam in the casing, a gasket, or a connection point.
- Severity: Minor seepage might be acceptable if it’s not actively dripping significantly. However, active dripping indicates a seal failure.
Addressing Over-lubrication
If the drips are from excess lubricant applied during maintenance, the solution is simpler.
- Wipe Away Excess: Use a clean cloth to wipe away any excess lubricant from the chain, screw drive, or belt.
- Proper Lubrication Technique: Ensure that when you lubricate moving parts, you do so sparingly. The goal is a thin, even coating, not a thick layer. Refer to guides on lubricating rollers and other components for best practices.
Repairing Or Replacing The Opener Unit
If the opener is actively leaking lubricant from its internal components, it may require professional repair or replacement.
- Seal Replacement: In some cases, a technician might be able to replace failed seals within the gearbox or motor. This can be cost-effective if the opener unit itself is otherwise in good working order.
- Opener Replacement: If the leak is severe, or if the opener is old and showing other signs of wear, replacing the entire unit might be the most practical solution. The cost of a new garage door opener typically ranges from $200 to $600, plus installation.
Preventing Future Drips: Maintenance And Best Practices
Proactive maintenance is the most effective way to prevent garage door drips and the potential damage they can cause. Regular checks and upkeep can save you time, money, and frustration in the long run.
Regular Cleaning And Inspection Schedule
Establish a routine for inspecting and cleaning your garage door system.
- Monthly Checks:
- Visually inspect weatherstripping for cracks or wear.
- Check door panels for any new damage.
- Wipe down tracks and the door surface.
- Listen for unusual noises during operation.
- Quarterly Lubrication:
- Lubricate rollers, hinges, and springs (use appropriate garage door lubricant, not WD-40 for moving parts).
- Check the garage door opener chain or screw drive for proper tension and lubrication. Our guide on adjusting the chain can be helpful.
- Annual Professional Inspection: Consider having a professional garage door technician inspect your system annually to catch potential issues you might miss.
Maintaining Gutters And Drainage
Ensure water is directed away from your garage door.
- Clean Gutters Regularly: Clogged gutters can overflow and saturate the area around your garage door. Clean them at least twice a year, or more often if you have many trees nearby.
- Check Downspouts: Ensure downspouts are clear and directing water away from the foundation and garage door. Consider extensions if necessary.
- Grading: Verify that the ground slopes away from your garage. If not, you may need to add soil to regrade the area.
Managing Humidity And Ventilation
Actively manage the environment within your garage.
- Ensure Ventilation: Keep vents clear and consider adding them if your garage is poorly ventilated.
- Use a Dehumidifier: If you live in a humid climate, a dehumidifier can be a worthwhile investment.
- Seal Air Leaks: Regularly check and seal any drafts around the garage door frame, windows, or where the garage meets the house.
Understanding Your Opener’s Reset Functions
While not directly related to drips, knowing how to reset your opener can be useful if any maintenance or repair work affects its operation. For example, if you work on the opener mechanism, you might need to reset your remote or keypad.