Now Reading: How to Reset Clicker Garage Door Remote: Easy Guide
- 01
How to Reset Clicker Garage Door Remote: Easy Guide
Imagine it’s a rainy evening, and you’re eager to get inside your cozy home. You press the button on your Clicker garage door remote, but nothing happens.
Frustration sets in as the door remains stubbornly shut. If this scenario sounds familiar, you’re not alone. Many homeowners face this issue and are left wondering how to reset their Clicker garage door remote. In this guide, you’ll discover simple steps to regain control of your garage door, ensuring you’re never left out in the cold again.
Whether you’re dealing with a lost connection or a malfunctioning remote, resetting it can often be the key to solving these problems. Keep reading, and you’ll learn how to perform this reset effortlessly, saving you time and avoiding unnecessary stress. Say goodbye to garage door woes and hello to seamless access with just a few easy adjustments.
Understanding Your Clicker Garage Door Remote
Understanding your Clicker garage door remote is important for smooth operation. These remotes can seem complex at first. But with some guidance, they become easy to manage. Knowing the parts and features helps in troubleshooting.
What Is A Clicker Garage Door Remote?
A Clicker garage door remote is a handheld device. It controls your garage door opener. It sends signals to the opener unit. This allows the door to open or close with a button press.
Basic Components Of The Remote
The remote has a few key components. The buttons send signals. The battery provides power. Each component plays a vital role in its function.
How Does The Clicker Remote Work?
The remote uses radio frequency signals. These signals communicate with the garage door opener. A code is sent each time a button is pressed. This code ensures the door responds correctly.
Importance Of Remote Programming
Programming the remote is crucial. It ensures the remote is synced with the opener. Without proper programming, the remote may not function. It allows the remote to match your specific garage door system.
Signs Your Remote Needs Resetting
Sometimes, the remote stops working. It may fail to open or close the door. This indicates a reset might be needed. A reset can often solve these issues.

Credit: www.amazon.com
Reasons To Reset Your Remote
Resetting your Clicker garage door remote might seem daunting. But it’s often necessary for various reasons. Understanding these reasons can help maintain smooth functionality. It enhances security and ensures your remote works efficiently. Let’s explore some common reasons to reset your remote.
Lost Or Misplaced Remote
Sometimes, people lose their garage remote. Misplacing it can be a security risk. Resetting ensures lost remotes cannot access your garage. It adds a layer of protection. Protects your home from unauthorized entry.
Malfunctioning Remote
Remote controls sometimes stop working properly. A reset can fix issues like unresponsive buttons. It helps restore normal function. Ensures your garage door operates smoothly. Keeps inconvenience at bay.
Battery Replacement
Changing the battery might affect remote settings. Resetting ensures proper synchronization. Keeps the remote in perfect working condition. Avoids operational hiccups post battery change.
Security Concerns
Security threats are always a concern. Resetting the remote helps protect your home. Keeps unauthorized users from accessing your garage. Regular resets can enhance overall security.
New User Setup
New users may need access to the garage. Resetting allows adding new remotes to the system. Ensures everyone has smooth access. Promotes efficient garage management.
Upgraded System
Upgrading your garage system calls for a reset. Ensures compatibility with new technology. Keeps everything running efficiently. Helps integrate new features seamlessly.
Preparing For The Reset Process
Resetting your Clicker garage door remote can seem daunting. Proper preparation ensures a smooth process. Follow these steps for a successful reset. Start by checking essential components. This helps prevent issues during the reset.
Check The Battery
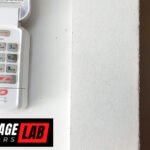
Ensure the battery is working well. A weak battery can cause problems. Remove the battery cover on the remote. Check the battery’s placement and condition. Replace it if needed. Use a fresh battery for optimal performance.
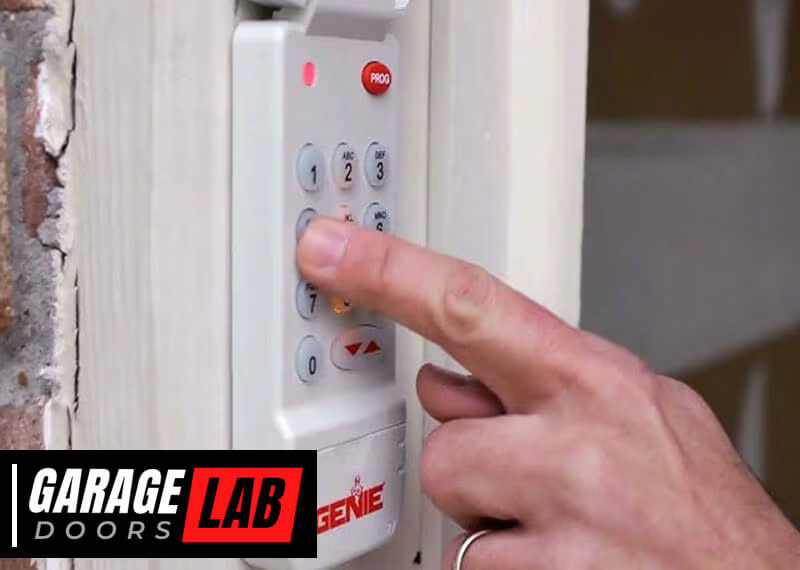
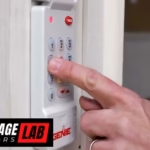
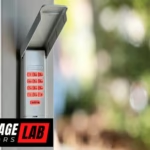
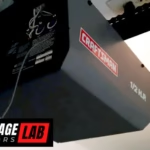
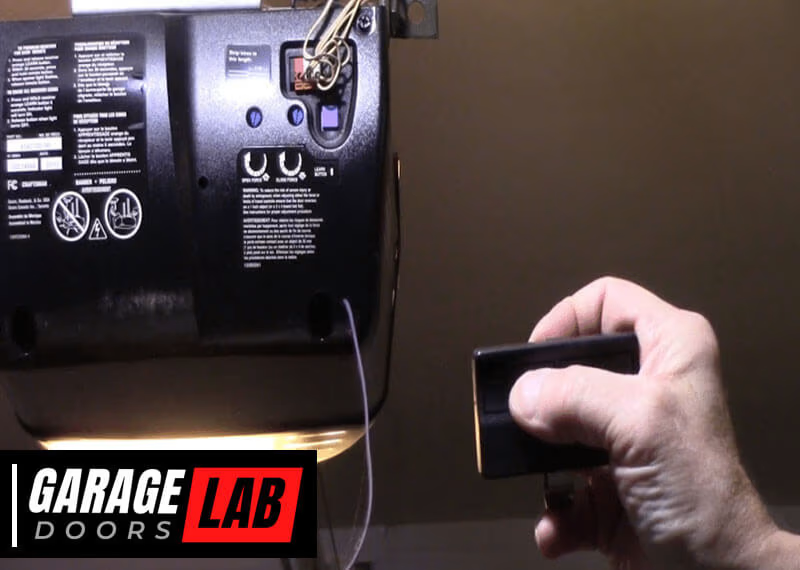
Locate The Learn Button
Find the learn button on your garage door opener. It is usually on the back or side. You might need a ladder to reach it. Look for a small square button. It might be red, green, or yellow. Pressing it initiates the reset process. Knowing its location is crucial for the next steps.
Resetting The Remote Control
Resetting your Clicker garage door remote can solve many issues. Sometimes, the remote may not work as expected. This can be due to interference or incorrect programming. Resetting ensures the remote communicates correctly with the garage door opener.
Follow these steps to reset the remote. You will clear existing codes and then reprogram the remote. This process is simple and can be done in minutes. Let’s get started with clearing existing codes.
Clear Existing Codes
Locate the “Learn” button on your garage door opener. It’s usually on the motor unit. Press and hold the “Learn” button for about six seconds. The indicator light will turn off, signaling the codes have been erased. This clears all programmed remotes and keypads.
After clearing, no remote will open the garage door. This ensures a fresh start for new programming. Be sure to perform this step before reprogramming.
Reprogram The Remote
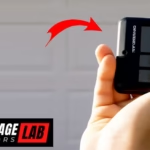
Press the “Learn” button again. Release it when the indicator light turns on. This puts the opener in programming mode. Within 30 seconds, press and hold the button on your remote. Hold until the indicator light blinks.
Release the remote button. The light should stop blinking and stay on. This means the remote is successfully programmed. Test the remote by pressing the programmed button. The garage door should respond and open or close.
If the door doesn’t respond, repeat the reprogramming steps. Ensure you’re pressing the correct remote button. Double-check that the opener is in programming mode.
Testing The Reset
Resetting a Clicker garage door remote is a straightforward process. Begin by locating the reset button on the remote or opener. Follow the specific instructions in the user manual to ensure a successful reset.
Testing the reset of your Clicker garage door remote is a crucial step to ensure your efforts have been successful. Imagine the frustration of completing a reset only to find that your remote still isn’t working. By carefully verifying the reset, you can save time and possibly avoid unnecessary troubleshooting.###Verify Remote Functionality
After resetting your Clicker garage door remote, the first thing to do is check if it works properly. Stand within a reasonable range of your garage door and press the button on the remote.Did the garage door respond? If it opened or closed as expected, you can confidently say that the reset was successful. If not, try pressing the button a few more times to rule out any temporary glitches.###Troubleshoot Common Issues
If your remote is still not functioning, don’t panic. There are a few simple checks you can do to identify the issue.First, ensure that the batteries in your remote are fresh and properly installed. A weak battery might not provide enough power to send the signal. Also, check if there are any obstructions between you and the garage door that could interfere with the signal.Sometimes, it’s a matter of redoing the reset process. Make sure you followed each step carefully. Was there a step you might have missed? Revisit the instructions and try the reset again.Remember the day your remote started acting up? Was it after a storm or electrical surge? Such events can interfere with the device’s settings, so keep those in mind as potential causes.Have you ever tried to fix something only to realize you were tackling the wrong problem? Ensuring that you are addressing the correct issue can save you a lot of time and frustration.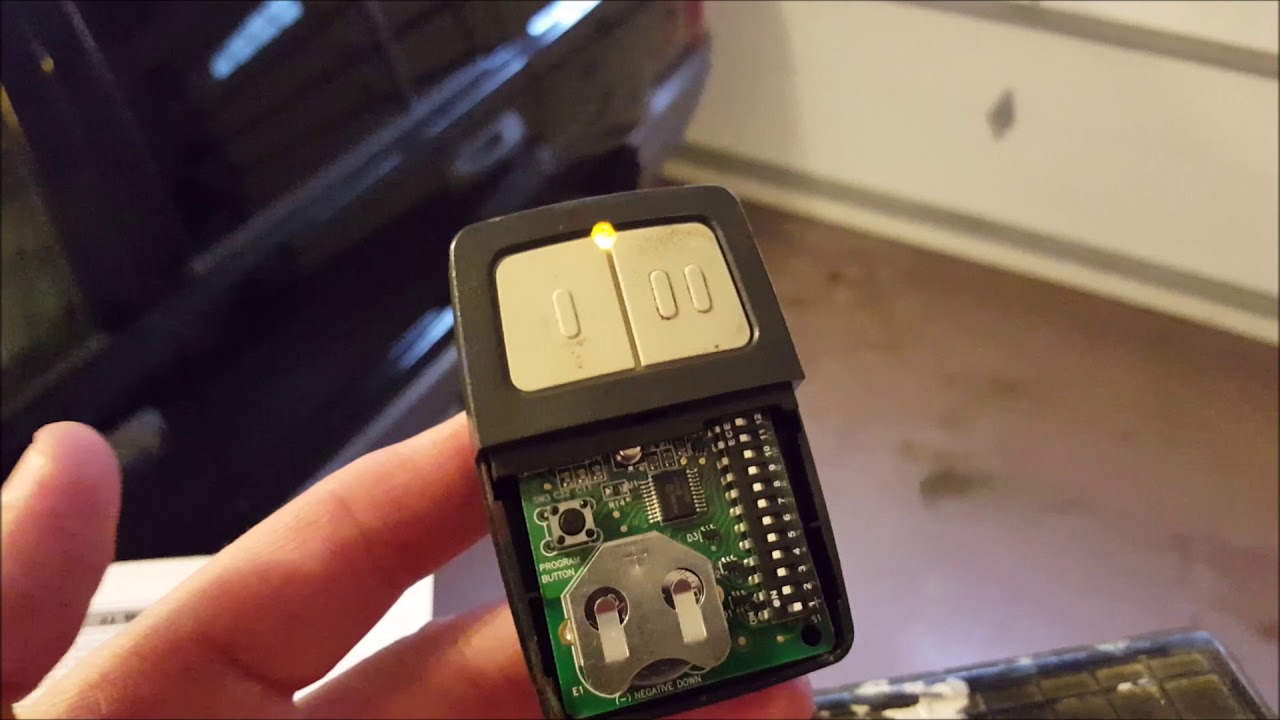
Credit: www.youtube.com
Maintenance Tips For Longevity
Maintaining your Clicker garage door remote is crucial for ensuring its longevity and efficiency. You might not realize how much you rely on it until it starts acting up. With a few simple steps, you can keep your remote in top shape, preventing unexpected inconveniences. Let’s dive into some practical tips to keep your device working smoothly.
Regular Battery Checks
Checking your remote’s battery regularly can save you from a lot of trouble. A weak battery might cause intermittent problems, leaving you stuck outside in the rain or snow. Make it a habit to replace the battery at least once a year. If you notice your remote becoming sluggish or unresponsive, it’s a sign that a new battery is needed.
Imagine how frustrating it would be to press the button repeatedly without any response. To avoid this, keep spare batteries in your garage or car. It’s a small investment for peace of mind. Have you ever tried opening your garage manually? It’s a hassle you’d want to avoid.
Keep Remote Clean
A clean remote is a happy remote. Dust and grime can accumulate on the buttons, affecting their performance. Simply wiping it down with a soft cloth occasionally can work wonders. Avoid using harsh chemicals, as they may damage the remote’s surface.
Think about the places you typically store your remote—perhaps your car’s dashboard or a cluttered drawer. These areas can be magnets for dirt. Keeping the remote clean not only ensures functionality but also extends its lifespan. Remember, a well-maintained remote reflects your care for your possessions.
Do you have a story about struggling with a malfunctioning remote? Share it with us in the comments below. Sometimes, these small devices can teach us big lessons about maintenance and preparedness. Whether it’s about batteries or cleanliness, let’s keep our garage remotes in top condition together!
Credit: heritagedoor.com
Frequently Asked Questions
How To Reset Clicker Garage Door Opener Remote?
Press and hold the “learn” button on the garage motor until the light blinks. Release it. Within 30 seconds, press and hold the button on the remote until the light blinks again. Your Clicker garage door opener remote is now reset.
How Do I Reprogram My Garage Door Opener Clicker?
Press the “Learn” button on the garage door opener unit. Hold the clicker button until the unit’s light blinks. Release the button. Your clicker is now reprogrammed. Repeat if necessary for additional clickers. Always consult the user manual for specific instructions related to your model.
How Do I Reset My Garage Door Opener Remote?
Press the “Learn” button on the opener. Hold the remote button until the light blinks. Test the remote.
How Do I Change The Code On A Clicker Garage Door Opener?
To change the code on a Clicker garage door opener, locate the “Learn” button. Press and hold it until the LED light turns off. Quickly press the desired remote button. Release both buttons, then test the new code by pressing the remote button to ensure the door opens or closes.
How Do I Reset My Clicker Garage Door Remote?
Locate the learn button on your garage opener. Press and hold it until the light blinks.
Conclusion
Resetting your Clicker garage door remote is simple and quick. Follow these steps carefully. You’ll have your garage door working in no time. Remember, each remote might be a bit different. Check your manual if needed. A reset often solves common issues.
It’s a handy skill for any homeowner. Keep your remote working smoothly. Regular maintenance can prevent future problems. Enjoy the convenience of a well-functioning garage door. Troubleshooting becomes easier with practice. Stay patient and calm. Your efforts will pay off.