Now Reading: Liftmaster Garage Door Keypad Not Working: Quick Fixes
- 01
Liftmaster Garage Door Keypad Not Working: Quick Fixes
Imagine this: You’re rushing out the door, your hands full, and as you approach your garage, you tap in your trusty Liftmaster keypad code. But instead of the satisfying whir of the garage door opening, nothing happens.
The keypad that once made life so convenient is now a source of frustration. Sound familiar? You’re not alone. This is a common issue, and the good news is that it’s often easy to fix. We’ll walk you through the possible reasons why your Liftmaster garage door keypad might not be working and give you simple, actionable solutions to get it back in action.
Stay with us, and let’s turn that frustrating moment into a quick fix. You’ll be back to seamless comings and goings in no time!

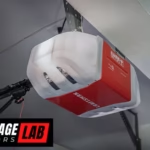
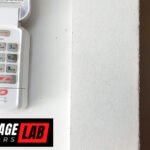
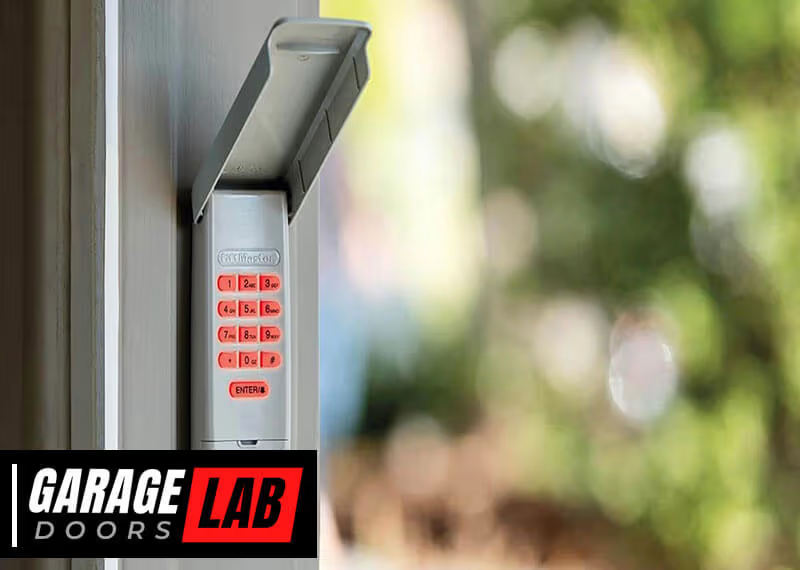
Credit: www.youtube.com
Common Keypad Issues
Liftmaster garage door keypads are essential for convenient access. They sometimes face issues that can disrupt your daily routine. Understanding these common problems helps in resolving them quickly. Here are some frequent keypad issues that users encounter.
Non-responsive Keypad
A non-responsive keypad can be frustrating. Pressing buttons yields no results. This can occur due to battery issues or faulty wiring. Checking the battery status is a good first step. Replacing old batteries can restore functionality. If that doesn’t work, wiring may be the culprit. Inspect the keypad connections for loose wires.
Keypad Lights Not Working
Keypad lights are crucial for nighttime use. If they aren’t working, visibility becomes a problem. The issue might be a drained battery or a malfunctioning light bulb. Start by replacing the battery. If the problem persists, inspect the bulb. Sometimes, the bulb needs replacement for lights to function again.
Incorrect Code Entry
Entering the wrong code can prevent access. It often results from a forgotten code or an accidental change. Double-check the code entered. If unsure, consult the manual for code reset instructions. Resetting the code can resolve entry problems. Make sure to write down the new code for future reference.

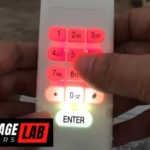
Credit: www.reddit.com
Initial Troubleshooting Steps
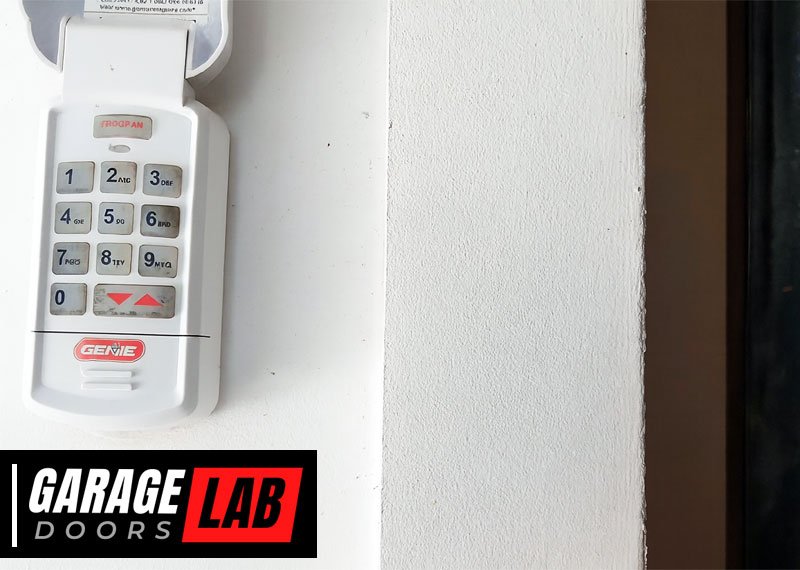
Experiencing issues with your Liftmaster garage door keypad? Start by checking the battery for any signs of wear. Ensure the keypad is clean and free of debris. Reprogramming the keypad can often fix common problems.
When your Liftmaster garage door keypad stops working, it can feel like you’re locked out of your own home. Don’t let frustration take over. There are some initial troubleshooting steps you can take to potentially resolve the issue. Before you call in the professionals, consider these simple yet effective checks.Check Power Supply
Your keypad might be unresponsive simply because it’s not receiving power. First, ensure that the batteries are not dead. Replace them with fresh ones and test the keypad again.If the keypad is wired, inspect the power source. A tripped circuit breaker or a loose connection can disrupt the power supply. Double-check these elements to confirm they’re functioning correctly.Inspect Keypad For Physical Damage
Take a close look at the keypad. Is there any visible damage? Cracks, worn-out buttons, or signs of water exposure can impede its functionality.Even minor damage can cause major issues. If you notice anything amiss, you might need a replacement keypad. Consider whether any recent weather conditions or physical impacts might have caused damage.Verify Code Entry
Incorrect code entry is more common than you might think. Ensure you’re inputting the correct code, and remember that some keypads require you to press a specific button to enter the code.Have you recently changed the code? If so, double-check the new code’s accuracy. It’s also worth testing to see if the keypad responds to any code entry, as this could indicate a broader issue.In your experience, have you ever found that a simple mistake was the root of a bigger problem? Sometimes the solution is right under your nose. By following these steps, you could save time and money, keeping your garage secure without the hassle of professional intervention.Battery Replacement
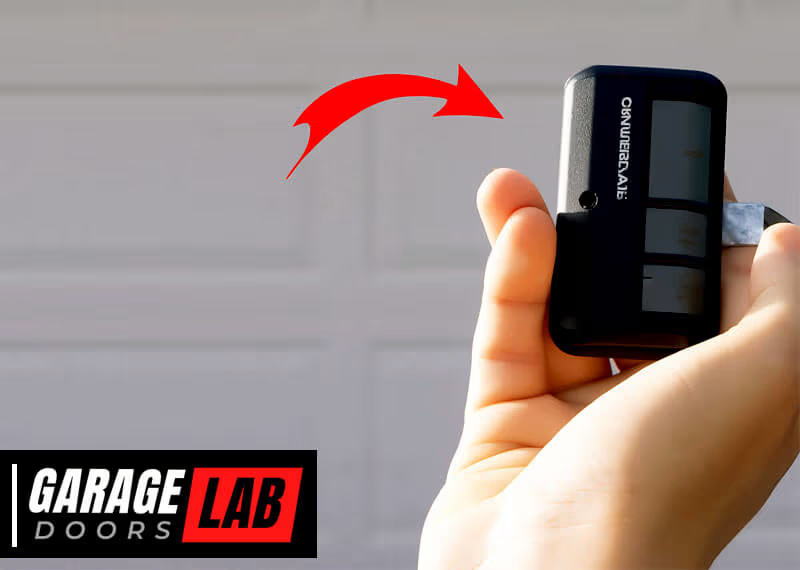
Is your Liftmaster garage door keypad acting up? It might be time for a battery replacement. A fresh battery can fix many keypad issues. Follow these steps to breathe new life into your device.
Identifying Battery Type
First, find the right battery for your keypad. Check the user manual for details. Most models use a 9-volt battery. This information is crucial for a smooth replacement process.
Steps To Replace Battery
Start by opening the battery compartment. It’s usually at the back of the keypad. Use a screwdriver if needed. Once open, remove the old battery. Insert the new battery carefully. Ensure proper alignment of the terminals.
Testing After Replacement
After replacement, test the keypad’s functionality. Try entering your access code. The door should respond promptly. If not, recheck the battery placement. A secure fit ensures reliable operation.
Reprogramming The Keypad
Experiencing issues with your Liftmaster garage door keypad? Reprogramming might solve the problem. Follow the easy steps to ensure smooth functioning and regain control of your garage access.
If your Liftmaster garage door keypad isn’t working, don’t worry. Reprogramming it might be the simple fix you need. This process can restore functionality, ensuring that you can open and close your garage door with ease. Whether it’s a forgotten code or a technical glitch, reprogramming the keypad is a straightforward task that you can handle yourself. Let’s dive into the steps to get your keypad back on track.Accessing Programming Mode
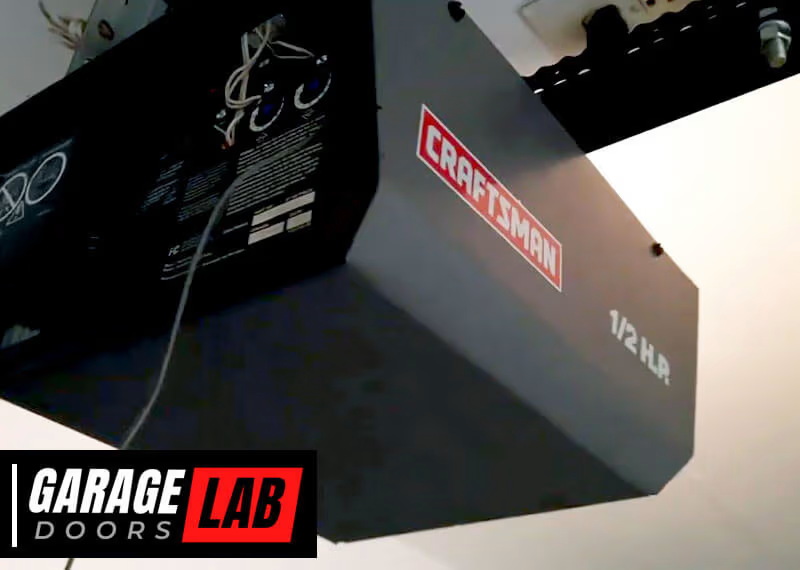
Before you can set a new code, you must access the programming mode. Locate the “Learn” button on your garage door opener, usually found at the back of the unit.Press and release this button to enter programming mode. You’ll know it’s active when the indicator light turns on. Keep in mind, time is of the essence, as you often have just 30 seconds to proceed to the next steps.Setting A New Code
Now that you’re in programming mode, head to your keypad. Enter your desired new code, ensuring it’s something memorable yet secure.After entering the code, press the “Enter” button on the keypad. You should see the garage door opener light blink, indicating that the new code has been successfully set.Testing The New Code
With a freshly set code, it’s time to test it. Stand clear of the garage door and enter the new code on the keypad.Press “Enter” and observe whether the garage door responds as expected. If it opens or closes smoothly, congratulations! Your keypad is now reprogrammed and ready for use.If it doesn’t work, don’t panic. It might be worth repeating the steps, ensuring each action is completed within the time limits.Have you ever faced a situation where a simple solution fixed a problem you thought was complex? Reprogramming your keypad could be that solution today.Checking Signal Interference
Experiencing issues with your Liftmaster garage door keypad may involve signal interference. Check nearby electronic devices for disruptions. Adjusting their position might help restore keypad functionality.
If your Liftmaster garage door keypad isn’t working, signal interference might be the culprit. It’s a common issue that many homeowners face, but resolving it can be simpler than you think. By checking for signal interference, you can ensure that your garage door operates smoothly and efficiently. Let’s explore some practical steps you can take.Identify Potential Interferences
Start by identifying what might be causing interference with your garage door keypad signal. Common culprits include electronic devices like Wi-Fi routers, cordless phones, or even baby monitors. These devices can disrupt the signal and prevent your keypad from functioning correctly.Consider what’s recently changed in your home environment. Did you install a new router or buy a new gadget? These small changes can have a big impact.Sometimes, even metal objects or structures in your garage can block the signal. Take a moment to observe your surroundings and pinpoint any possible obstructions.Relocate Keypad If Necessary
If you’ve identified potential interferences, relocating the keypad might be your next step. It’s surprising how a few feet can make a difference in signal strength.Test different locations to see if the keypad works better in some areas than others. You might find that simply moving it away from metal objects or electronic devices improves its performance.Remember, it’s about finding that sweet spot where the signal flows freely, unimpeded by obstacles.Testing Signal Strength
Testing signal strength is crucial in ensuring your keypad is in the optimal location. You can do this by observing how the garage door responds to the keypad from various distances and angles.Is there a noticeable delay or failure in response? If so, you may need to adjust your setup further.Don’t forget to test the keypad at different times of the day. Sometimes, household activity levels can affect signal strength.Ultimately, taking these steps can save you time and frustration. Plus, you might even learn a thing or two about how technology in your home interacts. So, what adjustments will you make to ensure your garage keypad works seamlessly?Inspecting Wiring Connections
Checking wiring connections can solve the Liftmaster garage door keypad issues. Loose or damaged wires may disrupt functionality. Ensuring secure connections can restore proper operation.
Inspecting wiring connections can resolve many issues with your Liftmaster garage door keypad. Faulty wiring can lead to the keypad not working. Therefore, checking these connections is essential. This process is simple and requires no special skills. Follow these steps to ensure your keypad functions correctly.Opening The Keypad
Begin by opening the keypad casing. Use a screwdriver if needed. Be careful not to damage the cover. Once open, you can access the internal components. This allows you to inspect the wiring easily.Checking For Loose Wires
Look closely at the wires inside the keypad. Loose wires can cause connectivity issues. Gently tug each wire to see if it’s secure. If a wire comes loose, you’ve found a potential problem.Securing Connections
Secure any loose wires using a screwdriver. Tighten any screws holding the wires in place. Ensure each connection is firm and stable. This helps prevent future issues with your keypad. Once secured, close the keypad and test it.When To Seek Professional Help
Dealing with a Liftmaster garage door keypad that isn’t working can be frustrating. Sometimes, no matter how many times you troubleshoot, the issue persists. It might be tempting to tackle every problem yourself, but knowing when to seek professional help can save you time and prevent further damage. Let’s explore when it’s best to call in the experts.
Persistent Issues
If you find yourself repeatedly facing the same issue with your Liftmaster keypad, it’s time to consider professional help. Imagine spending hours trying to fix a problem, only to have it reappear days later. A professional can identify underlying issues that you might overlook. They have the tools and expertise to diagnose persistent problems effectively.
Complex Repairs
Some repairs are simply too complex to handle without specialized knowledge. If your keypad malfunction involves intricate wiring or software glitches, it might be beyond a DIY fix. Professionals are equipped to handle complex repairs safely. They can ensure your system is back to working order without risking further complications.
Warranty Considerations
Before you attempt any major repairs, check the warranty on your Liftmaster keypad. Unauthorized repairs can void your warranty. You wouldn’t want to lose coverage for future issues. Consulting a professional ensures that repairs comply with warranty stipulations. This way, your warranty remains intact, offering peace of mind.
Have you ever tried fixing something only to make it worse? Seeking professional help can prevent this scenario. Why struggle with persistent issues or complex repairs when expert assistance is available? Your time and peace of mind are valuable—sometimes the best solution is just a call away.

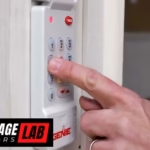
Credit: www.reddit.com
Frequently Asked Questions
Why Did My Liftmaster Keypad Stop Working?
Your LiftMaster keypad may stop working due to dead batteries, signal interference, or incorrect programming. Check battery levels and ensure proper keypad programming. Clear any obstructions between the keypad and receiver for optimal signal transmission. If issues persist, consult the user manual or contact customer support for further assistance.
Why Is My Keypad Not Working On My Garage Door?
Your garage door keypad may not work due to dead batteries, incorrect code entry, or poor signal connection. Try replacing the batteries, re-entering the code, or resetting the keypad. Ensure the keypad is within range of the garage door opener.
How Do I Reset My Liftmaster Keypad?
Press the “Learn” button on the motor unit until the light turns on. Enter a new four-digit PIN on the keypad, then press “Enter. ” Wait for the motor light to blink, indicating successful reset. Test your new code to ensure it works.
How Do I Get My Liftmaster Keypad To Work?
Enter your PIN on the keypad. Press and hold the “Enter” button until the light blinks. Test the keypad by entering the PIN again. Ensure the keypad is properly synced with the garage door opener. Replace batteries if needed for better functionality.
Why Is My Liftmaster Keypad Not Responding?
Check the battery. It might be dead. Also, ensure there are no obstructions around the keypad.
Conclusion
Fixing a Liftmaster garage door keypad can be simple. Check batteries first. Replace them if needed. Ensure the keypad is clean and free from dust. Reprogram the keypad using the instructions. Sometimes, a reset is necessary. Follow the steps carefully.
If issues continue, consider professional help. A technician can diagnose deeper problems. Regular maintenance prevents future malfunctions. Keep the keypad in good shape. An operational keypad adds convenience to your daily routine. Troubleshooting doesn’t have to be hard. Just take it step by step.
Your garage door will work smoothly in no time.