Now Reading: Why is Garage Door Light Blinking And Not Opening: Troubleshoot Now
- 01
Why is Garage Door Light Blinking And Not Opening: Troubleshoot Now
Imagine this: You’re running late for an important meeting, and as you rush to leave, your garage door light starts blinking and refuses to open. Frustrating, right?
You’re not alone. Many homeowners face this perplexing issue, leaving them bewildered and stressed. But fear not, because understanding why your garage door light is blinking and not opening can save you time, money, and a whole lot of hassle.
You might wonder, is it a sign of a bigger problem? Could it be a simple fix? Whatever the case, you’re in the right place to find answers. This guide will delve into the common reasons behind this annoying issue, offering straightforward solutions you can apply today. By the end of this article, you’ll not only know why this happens but also how to prevent it from disrupting your life in the future. So, let’s get started on getting your garage door back to normal!
Common Causes Of Blinking Garage Door Light
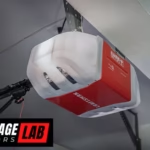
Experiencing a garage door light blinking but not opening can be frustrating. Several common causes might be behind this issue. Understanding these causes can help in troubleshooting and resolving the problem. Below, we explore some of the main reasons why your garage door light might blink but not open.
Sensor Alignment Issues
Garage doors have safety sensors to prevent accidents. These sensors need proper alignment to function correctly. If misaligned, the sensors can cause the light to blink. Check if the sensors are facing each other. Realign them if necessary to see if the problem resolves.
Obstruction In The Path
Objects blocking the garage door’s path can trigger the light to blink. This safety feature prevents the door from closing on items. Check for toys, tools, or debris in the door’s path. Remove any obstruction to ensure smooth operation.
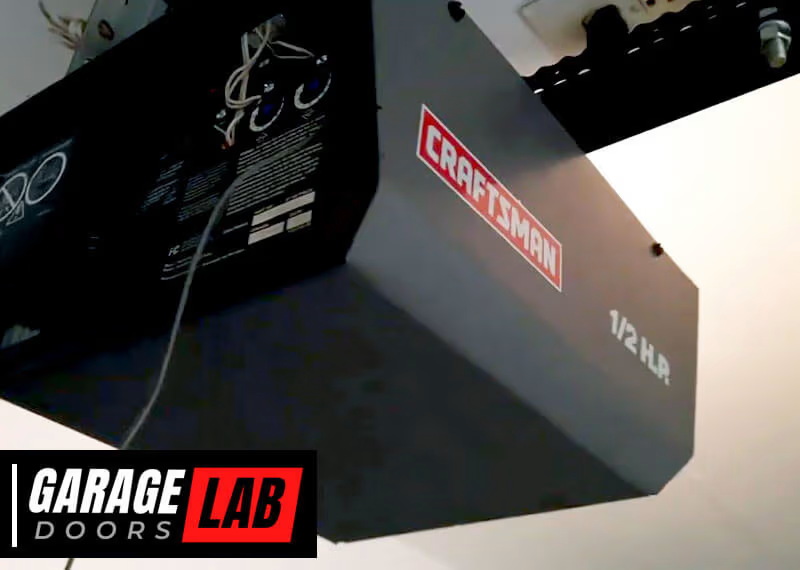
Faulty Wiring Or Connections
Wiring issues can cause the garage door light to blink. Loose or damaged wires disrupt the electrical flow, causing malfunctions. Inspect the wiring for any visible damage. Tighten loose connections to restore normal function.
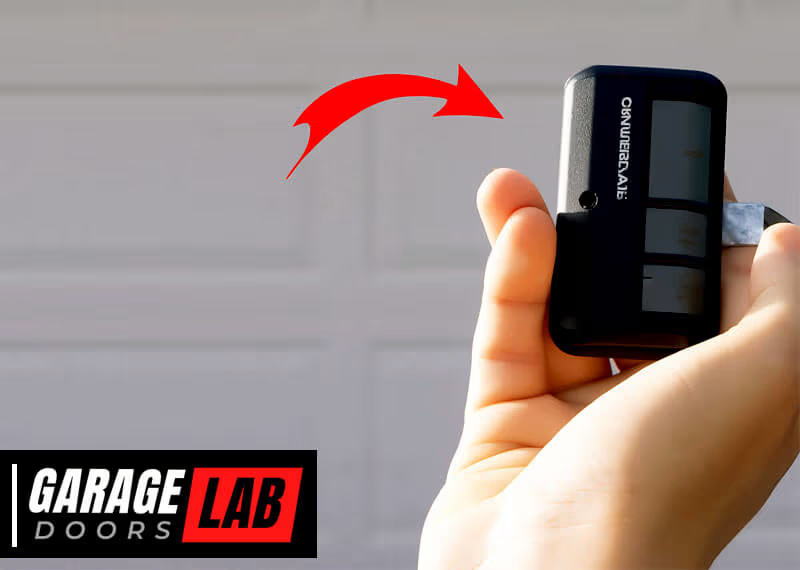
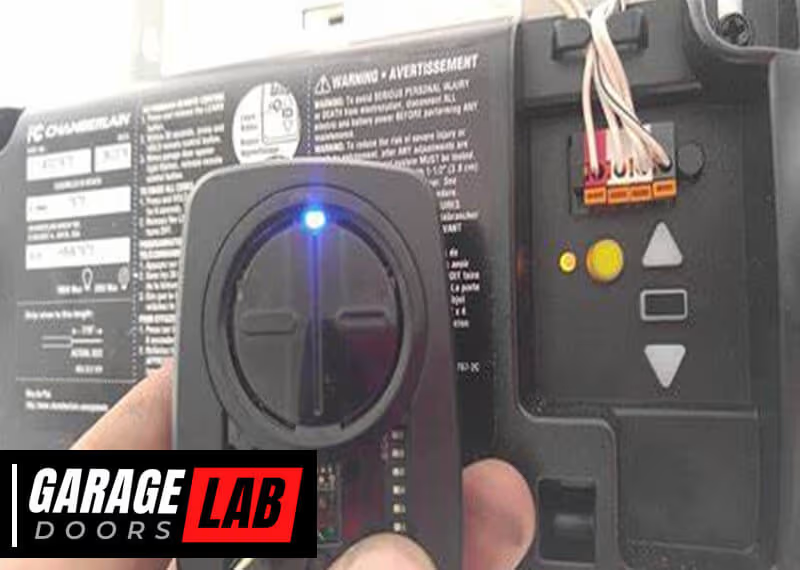
Remote Control Malfunctions
The remote control can also cause the garage door light to blink. Weak batteries or a malfunctioning remote can disrupt signals. Replace the batteries if necessary. Test the remote to ensure it functions properly.
Credit: www.youtube.com
How To Fix Sensor Alignment Problems
Is your garage door light blinking and refusing to open? This can be frustrating, especially when you’re in a hurry. Often, this issue is linked to sensor alignment problems. The good news is that realigning your garage door sensors is a task you can tackle yourself. Let’s explore how you can solve this issue effectively and get your garage door back in working order.
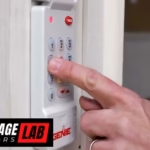
Checking Sensor Position
First, take a close look at the position of your sensors. They are usually located at the bottom of the garage door tracks, about six inches off the ground. If one sensor is higher or lower than the other, it can disrupt their communication.
Stand facing the sensors and check if they are pointing directly at each other. Even a slight misalignment can cause the door to malfunction. Are they both positioned parallel to each other? If not, it might be time to make some adjustments.
Adjusting Sensor Brackets
After identifying the misalignment, adjust the sensor brackets. Loosen the screws holding the sensors and gently move them until they are perfectly aligned. You might hear a click or see the light on the sensors stop blinking once they are correctly positioned.
Use a level tool to ensure they are at the same height. This might sound like a small detail, but it can make a big difference. Have you ever tried to hang a picture and realized it was slightly crooked? The same principle applies here.
Cleaning Sensor Lenses
Dust or debris on sensor lenses can also lead to alignment issues. Grab a soft cloth and gently wipe the lenses clean. A simple cleaning can often restore proper function.
Imagine wearing glasses with smudged lenses. It’s hard to see, right? Your garage door sensors face the same challenge when dirty. Could a quick cleaning be the solution to your problem?
These steps can save you a call to a repair service and get your garage door running smoothly again. The satisfaction of fixing a problem yourself is unbeatable, isn’t it? Now, your garage door can open seamlessly just when you need it.
Addressing Obstructions In Door Path
Garage door lights blinking can signal a problem. Often, obstructions in the door path are the culprit. Addressing these blockages is essential for smooth operation. It ensures safety and prevents damage. Let’s dive into how to spot and clear these obstructions.
Inspecting For Physical Blockages
Start by checking the garage door tracks. Look for anything unusual. Items like toys or tools can block the path. Also, examine the rollers for any stuck debris. A simple inspection can reveal hidden issues. Pay close attention to the door’s movement. If it stops midway, there might be an obstruction. Check the sensors too. Misaligned sensors can cause the light to blink.
Clearing Debris And Objects
Remove any debris from the tracks. Use a damp cloth for cleaning. Ensure the area is clear of objects. Even small items can obstruct the door’s path. Check the sensors and clean them gently. Dust can affect their function. Make sure nothing blocks the sensor’s line of sight. A clear path ensures the door opens smoothly.
Regular Maintenance Tips
Regular maintenance is key. Inspect the door path weekly. Clean the tracks regularly. Lubricate the rollers and hinges monthly. This keeps them moving smoothly. Ensure sensors are aligned. Check their alignment with every cleaning. Replace any worn-out parts promptly. A well-maintained door is less likely to blink. It functions efficiently and safely.

Credit: www.youtube.com
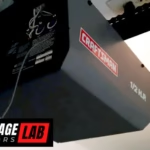
Resolving Wiring And Connection Issues
Garage door light blinking often signals wiring or connection issues. Faulty connections can prevent the door from opening. Regular checks can identify and fix wiring problems swiftly.
Sometimes, the garage door light blinks, and the door refuses to open. This can be a frustrating experience, especially during a busy morning. Often, the culprit behind this issue is wiring and connection problems. By addressing these issues, you can restore your garage door to full functionality. Let’s explore practical steps to resolve these wiring and connection problems.###Inspecting Electrical Connections
Begin by examining the electrical connections of your garage door opener. Check if the wires are securely connected to the opener and the wall switch. Loose or corroded wires can disrupt the power supply, causing the light to blink.Ensure that the power cord is properly plugged into the outlet. If you notice any frayed or damaged wires, it’s crucial to address them immediately. You wouldn’t want a small oversight to turn into a bigger problem, right?###Repairing Or Replacing Wires
If you discover damaged wires during your inspection, repairing or replacing them might be necessary. Use a wire stripper to carefully remove the damaged section and reconnect the wires using wire nuts. Ensure the connections are tight and secure.In cases where the wires are beyond repair, replacing them is the best option. Purchase wires of the same gauge and length to ensure compatibility. A friend of mine once had a similar issue, and replacing the wires solved the problem instantly, saving him from a costly service call.###Professional Assistance
If the problem persists despite your efforts, it might be time to seek professional help. An experienced technician can diagnose and fix complex wiring issues that might be beyond a DIY fix.Professionals have the tools and expertise to handle intricate problems safely. Have you ever considered how much time and frustration you could save by calling an expert? It’s worth considering if you’re stuck.In conclusion, addressing wiring and connection issues can often restore your garage door’s functionality. By inspecting connections, repairing or replacing wires, and knowing when to call in the pros, you can tackle this common problem effectively. Your garage door will thank you for the attention and care.Troubleshooting Remote Control Problems
Your garage door light blinks, but the door won’t open. It can be frustrating. Often, the remote control might be the issue. Before calling a professional, try some simple troubleshooting steps. This guide will help you address common remote control problems effectively.
Checking Remote Batteries
Start with the basics. Check the batteries in your remote control. Dead batteries often cause the remote to malfunction. Remove the battery cover and take out the batteries. Replace them with new ones. Ensure they are inserted correctly. Test the remote after replacing the batteries. If the door still doesn’t open, proceed to the next step.
Reprogramming Remote Controls
Sometimes, your remote loses its programming. This happens due to interference or a reset. Follow the manufacturer’s instructions to reprogram it. Locate the “learn” button on your garage opener. It’s usually on the back or side. Press and hold it until the light flashes. Then, press the button on your remote. This syncs the remote with the opener. If this doesn’t work, consider replacing the remote.
Replacing Faulty Remotes
Your remote might be faulty or damaged. If reprogramming fails, it’s time for a replacement. Purchase a remote compatible with your garage door opener. You can find these online or at hardware stores. Follow the setup instructions to pair it with your opener. Test the new remote to ensure it works properly. A new remote often resolves issues and gets your garage door working again.
Preventive Measures For Future Issues
Garage door light blinking might signal issues like sensor misalignment or obstructions. Regular maintenance can prevent such problems. Check sensors and remove any obstacles for smooth operation.
Preventive measures can be your best friend when it comes to ensuring your garage door functions smoothly. Imagine the inconvenience of your garage door light blinking and refusing to open, especially when you’re in a hurry. By taking proactive steps, you can significantly reduce the likelihood of facing such frustrating situations. Let’s dive into some practical actions you can take.Regular System Checks
Regularly checking your garage door system is crucial. Small issues like loose wires or minor obstructions can escalate into major problems if overlooked. Set aside a specific day each month to inspect the door’s mechanics, ensuring every part is in working order.Think about it: you routinely service your car to avoid breakdowns, so why not apply the same logic to your garage door?Upgrading Garage Door Systems
Technology evolves rapidly, and garage door systems are no exception. Investing in a modern, more reliable system can save you from frequent headaches. Newer models often come with safety features that prevent common malfunctions.Consider upgrading to a system with smart technology. Wouldn’t it be convenient to monitor and control your garage door from your phone?Scheduled Professional Inspections
While DIY checks are beneficial, professional inspections offer an expert’s perspective. Schedule a professional to inspect your system annually. They can spot issues that might not be obvious to the untrained eye.Professionals can also provide maintenance tips tailored to your specific system. When was the last time you had a professional look at your garage door? If it’s been a while, it might be time to make that call.Implementing these preventive measures can save you time, money, and stress in the long run. Why wait for a problem to arise when you can prevent it from happening in the first place?
Credit: www.reddit.com
Frequently Asked Questions
Why Is My Garage Door Opener Blinking And Not Opening?
Your garage door opener might blink due to misaligned safety sensors or a malfunctioning remote. Check sensor alignment and ensure nothing obstructs the sensors. Replace remote batteries if needed. These simple fixes often resolve the issue.
How To Stop Garage Light From Blinking?
Check bulb connections and replace faulty bulbs. Ensure wiring is secure and inspect fixtures for damage. Adjust motion sensor settings if applicable.
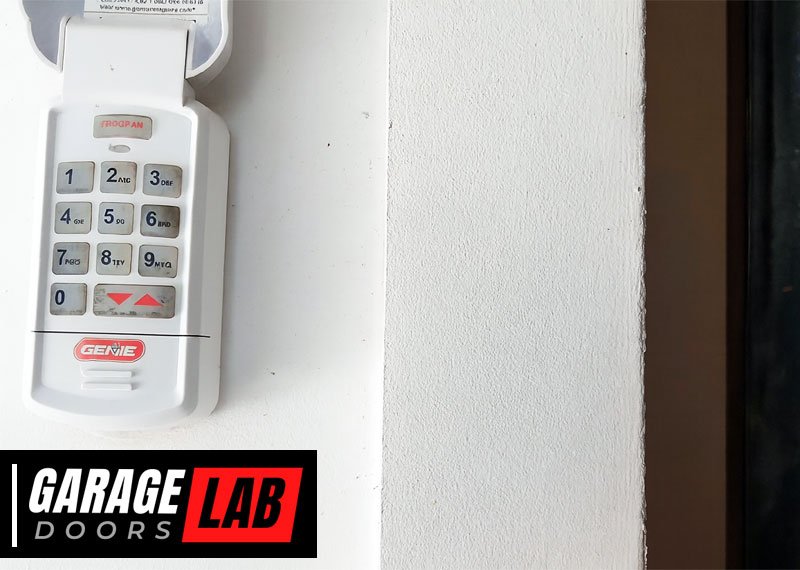
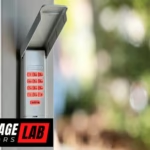
Why Is My Garage Door Keypad Blinking And Wont Open?
A blinking keypad usually signals a low battery or incorrect code entry. Replace batteries and retry your code. Ensure the keypad isn’t locked due to too many attempts. Check for any obstruction or interference with the signal. Consult your manual for troubleshooting steps specific to your model.
How To Get Garage Door Out Of Lock Mode?
To disable garage door lock mode, locate the wall control panel. Press and hold the lock button for 5 seconds. The LED light should turn off, indicating the lock mode is deactivated. If issues persist, consult the garage door manual or contact professional support.
Why Is My Garage Door Light Blinking?
The blinking indicates a problem. It might be a misaligned sensor or an obstruction.
Conclusion
A blinking garage door light can be frustrating. It often signals a problem. Check the sensor alignment first. This simple step might fix the issue. Inspect the wiring for any damage. A loose wire can cause malfunctions. Also, consider the power source.
Ensure it’s stable and working. If problems persist, professional help may be needed. Regular maintenance prevents future issues. Keep your garage door running smoothly. A little attention goes a long way. Troubleshooting saves time and stress. Stay proactive for a hassle-free experience.
Your garage door should open with ease.