Now Reading: How to Repaint Garage Door: Easy Steps for a Fresh Look
- 01
How to Repaint Garage Door: Easy Steps for a Fresh Look

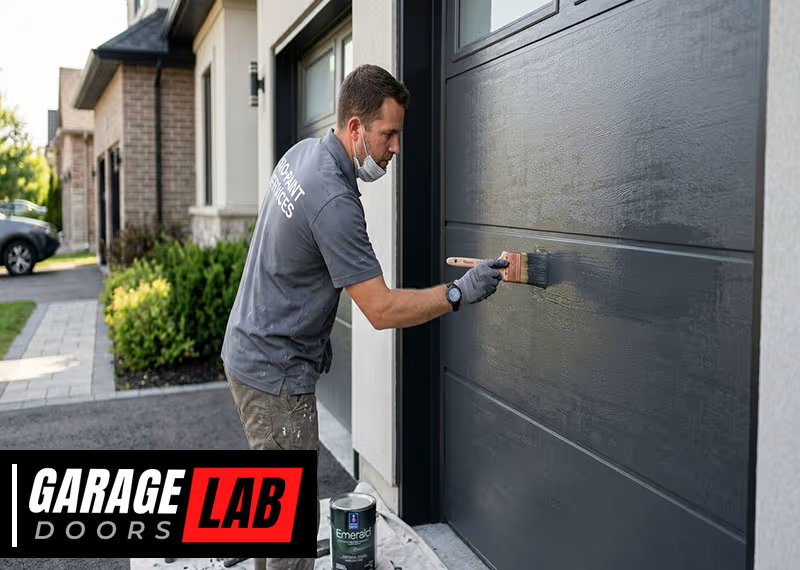
Repainting your garage door is one of the simplest ways to refresh your home’s appearance. Many homeowners overlook the garage door, yet it often takes up a large part of the front view. A faded or peeling garage door can make the entire house look older and less cared for.
But with the right steps, you can transform that worn-out surface into a clean, modern look that boosts your home’s curb appeal.
You don’t need professional skills or expensive tools to repaint your garage door. With some planning and patience, you can achieve a finish that looks great and lasts for years. This guide will walk you through every step, from preparation to the final coat, including practical tips that even experienced DIYers sometimes miss.
By the end, you’ll know exactly what to do, which mistakes to avoid, and how to get results you’ll be proud of.
Why Repainting Your Garage Door Matters
A garage door is more than just an entry point for your car. It protects your belongings, adds style to your home, and even affects energy efficiency. A fresh coat of paint does more than improve looks—it can also extend the door’s life by protecting against rust, weather, and sun damage.
Curb appeal is another big reason. According to real estate studies, homes with well-maintained garage doors can see up to a 4% increase in perceived value. This is a simple way to make a strong first impression without major remodeling.
A neglected garage door, on the other hand, can create the opposite effect. Peeling paint, rust stains, or faded colors suggest poor maintenance and can distract from even the nicest landscaping or front entrance. If you’re considering selling your home, appraisers and potential buyers notice details like the garage door right away.
Another factor to keep in mind is protection. Paint acts as a barrier against moisture, salt, and sunlight. Metal doors are especially at risk for rust if the paint is damaged. For wooden doors, a good paint job stops water from soaking in and causing rot or warping.
Even fiberglass doors benefit from a UV-resistant coating, which prevents cracking and fading.
Non-obvious insight: Repainting isn’t only about the visible surface. Even the edges and bottom of the door should be covered. These areas are most exposed to water and road salt, especially in winter, and skipping them can lead to faster damage.
Choosing The Right Paint And Materials
Selecting the right paint and tools is essential for a smooth, long-lasting finish. Not all paints are created equal, and garage doors face unique challenges like sun, rain, and temperature changes.
Paint Types For Garage Doors
Most garage doors are made from steel, wood, aluminum, or fiberglass. Here’s what you need for each:
| Material | Recommended Paint | Primer Needed? |
|---|---|---|
| Steel | Exterior acrylic latex | Yes, rust-inhibiting primer |
| Wood | Exterior latex or oil-based | Yes, stain-blocking primer |
| Aluminum | Exterior acrylic latex | Yes, bonding primer |
| Fiberglass | 100% acrylic exterior paint | Yes, light sanding and primer |
Non-obvious tip: Always buy exterior-grade paint, even if your garage is covered. Interior paint won’t stand up to weather and UV.
High-quality paint is worth the investment. Cheaper paint may look fine at first, but it can fade, crack, or peel after just one season. Some brands offer “all-in-one” paint and primer, but for older or damaged doors, a separate primer is usually more reliable.
Paint Finish
- Satin or semi-gloss is best. It’s easier to clean and resists fading better than flat finishes.
- Glossy finishes can highlight imperfections, while matte finishes attract dirt and are harder to clean. Satin gives a balanced look and is the most popular choice for garage doors.
Tools And Supplies Checklist
You’ll need:
- Exterior paint (enough for two coats)
- Primer (suitable for your door material)
- Paintbrushes (angled for corners)
- Rollers (with smooth finish sleeves)
- Painter’s tape
- Drop cloths or old sheets
- Sandpaper (medium and fine grit)
- Scraper or putty knife
- Mild detergent or degreaser
- Bucket and sponge
- Ladder (if needed)
- Screwdriver (for removing hardware)
- Mask (if sanding old paint)
Pro tip: Buy a small paint sample first and test on a hidden area. Paints can look very different in sunlight.
Extra detail: A paint can opener is helpful and prevents damage to the can rim, keeping leftover paint fresh longer. Also, use a stir stick to mix paint thoroughly—this ensures an even color and consistency, especially if the paint has been sitting for a while.
Preparing Your Garage Door
Preparation is the most important step. Rushing through it leads to peeling, uneven color, and wasted effort. Here’s how to do it right.
Cleaning
First, remove all dirt, grease, and mildew. Mix a small amount of mild detergent with water in a bucket. Use a sponge or soft brush to scrub the entire door, especially around handles and bottom edges. Rinse thoroughly and let dry.
Non-obvious tip: Even invisible residue can stop paint from sticking. Wipe with a damp cloth after cleaning to remove any soap left behind.
If your garage door faces the street, it may collect car exhaust, road salt, or pollen. These can leave a thin, almost invisible film that makes new paint peel. For stubborn spots, a degreaser or a mix of vinegar and water can help.
Removing Old Paint And Rust
If your door has peeling paint or rust, remove it before painting. Use a scraper or putty knife to gently lift loose paint. For steel doors, sand rusty spots to bare metal with medium-grit sandpaper, then switch to fine grit for a smooth finish.
If your door has many layers of old paint, a chemical paint stripper may save time, but always wear gloves and follow safety directions. For small areas, sanding by hand is safest and gives you more control.
Sanding
Lightly sand the entire door, even if the old paint looks fine. This helps the new paint bond well. For wood, sand with the grain. For metal or fiberglass, use gentle pressure to avoid scratches.
Important: Wear a mask if you’re sanding old paint, especially if your home was built before 1978 (possible lead paint).
Extra tip: After sanding, run your hand over the surface. If you feel rough spots or dust, sand a bit more and wipe down with a damp cloth. A truly smooth surface gives the best result.
Filling Gaps And Damage
Check for dents, cracks, or holes. Use exterior wood filler for wooden doors or automotive body filler for metal. Let it dry, then sand smooth.
If you notice old caulk around windows or panels, remove it and replace with fresh, paintable caulk. This stops water from getting behind the paint and causing rot or rust.
Removing Hardware And Taping
Remove or cover handles, locks, windows, and weatherstripping. Use painter’s tape around edges and glass. Lay drop cloths to protect the driveway and walls.
Extra explanation: Removing door handles and hardware gives a more professional look. It also prevents paint from sealing moving parts, which can cause squeaking or sticking.
Checking The Weather
Ideal painting conditions are between 50°F–85°F (10°C–30°C), with low humidity and no rain forecast for at least 24 hours. Direct sunlight can cause paint to dry too fast, leading to brush marks. If possible, paint in the shade or during cooler parts of the day.
Practical example: If your driveway faces east, consider painting in the afternoon when the sun is behind the house. This helps the paint dry evenly and reduces glare, making it easier to spot missed spots or drips.
Priming The Garage Door
Primer is your insurance for a strong, even finish. It blocks stains, seals porous surfaces, and gives paint something to stick to.
How To Apply Primer
- Stir the primer thoroughly.
- Use a brush for corners and edges.
- Use a roller for flat panels.
- Apply a thin, even coat.
- Let it dry fully (check can instructions, usually 2–4 hours).
If you see bare spots or stains showing through, apply a second coat.
Non-obvious insight: Even if your old paint looks fine, priming helps new paint last longer—especially for metal or stained wood.
Extra advice: Some primers are tinted to match your paint color. This helps cover dark colors or stains with fewer topcoats. If you’re making a dramatic color change, ask your paint store to tint the primer.
For doors with deep scratches or patched areas, spot-prime those sections first. This evens out the absorption rate of the final coat, preventing dull or glossy patches.

Painting Your Garage Door
Now the fun begins. Take your time for the best results.
Choosing Your Painting Method
You can use a brush, roller, or paint sprayer. Most DIYers find a combination works best: brush for edges and details, roller for large flat areas.
Spray Vs. Brush/roller
| Method | Pros | Cons |
|---|---|---|
| Brush/Roller | More control, less overspray, easier for small jobs | Slower, may show brush marks |
| Paint Sprayer | Fast, smooth finish, best for large/flat doors | Needs masking, uses more paint, cleanup is harder |
Extra consideration: If you rent a paint sprayer, practice on cardboard first. Sprayers can produce a very fine mist that drifts in the wind, so mask nearby cars or walls well.
Painting Steps
- Stir your paint (don’t shake—it creates bubbles).
- Paint edges and trim first with a brush.
- Roll panels and flat areas using long, even strokes.
- Feather edges where brush and roller meet for a seamless look.
- Let the first coat dry completely (check label, usually 4–6 hours).
- Apply a second coat for full coverage and deeper color.
Pro tip: Remove painter’s tape before paint is fully dry to avoid peeling the new paint.
Extra tip: If you notice drips or runs, smooth them out right away with your brush or roller. If they dry, lightly sand and touch up before the second coat.
Painting Panel Doors
Most garage doors have raised or recessed panels. Paint the panels first, then the horizontal and vertical sections. Always follow the grain or direction of the panels.
Detailed example: Start at the top panel and work your way down. This way, you won’t drip paint onto freshly painted sections below.
Drying And Curing
Wait at least 24 hours before touching or closing the door. Full curing can take 7–10 days, so be gentle with the door during this time.
Non-obvious insight: Don’t paint the rubber weather seal—paint won’t stick well and it can affect the seal’s flexibility.
Extra explanation: Even after the paint feels dry, it may still be soft underneath. Avoid washing or taping the door until it’s fully cured.
Painting Around Windows And Decorative Details
Garage doors often have windows or decorative hardware. Take extra time to tape around glass or special trim. Use a small, angled brush for detail work.
If your door has plastic or metal inserts, check if they can be removed before painting. Otherwise, cover them carefully with tape.
Practical tip: For curved or detailed window shapes, press the tape firmly into corners with a putty knife or credit card to prevent paint leaks. Peel tape slowly at a 45-degree angle for a clean edge.
Extra advice: If paint accidentally gets on glass, let it dry completely, then scrape gently with a razor blade. Don’t use strong solvents, as they can damage the new paint.
Cleaning Up
Proper cleanup makes your tools last and prevents messes.
- Brushes and rollers: Clean with soap and water for latex paint, or paint thinner for oil-based.
- Drop cloths and tape: Remove while the paint is still a bit tacky.
- Leftover paint: Store in a sealed can, away from extreme temperatures.
Dispose of paint responsibly—never pour it down drains. Many communities have recycling or hazardous waste drop-off sites.
Extra advice: To keep brushes soft between coats, wrap them in plastic wrap or aluminum foil and store in the fridge if you’ll be painting again soon.
Non-obvious tip: Label any leftover paint with the color, brand, and date. This makes touch-ups much easier years later.
Maintenance For A Long-lasting Finish
After your door looks brand new, simple maintenance will keep it that way for years.
- Wash the door twice a year with mild soap and water to remove dirt and salt.
- Inspect paint annually for chips, cracks, or fading.
- Touch up small chips right away to prevent rust or moisture damage.
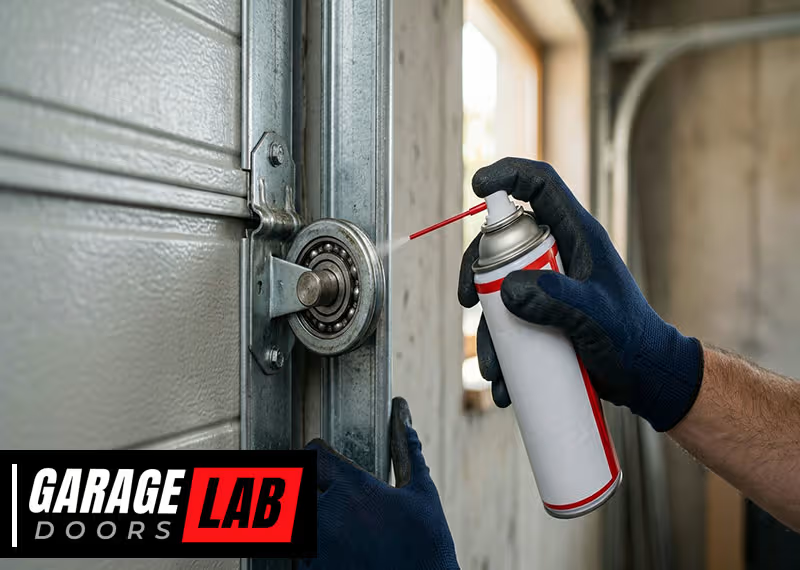
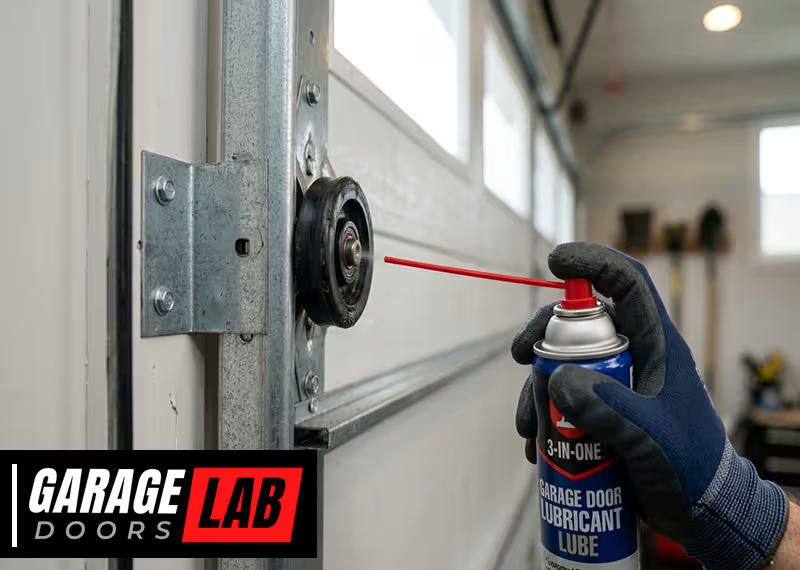
- Lubricate moving parts like hinges and rollers to keep the door operating smoothly.
Extra tip: Avoid using power washers on painted doors. The high pressure can strip paint or force water behind panels, causing future problems.
Non-obvious insight: If your garage door faces south or west, it gets more sun. Consider waxing the painted surface once a year with a car wax to protect against UV fading.
Common Mistakes And How To Avoid Them
Even careful DIYers can run into problems. Here are mistakes that often ruin a good paint job—and how to avoid them.
- Skipping surface prep: Paint won’t stick to dirty or glossy surfaces.
- Using interior paint: It will fade, crack, or peel outdoors.
- Painting in direct sun: Causes blistering and uneven drying.
- Applying thick coats: Leads to drips and longer drying times.
- Ignoring weather: Rain, humidity, or cold can ruin your finish.
- Not removing tape soon enough: Can pull off fresh paint.
- Forgetting to check door movement: Test the door between coats to avoid paint sticking the panels together.
Pro tip: Take photos before you remove any hardware, especially for complex locking systems. This makes reassembly much easier.
Extra example: Many people forget to open and close the door after the first coat. This can cause panels to stick together, pulling off paint and ruining hours of work.
When To Consider Replacing Instead Of Repainting
Repainting works wonders, but sometimes the door is beyond saving. Consider replacement if:
- The door is warped, deeply rusted, or severely cracked.
- The moving parts are damaged or unsafe.
- The cost of repairs and paint is close to a new door price.
A new garage door can improve insulation and security, but it’s a bigger investment. For most cosmetic issues, repainting is enough.
Insight: If your door is more than 30 years old, or if you notice sagging or uneven movement, a new door can also boost energy efficiency and reduce noise.
Color Selection Tips
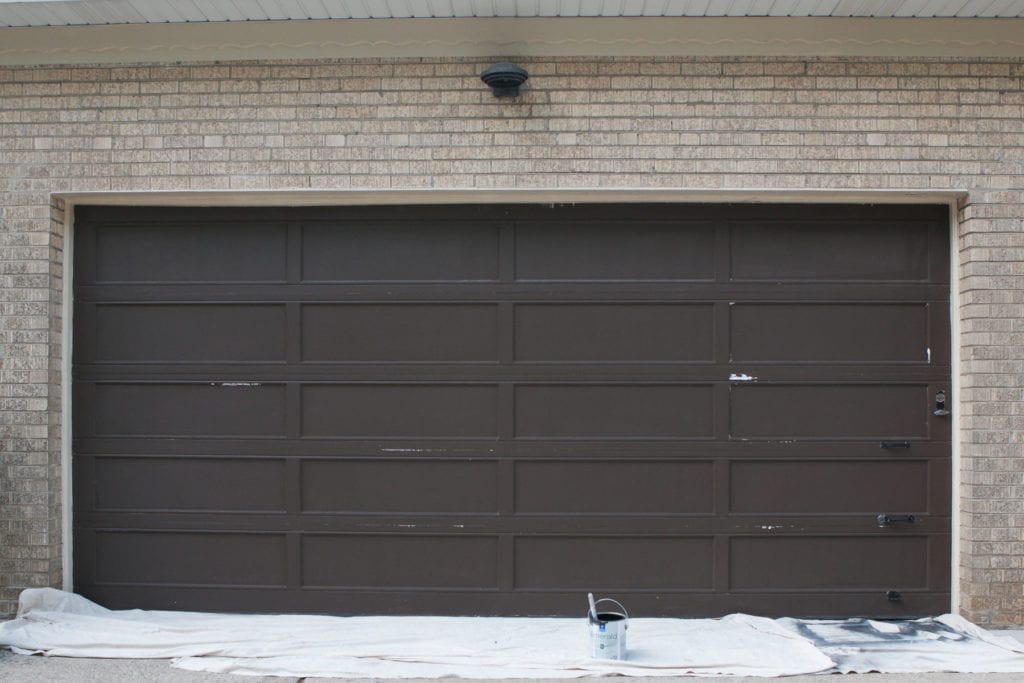
Choosing the right color is about more than matching your house. Color affects heat absorption, curb appeal, and even resale value.
- Match trim or accents: For a classic look, match your garage door to your window trim or front door.
- Go neutral: Whites, grays, and taupes are timeless and easy to maintain.
- Bold colors: A deep blue, green, or even black can add modern flair, but may require more maintenance.
If you live in a neighborhood with a homeowner association, check for color restrictions before you start.
Data point: According to the National Association of Realtors, homes with neutral garage doors sell 2–3 weeks faster on average.
Extra tip: Lighter colors reflect more sunlight and stay cooler, which helps paint last longer in sunny areas. Dark colors absorb heat and may fade faster, especially on south-facing doors.
Cost And Time Estimates
Here’s what you can expect for a standard single garage door (16×7 feet):
| Item | Average Cost (USD) | Notes |
|---|---|---|
| Paint (1 gallon) | $25–$50 | More for premium brands |
| Primer (1 quart–1 gallon) | $15–$30 | Depends on door condition |
| Brushes/Rollers/Tape | $20–$40 | Reusable tools can reduce cost |
| Total Time | 6–10 hours | Includes drying between coats |
Most jobs can be finished in a weekend, including prep and drying time.
Extra explanation: If you need to buy a ladder or extra drop cloths, add $30–$80 to your budget. For double doors, plan for double the paint and possibly extra primer.
Non-obvious tip: Some local paint stores offer discounts if you buy all your supplies together, so ask about package deals.
Safety Precautions
Painting is safe, but a few precautions help avoid accidents:
- Wear a mask when sanding or painting in enclosed spaces.
- Use gloves if working with oil-based paints or solvents.
- Keep paint and supplies away from children and pets.
- If using a ladder, make sure it’s stable and don’t overreach.
If your garage door is very heavy or on a spring system, don’t remove hinges or panels. This can be dangerous without proper training.
Extra tip: If you feel dizzy or lightheaded while painting, step outside for fresh air. Paint fumes can build up quickly in closed garages.
Environmental Considerations
Choose low-VOC or zero-VOC paints for fewer fumes and better air quality. Always ventilate your workspace. Clean up spills quickly and dispose of waste responsibly.
If you need more details on paint types or eco-friendly options, check resources like the EPA Safer Choice program.
Non-obvious insight: Many local recycling centers accept leftover paint, but only if it’s in its original container with a readable label.
Extra tip: Old paint cans can be recycled as scrap metal after they’re dry and empty—check your city’s rules.
Frequently Asked Questions
How Long Does Garage Door Paint Last?
A high-quality paint job on a garage door can last 5–10 years with proper maintenance. Longevity depends on the paint quality, prep work, climate, and how well you keep the door clean.
Extra detail: In coastal areas, salt in the air can shorten the lifespan. Washing your door more often helps prevent damage.
Can I Paint A Garage Door Without Removing It?
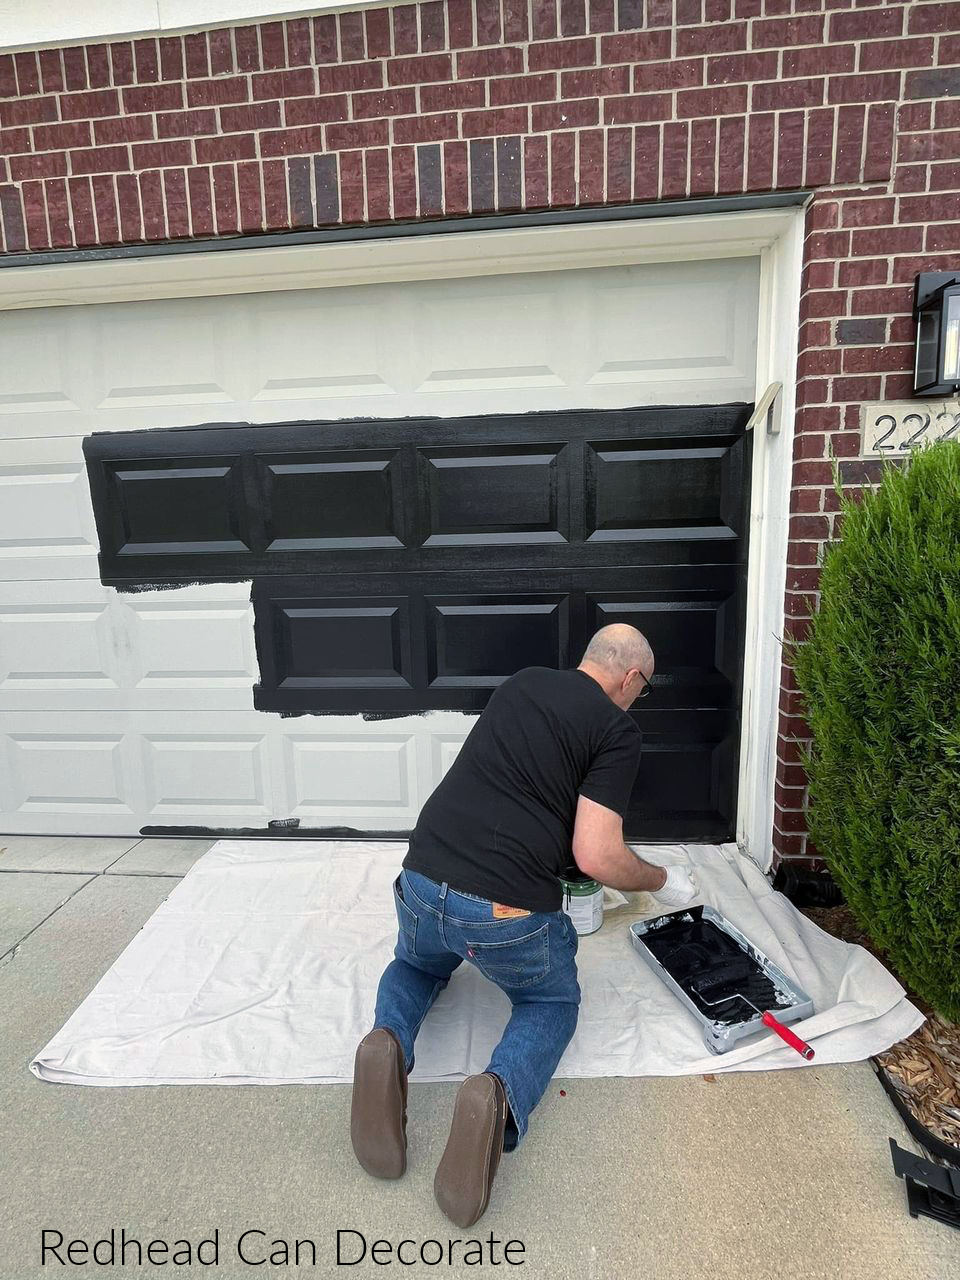
Yes, most people paint their garage doors while they are installed. Just make sure to tape off edges and move the door between coats so it doesn’t stick.
Practical tip: Open the door slightly while painting to reach the edges, but don’t block access to your driveway.
What If My Garage Door Has Lead Paint?
If your home was built before 1978, old paint may contain lead. Wear a respirator when sanding and avoid creating dust. For safety, consider hiring a pro for lead paint removal.
Extra advice: Never use a power sander on suspected lead paint unless you have special HEPA equipment. Wet sanding reduces dust.
Should I Use A Paint Sprayer Or Brush?
A paint sprayer gives a smoother finish and is faster for large, flat doors. However, brushes and rollers are easier for beginners and require less masking. Choose based on your comfort and the door’s details.
Non-obvious tip: If your door has lots of details or grooves, a brush may give better coverage with less mess.
Is It Okay To Paint In Humid Weather?
Painting in high humidity can slow drying and cause paint to bubble or peel. Aim for a dry, mild day with humidity below 60% for the best results.
Extra explanation: If you must paint in high humidity, allow extra drying time between coats and watch for signs of blistering.
Repainting your garage door is a satisfying project that can transform your home’s look in just a weekend. With careful prep, the right materials, and a little patience, you’ll enjoy a durable, beautiful finish that welcomes you home every day.