Now Reading: How to Reprogram a Garage Door Opener: Step-by-Step Guide
- 01
How to Reprogram a Garage Door Opener: Step-by-Step Guide
Reprogramming a garage door opener may sound technical, but it’s a job most homeowners can do themselves with a little guidance. Whether you’ve moved into a new home, lost your remote, or want to improve security, knowing how to reprogram your garage door opener is essential.
The process can vary depending on the model and brand, but the core steps are similar. With the right information, a bit of patience, and attention to detail, you’ll have your garage door opener reprogrammed safely and efficiently.
Many people overlook small details that can make the process smoother or safer. For example, not all remotes are compatible with every opener, and clearing old codes is a critical security step often missed. In this guide, you’ll learn how to reprogram different types of openers, handle common challenges, and avoid beginner mistakes.
If you have never done this before, don’t worry—clear steps, real-world tips, and troubleshooting advice are included. Let’s get started and make your garage secure and convenient.
Understanding Garage Door Opener Systems
Before you start reprogramming, it helps to understand the main parts of a garage door opener system. This basic knowledge will make the steps clearer and help you avoid confusion.
A typical system includes:
- Garage door opener unit: The box attached to your garage ceiling, containing the motor and logic board.
- Remote control: A handheld device or small unit in your car to open or close the door.
- Wall-mounted keypad or button: Located inside the garage, usually near the house door.
- Safety sensors: Placed near the floor on each side of the door, preventing it from closing if something blocks the sensors.
There are two main technologies for opener remotes:
- Fixed code: Older systems use a fixed code, meaning the remote and opener always communicate using the same signal.
- Rolling code: Modern systems use a rolling code, which changes the signal each time you use the remote. This improves security and prevents code grabbing.
Understanding your system’s type is important because reprogramming steps can vary. Check your opener’s manual or brand website if you’re unsure.
When Should You Reprogram A Garage Door Opener?
Not every situation needs a reprogram, but certain events make it necessary:
- Lost or stolen remote: Prevent unauthorized access by erasing old codes and pairing new remotes.
- Moved to a new house: Clear old codes so previous owners or tenants can’t get in.
- Purchased a new remote: New remotes must be paired to your opener.
- Malfunctioning remote: Sometimes reprogramming solves signal problems.
- After a power outage or electrical issue: Rarely, power surges can reset or scramble codes.
- For improved security: Resetting codes regularly helps protect your home.
Many people forget to erase old codes, especially when moving into a new home. Always clear previous programming before adding new remotes.
Tools And Preparation
Gather a few basic items before starting:
- Step ladder: Most garage door opener units are mounted on the ceiling.
- Remote control(s): Have all remotes ready.
- Owner’s manual: Helpful for model-specific steps.
- Pen and paper: Jot down any codes, if needed.
- Flashlight: For dimly lit garages.
Take a minute to read any warnings in your opener’s manual. Some systems have unique safety steps, and knowing them can prevent accidental damage.
Safety Precautions
Safety should always come first when working with electrical devices and heavy machinery like a garage door opener. Here’s what you should do:
- Unplug the opener (if possible) when accessing wiring or internal parts.
- Keep children and pets away from the garage during the process.
- Stand on a stable ladder and never overreach.
- Do not touch moving parts while the door is operating.
- Wear safety glasses if you need to open the unit’s cover.
Small mistakes can cause injury or damage your opener. Take your time and follow instructions step by step.
Identifying Your Garage Door Opener Brand And Model
Different brands and models have unique reprogramming steps. Common brands include Chamberlain, LiftMaster, Genie, Craftsman, and Overhead Door. Identifying your opener is easy:
- Look for a label on the motor unit, usually on the back or side.
- The label lists the brand, model number, and sometimes the manufacture date.
If the label is missing, check your owner’s manual or look for distinctive design features online.
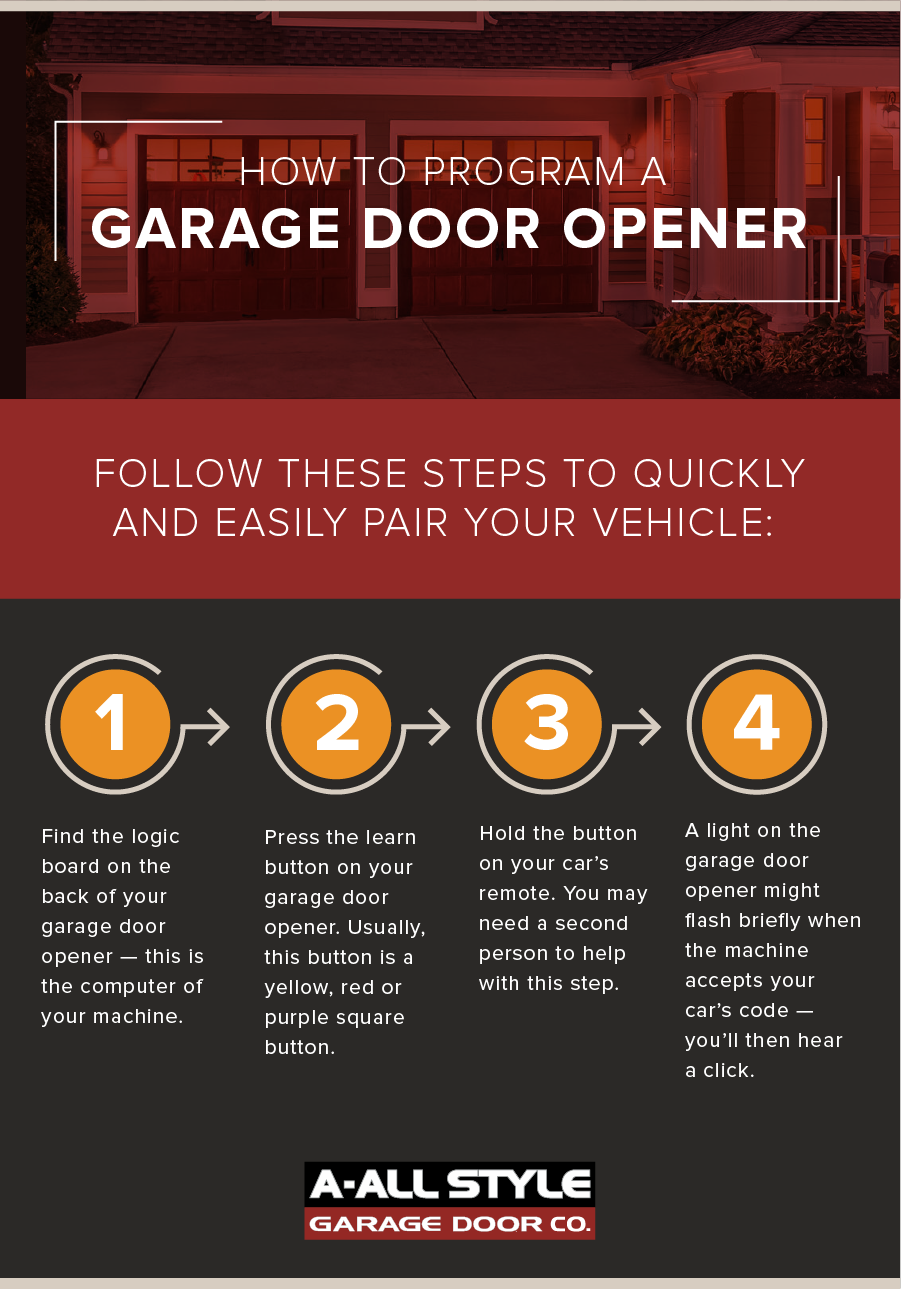
General Steps: How To Reprogram A Garage Door Opener
While each brand is different, the basic process is similar. Here’s an overview to prepare you for the specifics later:
- Clear old codes (if needed): Most openers have a “Learn” or “Smart” button for this purpose.
- Press the “Learn” button: Usually located on the back or side of the main unit.
- Program the remote: Within 30 seconds, press the button on your remote.
- Test the remote: Make sure the door responds.
- Repeat for other remotes: If you have more than one.
Let’s break this down by brand for clarity and accuracy.
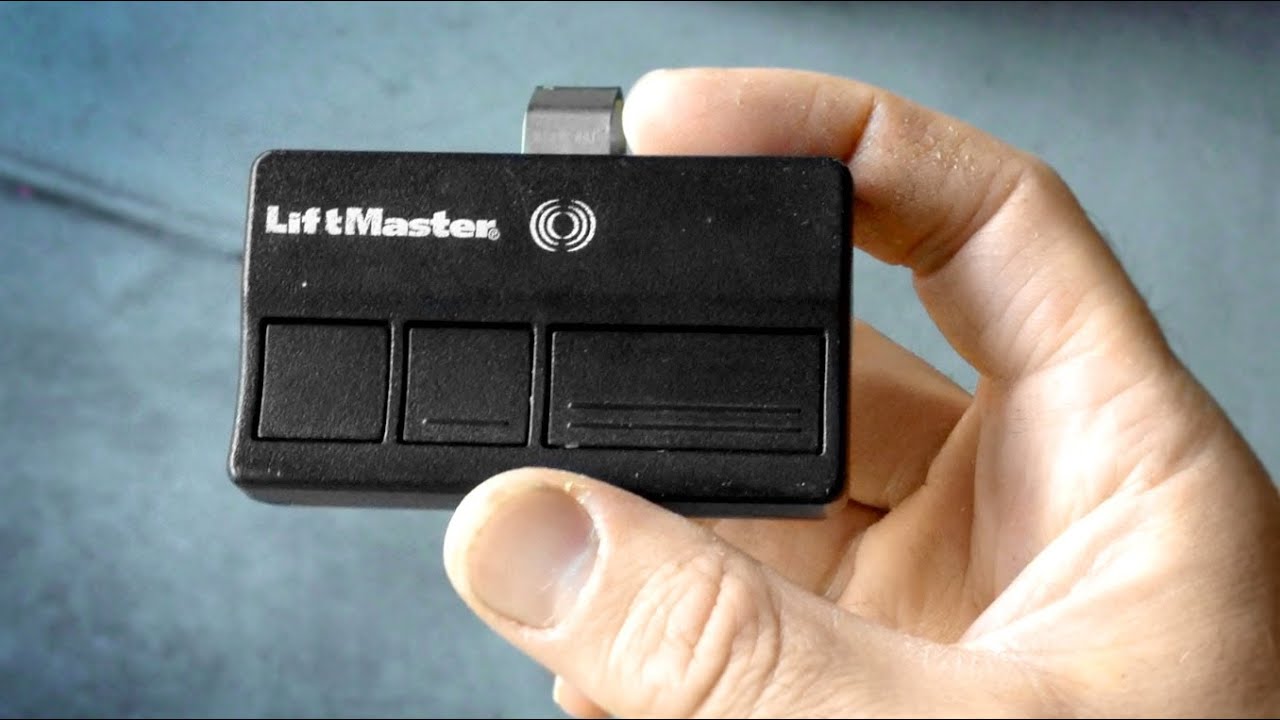
Reprogramming Chamberlain And Liftmaster Garage Door Openers
Chamberlain and LiftMaster are among the most popular brands in the U. S. , and their systems are nearly identical.
Step-by-step Guide
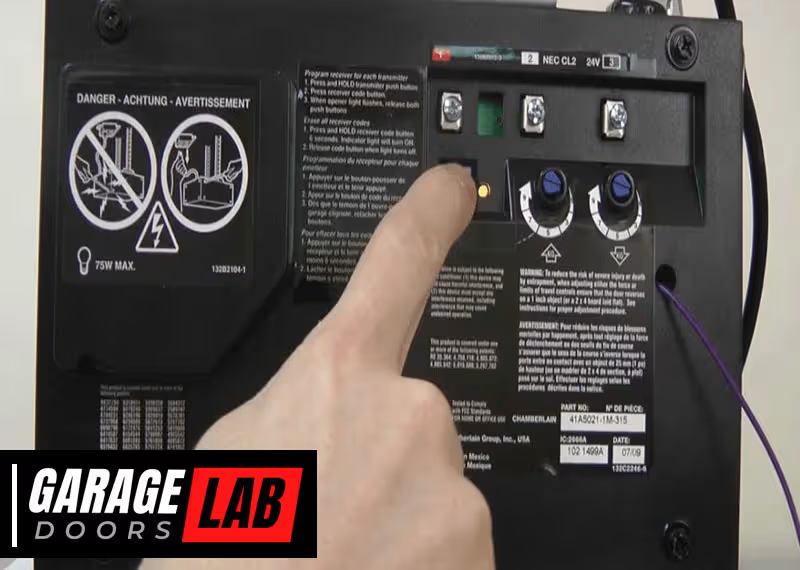
- Locate the “Learn” button: On the main opener unit, find a small button labeled “Learn.” It’s often yellow, orange, red, or purple.
- Press and release the “Learn” button: A light will usually turn on, indicating the opener is in programming mode.
- Within 30 seconds, press the remote button: Hold the remote close to the opener, then press and hold the button you want to program.
- Wait for confirmation: The opener’s light will blink or you’ll hear a click.
- Test the remote: Step back and press the remote button. The door should open or close.
To erase all old remotes, press and hold the “Learn” button for about 6–10 seconds until the light turns off. This wipes all codes from memory.
Important tip: The color of the “Learn” button can affect which remotes are compatible. For example, yellow buttons usually work with remotes made after 2011.
Reprogramming Genie Garage Door Openers
Genie is another widely used brand, with a slightly different programming process.
Step-by-step Guide
- Find the “Learn” or “Program” button: Located on the motor unit, sometimes under a light cover.
- Press and release the “Program” button: An indicator light starts blinking.
- Press the button on your remote: Hold it until the opener light blinks or the door moves.
- Test the remote: Press the remote button to confirm operation.
To clear all remotes, hold the “Program” button until the indicator light turns off (usually 10 seconds).
Non-obvious insight: Genie units often require you to press the remote button twice—once to sync, and once to confirm.
Reprogramming Craftsman Garage Door Openers
Most Craftsman openers use technology similar to Chamberlain and LiftMaster, as they share many parts.
Step-by-step Guide
- Locate the “Learn” button: Usually found on the back of the opener unit.
- Press and release the “Learn” button: The indicator light turns on.
- Press and hold the desired remote button: The opener light will blink to confirm.
- Test the remote: Operate the door to check programming.
If you need to erase all remotes, hold the “Learn” button for 6–10 seconds.
Reprogramming Overhead Door Garage Door Openers
Overhead Door uses both fixed and rolling code systems, so check your model.
Step-by-step Guide
- Find the “Learn Code” button: Look for it on the back or side of the opener.
- Press and release the button: The LED blinks.
- Press the remote button: Hold it until the LED stops blinking.
- Test the remote: Confirm the door responds.
To erase old codes, hold the “Learn Code” button until the LED turns off.
Reprogramming Universal Remotes
Universal remotes can work with many brands. Always read the manual for your remote, but the steps are generally:
- Set the remote to the correct brand: There may be a switch or button for this.
- Put the opener in programming mode: Use the “Learn” button.
- Press the remote button: Hold as needed until the opener signals success.
- Test and repeat as needed.
Some universal remotes need you to enter a code manually. Keep the instructions handy.
Reprogramming A Wall-mounted Keypad
Wall keypads are useful for keyless entry, but they must be programmed like remotes.
Typical Steps
- Enter programming mode: Press the “Learn” button on the opener unit.
- Within 30 seconds, enter your desired PIN: On the keypad, type a new 4-digit code, then press the “Enter” button.
- Wait for confirmation: The opener light blinks, or you hear a click.
- Test the keypad: Enter your code to open or close the garage.
Non-obvious insight: Some keypads need you to press a “Program” button on the keypad itself before entering a code. Check your manual.
Erasing All Remotes And Keypads
Security experts recommend erasing all old codes before selling your home or after losing a remote.
- Hold the “Learn” button for 6–10 seconds: This wipes all paired devices.
- Reprogram the remotes and keypads you want to keep.
Many homeowners skip this step, but it’s vital for security. It only takes a minute and gives peace of mind.
Troubleshooting Common Problems
Sometimes, remotes or keypads won’t program correctly. Here are solutions for frequent issues:
The Opener Does Not Enter Programming Mode
- Check power: Make sure the opener is plugged in.
- Replace batteries: Weak remote batteries cause many problems.
- Inspect the “Learn” button: Dust or damage can prevent it from working.
- Reset the opener: Unplug for 30 seconds, then try again.
Remote Does Not Pair
- Too far away: Stand within a few feet of the opener.
- Wrong remote type: Some remotes only work with certain “Learn” button colors.
- Rolling code conflict: Make sure you follow the sequence exactly, as timing matters.
Keypad Won’t Program
- Old battery: Replace with a fresh one.
- Wrong PIN format: Some models require a specific sequence (like PIN + Enter).
- Outdated keypad: Not all old keypads work with new openers.
Door Opens Or Closes Unexpectedly
- Clear all codes: Someone nearby may have a remote on the same frequency.
- Check for interference: Wireless networks or LED lights can cause signal issues.
Opener Light Does Not Blink
- Not all models blink: Some signal programming in other ways (sound, movement).
- Consult the manual: Each brand is slightly different.
Compatibility And Frequency Differences
Garage door openers use different frequencies, commonly 315 MHz or 390 MHz. The frequency must match between your remote and opener.
Example Compatibility Table
| Brand | Common Frequencies | Remote Compatibility |
|---|---|---|
| Chamberlain/LiftMaster | 315 MHz, 390 MHz | Color of “Learn” button determines compatibility |
| Genie | 315 MHz, 390 MHz | Remotes must match opener model and year |
| Craftsman | 315 MHz, 390 MHz | Same as Chamberlain, check “Learn” button |
| Overhead Door | 315 MHz, 390 MHz | Universal and brand-specific remotes |
If you buy a new remote, check both the frequency and the year of your opener. Newer openers may reject older remotes, even if the brand matches.
Key Features In Modern Garage Door Openers
If you are upgrading your opener, consider these features:
- Wi-Fi connectivity: Lets you control your garage door from your phone.
- Battery backup: Opens the door even during a power outage.
- Auto-close timer: Closes the door automatically after a set time.
- Motion-activated lights: For better safety at night.
Feature Comparison Example
| Feature | Standard Openers | Smart Openers |
|---|---|---|
| Remote reprogramming | Manual only | Manual and app-based |
| Smartphone control | No | Yes |
| Battery backup | Optional | Standard on many models |
| Auto-close timer | Rare | Common |
Modern openers make reprogramming easier and add new ways to keep your home secure.
Expert Tips For Smooth Reprogramming
- Label your remotes: Write the opener brand and year on each remote to avoid confusion.
- Keep a backup: Store a spare remote in a safe but accessible location.
- Photograph your opener’s label: If you need parts or support, you’ll have the info handy.
- Update your manual: Download the latest version from the manufacturer’s website.
- Test all remotes and keypads: After programming, check every device to ensure they work.
Common Mistakes To Avoid
Many beginners make simple errors that lead to frustration:
- Skipping the erase step: Old remotes may still work if you don’t clear codes.
- Programming too slowly: Most openers require you to complete steps within 30 seconds.
- Ignoring battery strength: Weak batteries cause unreliable performance.
- Standing too far from the opener: Program remotes within a few feet for best results.
- Mismatching frequency: Always check compatibility before buying new remotes.

When To Call A Professional
Some situations require help from a trained technician:
- Opener won’t enter programming mode: The logic board may be damaged.
- Door moves on its own: Could be a sign of electrical issues or signal interference.
- You see sparks or smell burning: Immediately unplug the unit and call an expert.
- Physical damage: Broken wiring, cracked housings, or bent rails need professional repair.
Professional service is worth the cost if safety or security is at risk.
Keeping Your Garage Door Opener Secure
Reprogramming your garage door opener is only one part of good security. Here are extra steps you can take:
- Change codes regularly: This limits the chance of someone guessing or stealing your code.
- Never leave remotes in your car: Thieves often target cars for garage access.
- Use a rolling code system: These are much harder for criminals to duplicate.
- Install a security camera: Monitor your garage for extra peace of mind.
- Lock the entry door: Always lock the door from the garage to your house.
For more on garage door security, check resources like the Consumer Reports Garage Door Opener Buying Guide.
Maintenance After Reprogramming
Keep your garage door opener working smoothly by following these tips:
- Test remotes and keypads monthly: Replace batteries as needed.
- Lubricate moving parts: Use garage door lubricant every 6–12 months.
- Check sensors: Clean the safety sensor lenses with a soft cloth.
- Inspect door balance: Disconnect the opener and lift the door manually; it should stay open halfway.
Regular maintenance prevents problems and extends the life of your opener.
Real-world Example: Reprogramming In A New Home
Imagine you move into a new house with an existing garage door opener. The previous owner gives you a remote, but you want to ensure only your family can access the garage.
Here’s what you do:
- Find the opener unit and “Learn” button.
- Erase all old codes by holding the “Learn” button until the light turns off.
- Program your remote using the steps for your opener brand.
- Program the wall keypad with a new PIN.
- Test all devices to make sure only your remotes work.
By following these steps, you block any old remotes the previous owner may still have. This is a simple but important security measure.
Frequently Asked Questions
What If My Remote Still Doesn’t Work After Reprogramming?
Check the battery first—weak batteries are a common cause. Make sure you followed each step for your opener’s brand. If the remote is still not working, try resetting the opener by unplugging it for 30 seconds, then repeat the programming steps.
Can I Program Multiple Remotes To The Same Opener?
Yes, most garage door openers allow you to program multiple remotes and keypads. Just repeat the programming process for each device. However, there may be a limit (usually 5–7 remotes per opener).
Is It Safe To Reprogram My Garage Door Opener Myself?
For most homeowners, it’s safe if you follow basic safety steps: unplug the opener when accessing internal parts, use a sturdy ladder, and keep children and pets away. If you’re unsure or see damaged wires, call a professional.
What Do I Do If I Lost My Garage Door Remote?
Erase all codes from your opener to prevent unauthorized access, then program new remotes as needed. You can buy compatible remotes from home improvement stores or the manufacturer.
How Often Should I Change My Garage Door Opener Codes?
Change your codes whenever you lose a remote, move into a new home, or notice unusual activity. As a precaution, updating codes once a year is a good security habit.
Reprogramming a garage door opener may take a few tries, but once you know the steps, it’s a simple way to keep your home safe and convenient. Take your time, follow the instructions for your brand, and enjoy the peace of mind that comes with a secure garage.


