Now Reading: How To Replace Garage Door Opener Gear And Sprocket Assembly
- 01
How To Replace Garage Door Opener Gear And Sprocket Assembly

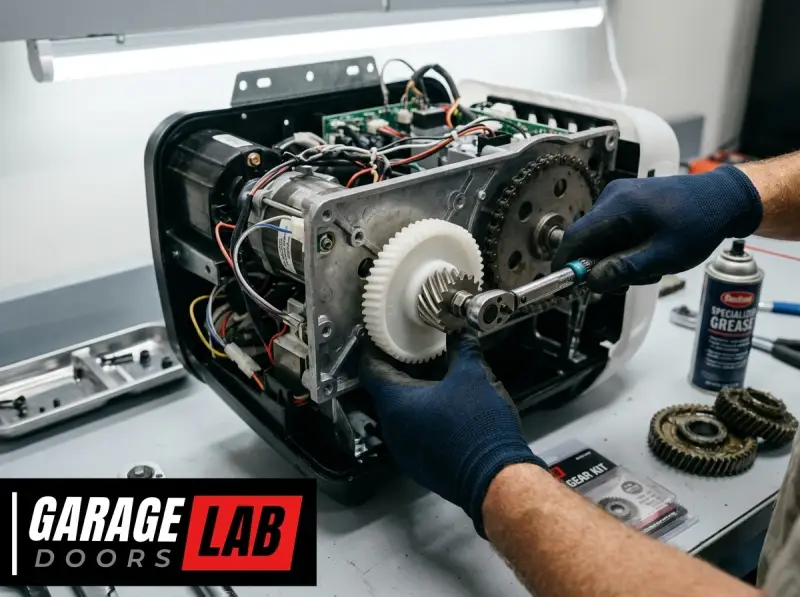
A malfunctioning garage door opener can be a significant inconvenience, turning a simple entry into a frustrating obstacle. Among the common culprits behind these issues, a worn-out gear and sprocket assembly often stands out. This internal component is crucial for translating the motor’s rotational force into the linear motion that lifts and lowers your garage door. When it fails, you might hear grinding noises, experience a door that won’t move, or notice the opener chain moving without the door responding. While a complete opener replacement is an option, replacing the gear and sprocket assembly is often a more economical and achievable DIY repair for many homeowners.
This guide will walk you through the process of identifying a faulty gear and sprocket assembly, understanding the necessary tools and parts, and executing the replacement step-by-step. We’ll cover safety precautions, common pitfalls, and tips to ensure a successful repair, empowering you to restore your garage door’s functionality without necessarily calling a professional.
Key Takeaways
- Identify the Problem: Grinding noises, a moving chain with a stationary door, or a door that won’t engage with the opener are common signs of a worn gear and sprocket assembly.
- Safety First: Always disconnect power to the opener and disengage the opener from the door before starting.
- Gather Your Tools: You’ll typically need screwdrivers, a wrench set, pliers, a ladder, safety glasses, and potentially a socket set.
- Source the Right Parts: Ensure you get a replacement gear and sprocket kit specifically designed for your garage door opener model.
- Step-by-Step Replacement: This involves accessing the motor unit, removing the cover, disengaging the old assembly, installing the new one, and reassembling the unit.
- Testing and Adjustment: After installation, reconnect the opener, restore power, and test its operation, making minor adjustments if needed.
- When to Call a Pro: If you’re uncomfortable with the process or encounter unexpected issues, professional help is recommended.
Understanding The Garage Door Opener Gear And Sprocket Assembly
The gear and sprocket assembly is the heart of your garage door opener’s mechanical system. It’s a critical interface between the electric motor and the drive mechanism (usually a chain or belt). The assembly typically consists of a worm gear made of a hard plastic or nylon material, and a drive sprocket which engages with the chain or belt.
How It Works
When the opener’s motor runs, it spins a shaft connected to the worm gear. This worm gear, in turn, meshes with and rotates the larger drive sprocket. The drive sprocket has teeth that engage with the garage door opener’s chain or belt.
As the sprocket turns, it moves the chain or belt, which is attached to a trolley or carriage. This trolley is connected to the garage door via an arm, pulling or pushing the door open or closed.
Why It Fails
The worm gear is often made of a softer material than the other metal components. This is a deliberate design choice. In the event of an overload or a sudden jam, the softer worm gear is intended to strip or break, acting as a safety clutch. This prevents more expensive components like the motor or the drive sprocket from being damaged.
Over time, the teeth on the worm gear can wear down due to friction and constant meshing with the sprocket. The sprocket itself can also experience wear. When this happens, the gears no longer mesh properly. This leads to:
- Slipping: The worm gear spins, but doesn’t effectively turn the sprocket.
- Grinding Noises: The worn or broken teeth create a distinctive, often loud, grinding sound.
- Inability to Engage: The opener might run, but the chain or belt doesn’t move, meaning the door remains stationary.
Signs Of A Worn Assembly
Recognizing the symptoms is the first step to a successful repair. Pay attention to:
- Unusual Noises: A grinding, clicking, or popping sound coming from the motor unit when you try to operate the door is a prime indicator. This is often the most noticeable symptom.
- Opener Runs, Door Doesn’t Move: The motor hums, the chain or belt moves, but the door stays put. This suggests the sprocket isn’t turning the chain effectively.
- Door Moves Erratically or Slowly: While other issues can cause this, a partially stripped gear can lead to inconsistent power transfer.
- Opener Stops Mid-Operation: If the opener suddenly stops working without apparent reason, it could be due to the gear slipping under load.
- Visible Damage (Rare): In some cases, if you can safely access the motor unit, you might see visible damage to the gear teeth.
The Importance Of A Functional Assembly
A properly functioning gear and sprocket assembly is vital for the smooth and safe operation of your garage door. It ensures that the motor’s power is efficiently transferred to lift and lower the heavy door. A failing assembly not only causes inconvenience but can also pose a safety risk if the door suddenly stops or moves unexpectedly. For instance, if the opener runs but doesn’t engage the door, you might be left stranded outside or unable to secure your home.
Tools And Materials Needed For Replacement
Before embarking on the garage door opener gear and sprocket replacement, ensuring you have the right tools and materials is paramount. This preparation will make the process smoother and reduce the likelihood of unexpected delays or trips to the hardware store.
Essential Tools
- Screwdriver Set: You’ll need both Phillips head and flathead screwdrivers in various sizes to remove the opener’s cover and other components.
- Wrench Set or Socket Set: Adjustable wrenches and a set of common socket sizes (e.g., 1/4 inch, 5/16 inch, 3/8 inch) are essential for removing bolts and nuts securing the motor unit and its cover.
- Pliers: Needle-nose pliers can be helpful for manipulating small parts or releasing clips.
- Ladder: A sturdy ladder is necessary to safely reach the garage door opener unit mounted on the ceiling. Ensure it’s placed on a stable surface.
- Safety Glasses: Eye protection is crucial to shield your eyes from falling debris or accidental slips.
- Work Gloves: These protect your hands from sharp edges and grease.
- Lubricant: A light lubricant like WD-40 can be useful for loosening stubborn screws or cleaning parts.
- Container for Parts: Small containers or a magnetic tray are helpful for organizing screws and small components to prevent loss.
- Utility Knife or Scraper: May be needed to remove old lubricant or debris.
Replacement Parts
- Gear and Sprocket Kit: This is the most critical part. You must purchase a kit specifically designed for your garage door opener model and brand. Generic kits are unlikely to fit correctly and can cause further damage.
- Identify Your Opener Model: Look for a label on the side or back of the motor unit. It will typically list the manufacturer (e.g., LiftMaster, Chamberlain, Genie, Craftsman) and the model number.
- Common Kit Components: A standard kit usually includes the nylon worm gear, the drive sprocket, and often a new spring or bushing for the worm gear. Some kits might also include thrust bearings or retaining clips.
- Where to Buy: You can find these kits at major home improvement stores, specialized garage door supply websites, or directly from the manufacturer’s parts department.
*Pro Tip:* Before purchasing, take clear photos of your existing gear and sprocket assembly. This can help you or a parts specialist confirm you’re getting the correct replacement kit.
Optional But Helpful Items
- Flashlight or Headlamp: For better visibility inside the motor unit.
- Shop Towels or Rags: For cleaning up any grease or oil.
- Camera or Smartphone: To take pictures of the disassembly process. This is invaluable for remembering how everything goes back together.
Safety Precautions And Preparation
Working on a garage door opener involves moving parts and electrical components, making safety the absolute top priority. Neglecting safety measures can lead to serious injury or damage to the opener.
Disconnecting Power
- Locate the Power Source: Find the electrical outlet that powers your garage door opener.
- Unplug the Opener: The simplest and safest method is to unplug the opener’s power cord directly from the outlet.
- Alternatively, Turn Off the Breaker: If the opener is hardwired or the plug is inaccessible, locate the circuit breaker that controls the garage door opener in your home’s electrical panel and switch it off. Verify the power is off by attempting to operate the opener with its wall button or remote, nothing should happen.
Disengaging The Opener From The Door
The garage door is heavy and counterbalanced by springs. If the opener is still attached, the door could move unexpectedly when you start working on the mechanism, posing a significant risk.
- Locate the Emergency Release Cord: Most garage door openers have a red emergency release cord hanging from the trolley mechanism that runs along the opener rail.
- Pull the Cord: Gently but firmly, pull down on the red cord. This will disengage the trolley from the chain or belt, allowing you to move the garage door manually.
- Manually Secure the Door: Once disengaged, open or close the door to a position where it can be safely held, or use C-clamps on the vertical tracks to prevent it from moving while you work. If the door feels excessively heavy or drifts down on its own, the torsion springs might be faulty, and it’s best to call a professional.
Working Safely With Springs And Heavy Components
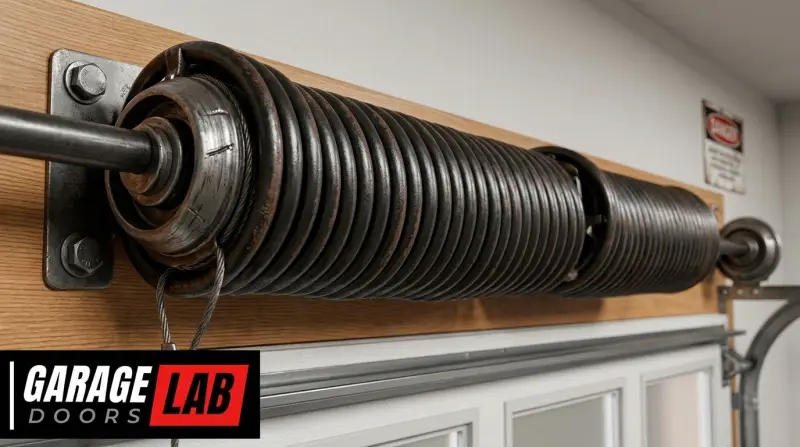
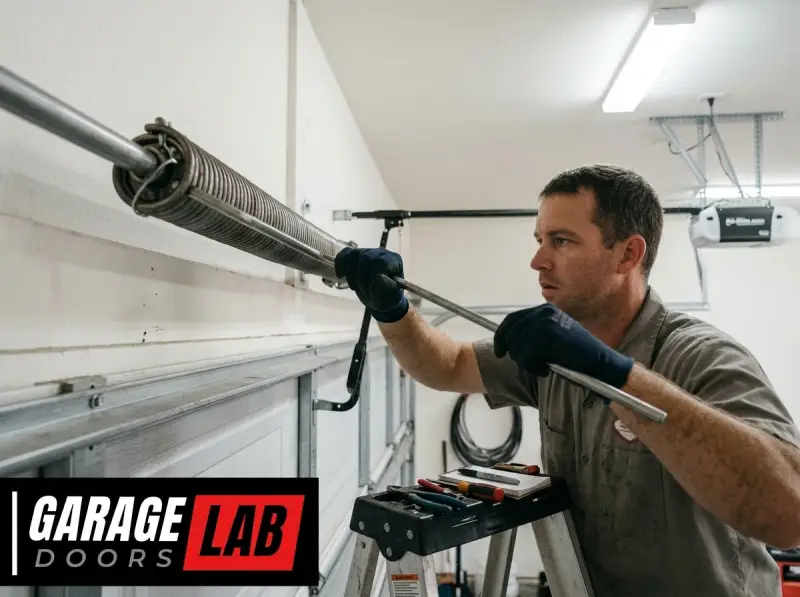
- Never Touch Torsion Springs: The large springs located above the garage door (torsion springs) are under immense tension. Never attempt to adjust, remove, or repair these springs unless you are a trained professional. They can cause severe injury.
- Use a Stable Ladder: Ensure your ladder is on a level, non-slip surface and is positioned correctly. Never overreach.
- Wear Safety Gear: Always wear safety glasses and work gloves.
- Keep Area Clear: Ensure children and pets are kept away from the work area.
- Be Aware of Pinch Points: Garage door mechanisms have numerous pinch points where fingers or clothing can get caught.
Preparing The Opener Unit
- Access the Motor Unit: The gear and sprocket assembly is located inside the main motor unit, typically mounted on the ceiling. You may need to remove a cover or panel to access it.
- Clean the Area: Before opening the motor unit, wipe down the exterior to prevent dirt and debris from falling inside.
By following these safety steps meticulously, you create a secure environment for the repair, minimizing risks to yourself and your property.
Step-by-step Gear And Sprocket Replacement Guide
This section provides a detailed, step-by-step process for replacing the gear and sprocket assembly. Remember to refer to your opener’s manual if available, as specific models may have slight variations.
Step 1: Access The Motor Unit And Remove The Cover
- Position the Ladder: Place your ladder securely beneath the garage door opener motor unit.
- Remove the Motor Cover: Most openers have a plastic cover held in place by screws or clips. Carefully remove these fasteners and gently pull off the cover. Keep the screws in a safe place. You might need to slide the cover off or pivot it.
Step 2: Locate And Inspect The Old Assembly
- Identify the Gears: Inside the motor unit, you’ll see the motor, a worm gear (usually nylon), and the drive sprocket (metal, with teeth for the chain/belt). The worm gear is typically mounted on the motor shaft, and the sprocket is mounted on a separate shaft, meshing with the worm gear.
- Examine for Wear: Look closely at the teeth of both the worm gear and the sprocket.
- Worm Gear: Check for missing teeth, flattened teeth, or signs of melting/warping. The nylon can become brittle and crack or break.
- Sprocket: Inspect the sprocket’s teeth for wear, burrs, or damage. While less common to fail than the worm gear, a damaged sprocket will also prevent proper engagement.
- Confirm the Need for Replacement: If you see significant wear or damage on either component, proceed with the replacement.
Step 3: Remove The Old Gear And Sprocket Assembly
This is often the most intricate part and varies significantly by model.
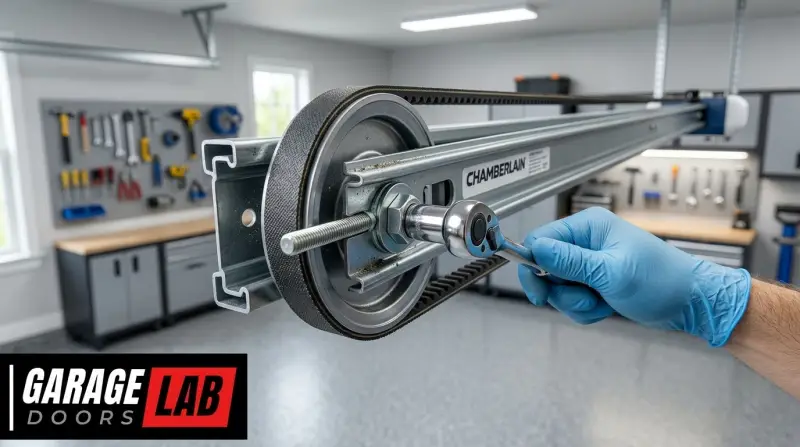
- Remove the Chain/Belt: You’ll need to detach the chain or belt from the drive sprocket. This usually involves removing a clip, pin, or bolt that holds the sprocket onto its shaft.
- For Chain Drives: The sprocket might be held by a cotter pin, a roll pin, or a bolt. Use pliers or a socket/wrench to remove it. Once the retaining element is removed, the sprocket should slide off the shaft.
- For Belt Drives: The sprocket is often integrated into a pulley system, and a specific retaining mechanism will need to be removed.
- Remove the Worm Gear: The worm gear is typically pressed onto the motor shaft or held by a retainer.
- Accessing the Motor Shaft: You may need to remove additional components, such as end caps or bearing brackets, to gain access to the motor shaft where the worm gear is seated.
- Removing the Gear: Sometimes, the worm gear can be pulled off the shaft. In other cases, it might be held by a snap ring or a set screw. Refer to your specific model’s diagrams if possible. If it’s pressed on tightly, you might need a gear puller, but often gentle prying or tapping is sufficient. Be careful not to damage the motor shaft.
- Remove Supporting Components: Depending on your model, you might need to remove thrust bearings, washers, or other small parts associated with the gear and sprocket. Keep these organized.
Step 4: Install The New Gear And Sprocket Assembly
- Install the New Worm Gear:
- Lubrication: Lightly lubricate the motor shaft with a compatible grease (often provided in the kit or recommended by the manufacturer).
- Mounting: Slide the new worm gear onto the motor shaft. Ensure it’s seated correctly and facing the right direction to mesh with the sprocket. Some gears are pressed on; others might have a keyway or set screw. If it’s a press-fit, it should slide on snugly.
- Install the New Drive Sprocket:
- Positioning: Place the new drive sprocket onto its shaft.
- Reinstall Retainers: Secure the sprocket using the new clip, pin, or bolt provided in the kit or the original one if it’s in good condition. Ensure it’s firmly attached and the sprocket rotates freely without wobbling.
- Reinstall Supporting Components: Put back any thrust bearings, washers, or brackets you removed, ensuring they are correctly oriented.
- Check Meshing: Manually rotate the motor shaft (if possible) or the sprocket to feel how the new gear and sprocket mesh. There should be smooth engagement without binding or excessive play.
Step 5: Reassemble The Opener Unit
- Reattach Chain/Belt: Reconnect the garage door opener chain or belt to the new drive sprocket. Ensure the chain is properly seated on the sprocket’s teeth.
- Reinstall Motor Cover: Carefully place the motor cover back onto the unit and secure it with its screws or clips.
- Reconnect Opener to Door: Re-engage the trolley mechanism. This usually involves pulling the emergency release cord again and then operating the opener via the wall button or remote. The trolley should automatically reconnect to the chain/belt as it moves. You should hear or feel a click. You can then disengage the release cord from the trolley.
Step 6: Testing And Adjustment
- Restore Power: Plug the opener back into the outlet or turn the circuit breaker back on.
- Test Operation:
- Remote Control: Use your remote control to open and close the garage door.
- Wall Button: Test the operation using the wall-mounted button.
- Listen for Unusual Noises: Pay close attention to any grinding, clicking, or loud noises. Smooth operation is the goal.
- Check Alignment: Ensure the door moves smoothly without binding. If the chain seems too loose or too tight, you may need to adjust the chain tension. Refer to your opener’s manual for specific instructions on chain adjustment. You can find more details on how to adjust chain on garage door opener.
- Limit Settings: In some cases, after replacing internal components, you might need to reset or readjust the travel limits (the points where the door stops at fully open and fully closed). Consult your opener’s manual for this procedure. If you’ve had issues with the door’s travel before, this is a good time to ensure they are set correctly. Similar adjustments might be needed for other opener brands, like knowing how to adjust a Chamberlain garage door opener.
If everything operates smoothly and quietly, congratulations! You’ve successfully replaced the gear and sprocket assembly.
Troubleshooting Common Issues After Replacement
Even with careful work, you might encounter minor hiccups after replacing the gear and sprocket assembly. Here’s how to troubleshoot common problems:
Opener Still Makes Grinding Noises
- Cause: The new worm gear or sprocket might be misaligned, the wrong parts were used, or a component was installed incorrectly. Sometimes, the motor itself could be failing.
- Solution:
- Double-Check Installation: Carefully review the steps you took. Ensure the worm gear and sprocket are meshing correctly and are properly seated.
- Verify Parts: Confirm you used the exact replacement kit for your model. Even slight differences can cause issues.
- Inspect for Obstructions: Make sure no debris is caught between the gears or in the chain/belt path.
- Consider Motor Issues: If everything else seems correct, the motor itself might be the source of the noise, though this is less likely if the original issue was solely the gear/sprocket.
Opener Runs, But Door Doesn’t Move (or Moves Slowly/jerks)
- Cause: The chain or belt might not be properly re-engaged with the sprocket, or the chain/belt tension is incorrect. The trolley might not be fully re-engaged with the opener mechanism.
- Solution:
- Re-engage Trolley: Ensure the emergency release cord has been properly re-engaged. Try running the opener and listen for the trolley latching onto the drive mechanism. You might need to pull the release cord again and let the opener move the trolley until it connects.
- Check Chain/Belt Engagement: Verify that the chain or belt is correctly seated on the new sprocket.
- Adjust Chain/Belt Tension: Refer to your opener’s manual for correct tensioning procedures. A chain that’s too loose will slip, and one that’s too tight can put excessive strain on the motor and gears. You can find guidance on adjusting the chain.
- Inspect for Damage: Check the chain or belt for any broken links or damage.
Opener Doesn’t Respond At All (no Motor Sound)
- Cause: Power was not restored correctly, or a component was disconnected during reassembly.
- Solution:
- Check Power: Ensure the opener is plugged in or the circuit breaker is on. Test the outlet with another device.
- Verify Connections: Double-check that all internal wiring connections within the motor unit are secure.
- Limit Switch/Safety Sensor Issue: While less likely directly related to gear replacement, check if the limit switches or safety sensors are obstructed or misaligned, which can prevent operation. You might need to consult your manual on how to reset these. For remote issues, you might need to learn how to reset a LiftMaster garage door opener remote or other brands.
Door Reverses Immediately After Closing
- Cause: This is typically a safety feature related to the auto-reverse mechanism or travel limits. It suggests the opener *thinks* something is obstructing the door.
- Solution:
- Check Safety Sensors: Ensure the photo-eye sensors at the bottom of the garage door tracks are aligned and unobstructed. Clean the lenses.
- Readjust Travel Limits: The closing force or **down travel limit