Now Reading: How to Pair Garage Door Remote: Simple Steps for Quick Setup
- 01
How to Pair Garage Door Remote: Simple Steps for Quick Setup
Pairing a garage door remote may look simple, but many people struggle with the process. Lost instructions, old remotes, or new systems can make things confusing. Yet, learning how to pair a garage door remote is a valuable skill for any homeowner.
It saves you time, prevents extra service calls, and keeps your property secure. Whether you just bought a new remote, replaced your opener, or want to add a remote for another family member, knowing the steps can make life easier.
This guide takes you from understanding your garage door system to troubleshooting problems. You will find practical steps, safety tips, and real examples. Even if you have never handled a garage door opener before, you will finish this article with confidence.
Let’s explore everything you need to know about pairing a garage door remote.
Understanding Garage Door Remote Systems
Before you start pairing, it helps to know how your garage door remote works. Modern garage doors use wireless technology to communicate between the remote and the opener. Most systems use radio frequencies (RF), typically at 315 MHz or 390 MHz. The remote sends a coded signal, and the opener’s receiver listens for that code.
Types Of Garage Door Openers
There are three main types:
- Chain Drive Openers: These use a metal chain to pull or push the door. They are common and budget-friendly.
- Belt Drive Openers: These use a rubber belt, making them quieter than chain drives.
- Screw Drive Openers: These use a threaded steel rod. They require less maintenance but can be noisy in cold climates.
Each opener type may require a different pairing method. Always check your user manual if available.
Rolling Code Technology
Most remotes made after the mid-1990s use rolling code technology. This means each time you press your remote, a new code is generated. This prevents thieves from copying your signal. It also means the pairing steps can be a bit more complex than older fixed code models.
Why Pairing Is Important
Pairing links your remote to your opener so only your remotes can operate your garage door. If you lose a remote or buy a new one, pairing ensures only authorized devices have access.
Preparing To Pair Your Garage Door Remote
Before you jump into the pairing process, a little preparation can save you headaches.
Check Compatibility
Not all remotes work with all openers. Even remotes from the same brand may use different frequencies or code systems. Check:
- Brand and Model Numbers: Look on the opener’s motor unit and remote.
- Year of Manufacture: Older openers may not support modern remotes.
- FCC ID: The FCC ID on the remote can help you find compatibility details online.
If you’re unsure, search for your opener model on the manufacturer’s website or call their support.
Gather Your Tools
You usually need only a ladder and your new or replacement remote. However, keep:
- A flashlight (garages can be dim)
- Your opener manual (if available)
- A small screwdriver (for battery covers)
Safety First
Garage doors are heavy, and openers use electricity. Always:
- Keep children and pets away during the process
- Stand on a steady ladder, not on boxes or unstable objects
- Disconnect power only if your manufacturer recommends it
Step-by-step Guide: How To Pair Garage Door Remote
Now let’s get into the core steps. The process is mostly similar across brands, with small differences.
Step 1: Locate The Learn Button
On most garage door openers, you’ll find a Learn button on the motor unit, usually mounted on the ceiling. This button is often under a light cover or a small panel.
Common Learn button colors:
- Yellow
- Purple
- Red/Orange
- Green
The color may indicate the frequency or system type.
Step 2: Clear Old Codes (if Needed)
If you’re adding a new remote but want to erase all previous remotes (for security), you’ll need to clear old codes.
- Press and hold the Learn button for about 6–10 seconds until the indicator light turns off. This removes all paired remotes.
- Be aware: All remotes will need to be re-paired.
Step 3: Put The Opener In Pairing Mode
- Briefly press (do not hold) the Learn button. The indicator light will turn on or blink, showing pairing mode is active.
- You usually have 30 seconds to complete the next steps.
Step 4: Pair The Remote
- Press the main button on your remote. Sometimes you need to press and hold for a second.
- The opener light may flash, or you may hear a click. This means the remote is paired.
- Test the remote by pressing the button again to see if the door moves.
Step 5: Repeat For Additional Remotes
Most openers can store 4–8 remotes. Repeat the pairing process for each.
Step 6: Test All Remotes
Stand clear of the door and test each remote from different locations (inside and outside the garage).
Pairing Methods For Popular Brands
Different brands have their own quirks. Here’s how to pair remotes for some of the most common brands in the US.
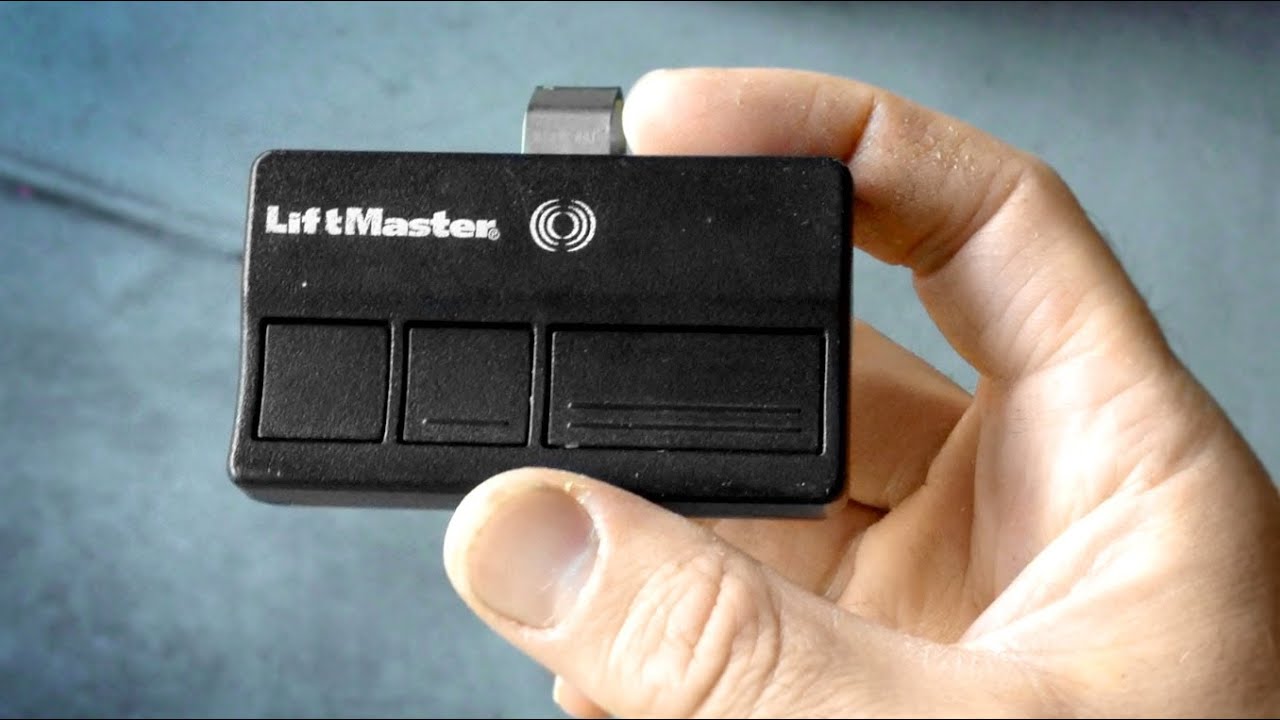
Chamberlain, Liftmaster, And Craftsman
These brands share technology and use similar steps:
- Press and release the Learn button (yellow, orange, or purple, depending on model).
- Within 30 seconds, press and hold the remote’s button until the opener light blinks.
- Release the button. Test the remote.
Tip: If you have a wall control panel with a “Learn” feature, you can use it instead of climbing a ladder.
Genie
- Press and hold the “Program” button on the opener until the indicator light blinks.
- Press the button on your remote.
- The light will blink again to confirm.
Genie Intellicode models use rolling code. Make sure your remote is compatible.
Overhead Door
Similar to Genie, since they share some models:
- Press and hold the “Learn Code” button until the LED blinks.
- Press the remote button.
- Wait for the light to flash.
Linear
- Press the “Learn” button on the opener.
- Press the remote button.
- Indicator light confirms pairing.
Marantec
Marantec uses a different system:
- Press the “Program” button on the opener.
- Use a “jumper” or programming connector if included with your remote.
- Hold the old and new remotes together as you press the button. This copies the code.
Sommer
- Press the “Learn” button on the opener.
- Press and hold the remote button.
- Light flashes to confirm.
Special Cases: Keypads, Wall Consoles, And Smart Remotes
Not all devices are handheld. You may want to pair:
- Keyless entry pads (outside your garage)
- Wall consoles (inside your garage)
- Car integrated remotes (like HomeLink or Car2U)
Pairing A Keyless Entry Pad
- Press the Learn button on the opener.
- Enter your chosen PIN on the keypad.
- Press “Enter” or “Send.”
- The opener should acknowledge with a blink or click.
Tip: Some systems require you to enter the PIN, then press the Learn button. Check your manual.
Pairing A Car’s Built-in Remote
Many cars have built-in garage door buttons. Here’s a common method:
- Hold your garage remote close to the car’s button.
- Press and hold both the car button and the remote button until the car’s light blinks rapidly.
- Press the Learn button on your opener.
- Within 30 seconds, press the car’s button for two seconds and release.
- Repeat until the garage door moves.
Some newer vehicles use a “training mode. ” Always check your car’s manual.
Common Problems And How To Fix Them
Sometimes pairing does not work on the first try. Here are solutions to common issues.
The Remote Won’t Pair
- Battery is dead: Replace the battery in your remote.
- Wrong frequency: Not all remotes use the same frequency. Double-check compatibility.
- Out of range: Stand closer to the opener when pairing.
- Too many remotes: Most openers have a limit (4–8 remotes). Erase old codes if needed.
The Door Opens But Won’t Close
- Safety sensors blocked: Make sure nothing is in front of the garage door sensors.
- Wiring issue: Check for loose wires on your opener or wall button.
- Misaligned sensors: Adjust the sensors until both LEDs are solid.
The Remote Works Intermittently
- Weak battery: Replace with a fresh battery.
- Interference: Other wireless devices can cause problems. Try changing the opener’s frequency (if supported).
- Physical obstructions: Metal objects or thick walls can block the signal.
The Opener Lost All Remotes
- Memory cleared: If you held the Learn button too long, you may have erased all remotes. Re-pair each remote.
Non-obvious insight: Some LED light bulbs can cause interference with your opener’s signal. If you notice problems after changing bulbs, try switching to a different brand.
Advanced Pairing: Smart Garage Door Openers
Modern garage openers can connect to your smartphone or home automation system. Popular brands like Chamberlain MyQ, Genie Aladdin Connect, and others let you open and close your garage from anywhere.
How Smart Pairing Works
- Download the manufacturer’s app on your phone.
- Create an account and log in.
- Connect the opener to your Wi-Fi network (follow prompts in the app).
- Pair your phone or smart device as a controller.
Security Tips
- Use a strong password for your account.
- Enable two-factor authentication if available.
- Only share access with trusted family members.
Non-obvious insight: If your Wi-Fi router is far from the garage, you may need a Wi-Fi extender for reliable operation.
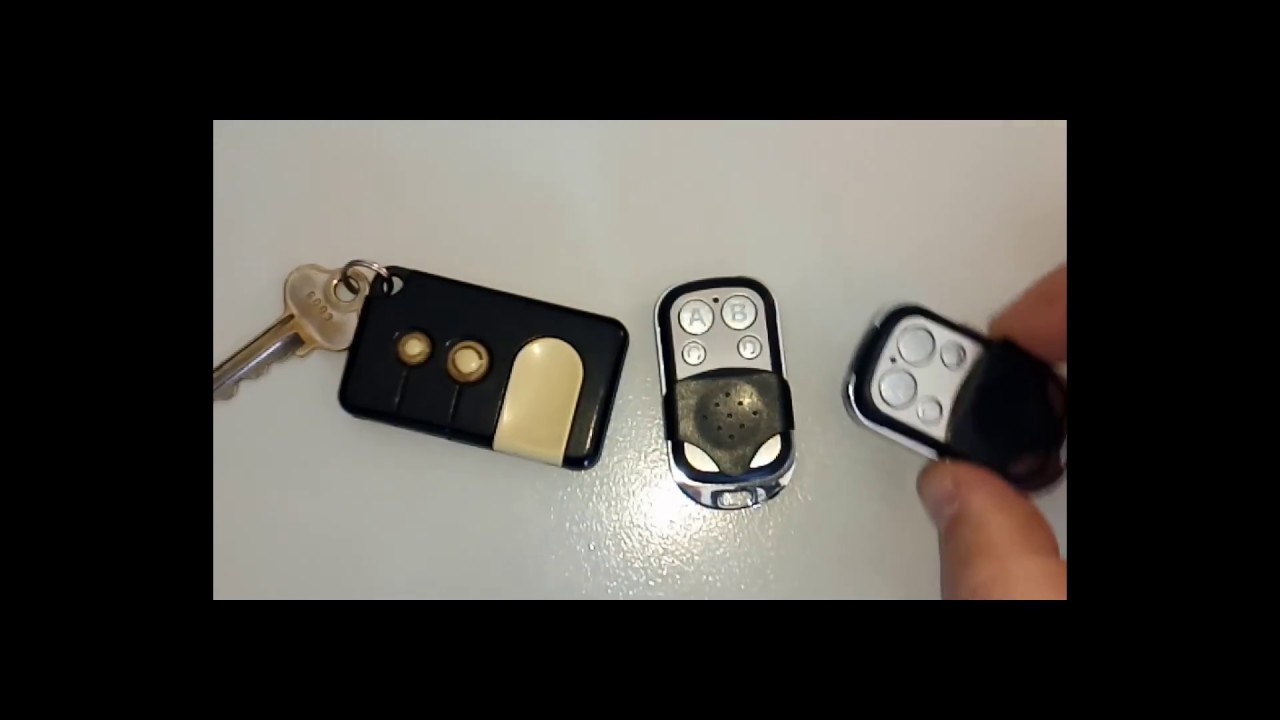
Comparing Remote Types And Features
Different remotes offer different features. Here’s a simple comparison of common remote types:
| Remote Type | Range | Buttons | Special Features |
|---|---|---|---|
| Standard Remote | 100-150 ft | 1-3 | Basic open/close |
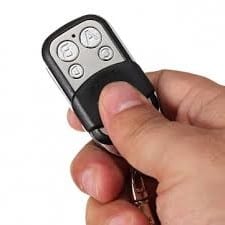
| Mini Keychain Remote | 50-100 ft | 1-2 | Portable, fits on keys |
| Wall Console | N/A (wired) | 1-3 | Light control, lockout |
| Smartphone Remote | Unlimited (Wi-Fi) | App-based | Schedules, alerts |
Top Safety Tips When Pairing Remotes
Pairing is simple, but safety is critical. Here’s what to remember:
- Unplug the opener if you need to access wiring.
- Never stand under the door when testing remotes.
- Keep remotes away from children. Small remotes can be choking hazards.
- Test the safety reversal system after pairing. Place a roll of paper towels under the door and close it. The door should reverse when it touches the object.
- Don’t share your PIN or app password with anyone you don’t trust.
When To Call A Professional
Most pairing jobs are DIY-friendly. However, you should call a pro if:
- The opener is over 20 years old and doesn’t respond to new remotes.
- You see exposed wires or broken parts.
- The door moves unevenly or makes grinding noises.
- You want to upgrade to a smart opener and need help with Wi-Fi setup.
A certified garage door technician can quickly diagnose and fix complex problems. This ensures your door operates safely.
Garage Door Remote Batteries: What You Need To Know
A dead battery is a common reason remotes stop working.
Common Battery Types
Most remotes use:
- CR2032 coin cell
- CR2016 coin cell
- 9V rectangular
- AA/AAA (rare in newer models)
Check your remote’s manual or open the battery compartment to find the correct type.
How Often To Replace
On average, garage door remote batteries last 1–2 years. If you notice the range decreasing or the remote works only when close to the door, it’s time to replace.
Replacing The Battery
- Use a small screwdriver to open the remote.
- Remove the old battery and insert a new one, matching the + and – sides.
- Snap the cover back on and test.
Pro tip: Always use fresh, name-brand batteries for best performance.
What To Do If You Lose A Garage Door Remote
Lost remotes are a security risk. Anyone who finds your remote could enter your garage.
Steps to take:
- Immediately erase all codes from your opener (hold the Learn button for 6–10 seconds).
- Re-pair the remotes you still have.
- Consider upgrading to a rolling code or smart opener for added security.
Pairing Multiple Remotes And Vehicles
Most families need more than one remote. Here’s how to manage them:
- Pair each remote using the standard steps. Most openers accept up to 8.
- If you reach the limit, erase old codes and start fresh.
- For built-in car remotes, always test from the street to ensure good range.
Troubleshooting Table: Quick Solutions
Here’s a quick reference for common pairing problems:
| Problem | Possible Cause | Solution |
|---|---|---|
| Remote not working | Dead battery | Replace battery |
| Remote won’t pair | Wrong remote type | Check compatibility |
| Door won’t close | Sensor blocked | Clear obstructions |
| All remotes lost | Codes erased | Re-pair remotes |
| Interference | Nearby devices | Change opener frequency |
How To Keep Your Garage Door System Secure
Security is about more than just pairing remotes. Here are smart practices:
- Change your PIN or erase remotes if you move into a new house.
- Never leave remotes in unlocked cars.
- Install a deadbolt on the inside garage door for added protection.
- Use a smart opener with activity alerts for better monitoring.
For more on garage security, check out the Consumer Reports garage security guide.
Differences Between Fixed Code And Rolling Code Remotes
Understanding your remote’s technology can avoid confusion.
Fixed Code
- Uses DIP switches inside the remote and opener.
- Set the switches to match each other.
- Not very secure—easy for thieves to copy.
Rolling Code
- Code changes with every use.
- Much more secure.
- Pairing involves pressing a Learn button instead of setting switches.
Most openers made after 1996 use rolling code technology.
How Weather And Environment Affect Remote Pairing
Physical factors can change how well your remote works.
- Cold weather can slow down batteries or make old remotes fail.
- Metal doors or siding can block signals. Try standing in different locations.
- Nearby radio towers or Wi-Fi routers can cause interference.
If your remote works only at the garage door threshold, consider a signal booster or check for interference sources.
Upgrading An Old Garage Door Opener
If your opener is more than 20 years old, it may not support new remotes. Upgrading can:
- Improve security (rolling code vs fixed code)
- Add smartphone features
- Make pairing easier
Modern openers often include features like battery backup and quiet operation. The upgrade pays off in convenience and safety.
Real-world Example: Pairing A New Remote
Let’s see a practical example:
Sarah just moved into a house with a Chamberlain garage opener. The old remote is missing. She buys a new one at the hardware store.
Here’s what she does:
- Climbs a ladder to reach the opener.
- Finds the yellow Learn button under the light cover.
- Presses and releases the Learn button.
- Within 30 seconds, presses the new remote’s button.
- The opener light blinks. She tests the remote—success!
- She repeats the process for her husband’s remote.
Sarah now has peace of mind, knowing only her remotes work with her garage.
Frequently Asked Questions
How Many Remotes Can I Pair With My Garage Door Opener?
Most modern garage door openers can store between 4 and 8 remotes. Check your opener’s manual for the exact number. If you reach the limit, you may need to erase old remotes before adding new ones.
My Remote Works Only When I’m Very Close To The Garage. What’s Wrong?
This usually means the battery is weak or there is signal interference. Try replacing the battery first. If the problem continues, check for new electronic devices or LED bulbs that might cause interference.
Is It Safe To Pair A Remote Myself, Or Should I Call A Professional?
Pairing a remote is generally safe and easy for most homeowners. Just follow the instructions and safety tips. Call a professional if you see damaged parts, exposed wires, or if the opener is very old.
Can I Use A Universal Remote With Any Garage Door Opener?
Universal remotes work with many brands, but not all. Check the packaging for compatibility, especially for openers made before 1993 or those with unique frequencies. Some newer smart openers require brand-specific remotes.
What Should I Do If I Lose My Garage Door Remote?
Immediately erase all paired codes from your opener by holding the Learn button for 6–10 seconds. Then re-pair the remotes you still have. This keeps your home secure in case someone finds the lost remote.
Pairing your garage door remote is a simple but powerful way to control access to your home. With the right steps and a little patience, you can do it yourself and enjoy peace of mind. Remember to keep your remotes safe, change batteries regularly, and upgrade your system when needed.
Your garage door is more than just a convenience—it’s a key part of your home’s security.


