Now Reading: Disable Garage Door Opener
- 01
Disable Garage Door Opener

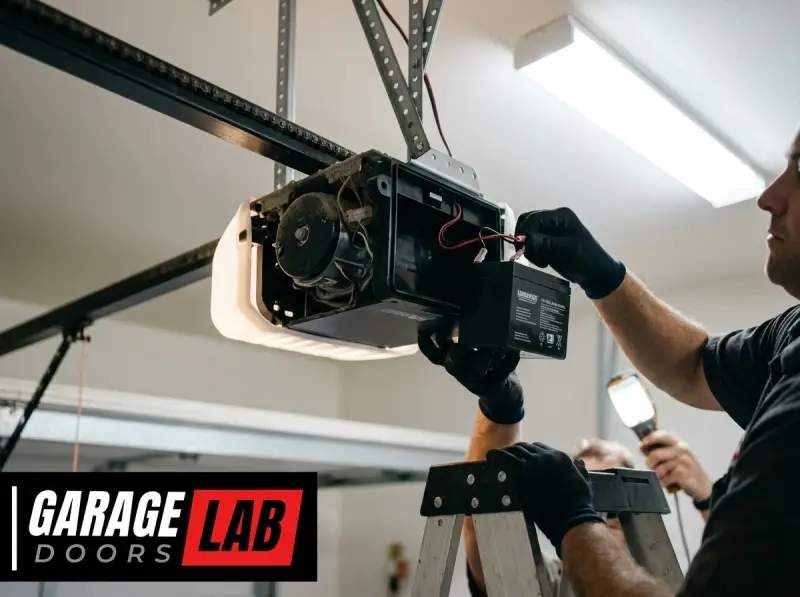
Understanding how to disable your garage door opener is a crucial skill for homeowners, whether for routine maintenance, security upgrades, or emergency situations. A garage door opener, while incredibly convenient, is a complex electromechanical device that requires careful handling when you need to disengage its automated functions.
This process isn’t just about flipping a switch; it involves understanding the different mechanisms at play and the potential safety implications.
Failing to properly disable your garage door opener can lead to unexpected operation, posing a risk to yourself, your family, or your property. For instance, during a power outage or when performing repairs, an unintentionally activated opener can cause damage or injury.
Knowing the specific steps for your model ensures that the garage door remains in a secure, unpowered state until you’re ready to re-engage the opener. This guide will walk you through the common methods and considerations for safely disabling your garage door opener.
Key Takeaways
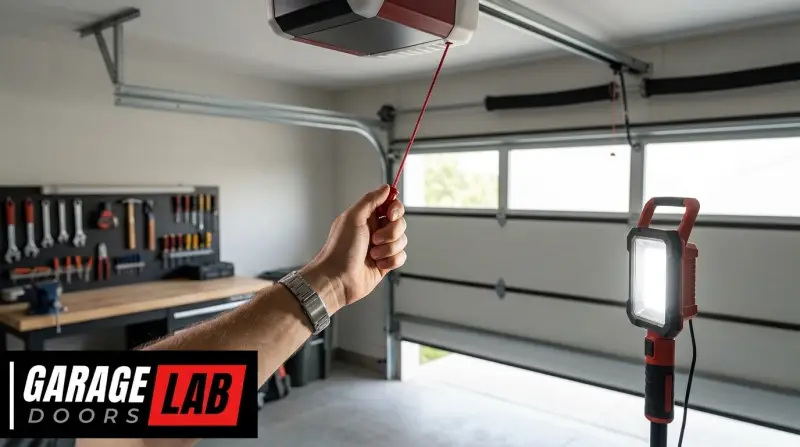
- Manual Disengagement: Most openers have a red emergency release cord that, when pulled, disconnects the trolley from the drive mechanism, allowing manual operation.
- Power Disconnection: The most fundamental step is to unplug the opener’s motor unit from the electrical outlet or turn off the corresponding circuit breaker.
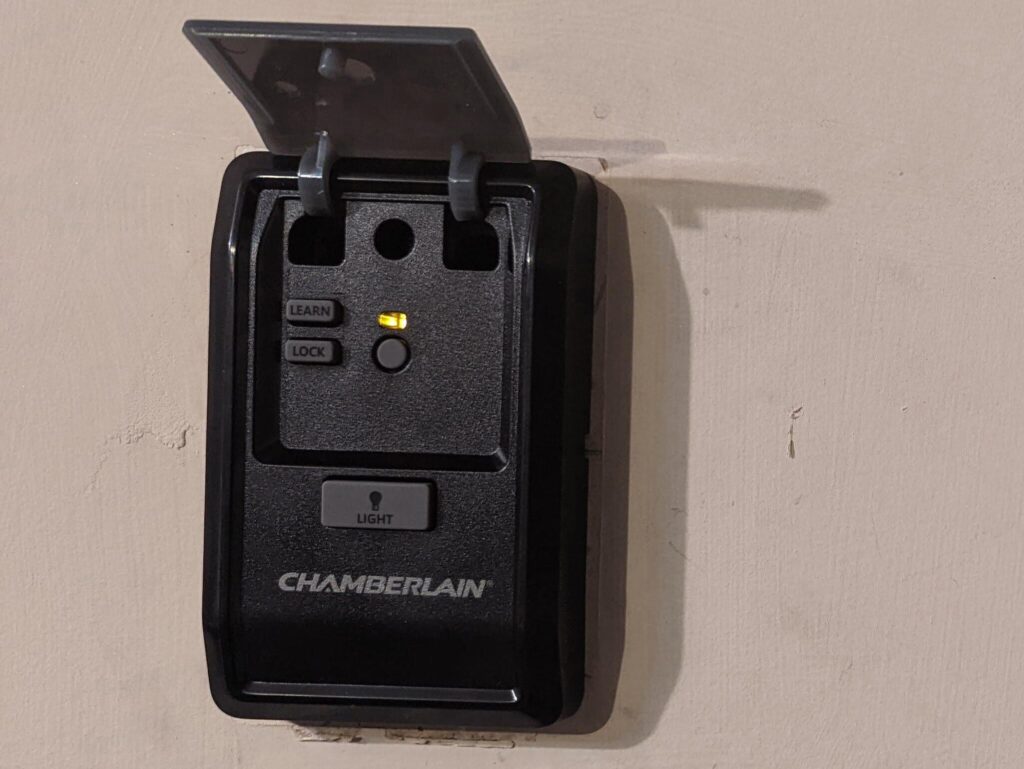
- Locking Mechanisms: For enhanced security, consider physically locking the garage door once it’s manually operated and the opener is disabled.
- Safety First: Always ensure the garage door is in a stable position before disconnecting the opener, especially if working on it.
- Re-engagement: Reconnecting the opener typically involves re-engaging the trolley and restoring power, often requiring a test run.
- Specific Models: Procedures can vary slightly between brands (LiftMaster, Chamberlain, Genie, Craftsman), so consulting your owner’s manual is recommended.

Credit: www.reddit.com
Understanding Your Garage Door Opener System
Before you can disable your garage door opener, it’s essential to understand its basic components and how they work together. A typical garage door opener system consists of a motor unit, a drive mechanism (chain, belt, or screw), a trolley (which connects to the door), and a control system (remotes, keypads, wall buttons). The motor unit powers the drive mechanism, which moves the trolley along its track. The trolley, in turn, lifts and lowers the garage door via a connecting arm.
When the opener is engaged, the motor is responsible for all the door’s movement. Disabling the opener means interrupting this automated process, either by cutting power to the motor or by physically disconnecting the door from the motor’s drive system.
This distinction is important because different situations might call for different methods of disabling. For example, a temporary power outage might only require unplugging the unit, while a longer-term repair might necessitate a full manual disconnect.
Components Of A Garage Door Opener
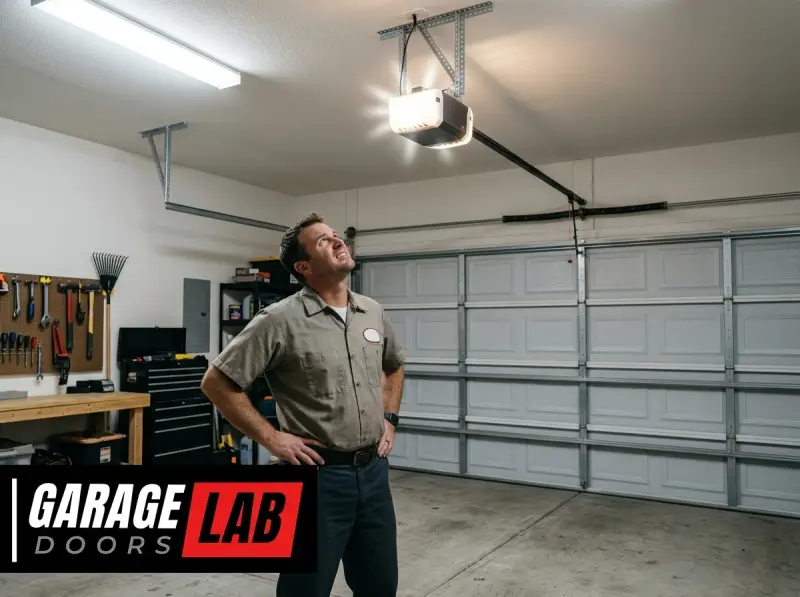
- Motor Unit: This is the “brain” and “muscle” of the system, typically housed in a unit mounted on the ceiling. It contains the motor, gears, and electronics.
- Drive Mechanism: This transmits power from the motor to the trolley. Common types include:
- Chain Drive: Uses a metal chain, similar to a bicycle chain, to move the trolley. It’s durable but can be noisy.
- Belt Drive: Uses a rubber or composite belt, offering quieter operation than chain drives.
- Screw Drive: Uses a threaded rod that the trolley moves along. It’s often quiet and requires less maintenance but can be slower.
- Trolley (Carriage): This assembly slides along the drive mechanism’s rail and is attached to the garage door via an arched door bracket and a connecting arm. It’s the crucial link between the motor and the door.
- Rail Assembly: The track along which the trolley moves.
- Emergency Release Cord: A red cord hanging from the trolley, designed to manually disengage the drive mechanism.
- Control Panel/Wall Button: The wired button usually mounted inside the garage for manual operation.
- Remote Control(s): Wireless transmitters used to operate the door from a distance.
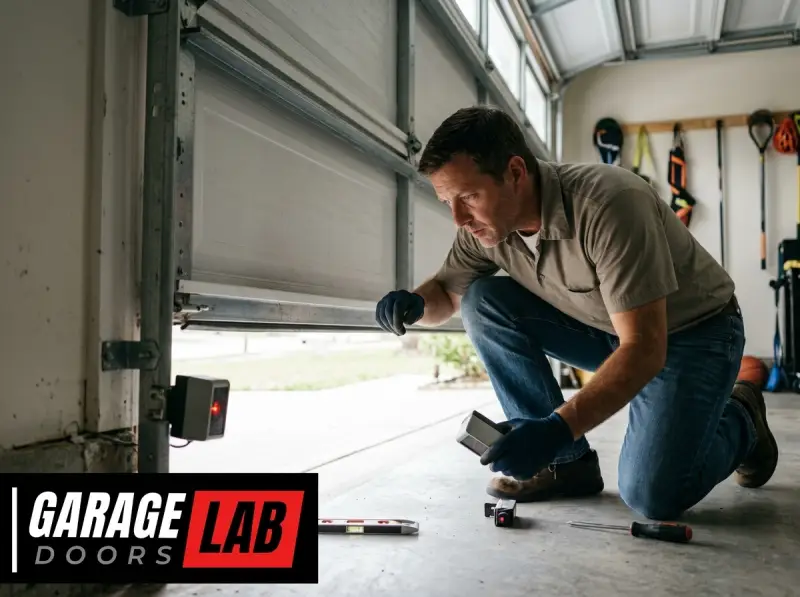
- Safety Sensors: Photo-eye sensors located near the bottom of the door tracks that prevent the door from closing if an obstruction is detected.
How The Opener Normally Functions
In normal operation, when you press a button on your remote or wall control, a signal is sent to the opener’s logic board. This board then activates the motor. The motor turns a gear that engages with the drive mechanism (chain, belt, or screw).
As the drive mechanism moves, it propels the trolley along the rail. The trolley is attached to the garage door, so as it moves, it lifts or lowers the door.
Safety features, like the safety sensors, are constantly monitored. If the sensors detect an interruption in their beam (meaning something is in the doorway), the opener will stop the door’s movement and may even reverse it if it’s closing. Similarly, force-limit settings ensure the door stops if it encounters unexpected resistance.
Common Reasons To Disable Your Garage Door Opener
There are several practical reasons why you might need to temporarily or permanently disable your garage door opener. Understanding these scenarios can help you prepare for them and ensure you use the correct disabling method.
Maintenance And Repairs
This is perhaps the most common reason. When performing maintenance, such as lubricating tracks, springs, or rollers, or when undertaking repairs on the opener itself or the door mechanism, it’s critical to ensure the door cannot operate automatically. This prevents accidental activation, which could lead to injury or damage. For example, if you need to lubricate garage door rollers, you’ll want the door to stay put.
Power Outages
During a power outage, your automatic garage door opener will not function. However, many modern openers have battery backup systems. If you need to operate the door manually during an outage and don’t want the battery backup to engage, or if your opener doesn’t have a backup, you’ll need to disable the opener. This is also essential if you need to open the door and the power is out and the battery backup is dead or not functioning. Knowing how to open your garage door manually is paramount during such events.
Security Concerns
If you suspect your remote or keypad has been compromised, or if you’re going on an extended vacation and want an extra layer of security, disabling the opener can be a good step. This prevents unauthorized access via the remote signals.
Replacing The Opener Or Door
When upgrading to a new garage door opener or replacing the entire garage door, the existing opener must be disconnected. This is a standard part of the installation process for new equipment.
Moving Or Relocating
If you’re moving and want to take your garage door opener with you, or if you’re selling your home and the opener is not included in the sale, you’ll need to disable and remove it.
Credit: uadgaragedoors.com
Methods For Disabling Your Garage Door Opener
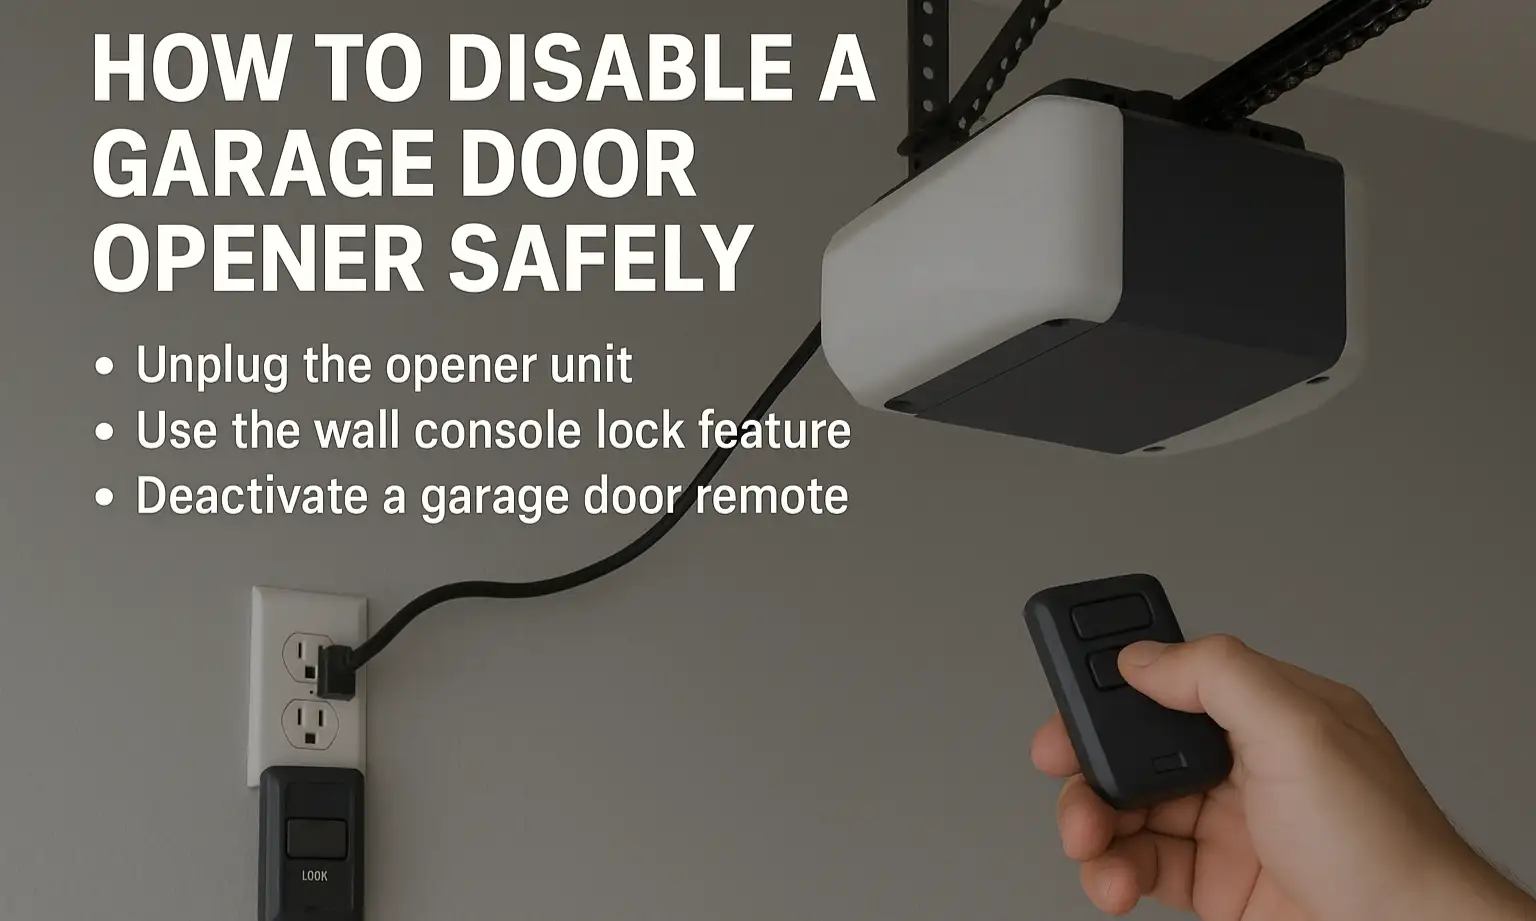
There are two primary ways to disable a garage door opener: by disconnecting the power source or by manually disengaging the drive mechanism. Often, a combination of both is recommended for comprehensive disabling.
Method 1: Disconnecting Electrical Power
This is the most straightforward and often the first step in any disabling process. It ensures the motor unit cannot receive power to operate.
Unplugging The Motor Unit
- Locate the Power Cord: Find the electrical cord that runs from the motor unit (mounted on the ceiling) to the nearest electrical outlet.
- Unplug: Firmly pull the plug from the wall outlet. If the outlet is high up or difficult to reach, you might need a step ladder.
- Secure the Cord: Tuck the cord away so it doesn’t get accidentally plugged back in.
Using The Circuit Breaker
- Identify the Breaker: Go to your home’s main electrical panel. Locate the circuit breaker that controls the garage door opener. It might be labeled “Garage Door Opener,” “Garage Lights,” or a similar designation. If you’re unsure, you may need to test breakers by flipping them off and checking if the opener loses power (try the remote).
- Flip the Breaker: Switch the breaker to the “OFF” position.
- Verify: Ensure the opener is completely dead by trying to activate it with the remote or wall button.
Pro Tip: For maximum security and to prevent accidental re-activation, it’s best practice to both unplug the motor unit AND turn off the circuit breaker. This provides redundancy.
Method 2: Manual Disengagement (emergency Release)
This method disconnects the garage door from the opener’s trolley, allowing you to lift or lower the door manually. This is crucial if you need to operate the door during a power outage or when working on the door itself.
Locating And Using The Emergency Release Cord
- Identify the Cord: Look for a red cord hanging from the trolley mechanism that slides along the opener’s rail. This cord is specifically designed for emergency release.
- Pull the Cord: Grasp the red cord firmly and pull it straight down. You might hear or feel a click as the trolley disconnects from the drive chain or belt.
- Test Manual Operation: Once the cord is pulled, the trolley should move freely along the rail without moving the door. You should now be able to lift or lower the garage door by hand using its handles.
- Secure the Door: If you’re leaving the door open or in a partially open position, ensure it’s securely latched or supported to prevent it from falling unexpectedly. You can often use the door’s manual lock mechanism, if available, or prop it safely.
Warning: Be cautious when pulling the emergency release cord. If the garage door is heavy or unbalanced, it could move rapidly and unexpectedly. Ensure no one is in the path of the door.
Method 3: Disconnecting The Drive Mechanism (less Common)
Some older or specific types of openers might have alternative ways to disconnect the drive mechanism, such as removing a specific gear or pin. However, the emergency release cord is the standard and safest method for most modern openers. Consulting your owner’s manual is vital if you cannot locate or use the red cord.
Credit: www.bdkdoor.com
Step-by-step Guide To Disabling Your Garage Door Opener
Combining power disconnection with manual release provides the most secure way to disable your garage door opener. Here’s a comprehensive step-by-step guide:
Step 1: Ensure The Door Is In A Stable Position
Before you begin, decide whether you want the door in the open or closed position. If you are performing maintenance that requires the door to be open, ensure it is safely supported. If you want it closed, make sure it is fully sealed against the ground.
Step 2: Disconnect Electrical Power
- Option A (Recommended): Unplug the motor unit from the wall outlet.
- Option B (Also Recommended): Go to your electrical panel and flip the circuit breaker for the garage door opener to the OFF position.
Combining both Option A and B provides the highest level of certainty that the opener will not accidentally activate.
Step 3: Manually Disengage The Opener Mechanism
- Locate the red emergency release cord hanging from the trolley on the opener rail.
- Pull the cord firmly downward. You should feel or hear it disengage.
- Test the trolley: Gently try to slide the trolley along the rail. It should move freely, and the garage door should not move with it.
- Test the door: Manually lift or lower the garage door using its handles. It should move smoothly. If it feels excessively heavy or difficult to lift, the spring system might need adjustment or professional attention. This is a good time to consider lubricating garage door rollers.
Step 4: Secure The Garage Door (if Necessary)
If you’ve disengaged the opener and left the door open or partially open, it’s wise to secure it. Many garage doors have a manual slide lock on the side of the door, near the bottom. Engage this lock if available. Alternatively, you can use a C-clamp on the track or a sturdy prop.
Step 5: Perform Your Maintenance Or Task
With the opener disabled and the door secured, you can now safely perform your maintenance, repairs, or any other task requiring the opener to be disengaged.
Re-engaging Your Garage Door Opener
Once you’ve completed your work, you’ll need to re-engage the opener. The process is essentially the reverse of disabling it.
Step 1: Reconnect The Drive Mechanism
- Ensure the garage door is in the closed position (or the position where you want the trolley to re-engage).
- Locate the trolley on the rail.
- Re-engage the trolley: This often involves manually pushing the trolley back onto the drive chain/belt or using a specific mechanism described in your owner’s manual. For many chain-drive openers, you might need to move the trolley until it re-engages with the chain. For belt drives, you might need to reattach the trolley to the belt. Some systems require you to pull the emergency release cord again to allow the trolley to slide into position, then re-engage it.
- Test the connection: Gently try to move the trolley. It should now move the door.
Step 2: Restore Electrical Power
- Plug the motor unit back into the electrical outlet.
- Or, go to your electrical panel and flip the circuit breaker back to the ON position.
Step 3: Test The Opener Operation
- Use your remote or wall button to activate the opener.
- Observe the door’s movement: Ensure it opens and closes smoothly without any unusual noises or resistance.
- Check safety features: Test the safety sensors by placing an object in the door’s path as it closes. The door should reverse immediately. Also, test the force-limit settings by placing a piece of wood (like a 2×4) flat on the ground in the door’s path. The door should stop and reverse upon contact. If these features aren’t working correctly, consult your owner’s manual or a professional. You might need to adjust your opener’s settings.
Specific Considerations For Popular Brands
While the general principles of disabling a garage door opener are the same, specific models and brands might have slight variations in their emergency release mechanisms or re-engagement procedures. Always refer to your owner’s manual if you have one.
Liftmaster And Chamberlain
LiftMaster and Chamberlain garage door openers (often manufactured by the same parent company, Chamberlain Group) typically use a red emergency release cord hanging from the trolley. The process of pulling this cord and re-engaging the trolley is standard. For re-engagement, you usually need to move the trolley manually until it clicks back into place on the chain or belt, or sometimes by pulling the cord again to allow it to slide onto the drive. If you need to reset the system entirely, you might need to reset the remote or the entire opener.
Genie
Genie openers also commonly feature a red emergency release cord. The procedure for pulling and re-engaging is similar. Genie often emphasizes ensuring the door is balanced before manual operation, as their systems are designed for smooth power-assisted movement. If you’re having trouble with a Genie keypad, you might need to reprogram the keypad after re-engaging the opener.
Craftsman
Craftsman openers, which are also often manufactured by Chamberlain Group, follow similar protocols. The red cord is the primary means of manual disengagement. When re-engaging, ensure the trolley properly connects to the drive mechanism. If you’re troubleshooting remote issues, you may need to reset the remote for a Craftsman opener.
Other Brands (e.g., Overhead Door, Marantec)
Most other reputable garage door opener brands will have a similar emergency release cord system. Always consult the specific model’s manual for detailed instructions. If you are unsure about the process or your opener’s specific features, contacting a professional garage door technician is always a safe option.
Safety Precautions When Disabling And Operating Manually
Working with garage doors and their openers involves inherent risks. Adhering to safety precautions is paramount.
- Read Your Manual: Always consult your garage door opener’s owner’s manual for specific instructions related to your model.
- Never Bypass Safety Sensors: Even when disabling the opener, remember the importance of safety sensors. When re-engaging, ensure they are properly aligned and functional.
- Check Door Balance: A properly balanced garage door should stay open on its own when partially lifted. If your door is difficult to lift or slams shut, the spring system is likely faulty and requires professional attention. Do not operate a poorly balanced door manually.
- Use Handles: Always use the manual handles on the garage door for lifting and lowering. Avoid pulling on the door itself, as this can damage it.
- Beware of Springs: Garage doors use highly tensioned torsion springs or extension springs. These store a significant amount of energy and can cause serious injury if they break or are handled improperly. Never attempt to adjust or repair springs yourself unless you are a trained professional.
- Keep Children and Pets Away: Ensure children and pets are kept clear of the garage door’s path during manual operation and while the opener is being disabled or re-engaged.
- Wear Protective Gear: Consider wearing work gloves to protect your hands and safety glasses to protect your eyes.
Troubleshooting Common Issues
Sometimes, disabling or re-engaging your garage door opener can lead to minor issues.
Opener Does Not Disconnect
If pulling the red cord doesn’t disconnect the trolley, the cord might be broken, or the internal mechanism might be jammed. In this case, you may need to manually force the trolley or, more safely, call a professional.
Door Is Too Heavy To Lift Manually
This is a strong indicator of a problem with the torsion springs. The springs counterbalance the weight of the door, making it easy to lift. If they are broken or lose tension, the door becomes extremely heavy and dangerous to operate. Do not attempt to lift a heavy door; call a professional immediately.
Opener Does Not Re-engage Properly
If the trolley doesn’t seem to connect securely, or if the door still operates independently after re-engagement, double-check the connection. Ensure the trolley is fully seated on the chain/belt and that any release mechanisms are properly reset. A test cycle is crucial here. If issues persist, professional help is recommended. For general troubleshooting, resetting the opener can sometimes resolve minor glitches.
Safety Sensors Not Working After Re-engagement
If your safety sensors are misaligned or obstructed, the opener may refuse to close the door or reverse immediately. Check that the sensors are clean, unobstructed, and properly aligned. You might need to adjust their position. Refer to your manual for specific sensor adjustment procedures. If problems persist, consider resetting the keypad or the entire opener system.
Frequently Asked Questions
What Is The Red Cord On My Garage Door Opener For?
The red cord hanging from the trolley is the emergency release cord. Its purpose is to manually disengage the drive mechanism from the garage door, allowing you to open or close the door by hand. This is essential during power outages or for maintenance and repairs.
Can I Disable My Garage Door Opener Permanently?
Yes, you can permanently disable your garage door opener by unplugging it and potentially removing the entire unit. If you no longer wish to use automatic operation, you can simply stop plugging it in or disconnect its power at the breaker. However, this leaves your garage door purely manual, which may be less convenient.
How Do I Manually Open My Garage Door If The Opener Is Disabled And There’s No Power?
If the opener has been manually disengaged using the emergency release cord, you can lift or lower the door by hand using its handles. If the opener