Now Reading: How to Set a Chamberlain Garage Door Opener Easily
- 01
How to Set a Chamberlain Garage Door Opener Easily
Setting up a Chamberlain garage door opener can seem a bit complex, especially if you’re new to home improvement projects. But with the right guidance, it becomes a clear and manageable process—even if English is not your first language. This article will walk you through every important step, from understanding the parts to connecting your opener with smart home apps. You’ll learn not just how to set it up, but also how to avoid common mistakes and make your installation smooth and safe. By the end, you’ll have the confidence to handle your Chamberlain opener like a pro.
Understanding Your Chamberlain Garage Door Opener
Before you start, it’s important to know what you’re working with. Chamberlain is one of the most popular brands for garage door openers in the United States. Their products are known for reliability, safety features, and smart technology options.
Types Of Chamberlain Openers
Chamberlain offers several types of openers. Each type has its own strengths, so knowing which one you have—or plan to buy—matters for setup and maintenance.
| Type | Main Feature | Best For |
|---|---|---|
| Chain Drive | Metal chain for lifting | Heavy doors, basic needs |
| Belt Drive | Quiet operation, rubber belt | Attached garages |
| Screw Drive | Direct drive, fewer parts | Low maintenance |
| Wall Mount | Mounted on the wall | Small ceilings, modern look |
Most Chamberlain models share a similar setup process. However, always check your specific model number and read the included manual for details.
What’s In The Box?
When you open the package, you’ll find several parts and hardware. You should see:
- The opener unit (the “motor”)
- A rail (usually in several pieces)
- A chain or belt
- Trolley (moves along the rail)
- Safety sensors
- Wall control panel
- Remote controls
- Hardware bag (screws, bolts, brackets)
- Light bulbs (sometimes included)
Double-check that all parts are present before starting. Missing hardware is a common reason for installation delays.
Preparing For Installation
A successful installation starts with good preparation. Skipping this step can lead to frustration, wasted time, and safety issues.
Tools You’ll Need
You don’t need special tools, but having the right ones will make the job easier and safer:
- Stepladder (strong enough for your weight)
- Drill with bits (1/4” and 3/16” are common)
- Socket set or adjustable wrench
- Phillips and flathead screwdrivers
- Tape measure
- Level (to keep everything straight)
- Pencil or marker
- Safety glasses and gloves
Tip: Have a friend or family member help you. Some steps, like lifting the opener, are much easier with two people.
Check Your Garage Door
Your opener is only as good as your garage door. If the door is bent, unbalanced, or sticks when moving, fix these issues first.
Here’s a simple way to check balance:
- Close the garage door.
- Pull the manual release (usually a red cord).
- Lift the door halfway and let go.
If the door stays in place, it’s balanced. If it falls or rises, call a technician to adjust the springs before installing your opener.
Safety Precautions
- Unplug old openers before removing them.
- Never work on springs or cables unless you are trained.
- Keep children and pets away from the work area.
- Wear gloves to protect your hands.
Assembling The Rail And Trolley
This is the first “hands-on” step. The rail is what guides the trolley, which pulls the door open and closed.
- Lay out the rail pieces on the floor.
- Connect the sections as shown in your manual. Most rails snap or bolt together.
- Slide the trolley onto the rail before attaching the last piece. The trolley is the moving part that connects to the door.
- Secure the rail assembly with bolts or screws, making sure it’s straight.
Check that the trolley moves smoothly. If it sticks, double-check for bent or misaligned pieces.
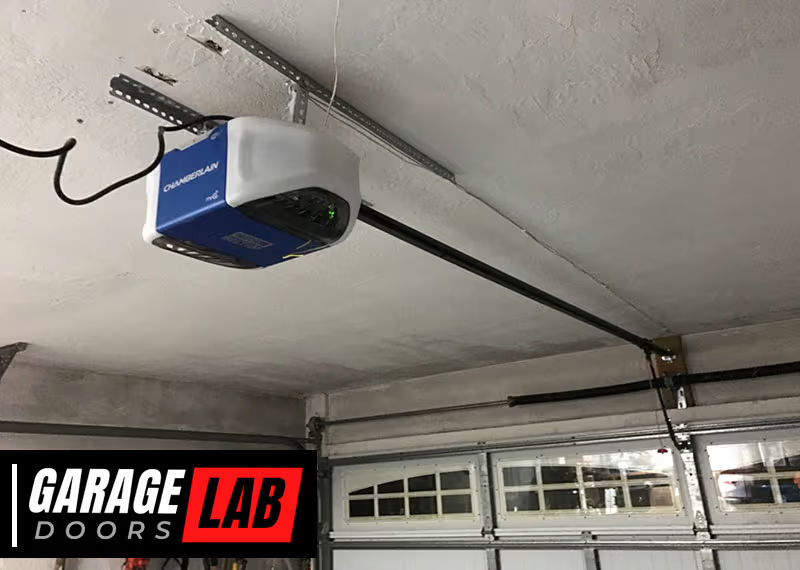
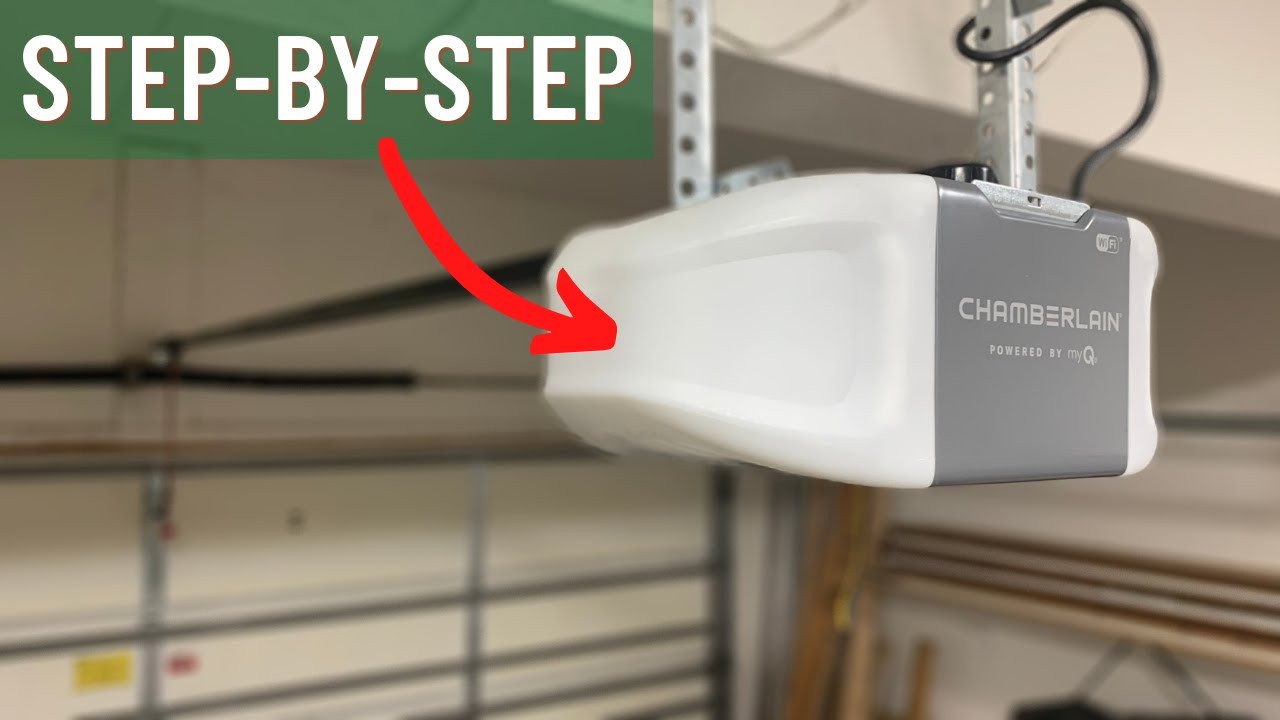
Mounting The Opener Unit
With your rail ready, you can connect it to the opener’s motor unit.
- Attach the rail to the opener using the included bracket and bolts.
- Tighten all connections, but don’t overtighten—plastic parts can crack.
- Place the opener unit on a ladder near the ceiling. This supports the weight while you connect it to the garage ceiling.
Tip: Mark the ceiling joist you’ll use for mounting. Chamberlain recommends mounting into wood, not just drywall, for safety.
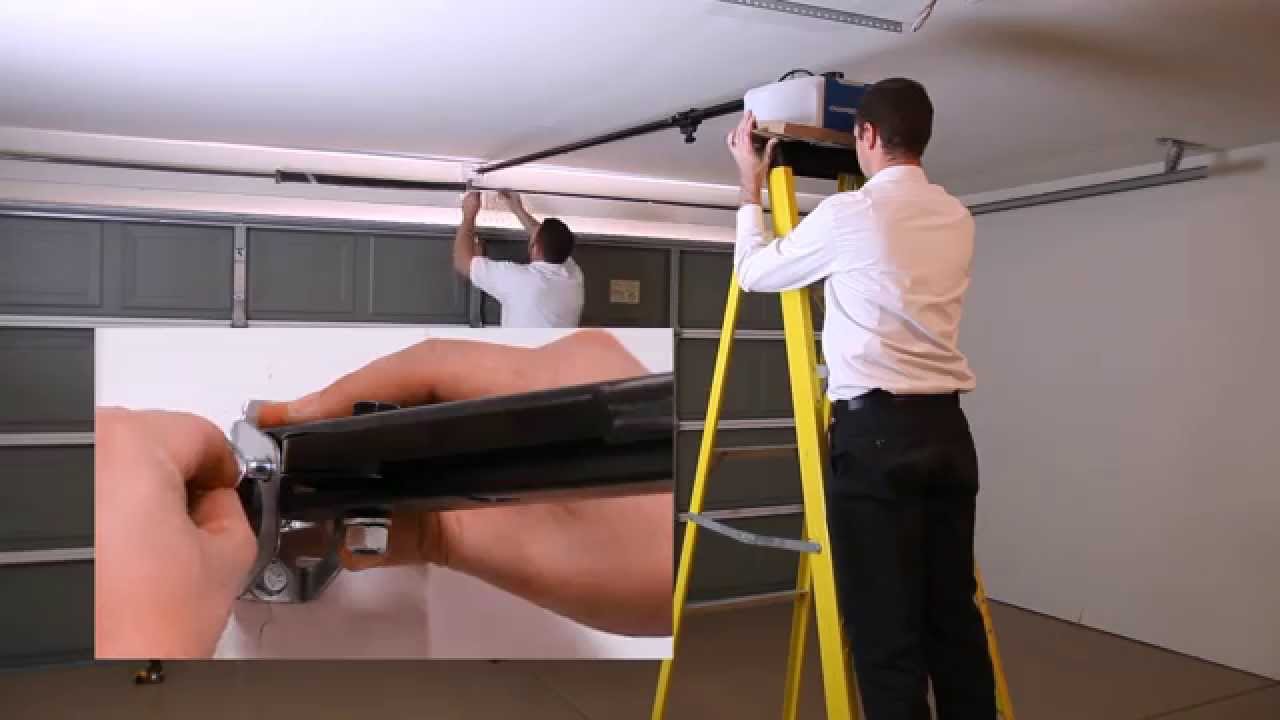
Installing The Assembly To The Ceiling
Now you’ll lift everything into place.
- Raise the rail and opener assembly to the ceiling, with the end of the rail above the garage door.
- Attach the header bracket (included) above the garage door, centered over the door.
- Secure the rail to the header bracket. Use a level to keep the rail perfectly horizontal.
- Mount the motor unit to the ceiling joists using metal straps or angle iron. Use lag screws for a strong hold.
The opener should hang about 2 inches above the highest point the door travels. This prevents damage if the door flexes.
Connecting The Door Arm
This part links the moving trolley to your garage door itself.
- Attach the curved door arm to the trolley.
- Attach the straight door arm to your garage door.
- Connect the two arms together with the provided bolt and nut.
- The arm should be straight when the door is closed and slightly angled when open.
Make sure all fasteners are tight. Loose connections can cause the opener to fail or damage the door.
Installing Safety Sensors
Chamberlain openers use infrared safety sensors to stop the door if something is in the way. This is required by law in the US.
- Place one sensor on each side of the garage door, about 6 inches above the floor.
- Use the brackets to attach them to the door track or wall.
- Run the sensor wires back to the opener unit overhead.
- Plug each wire into the terminals marked “sensors” (usually color-coded).
The sensors should face each other directly. If the lights on both sensors are solid, they are aligned. Blinking lights mean misalignment.
Non-obvious insight: If you have pets or small children, be sure nothing blocks the sensors—not even dust or spider webs. Blocked sensors will keep the door from closing.
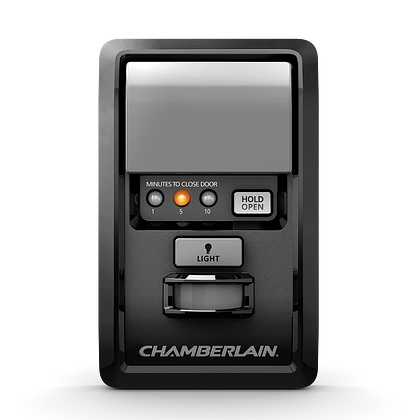
Wiring The Wall Control And Power
The wall control lets you open and close the door from inside the garage.
- Mount the wall control panel next to the entry door, at adult height.
- Run the included wire from the panel to the opener unit (often stapled along the ceiling/wall).
- Connect the wire to the terminals marked “wall control.”
Plug the opener into a grounded outlet. Don’t use an extension cord—this is a fire risk.
Common mistake: Plugging the opener into an outlet controlled by a wall switch. If someone turns off the switch, the opener won’t work. Use a dedicated outlet.
Installing And Testing Light Bulbs
Most Chamberlain openers have built-in lights that turn on when the door operates.
- Use bulbs rated for “garage door opener use.” These resist vibration and last longer.
- Do not exceed the wattage limit shown in your manual (often 60 or 100 watts).
- Screw bulbs into the sockets.
Test the lights by pressing the wall control. If they flicker or don’t work, check the bulbs and wiring.
Setting The Limits
Limit settings tell your opener how far to open and close the door. Setting them wrong can cause the door to stop too soon or hit the floor too hard.
How To Set The Open/close Limits
On most Chamberlain models, you’ll find “up” and “down” buttons or screws on the opener unit.
- Press and hold the “down” button. The door should move down. Release when it touches the floor.
- Press and hold the “up” button. The door should move up. Release when it is fully open.
Adjust in small steps. Test several times. The door should fully open and close without slamming or stopping short.
Pro tip: Set the door to stop just as the bottom rubber seal touches the floor. Too much pressure can damage the door or opener.
Setting The Force Controls
Force controls adjust how much power the opener uses to move the door. If set too high, the door may not stop if it hits something. If too low, the door may not move at all.
- Find the force adjustment screws (often labeled “up force” and “down force”).
- Set to the recommended level in the manual.
- Test the door several times. If the door reverses without reason, increase force slightly. If it doesn’t reverse when blocked, reduce force.
Non-obvious insight: Weather can affect door movement. If your garage is cold in winter, you may need to adjust force settings for smooth operation.
Programming Remote Controls
Chamberlain openers use rolling codes for security. Programming is fast, but each opener has its own method.
- Press the “Learn” button on the opener unit (usually yellow, red, or purple).
- Within 30 seconds, press the button on your remote.
- The lights on the opener will blink to confirm the remote is programmed.
You can usually program multiple remotes. Test each one from outside the garage to confirm range.
Practical tip: If you move or sell your home, erase all remotes by holding the “Learn” button for 10 seconds. Then reprogram as needed.
Setting Up Keypad Entry (if Included)
Many Chamberlain models come with a wireless keypad for entry without a remote.
- Open the keypad cover and press the “Learn” button on the opener unit.
- Within 30 seconds, enter your chosen 4-digit PIN on the keypad, then press Enter.
- The opener lights will blink to confirm.
Test the keypad by entering your PIN with the door closed. The door should open smoothly.
Example: If your hands are full, or you’re coming home from a walk, the keypad is very useful.
Connecting To Myq And Smart Home Apps
Many newer Chamberlain openers support MyQ, a smart technology that lets you control your garage from your smartphone.
Setting Up Myq
- Download the “myQ” app from the App Store or Google Play.
- Create an account and follow the instructions to connect your opener. You’ll need your Wi-Fi password.
- The app will scan for the opener and connect it to your network.
Once connected, you can open or close your garage from anywhere, get alerts, and set schedules.
Data point: According to Chamberlain, over 2 million homes use MyQ for added convenience and security.
Non-obvious insight: MyQ can integrate with Amazon Key, Google Assistant, and other smart home systems. This makes delivery and access easier.
Testing The Safety Features
After installation, test all safety systems:
- Place a small box or roll of paper towels under the door. Close the door. It should reverse when touching the object.
- Wave your hand in front of the safety sensors while the door is closing. The door should stop and go back up.
- Test all remotes, wall controls, and keypads.
If any test fails, do not use the opener until you fix the issue. Safety is the top priority.
Troubleshooting Common Issues
Even with careful setup, small issues can come up. Here are some common problems and solutions:
| Problem | Possible Cause | What to Do |
|---|---|---|
| Door won’t close | Sensor blocked or misaligned | Clean and realign sensors |
| Remote not working | Dead battery or not programmed | Replace battery, reprogram remote |
| Opener makes noise | Loose parts or dry rail | Tighten hardware, add lubricant |
| Door reverses | Too much down force | Adjust force settings |
If problems continue, call Chamberlain support or a local garage door technician.
Maintenance Tips For Long Life
A well-installed opener still needs care. Here’s how to keep yours working smoothly for years:
- Lubricate the rail and chain/belt every 6 months with garage door lubricant (not WD-40).
- Check the door balance once a year.
- Clean the sensors with a soft cloth regularly.
- Replace remote batteries as needed.
- Test safety features every few months.
Pro tip: Keep your manual in a safe place. Most troubleshooting steps are model-specific.
When To Call A Professional
Some jobs are best left to experts:
- Adjusting or replacing springs/cables
- Electrical work beyond simple wiring
- Major door repairs
If you feel unsure at any stage, it’s safer to get help. A poorly installed opener can cause injury or damage.
Comparing Chamberlain With Other Brands
If you’re still shopping or want to know how Chamberlain stacks up, here’s a quick comparison:
| Brand | Strengths | Weaknesses |
|---|---|---|
| Chamberlain | Wide range, smart features, easy support | Some models are louder |
| LiftMaster | Commercial-grade durability | Higher price |
| Genie | Quiet operation, good value | Fewer smart options |
| Craftsman | Affordable, widely sold | Basic models lack features |
Chamberlain is a strong choice for most homeowners, especially if you want smart controls.
Essential Safety Reminders
- Do not let children play with remote controls.
- Always watch the door while it is moving.
- If you lose a remote, erase all codes and reprogram your remotes.
- Test the auto-reverse safety feature monthly.
Ignoring these tips can result in injury or theft.
Environmental And Energy Considerations
Modern Chamberlain openers use less energy than old models. Many have:
- LED lighting for lower power use
- Sleep mode to save electricity when not in use
- Quiet motors that reduce noise pollution
If you care about energy efficiency, look for models with the ENERGY STAR label or “green” features.
Where To Find More Help
Chamberlain’s official website has video tutorials, manuals, and support forums. You can also find step-by-step videos on YouTube. For official manuals and updates, visit the Chamberlain Support Page.
Frequently Asked Questions
How Long Does It Take To Set Up A Chamberlain Garage Door Opener?
Most homeowners can complete the job in 3 to 5 hours. If you are new to DIY projects or have a complex garage, plan for a full afternoon. Having a helper speeds up the process.
Can I Install A Chamberlain Opener On An Old Garage Door?
Yes, but the garage door must be in good condition. If the door is warped, unbalanced, or has broken parts, fix these first. Old wooden doors may need extra reinforcement for the arm bracket.
Why Won’t My Remote Control Work After Installation?
Common reasons include dead batteries, the remote not being programmed, or interference from metal objects or Wi-Fi routers. Make sure you followed the programming steps correctly and test from several locations.
Is Wi-fi Required To Use A Chamberlain Garage Door Opener?
No, Wi-Fi is not required for basic operation. You can use wall controls and remotes without internet. However, Wi-Fi is needed for smart features, phone alerts, and MyQ remote operation.
What Should I Do If The Door Reverses Before Closing Completely?
This often means the safety sensors are blocked or misaligned. Check for dirt, direct sunlight, or objects in the path. Realign the sensors until both lights are solid, then test again.
Setting up a Chamberlain garage door opener is a solid investment in convenience and security. With careful preparation, attention to detail, and regular maintenance, your opener will serve you well for years. Remember, it’s not just about following steps—it’s about understanding how each part works together for a safe, smooth experience.
If you ever feel stuck, don’t hesitate to ask for help or check trusted resources. With this guide, you’re ready to enjoy all the benefits of your Chamberlain system.


