Now Reading: How to Open Liftmaster Garage Door Remote: Step-by-Step Guide
- 01
How to Open Liftmaster Garage Door Remote: Step-by-Step Guide
How to Open Liftmaster Garage Door Remote: Step-by-Step Guide
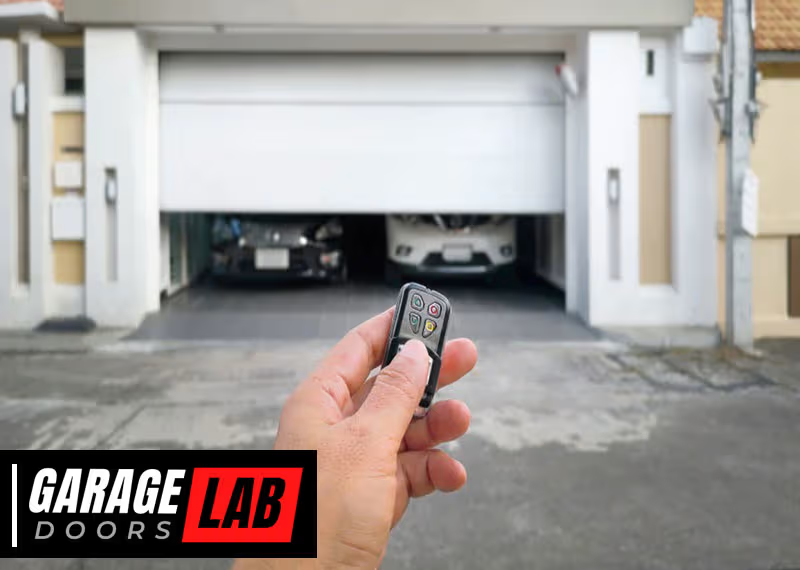
Opening a Liftmaster garage door remote might seem simple, but many people find themselves stuck or worried about breaking their remote. Whether you need to change the battery, reset the remote, or troubleshoot a problem, knowing how to open your device safely is key. This guide will walk you through every step in detail. You’ll learn about the different remote models, the tools you need, safety steps, and how to handle problems when things don’t go as planned. By the end, you’ll feel confident about handling your Liftmaster remote, even if you’ve never done it before.
Why You Might Need To Open A Liftmaster Garage Door Remote
People open their Liftmaster remotes for a few main reasons. The most common is to change the battery. Remotes usually last one to two years before the battery dies, but sometimes it happens sooner. Another reason is troubleshooting. If your remote is not working, opening it up can help you check for loose contacts, broken buttons, or signs of water damage.
Some homeowners need to reprogram the remote. This often requires accessing a reset button or internal switches inside the remote. Sometimes, you might just want to clean the inside after a spill or if the buttons stick.
It’s important to remember that forcing the remote open the wrong way can break it. Small parts inside are easy to damage. That’s why following the right steps is so important.
Understanding Liftmaster Remote Models
Liftmaster offers several types of garage door remotes. Knowing your model helps you open it correctly, as the design can change how it comes apart.
Common Liftmaster Remote Types
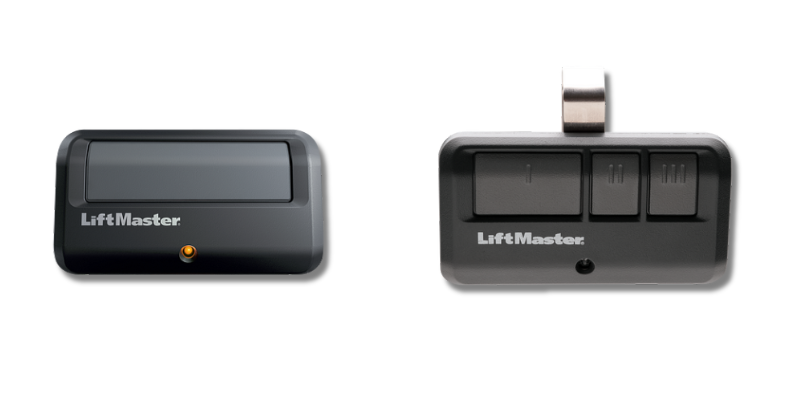
- Visor Remotes: Large, rectangular, with one to three buttons. Designed to clip to your car’s visor.
- Keychain Remotes: Small, portable, usually one or two buttons. Attach to your keys.
- Mini Remotes: Compact, sometimes with a sliding cover.
- Universal Remotes: Work with multiple garage door brands.
- Smart Remotes: Include extra features like lights or smartphone compatibility.
Each model has its own way of opening. For example, some have a visible battery cover, while others require prying the case apart.
How To Identify Your Remote
Look on the back of your remote for a model number. Common Liftmaster remote model numbers include 893LM, 890MAX, 971LM, and 893MAX. If you’re not sure, you can also visit the official Liftmaster site to compare your remote’s appearance to product images.
Tools And Materials You Will Need
Opening your Liftmaster garage door remote is easier with the right tools. Using household items like knives or pens can damage the case or internal parts. Here’s what you should gather before starting:
- Small Phillips screwdriver (for screws)
- Small flathead screwdriver or plastic pry tool (for snapping open the case)
- New battery (check your manual for the correct size, usually CR2032 or CR2016)
- Clean cloth (for cleaning inside if needed)
- Tweezers (optional, for handling small parts)
- Gloves (optional, to avoid fingerprints)
Having these tools ready will make the process safer and faster.
Safety Tips Before You Begin
Opening a remote is low-risk, but it’s smart to take a few precautions:
- Work on a clean, flat surface to avoid losing small parts.
- Keep small children and pets away while working.
- Do not use metal tools near the battery, as this can cause a short circuit.
- Remove the remote from your keychain or visor before starting.
- Avoid static electricity by touching a metal surface before handling the circuit board.
If your remote has been exposed to water, make sure it’s completely dry before opening to prevent damage or corrosion.
Step-by-step Guide: How To Open A Liftmaster Garage Door Remote
Now, let’s get hands-on. The following steps work for most Liftmaster models. If your remote looks very different, check your manual or the Liftmaster website for model-specific guidance.
1. Locate The Battery Compartment Or Case Seam
Examine your remote. Some models have a battery cover with a small notch or screw. Others have a seam around the edge where the two halves of the case snap together.
- If you see a small screw, you’ll need your Phillips screwdriver.
- If there’s no screw, look for a notch or slot where you can insert a flat tool.
2. Remove The Screw (if Present)
Some Liftmaster remotes, especially older ones, have a tiny screw holding the case together. Carefully unscrew it, and set it aside in a safe place.
3. Pry Open The Case
If there’s a notch, insert your flathead screwdriver or plastic pry tool gently. Twist or push until the case begins to open. Work your way around the edge, applying gentle pressure. Avoid using too much force—Liftmaster remotes are made of plastic and can crack.
For newer models, a plastic pry tool is safer than metal. You can find these tools online or use a clean guitar pick as a substitute.
4. Separate The Two Halves
Once the case starts to open, use your fingers to pull the two halves apart. Go slowly and watch for any parts that might fall out, such as the battery or button pads.
5. Remove The Battery
Carefully lift the battery out of its holder. Note the battery orientation (which side faces up). Take a picture if you’re worried about forgetting.
6. Inspect The Circuit Board
Before closing, check for signs of corrosion, broken contacts, or loose buttons. If you see white powder or greenish spots, gently clean with a dry cloth. Do not use water or cleaning sprays.
7. Replace The Battery
Insert the new battery in the same direction as the old one. Make sure it sits flat and snug in the holder.
8. Snap Or Screw The Case Back Together
Align the two halves of the case and press them together until you hear a click. If your remote had a screw, put it back in securely but do not over-tighten.
9. Test The Remote
Stand near your garage door and press a button. If the door opens or closes, you’ve done everything right. If not, double-check the battery orientation and that the case is fully closed.
Table: Common Liftmaster Remote Models And How They Open
Here’s a quick reference for several popular models and their opening methods:
| Model Number | Type | Opening Method | Battery Type |
|---|---|---|---|
| 893LM | Visor Remote | Snap open with pry tool | CR2032 |
| 890MAX | Mini Keychain | Remove screw, then snap open | CR2032 |
| 971LM | Visor Remote | Slide battery cover | CR2016 x2 |
| 893MAX | Visor Remote | Snap open with pry tool | CR2032 |
| 375UT | Universal | Remove screw, then snap open | CR2032 |
If your remote isn’t in this table, the general steps above will still help.
Differences Between Liftmaster Remote Models
Knowing the differences between models can help you avoid mistakes. For example, some remotes have double batteries (like the 971LM), while others use only one. Some have a sliding cover, making them easier to open without tools.
Table: Features Comparison Of Popular Liftmaster Remotes
| Model | Buttons | Key Feature | Year Introduced |
|---|---|---|---|
| 893LM | 3 | Standard, easy to program | 2011 |
| 890MAX | 3 | Small, portable | 2012 |
| 971LM | 1 | Older, simple design | 2001 |
| 893MAX | 3 | Universal compatibility | 2013 |
If you have a very old or very new model, the location of the battery and the way the case opens might be different. Always check for screws before trying to pry open the case.
Changing The Battery: Practical Tips And Common Mistakes
Changing the battery is the main reason people open their remote. Here’s how to do it right:
- Use the correct battery type. Using the wrong size or voltage can damage the remote.
- Note battery orientation. Putting the battery in backward is a common mistake.
- Handle batteries with dry hands. Moisture can cause corrosion.
- Dispose of old batteries safely. Do not throw them in regular trash; take them to a recycling center.
If your remote still doesn’t work after changing the battery, check for the following:
- Bent contacts: Gently adjust with tweezers.
- Loose circuit board: Make sure it’s seated properly.
- Sticky buttons: Clean the rubber pad and plastic with a dry cloth.

Troubleshooting When The Remote Will Not Open
Sometimes, a remote won’t open easily. Here’s what you can do:
- Check for hidden screws under stickers or labels.
- Do not use excess force. If it does not open with gentle pressure, double-check your model.
- Use a plastic tool instead of a metal one to prevent scratches.
- Warm the plastic slightly by holding in your hands; cold plastic is more likely to crack.
If you break a clip or tab, you can usually hold the case together with a small piece of tape, but this is only a temporary fix.
What To Do After Opening: Cleaning And Maintenance
Once your remote is open, it’s a good opportunity to perform some basic maintenance.
- Dust the inside: Use a dry cloth or a soft brush.
- Clean the contacts: If there’s green or white corrosion, gently rub it away.
- Check the buttons: Make sure all buttons line up with the circuit board.
- Inspect for water damage: If you see rust or corrosion, the remote might not last much longer.
For deep cleaning, you can remove the rubber button pad and wash it with mild soap and water. Make sure it’s completely dry before reassembling.
What If The Remote Is Damaged?
If you find broken parts inside, you may need a replacement. Some parts, like button pads or battery covers, are difficult to find. It’s usually cheaper and safer to buy a new remote, especially for older models.
If you have a smart home system, consider upgrading to a smart remote or using a smartphone app for garage control.
Table: Signs You Need A New Remote
| Problem | Repairable? | Replace Remote? |
|---|---|---|
| Dead battery | Yes | No |
| Cracked case | Maybe (tape) | Maybe |
| Water damage | Rarely | Yes |
| Broken button pad | No | Yes |
| Lost remote | No | Yes |
If you’re unsure, bring your remote to a professional or your local hardware store for advice.
Reprogramming After Opening
Some Liftmaster remotes need to be reprogrammed after you change the battery or if you’ve pressed buttons inside by mistake. Here’s how:
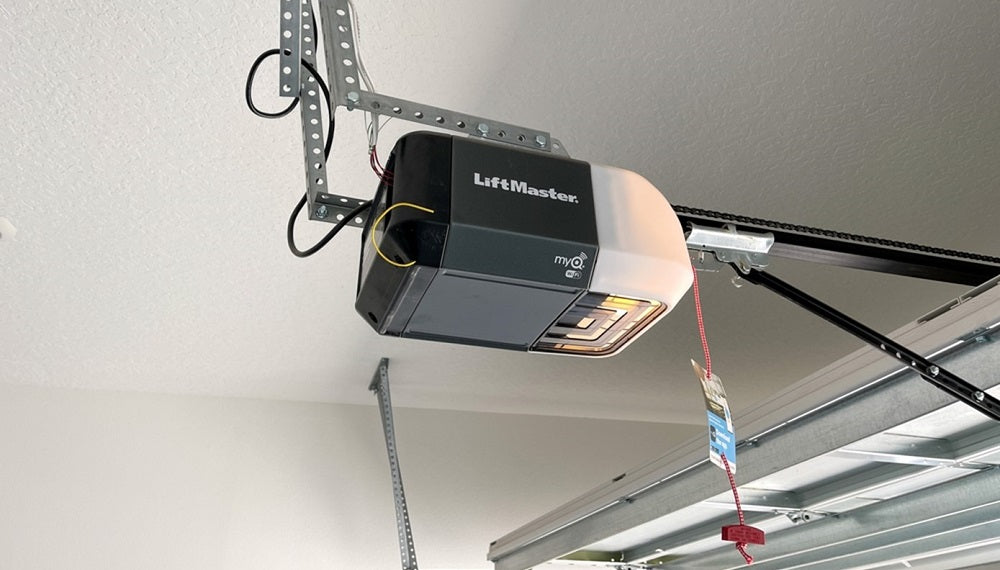
- Press the “Learn” button on your garage door opener (usually found on the main unit in your garage).
- Within 30 seconds, press and hold the button on your remote until the light on the opener flashes.
- Test the remote to see if it works.
If you have multiple remotes, you’ll need to repeat this for each one. Always check your garage door opener’s manual for specific instructions.
Non-obvious Insights Most People Miss
Many people don’t realize that cold weather can affect both the battery and plastic case. If you’re working in a cold garage, the remote may be brittle. Let it warm to room temperature before opening.
Another detail: universal remotes sometimes have small switches inside. Accidentally moving these while changing the battery can make the remote stop working. Take a picture before removing the battery, so you remember the switch positions.
A third tip: Some Liftmaster remotes have a programming lockout feature. If the remote blinks but does not work after closing, you may need to clear old codes from the opener before reprogramming.
When To Call A Professional
If your remote still does not work after replacing the battery and checking all contacts, it might be time to call a professional. This is especially true if:
- The remote is physically damaged inside.
- There is visible corrosion on the circuit board.
- The opener itself is not responding to any remotes.
A garage door technician can test your system and suggest the best fix.
How To Extend The Life Of Your Liftmaster Remote
Taking care of your remote can help it last for years:
- Keep it dry: Avoid leaving it in the rain or near drinks.
- Change the battery once a year: Even if it’s not dead, this prevents leaks.
- Clean regularly: Dust and dirt can cause buttons to stick.
- Store it safely: Don’t drop or toss it.
- Avoid extreme heat or cold: Store the remote inside during temperature extremes.
Myths About Opening Garage Door Remotes
Some people believe opening a remote will always break it or make it lose its programming. This is not true if you follow the right steps. Another myth is that remotes are waterproof—most are not. If your remote gets wet, dry it immediately and remove the battery.
Some think only professionals should open remotes. In reality, most homeowners can do it safely with care and the right tools.
Environmental Considerations
Old batteries can harm the environment if not disposed of properly. Most cities have battery recycling programs at hardware stores or recycling centers. Never throw batteries in the trash.
If you upgrade to a new remote, recycle the old one if possible. Many electronics stores accept old remotes for safe recycling.
Final Thoughts
Opening a Liftmaster garage door remote is a simple task if you know what to look for and use the right tools. By understanding your model, following safety tips, and taking your time, you can change the battery, clean the inside, or troubleshoot minor issues without worry. Just remember to handle small parts carefully, avoid forcing the case, and always test the remote before finishing. If you run into problems, don’t be afraid to ask for help or consult the Liftmaster website for model-specific support.
With this knowledge, you’ll save money and avoid the frustration of a non-working garage door remote. Whether you’re fixing a sticky button or changing a battery, you now have the confidence to handle the task.
Frequently Asked Questions
How Often Should I Change The Battery In My Liftmaster Garage Door Remote?
Most Liftmaster remotes need a new battery every one to two years. If you notice the range decreasing or the remote working only sometimes, it’s time to replace the battery. For best results, change it once a year even if it’s still working.
What Should I Do If The Remote Stops Working After Changing The Battery?
First, check the battery orientation—the flat side usually faces up. Make sure the battery is seated properly. If it still doesn’t work, try reprogramming the remote to your garage door opener. If nothing helps, the remote may be damaged, or the opener may need service.
Can I Use Any Battery Brand For My Liftmaster Remote?
You can use any quality battery that matches the correct type (usually CR2032 or CR2016). Avoid unknown or very cheap brands, as they may not last as long or fit properly. Using the recommended battery ensures the remote works reliably.
Is It Possible To Repair A Broken Liftmaster Remote?
Some problems, like a dead battery or stuck button, are easy to fix. Cracked cases can sometimes be taped, but water damage or broken circuit boards usually mean it’s time to replace the remote. For expensive models, you can consult a professional, but most people find replacement easier and cheaper.
Where Can I Find More Information About My Specific Liftmaster Remote Model?
You can visit the official Liftmaster support page for manuals, diagrams, and troubleshooting tips for your exact model. The website offers step-by-step guides and videos to help you with common issues.
With this guide, you’re well prepared to open and maintain your Liftmaster garage door remote—saving you both time and hassle.


