Now Reading: Craftsman Garage Door Opener Not Closing? Fix Now!
- 01
Craftsman Garage Door Opener Not Closing? Fix Now!

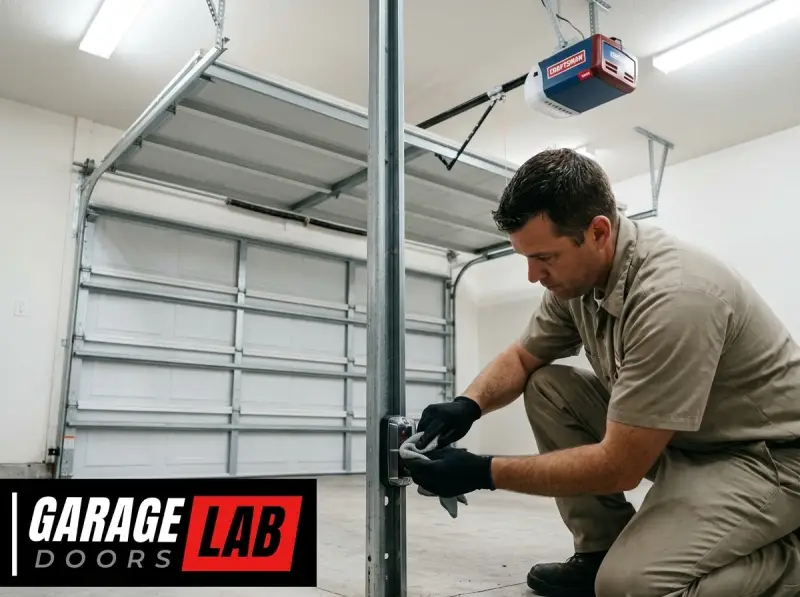
When your Craftsman garage door opener refuses to close, it can be a significant inconvenience, leaving your home vulnerable and your daily routine disrupted. This common issue can stem from a variety of sources, ranging from simple, easily fixable problems to more complex mechanical or electrical failures. Understanding the potential causes and knowing how to troubleshoot them systematically is key to getting your garage door back in working order quickly and efficiently.
This comprehensive guide will walk you through the most frequent reasons why a Craftsman garage door opener might not be closing, providing step-by-step solutions and maintenance tips. We’ll cover everything from checking the safety sensors and remote controls to inspecting the opener’s internal components and the door’s balance.
By the end of this article, you’ll be equipped to diagnose the problem and, in many cases, resolve it yourself, saving you time and money.
Key Takeaways
- Safety Sensors: Misaligned or obstructed safety sensors are the most common culprits preventing a garage door from closing.
- Remote & Wall Control Issues: Dead batteries, programming problems, or faulty buttons on your remote or wall control can prevent operation.
- Obstructions: Anything blocking the door’s path, from physical objects to debris on the track, will trigger the safety mechanism.
- Travel Limits: Incorrectly set travel limits tell the opener when to stop, and if set improperly for closing, it won’t fully close.
- Force Setting: The opener’s force setting, if too low, may not provide enough power to close the door against minor resistance.
- Mechanical Problems: Issues with the garage door springs, cables, rollers, or tracks require careful inspection and often professional attention.
- Logic Board: A damaged or malfunctioning logic board within the opener unit can cause a variety of operational failures.
- Manual Override: Knowing how to disengage the opener and operate the door manually is crucial for immediate access and further diagnosis.

Credit: spectrumoverheaddoor.com
Troubleshooting Common Craftsman Garage Door Opener Closing Issues
A Craftsman garage door opener is designed for reliability, but like any mechanical device, it can encounter problems. When the door fails to descend, the first step is to remain calm and begin a methodical troubleshooting process. Many issues are surprisingly simple to fix, requiring only a few basic tools and a bit of patience.
Inspecting The Safety Sensors
The photo-eye safety sensors are arguably the most critical safety feature on your garage door opener. Located near the bottom of the garage door tracks, these sensors emit an invisible beam of light. If this beam is broken by an object, person, or even debris, the opener will immediately stop the door from closing and reverse it to the open position. This is a vital safety mechanism to prevent accidents.
- Alignment: The most frequent issue is misalignment. The two sensors must be perfectly aligned to “see” each other. If one sensor is even slightly out of position, the beam is broken. Look for indicator lights on the sensors; typically, one will be solid green (receiving power) and the other solid amber or red (receiving the beam). If either light is off or blinking, it indicates a problem.
- Action: Gently adjust the position of the sensors by loosening their mounting screws and carefully nudging them until the indicator lights signal a proper connection. Ensure they are pointing directly at each other.
- Obstructions: Check for anything blocking the beam. This could be anything from a broomstick left leaning against the wall to dust, cobwebs, or even a stray leaf.
- Action: Clear any potential obstructions from the path of the beam. Wipe the sensor lenses clean with a soft cloth.
- Wiring: Damaged or loose wiring to the sensors can also cause them to malfunction.
- Action: Inspect the wires leading to each sensor for any signs of damage, such as cuts or fraying. Ensure the connections at both the sensor and the opener’s motor unit are secure.
Checking The Remote Control And Wall Button
Your remote control or the hardwired wall button are the primary means of initiating the door’s closing sequence. Issues with these components are common and often easily resolved.
- Remote Control Batteries: The simplest cause is often overlooked, dead batteries in the remote.
- Action: Replace the batteries in your remote control with fresh ones. Ensure they are inserted with the correct polarity.
- Remote Control Range/Interference: Sometimes, the remote might be too far away, or there could be interference from other electronic devices.
- Action: Try operating the door from closer proximity. If you have multiple remotes, test each one to see if the issue is specific to a single remote.
- Wall Button Functionality: If the remote works but the wall button doesn’t (or vice-versa), it points to an issue with the specific control.
- Action: If the wall button is unresponsive, check the wiring connection at the button and the motor unit. If the button itself appears damaged, it may need replacement.
- Remote Control Programming: The remote might have lost its programming or encountered a glitch.
- Action: Reprogram your Craftsman remote. The process varies slightly depending on your opener model, but generally involves pressing a “Learn” or “Program” button on the motor unit and then pressing a button on the remote. For specific instructions, consult your owner’s manual or search for guides like how to reset garage door remote craftsman. If you have a different brand, you might find help at how to reset garage door remote easily.
Examining Door Tracks And Obstructions
The garage door tracks guide the door as it moves up and down. Any impediment within these tracks can prevent the door from closing smoothly.
- Physical Obstructions: Ensure there’s nothing physically blocking the path of the door. This includes parked cars, bicycles, tools, or any other items stored in the garage.
- Action: Clear the entire path of the garage door, from the point where it stops when opening to the floor when closing.
- Debris in Tracks: Dirt, gravel, or other debris can accumulate in the tracks, creating friction or a physical barrier.
- Action: Inspect the tracks thoroughly and clean them out using a stiff brush or a shop vacuum.
- Bent or Damaged Tracks: If the tracks are bent, dented, or misaligned, the rollers can get stuck, preventing movement.
- Action: Examine the tracks for any signs of damage. Minor bends might be gently straightened with a rubber mallet, but significant damage usually requires professional repair or replacement of the track sections.
Verifying Travel Limits And Force Settings
The travel limits tell the garage door opener how far to open and close the door. The force setting determines how much power the opener uses to move the door. If these are set incorrectly, the opener might stop prematurely or reverse.
- Travel Limits: If the closing limit is set too high, the opener will stop before the door is fully closed.
- Action: Consult your Craftsman garage door opener manual for specific instructions on how to adjust the closing travel limit. Typically, this involves turning a screw or pressing buttons on the motor unit. You’ll need to adjust it so the door closes completely before the opener stops.
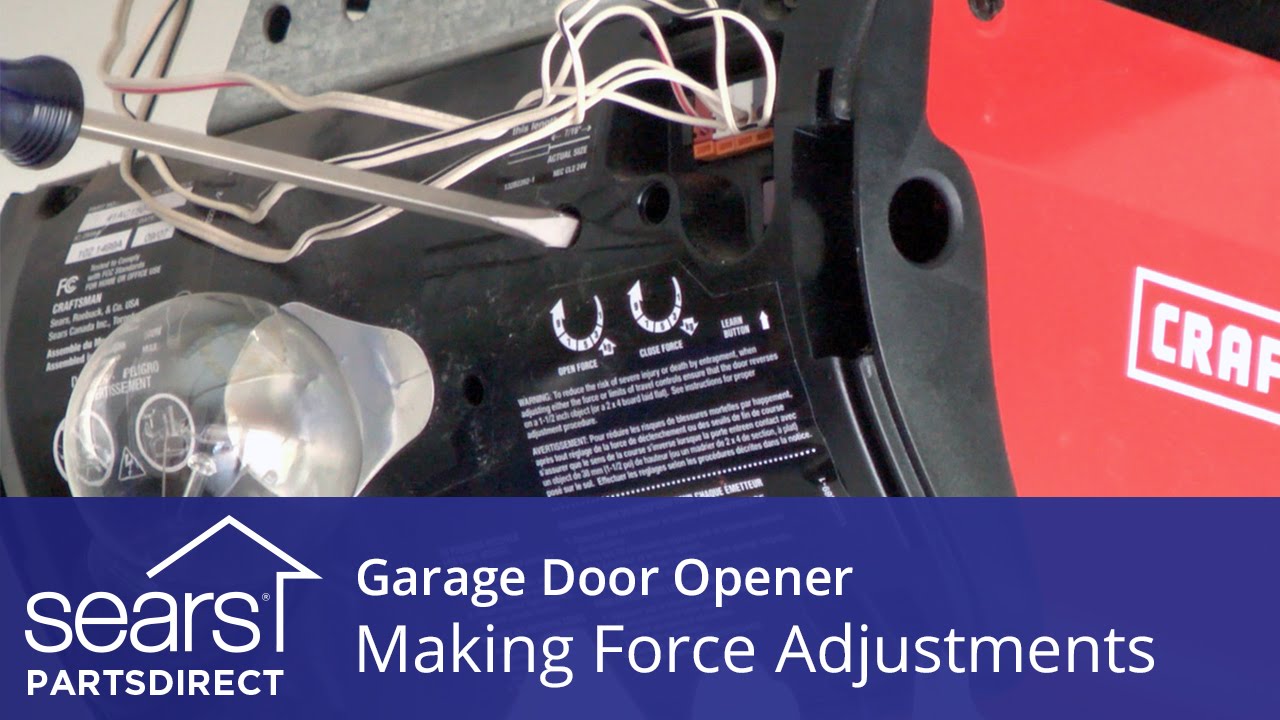
- Force Settings: The opener has adjustable force settings for both opening and closing. If the closing force is set too low, the opener might interpret slight resistance (like a stiff track or a minor obstruction) as a safety trigger and reverse the door.
- Action: Locate the force adjustment controls on your Craftsman opener. Gradually increase the closing force setting. Warning: Do not set the force too high, as this can also be a safety hazard. Test the door’s reaction after each incremental adjustment. The door should close firmly but reverse if it encounters reasonable resistance.
Credit: www.searshomeservices.com
Addressing Mechanical Issues With The Garage Door Itself
Sometimes, the problem isn’t with the opener unit itself but with the garage door mechanism. The opener is designed to lift and lower a balanced door; if the door is unbalanced or has mechanical issues, the opener will struggle or refuse to operate correctly.
Checking The Garage Door Balance And Springs
A garage door’s weight is counterbalanced by torsion springs (mounted above the door) or extension springs (running along the tracks). A properly balanced door should stay open when you manually lift it halfway and only slowly descend. If it’s too heavy to lift or slams down, the springs are likely failing.
- Spring Tension: Over time, springs can lose tension or break. This makes the door extremely heavy for the opener to lift or lower.
- Action: Warning: Garage door springs are under extreme tension and can cause serious injury. Do not attempt to adjust or repair them yourself unless you have specific training and equipment. If you suspect a spring issue, call a qualified garage door technician.
- Manual Operation Test: To check balance, disconnect the opener from the door.
- Action: Pull the emergency release cord (usually a red handle hanging from the opener’s trolley). Carefully lift the door manually. If it’s difficult to lift, stays put when released, or slams down, it is unbalanced. This often indicates a spring problem. For more on this, see how can I open my garage door manually.
Inspecting Rollers, Hinges, And Tracks
Worn-out or damaged rollers, hinges, or tracks can create friction and resistance, preventing the door from closing smoothly.
- Worn Rollers: Rollers that are cracked, worn down, or have seized bearings will make the door hard to move.
- Action: Inspect each roller. If they appear damaged or are not spinning freely, they should be replaced. Consider lubricating the rollers and hinges as part of regular maintenance. For guidance, check out how do you lubricate garage door rollers for smooth operation.
- Damaged Hinges: Hinges can bend or break, affecting the door’s alignment and movement.
- Action: Check all hinges for damage. Replace any that are bent or broken.
- Track Obstructions/Damage: As mentioned earlier, debris or damage within the tracks can impede movement.
- Action: Ensure tracks are clean and free of dents or bends.
Checking The Opener’s Drive Mechanism
The drive mechanism within the opener (chain, belt, or screw drive) connects the motor to the trolley that moves the door. Issues here can prevent operation.
- Chain or Belt Tension: An overly loose chain or belt can slip, failing to move the trolley effectively.
- Action: Check the tension of the chain or belt. Refer to your manual or resources on how to adjust chain on garage door opener if applicable. Over-tightening can also cause damage.
- Drive Sprocket/Gear Damage: The gears or sprockets that engage the drive mechanism can become worn or broken.
- Action: Listen for unusual grinding noises. If you suspect gear damage, this usually requires professional repair or replacement of the opener’s internal components.
Credit: www.youtube.com
Electrical And Logic Board Issues
When all mechanical and simpler electrical checks have been exhausted, the problem might lie within the opener’s electrical system or its logic board.
Power Supply And Connections
It sounds basic, but ensuring the opener has a stable power supply is fundamental.
- Power Source: Is the opener plugged in? Is the circuit breaker tripped?
- Action: Check the power outlet. Ensure the opener’s power cord is securely plugged in. Check your home’s electrical panel for a tripped breaker and reset it if necessary. If the breaker trips again immediately, there might be a short circuit.
- Wiring to Motor Unit: Loose or corroded wiring connections at the motor unit can disrupt power flow.
- Action: With the power disconnected, inspect the wiring terminals. Clean any corrosion and ensure all connections are tight.
Logic Board Malfunctions
The logic board is the “brain” of the garage door opener. It controls all functions based on inputs from remotes, wall buttons, and safety sensors.
- Damage or Failure: Logic boards can fail due to power surges, age, or component failure. Symptoms can be erratic operation, complete failure to respond, or specific functions not working.
- Action: If you suspect a logic board issue, especially after ruling out all other possibilities, it often requires replacement by a qualified technician. Some models may have indicator lights that flash a specific code to help diagnose logic board problems; consult your manual.
- Resetting the Logic Board: Sometimes, a simple reset can clear minor glitches.
- Action: Unplug the opener from the power source for about 1-2 minutes, then plug it back in. This can sometimes reset the logic board. For a more comprehensive reset, refer to your owner’s manual or guides on how to reset my garage door opener.
Limit Switch Issues
Limit switches tell the opener when to stop at the fully open or fully closed position. If these are faulty, they can cause the door to stop unexpectedly or fail to close.
- Malfunctioning Switches: Electronic or mechanical limit switches can fail over time.
- Action: This is often a component that needs replacement by a technician. The symptoms can mimic incorrectly set travel limits but persist even after adjustments.
When To Call A Professional
While many garage door issues can be diagnosed and fixed by a diligent homeowner, some problems are best left to the experts. Attempting repairs beyond your skill level, especially those involving high-tension springs or complex electrical systems, can be dangerous and may lead to further damage.
Here’s a general guideline on when to seek professional help:
- Broken Springs or Cables: These components are under immense pressure and pose a significant safety risk if handled improperly.
- Damaged Tracks or Doors: Significant damage to the door panels, tracks, or frame often requires specialized tools and expertise.
- Opener Motor Issues: If you suspect the motor itself has failed, or if there are grinding noises from within the unit, a technician can diagnose whether repair or replacement is needed.
- Logic Board Failures: Replacing a logic board can be complex, and it’s often best handled by a professional who can ensure correct installation and programming.
- Persistent Problems: If you’ve gone through the troubleshooting steps and the issue persists, a professional technician has the experience and tools to identify and fix more obscure problems.
The cost of a service call can vary, but it’s often a worthwhile investment for safety and to ensure the problem is resolved correctly. For context on costs, you might find information on how much for a garage door helpful.
Preventative Maintenance For Craftsman Openers
Regular maintenance can significantly reduce the likelihood of your Craftsman garage door opener failing to close. By performing simple checks and upkeep, you can ensure smooth operation and extend the lifespan of your system.
Lubrication Schedule
Moving parts are prone to wear and tear. Lubrication reduces friction, noise, and stress on the opener and door components.
- What to Lubricate:
- Rollers: Apply a silicone-based lubricant to the bearings of the rollers.
- Hinges: Lubricate the pivot points of the hinges.
- Tracks: A light application of lubricant on the inside of the tracks can help rollers glide smoothly. Avoid over-lubricating, which can attract dirt.
- Opener Chain/Belt: If you have a chain drive, lubricate the chain with a garage door lubricant. Belt drives typically do not require lubrication.
- Frequency: Aim to lubricate these components at least twice a year, typically in the spring and fall. Resources like how to lube garage door rollers provide detailed guidance.
Visual Inspections
Regularly looking over your garage door system can help you spot potential problems before they escalate.
- Check for Wear and Tear: Inspect rollers, hinges, springs, and cables for any signs of damage, corrosion, or excessive wear.
- Listen for Unusual Noises: Grinding, squeaking, or clanking sounds can indicate underlying issues that need attention.
- Test Safety Features: Periodically test the photo-eye sensors by placing an object in their path while the door is closing, and test the auto-reverse function by placing a 2×4 board on the floor where the door will make contact. The door should reverse immediately upon contact.
Tighten Hardware
Vibrations from the opener and door operation can loosen bolts and screws over time.
- What to Check: Ensure that bolts securing the tracks, mounting brackets for the opener, and hinges are tight.
- Frequency: A quick check every few months can prevent components from becoming loose, which could lead to misalignment or damage.
Keep The Area Clear
Ensure the garage door tracks and the opener’s path are kept clear of any obstructions. This prevents the safety sensors from being triggered unnecessarily and avoids potential damage to the door or opener.
Craftsman Garage Door Opener Error Codes And Indicator Lights
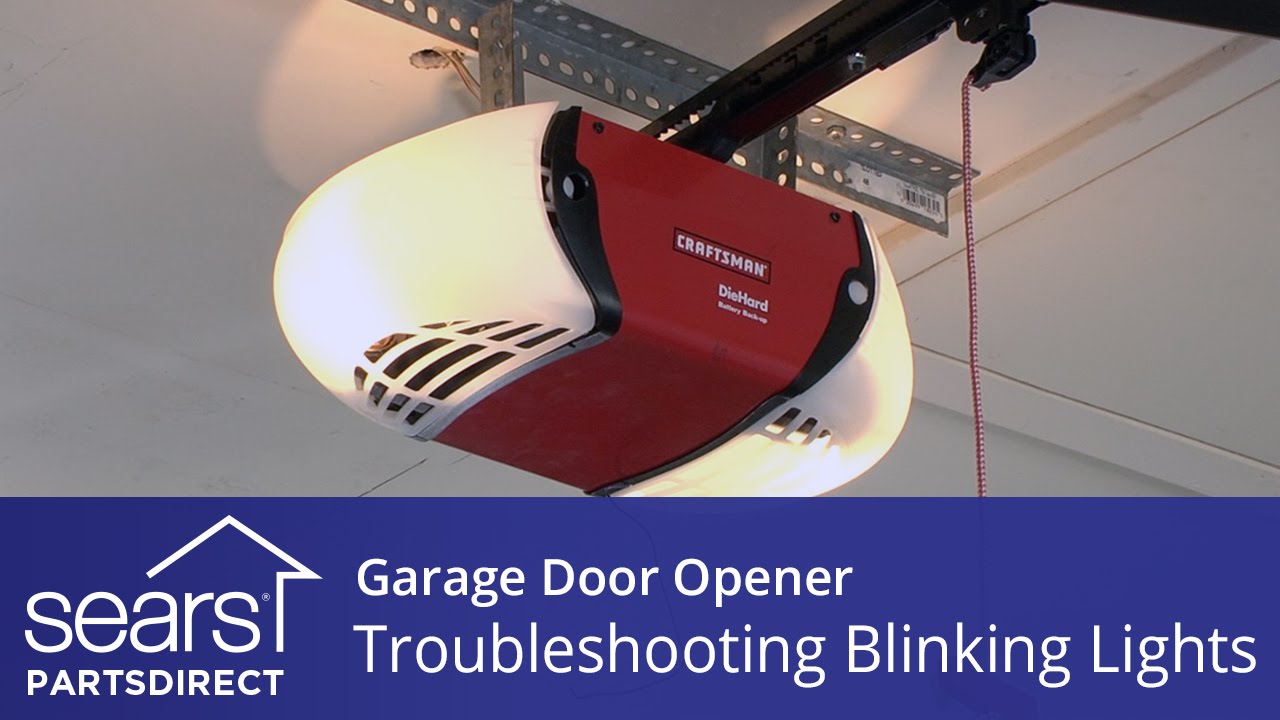
Many Craftsman garage door openers feature diagnostic lights or error codes that can help pinpoint the source of a problem. When your opener isn’t closing, pay attention to any flashing lights on the motor unit. While specific codes vary by model, some common patterns can indicate issues.
- Rapid Flashing Lights: Often signify a problem with the safety sensors. This could mean they are misaligned, obstructed, or there’s a wiring issue.
- Slow, Steady Flashing: May indicate an issue with the logic board or a general operational fault.
- Specific Light Patterns: Consult your Craftsman garage door opener manual. It will typically have a section detailing the meaning of different light flash patterns or error codes. For example, a certain number of flashes might point to a limit setting error, while another pattern could indicate a motor issue.
Example: If your Craftsman opener’s LED light is flashing 5 times, your manual might state this corresponds to an “up limit or down limit error.” This tells you to focus your troubleshooting on the travel limit adjustments.
Understanding these codes, when available, can significantly speed up the diagnostic process.
Frequently Asked Questions
What Is The Most Common Reason A Craftsman Garage Door Opener Won’t Close?
The most common reason is an issue with the safety sensors. These sensors, located near the bottom of the door tracks, must have an unobstructed and aligned beam of light between them. If the beam is broken or the sensors are misaligned, the opener will refuse to close the door for safety reasons.
Can I Manually Open My Craftsman Garage Door If The Opener Isn’t Working?
Yes, you can. Most Craftsman garage door openers have an emergency release cord, usually a red handle hanging from the opener’s trolley system. Pulling this cord disengages the opener from the door, allowing you to lift or lower it manually. Remember to re-engage the opener once the issue is resolved. For detailed steps, refer to guides on how do you manually open a garage door.
How Do I Reset My Craftsman Garage Door Opener?
To perform a basic reset, unplug the opener from the power outlet for about 1-2 minutes, then plug it back in. This can clear minor electronic glitches. For a more comprehensive reset that might involve reprogramming remotes and limits, consult your specific Craftsman model’s owner’s manual or look for guides on how to reset garage door remote craftsman or general opener resets like how do I reset my garage door opener.