Now Reading: Where Is The Learn Button On Craftsman Garage Door Opener
- 01
Where Is The Learn Button On Craftsman Garage Door Opener

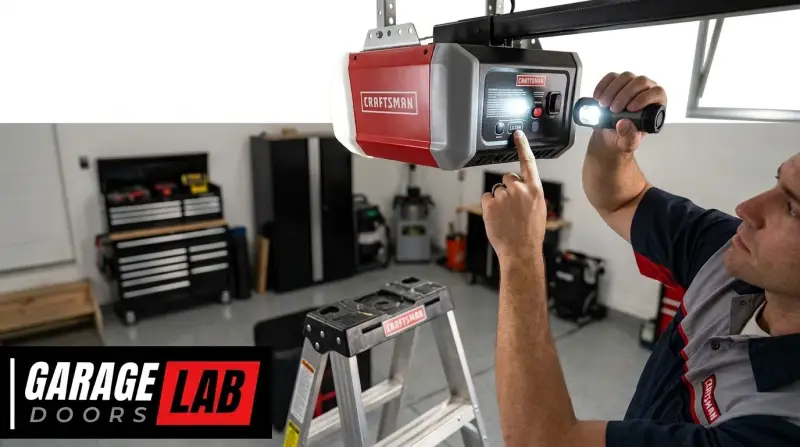
The Craftsman garage door opener is a common sight in many homes, providing convenience and security. However, like any electronic device, it may require occasional adjustments or reprogramming, especially when you need to add a new remote or clear existing ones. A crucial component in this process is the Learn button, a small but vital element that initiates communication between your opener and its accessories. Understanding its location and function is key to troubleshooting and maintaining your garage door system.
Many homeowners find themselves searching for this elusive button when a remote stops working or when they purchase a new accessory. Its location can vary slightly depending on the specific model of your Craftsman opener, but it’s almost always found in a consistent area. This guide will walk you through identifying the Learn button on Craftsman garage door openers, explain its purpose, and provide context for why you might need to access it. We’ll cover common locations, model variations, and the basic steps involved in using the button for programming.
Key Takeaways
- The Learn button on Craftsman garage door openers is typically located on the back panel or side panel of the motor unit.
- Its color (often red, orange, purple, green, or yellow) can help identify the opener’s radio frequency and compatibility.
- The primary function of the Learn button is to program remotes, keypads, and other accessories to the garage door opener.
- It’s also used for clearing existing programmed devices, a useful security measure.
- Locating the button usually involves removing the light cover or accessing the main housing of the motor unit.
- Always disconnect power to the opener before attempting to access internal components.
- Referencing your specific owner’s manual is the most reliable way to find the Learn button and follow programming instructions.
Credit: v.searsolfranchise.com
Understanding The Craftsman Garage Door Opener Learn Button
The Learn button on your Craftsman garage door opener is the central hub for programming new accessories. It acts as a signal receiver, allowing the opener to recognize and accept the unique code transmitted by a remote control, keyless entry pad, or even another opener’s transmitter. This button is essential for setting up your system initially, adding new users, or replacing lost or stolen remotes. When you press and release this button, the opener enters a programming mode, ready to learn the signal from the device you’re trying to pair.
The color of the Learn button is not just for aesthetics; it often indicates the radio frequency and the opener’s compatibility with different types of remotes. For instance, Craftsman openers with red or orange buttons typically operate on a 390 MHz frequency and use Security+ rolling code technology. Purple buttons often signify a 315 MHz frequency, also with Security+ rolling codes. Green buttons usually indicate a 390 MHz frequency with older DIP switch technology, while yellow buttons might represent a 310 MHz frequency. Knowing the button color can help you select compatible accessories. For a comprehensive overview of garage door opener technologies, you can consult resources like Wikipedia’s entry on garage door openers.
Why You Need To Find The Learn Button
There are several common scenarios that necessitate locating the Learn button on your Craftsman opener:
- Adding a New Remote: When you purchase a new remote for your garage door, you’ll need to program it to your opener. The Learn button is the gateway to this process.
- Replacing Lost or Stolen Remotes: For security reasons, if a remote is lost or stolen, it’s crucial to erase all previously programmed remotes and reprogram only the ones you currently possess. The Learn button facilitates this erasure.
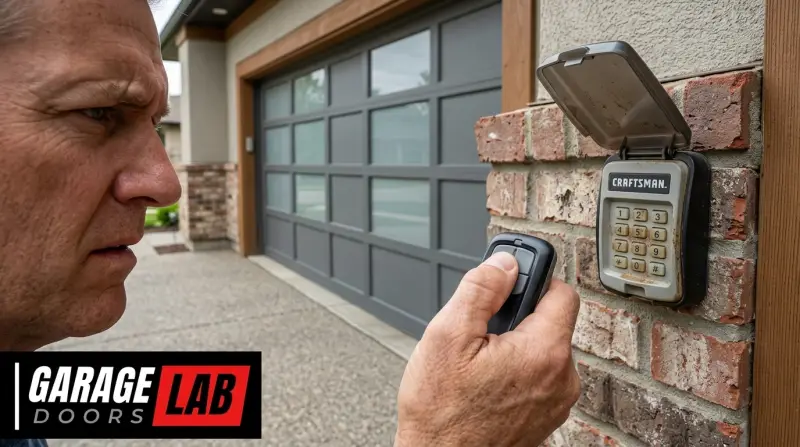
- Installing a Keyless Entry Pad: Similar to remotes, wireless keypads need to be synced with the opener using the Learn button.
- Troubleshooting Remote Issues: If your existing remote suddenly stops working, a common troubleshooting step involves reprogramming it, which again requires access to the Learn button.
- Adding Other Accessories: Some openers can be integrated with smart home devices or other accessories that communicate wirelessly. The Learn button is often involved in pairing these devices.
Locating The Learn Button: Common Placements
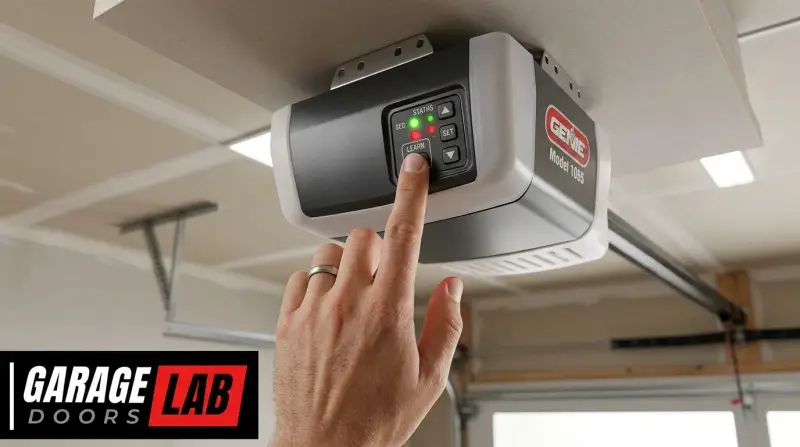
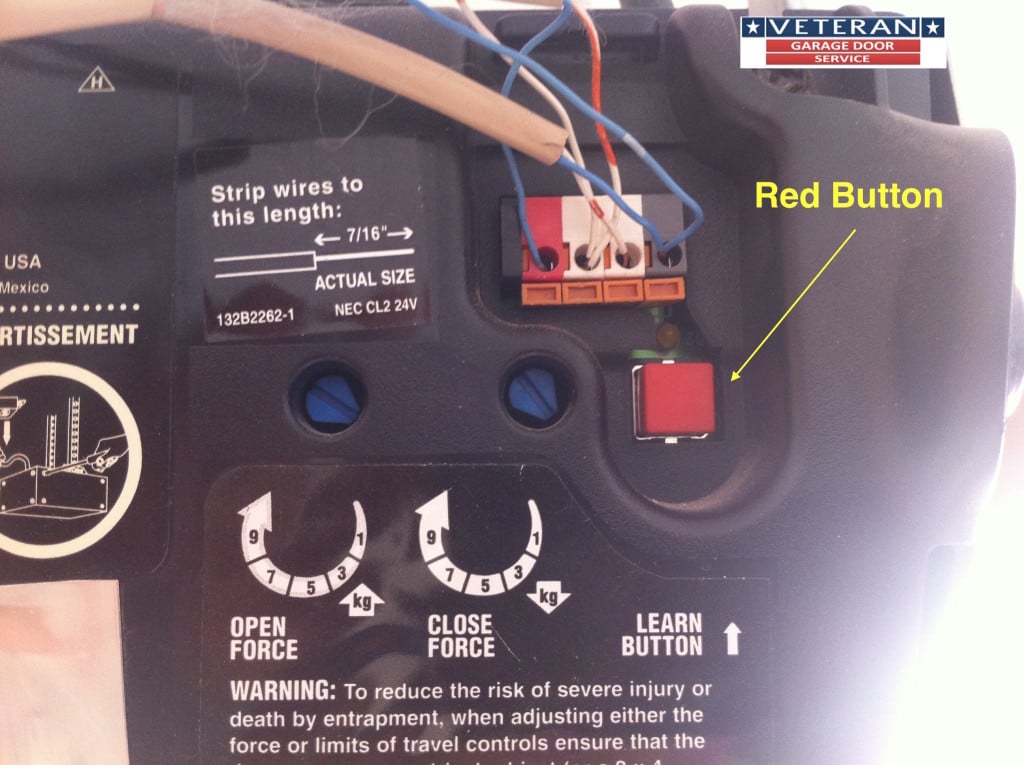
The exact location of the Learn button on a Craftsman garage door opener can vary slightly depending on the model and age of the unit. However, it is almost always found on the motor unit itself, the main box that hangs from the ceiling in your garage. The most common locations are on the back panel or the side panel of the motor unit, often near the antenna wire.
Accessing The Motor Unit Components
To get to the Learn button, you will typically need to remove the light cover of the motor unit. This cover usually snaps or slides off. Once removed, the internal components, including the logic board where the Learn button resides, become accessible.
- Step 1: Disconnect Power: Before you begin, it is crucial to disconnect the power supply to the garage door opener. This can be done by unplugging the unit from the electrical outlet or by turning off the corresponding circuit breaker. Safety first is paramount when working with electrical components.
- Step 2: Remove the Light Cover: Most Craftsman openers have a plastic lens that covers the light bulbs. This cover is usually held in place by clips or screws. Gently pry it open or unscrew it to remove it.
- Step 3: Identify the Learn Button: Once the light cover is off, look for a small, colored button on the logic board. This is the Learn button. Its color is important, as mentioned earlier, indicating the frequency and technology.
Model-specific Variations
While the general area remains consistent, specific Craftsman models might have the Learn button in slightly different positions.
- Older Models: On some older Craftsman openers, the Learn button might be more exposed, possibly without requiring the removal of the light cover. It could be directly visible on the exterior casing of the motor unit.
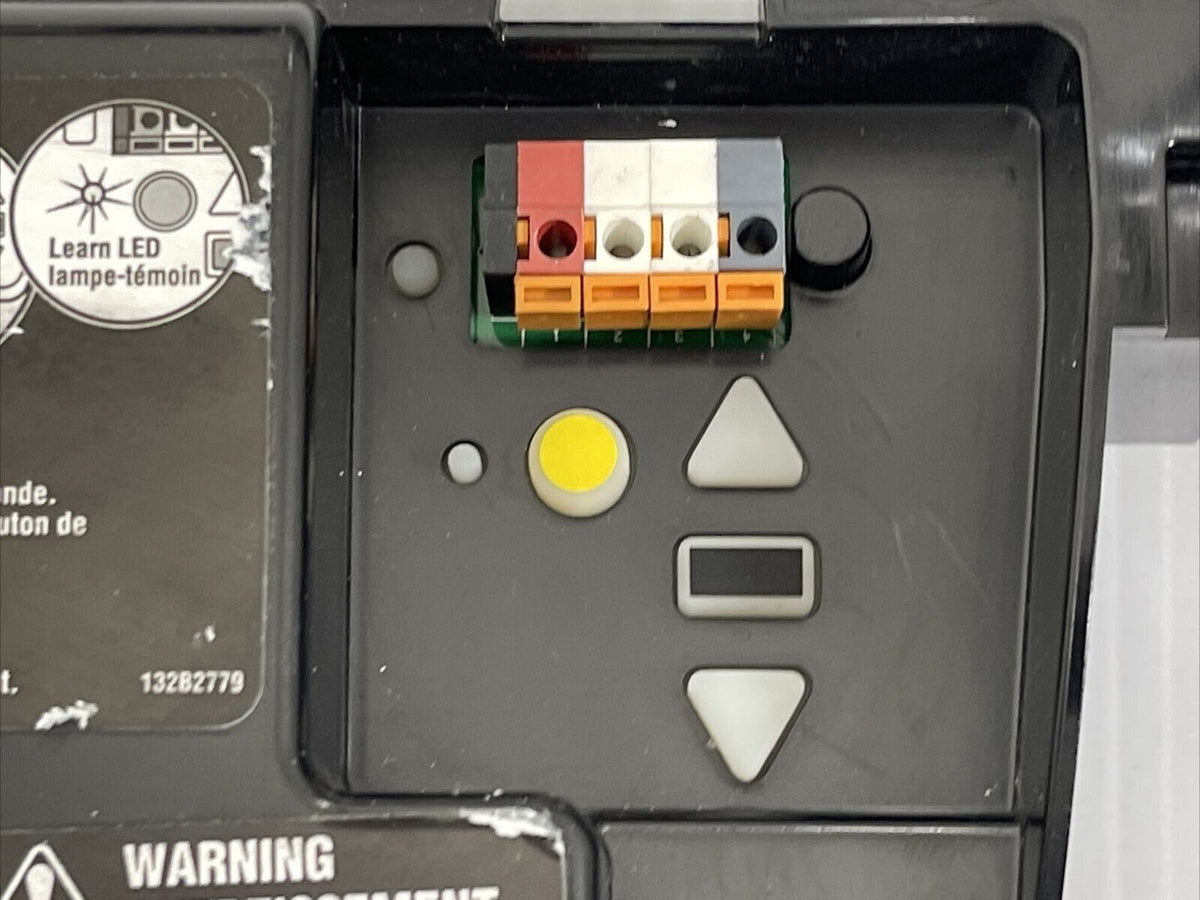
- Newer Models: Newer models, especially those with Security+ 2.0 technology, often have the Learn button and the antenna on the same panel. The button might be accompanied by indicator lights that show its status during programming.
Pro Tip: If you are having trouble locating the button, consult your specific Craftsman garage door opener owner’s manual. It will provide diagrams and precise instructions for your model. You can usually find a digital copy on the Craftsman website by searching for your opener’s model number.
Credit: www.youtube.com
The Purpose And Function Of The Learn Button
The Learn button is the primary interface for programming accessories to your Craftsman garage door opener. Its function is straightforward: to put the opener into a learning mode where it can record the unique code of a new remote or keypad. This process is fundamental to how modern garage door openers operate, offering a secure and convenient way to control your garage door.
Programming A New Remote
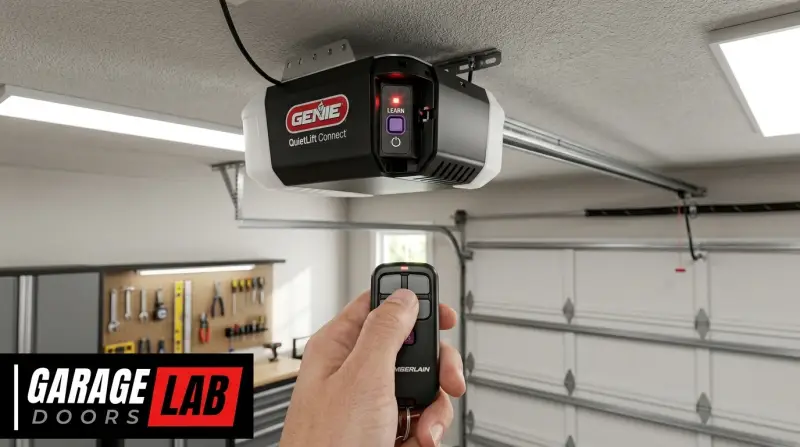
When you press the Learn button, the opener listens for a signal from a remote control. You typically have a short window of time (often 30 seconds) to press the button on your remote. Once the opener detects the remote’s signal, it stores the code, and the Learn button’s indicator light usually flashes or turns off to confirm successful programming.
Here’s a general sequence:
- Press and release the Learn button on the motor unit. An indicator light will illuminate.
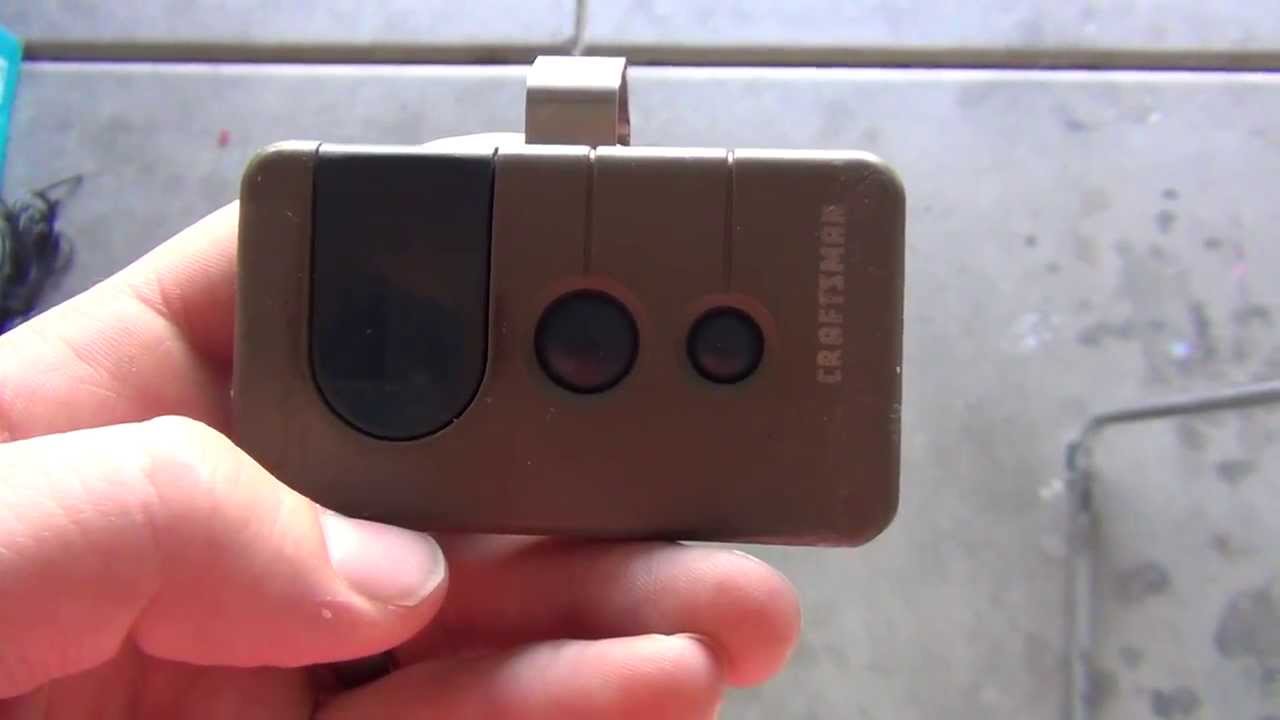
- Within 30 seconds, press and hold the desired button on your new remote control.
- Release the remote button when the garage door opener’s lights flash or blink, or when you hear an audible click. This signifies the remote has been programmed.
- Test the remote to ensure it operates the garage door.
For detailed instructions tailored to your model, it’s always best to refer to your owner’s manual or guides like How to Reset Garage Door Remote Craftsman: Easy Step-by-Step Guide.
Erasing Existing Remotes
A critical function of the Learn button is its ability to clear all previously programmed remotes and keypads. This is a vital security feature, especially if you suspect a remote has been lost or stolen, or if you’re selling your home and want to ensure no old remotes can operate the garage.
To erase all codes:
- Press and hold the Learn button on the motor unit for approximately 6 to 10 seconds.
- The indicator light will typically blink or go out after a few seconds, indicating that all codes have been erased.
- Release the button.
After erasing the codes, all existing remotes and keypads will no longer work. You will need to reprogram each remote and keypad individually using the Learn button, as described above. This ensures that only your current, authorized devices can operate the garage door. For more general guidance, you can also see How Do I Reset My Garage Door Opener: Step-by-Step Guide.
Understanding Different Technologies
The color of the Learn button often corresponds to the opener’s radio frequency and its security protocol.
- Security+ (Red, Orange, Purple, Green Buttons): These openers use rolling codes, meaning the code changes with each use, providing enhanced security against code grabbing.
- Red/Orange: Typically 390 MHz.
- Purple: Typically 315 MHz.
- Green: Often indicates older DIP switch technology (non-rolling code) on a 390 MHz frequency.
- Security+ 2.0 (Yellow or Black Buttons with a Radio Tower Symbol): These are the most advanced systems, operating on multiple frequencies and offering the highest level of security.
Knowing your opener’s technology is crucial for purchasing compatible remotes and keypads. Using an incompatible accessory will result in the opener not recognizing the signal, even after attempting to program it.
Credit: garagedoorinfospot.com
Step-by-step Guide To Using The Learn Button
Using the Learn button to program a new remote or clear existing ones is a relatively straightforward process, but it requires careful attention to detail. Following these steps precisely will help ensure successful programming and prevent potential issues.
Programming A Single Remote Or Keypad
This process is for adding one new device to your opener.
- Locate the Learn Button: As detailed previously, find the Learn button on your Craftsman motor unit, usually behind the light cover. Note its color.
- Prepare the Remote/Keypad: Have the new remote or keypad ready. Ensure it has a working battery.
- Press the Learn Button: Press and immediately release the Learn button. The LED indicator light next to it should illuminate steadily. This light indicates the opener is in programming mode.
- Program the Remote/Keypad: Within 30 seconds of pressing the Learn button, press and hold the button on your new remote that you want to use to operate the garage door. For a keypad, follow its specific programming instructions, which usually involve entering a PIN and pressing an Enter key.
- Confirmation: Watch the LED indicator light on the motor unit. It will typically blink, flash, or turn off, and you might hear an audible click from the opener. This confirms that the code has been successfully learned.
- Exit Programming Mode: The opener will automatically exit programming mode after a period of inactivity or after successfully learning a code.
- Test: Press the programmed button on your remote or enter your code on the keypad to test if it operates the garage door. If it doesn’t work, repeat the steps, ensuring you are within the 30-second window and that the remote/keypad is compatible with your opener’s technology (based on the Learn button color).
Clearing All Previous Codes
This process erases all programmed remotes and keypads, enhancing security.
- Locate the Learn Button: Find the Learn button on the motor unit.
- Press and Hold: Press and hold down the Learn button continuously.
- Observe the LED Light: Keep holding the button. The LED indicator light will illuminate, then blink, and then go out after approximately 6 to 10 seconds.
- Release the Button: As soon as the LED light goes out, release the Learn button. This action signifies that all previously learned codes have been erased from the opener’s memory.
- Reprogram Devices: All your remotes and keypads will now be deactivated. You must reprogram each one individually using the steps outlined above for programming a single remote.
Example: If you recently moved into a new home and found an old remote in the garage, clearing all codes and reprogramming your own remotes is a crucial security step. This prevents the previous owner from accessing your garage.
Troubleshooting Common Issues
Even with clear instructions, you might encounter problems when trying to program your Craftsman garage door opener. Understanding common issues and their solutions can save you time and frustration.
Remote Not Responding After Programming
- Incompatible Remote: The most common reason is using a remote that is not compatible with your opener’s frequency or technology. Double-check the Learn button color and ensure the remote is designed for that specific type (e.g., Security+, Security+ 2.0).
- Incorrect Programming Sequence: Ensure you followed the steps precisely, especially the timing (pressing the remote button within 30 seconds of pressing the Learn button).
- Dead Remote Battery: A weak or dead battery in the remote can prevent it from transmitting a strong enough signal. Try replacing the battery with a fresh one.
- Range Issues: While less common during initial programming, excessive distance between the remote and the opener can sometimes cause issues. Try programming closer to the motor unit.
- Opener Malfunction: In rare cases, the opener’s receiver might be faulty.
Opener Not Entering Programming Mode
- Power Issue: Ensure the garage door opener is properly plugged in and receiving power. Check the circuit breaker.
- Holding Button Too Long/Short: When clearing codes, you must hold the button for the specific duration (6-10 seconds). If you release it too early, it won’t clear; if you hold it too long, it might reset the opener in a way that requires a different procedure.
- Faulty Learn Button: It’s possible, though uncommon, that the Learn button itself is damaged or malfunctioning.
Multiple Remotes Not Working
- Memory Full: Most garage door openers have a limit on the number of remotes they can store (often 4 to 7). If you’ve exceeded this limit, you’ll need to erase all codes and start fresh.
- Interference: Strong radio frequency interference from nearby devices could potentially disrupt communication.
Warning: Always ensure the garage door opener is disconnected from power before attempting any internal adjustments or repairs. If you are unsure about any step, consult a qualified garage door technician.
Craftsman Garage Door Opener Models And Learn Button Colors
Craftsman has produced a wide range of garage door openers over the years, and understanding the typical Learn button colors associated with different models can be a helpful diagnostic tool. While specific models might have exceptions, these general guidelines can assist you in identifying your opener’s technology and finding compatible accessories.
Here’s a general overview of Craftsman Learn button colors and their associated technologies:
| Learn Button Color | Frequency | Technology Type | Common Model Series Examples (Approximate) |
|---|---|---|---|
| **Red/Orange** | 390 MHz | Security+ (Rolling Code) | 139.53XXXXX, 139.53XXXXX series |
| **Purple** | 315 MHz | Security+ (Rolling Code) | 971LM, 973LM series |
| **Green** | 390 MHz | DIP Switch (Fixed Code) or early Security+ | 139.53XXXXX series (older) |
| **Yellow** | 310 MHz | Security+ 2.0 (Tri-Frequency) | 585LM, 586LM series |
| **Black** | Tri-Frequency | Security+ 2.0 (Rolling Code) with Radio Tower Symbol | 585LM, 586LM series |
Note: The “X” in model numbers represents variable digits. Always verify your specific model number for accurate compatibility.
Security+ Vs. Security+ 2.0
The evolution from Security+ to Security+ 2.0 represents a significant advancement in garage door opener security.
- Security+: Uses a single radio frequency (390 MHz or 315 MHz) and a rolling code system. While secure, it can be susceptible to interference on its primary frequency.
- Security+ 2.0: Operates on three frequencies (310 MHz, 315 MHz, and 390 MHz) simultaneously. This triangulation technology makes it much more resistant to interference and interference from other devices, providing a more reliable connection and enhanced security. Openers with Security+ 2.0 technology often have a yellow or black Learn button and may feature a radio tower symbol near the button.
When purchasing a new remote or keypad, ensure it explicitly states compatibility with your opener’s technology, matching the Learn button color and Security+ version. For instance, a remote designed for a purple button opener (315 MHz Security+) will not work with a red button opener (390 MHz Security+).
Example: Programming A Security+ 2.0 Opener
Let’s say you have a Craftsman opener with a yellow Learn button. You’ve purchased a new remote advertised as compatible with Security+ 2.0 openers.
- Access the motor unit and locate the yellow Learn button.
- Press and release the yellow Learn button. The indicator light will illuminate.
- Within 30 seconds, press and hold the button on your new remote.
- The opener’s lights will flash, or you’ll hear a click, confirming programming.
- Test the remote.
If you were trying to program a remote for an older, green button (DIP switch) model, the process would be entirely different, involving setting corresponding switches on the remote to match the opener. This highlights the importance of identifying your opener’s technology correctly.
When To Seek Professional Help
While finding and using the Learn button on your Craftsman garage door opener is often a straightforward DIY task, there are instances where seeking professional assistance is the best course of action. Attempting complex repairs or troubleshooting without the necessary expertise can lead to further damage or safety hazards.
Signs You Might Need A Professional
- Repeated Programming Failures: If you’ve followed all the instructions meticulously, tried multiple times, and still cannot program a remote or clear codes, there might be an issue with the opener’s internal electronics.
- Damaged Motor Unit: If the motor unit itself appears physically damaged, is making unusual noises, or shows signs of electrical shorts, do not attempt to repair it yourself.
- Electrical Issues: If you suspect wiring problems, circuit board damage, or if the opener is not receiving power despite confirming the outlet and breaker are functional, it’s time to call a professional.
- Safety Sensor Problems: Issues with the safety sensors (the small eyes near the bottom of the garage door tracks) can prevent the door from closing. While sometimes fixable by realignment, persistent problems might require expert diagnosis.
- Complex System Integration: If you’re trying to integrate your opener with advanced smart home systems and encountering difficulties, a professional installer or technician may have the specialized knowledge required.
- Uncertainty or Discomfort: If you are uncomfortable working with electrical components or unsure about any step in the process, it’s always safer to hire a qualified technician.
The cost of professional garage door repair can vary, but it’s often a worthwhile investment for ensuring the safety and proper functioning of your system. Understanding how much garage doors cost can also give you context for the value of professional services.
Finding A Qualified Technician
When looking for a professional, consider the following:
- Reputation: Check online reviews and ask for recommendations from neighbors or friends.
- Experience: Look for technicians specifically experienced with Craftsman garage door openers.
- Licensing and Insurance: Ensure the technician or company is licensed and insured for your protection.
- Written Estimates: Always get a written estimate before authorizing any work.
A qualified technician can quickly diagnose issues, perform necessary repairs or replacements, and ensure your garage door opener operates safely and efficiently.
Frequently Asked Questions
Where Is The Learn Button On A Craftsman Garage Door Opener Model 139.53753?
For the Craftsman 139.53753 model, the Learn button is typically located on the back panel of the motor unit, behind the light cover. It is often a red or orange button,