
If your Craftsman garage door opener isn’t working, it can quickly disrupt your day. You might be stuck in your driveway, late for work, or worried about the security of your home. Many homeowners face problems with their garage door openers at some point, and while some issues are simple to fix, others might need more attention. The good news is, most problems with Craftsman openers are common and have clear solutions.
This guide will walk you through everything you need to know when your Craftsman garage door opener stops working. You’ll learn how the system works, common reasons for failure, troubleshooting steps, and when to call for professional help. You’ll also find practical tips to prevent future problems and answers to the most frequent questions from homeowners.
By the end, you’ll feel confident handling most garage door opener problems yourself.
How Craftsman Garage Door Openers Work
Before you start troubleshooting, it helps to understand the basics of how a garage door opener functions. A typical Craftsman unit consists of several key parts:
- Remote control: Sends a wireless signal to the opener.
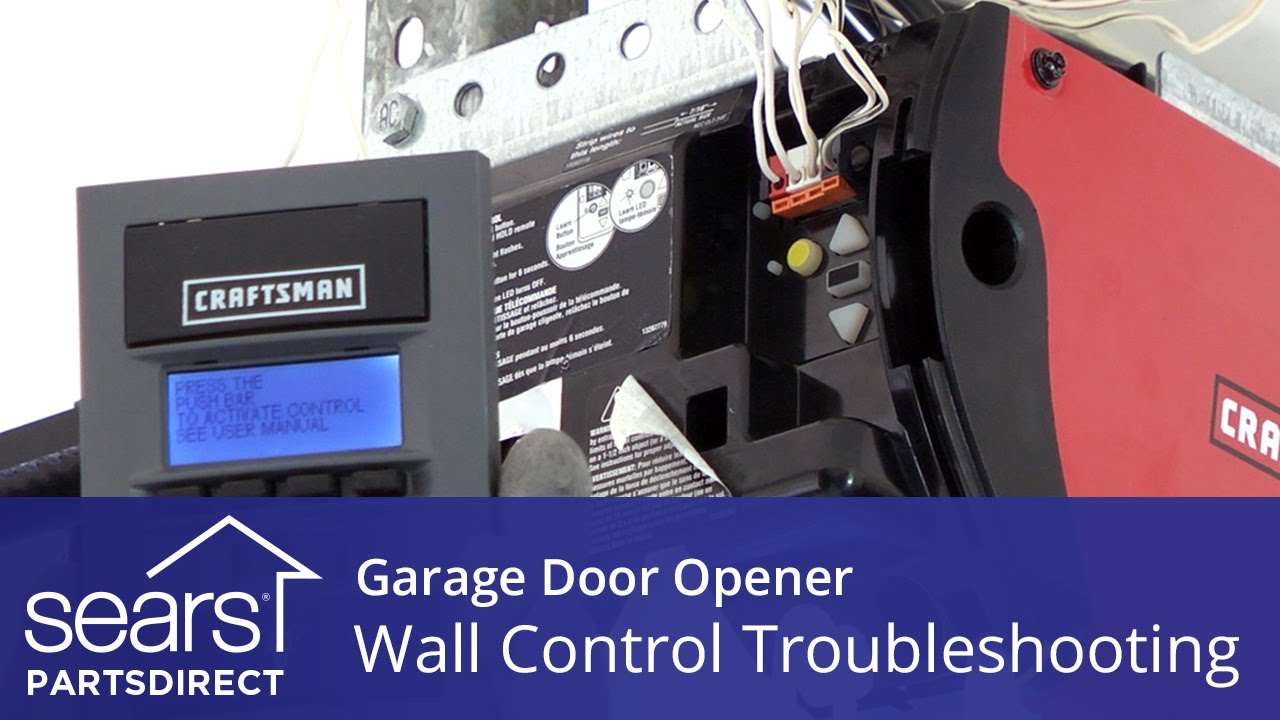
- Wall switch: Manual button inside your garage.
- Motor unit: Powers the opening and closing.
- Drive mechanism: Chain, belt, or screw drive that moves the door.
- Safety sensors: Located near the floor to prevent accidents.
- Gears and limit switches: Control the door’s movement and stopping points.
When you press your remote or wall button, the opener’s receiver gets the signal and activates the motor. The motor turns the drive, moving the garage door up or down. Safety sensors and limit switches stop the door if there’s an obstruction or if the door has fully opened/closed.
Small faults in any of these parts can stop your door from working. But in most cases, the issue is something simple.
Common Reasons Your Craftsman Garage Door Opener Stops Working
Let’s look at the most frequent causes of garage door opener failure. Knowing these helps you narrow down the problem faster.
1. Power Issues
The opener won’t work if it isn’t getting power. This can be caused by:
- A tripped circuit breaker
- A blown fuse
- A loose power cord
- A bad outlet
Even a quick power surge can knock out the system.
2. Dead Remote Batteries
If your remote control doesn’t work, the most likely reason is old or dead batteries. Remotes use small coin or AAA batteries that wear out over time.
3. Remote Control Problems
Beyond batteries, remotes can fail because of:
- Broken buttons
- Signal interference from other wireless devices
- Lost programming (remote lost sync with opener)
4. Wall Switch Problems
Sometimes the wall switch or its wiring is faulty, preventing manual operation from inside your garage.
5. Sensor Misalignment Or Blockage
Safety sensors prevent the door from closing on objects or people. If the sensors are:
- Dirty
- Blocked
- Not aligned
- the opener will not close the door.
6. Door Track Or Hardware Issues
Bent tracks, broken rollers, or damaged hinges can make the door too heavy for the opener to move. Even small obstructions can stop the system.
7. Motor Or Gear Failure
Over time, the motor or internal gears may wear out or break, especially on older units or those with heavy use.
8. Limit Or Travel Switch Issues
These switches tell the opener when to stop. If they are set wrong, the opener might not open or close fully, or not work at all.
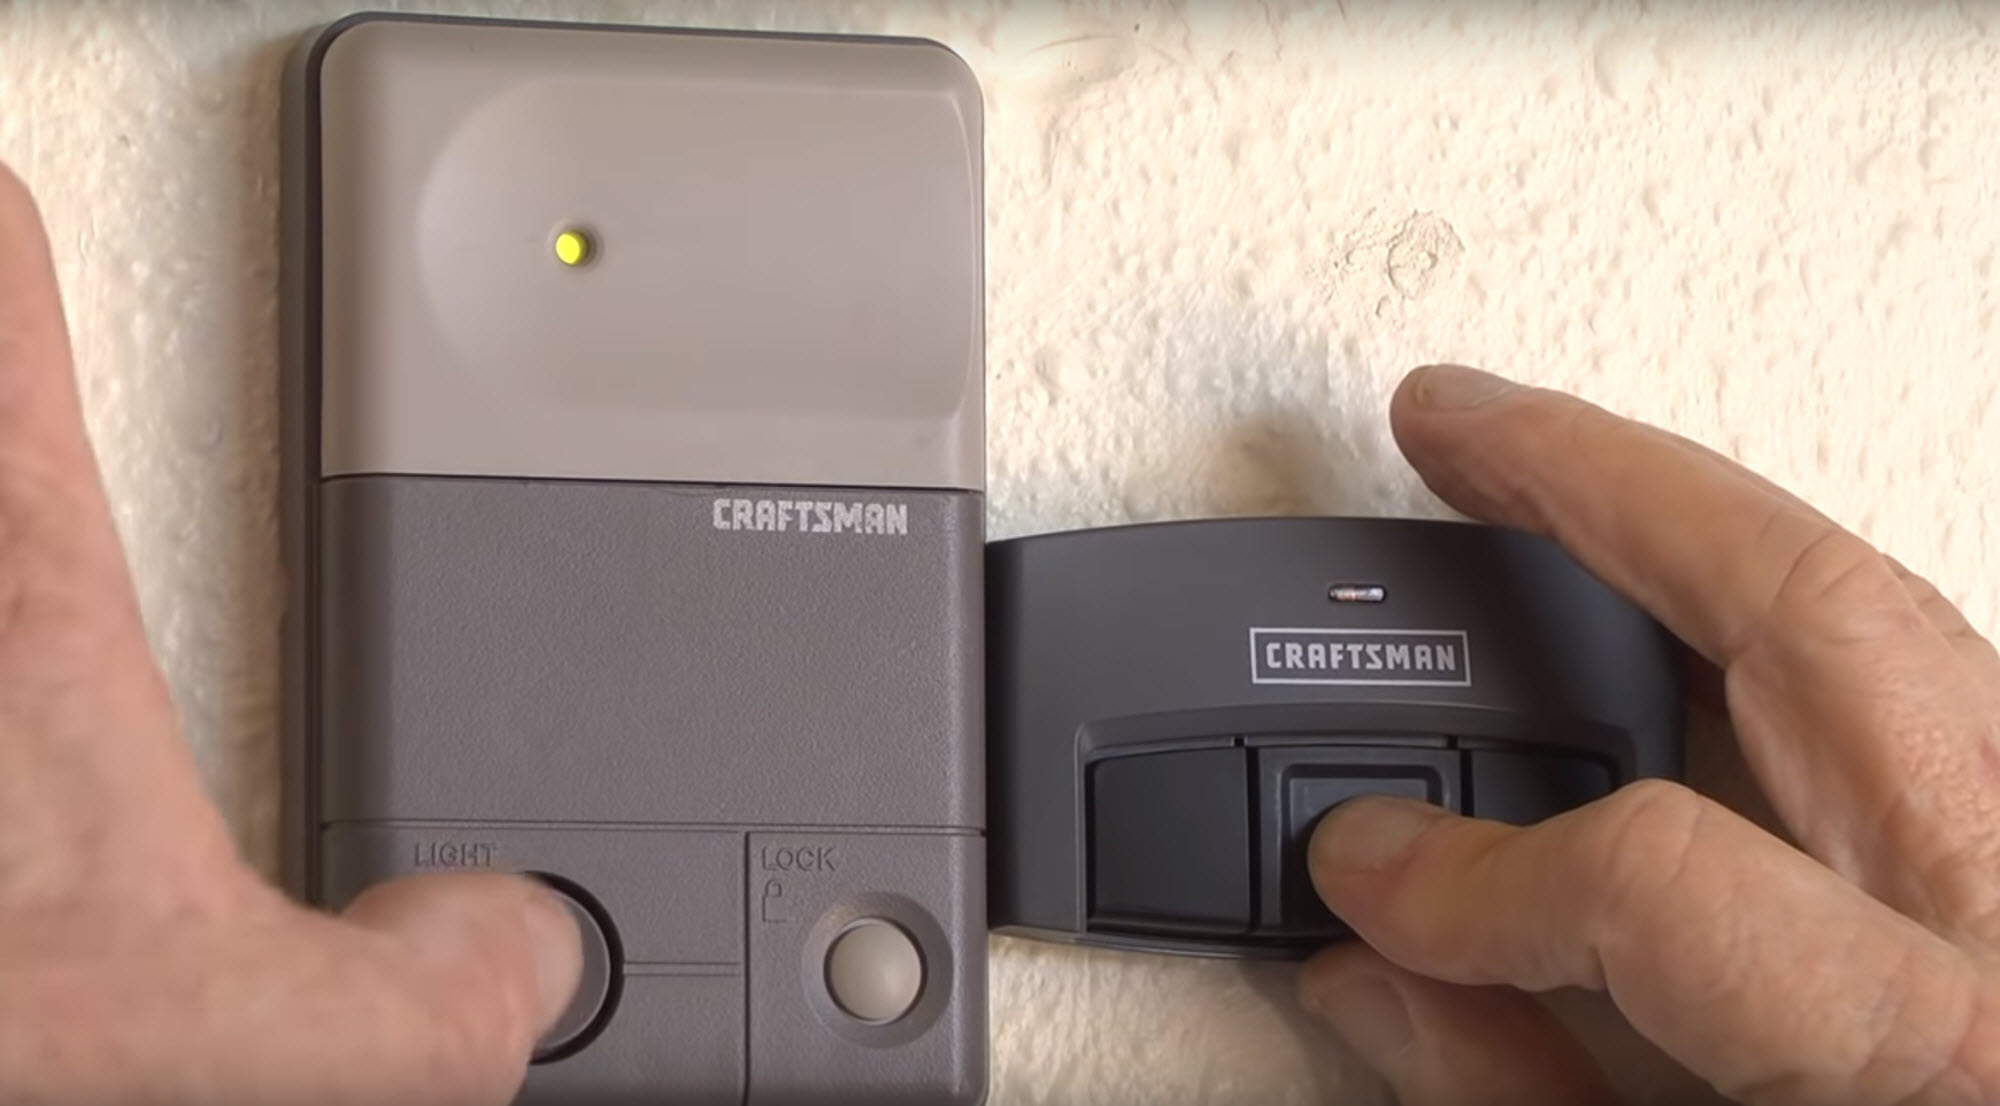
9. Lock Feature Activated
Some Craftsman openers have a lock or vacation mode. If this is on, remote controls may be disabled.
10. Broken Torsion Or Extension Springs
The garage door’s springs do most of the lifting. If a spring breaks, the opener may not lift the door, or may strain and fail.

Step-by-step Troubleshooting Guide
Let’s walk through how to diagnose and solve most Craftsman opener problems. Start with the simplest fixes and move to more complex checks.
Step 1: Check Power Supply
Make sure the opener is plugged in and the outlet works. Try plugging another device into the outlet. If it doesn’t power on, check your home’s breaker panel for a tripped breaker or blown fuse.
If everything seems normal but the opener won’t turn on (no lights, no sound), the opener’s circuit board could be faulty.
Step 2: Test The Remote And Wall Switch
Try both the remote and the wall button.
- If the wall switch works but the remote doesn’t, the problem is likely with the remote.
- If neither works, the issue is probably with the opener or its power supply.
Step 3: Replace Remote Batteries
Open your remote and swap in new batteries. Use the type recommended in your user manual. If the remote still doesn’t work, try reprogramming it (instructions below).
Step 4: Reprogram The Remote
Sometimes, remotes lose their connection with the opener. Reprogram by:
- Locate the “Learn” button on the back of the opener motor.
- Press and release the button.
- Within 30 seconds, press the remote button you want to use.
- Wait for the opener light to blink or click.
Test the remote again.
Step 5: Inspect The Sensors
Check the safety sensors near the bottom of the door tracks.
- Make sure nothing is blocking them.
- Clean the lenses with a soft cloth.
- Both sensor lights should be solid (not flashing).
If the sensors are out of alignment, gently adjust them so the lights remain steady.
Step 6: Check The Door And Hardware
Manually lift your garage door (pull the emergency release cord). The door should move smoothly and stay up by itself. If it’s heavy or sticks, there may be a problem with the tracks, rollers, or springs.
Look for:
- Bent tracks
- Loose bolts
- Broken rollers
- Damaged hinges
Fix these before trying the opener again.
Step 7: Inspect The Springs
Look above your garage door for the torsion springs (metal coils). If a spring is broken or separated, do not use the opener—this can damage the motor. Call a professional for spring repair.
Step 8: Check The Limit And Travel Settings
If the door opens or closes only partway, the limit switches may need adjustment. On most Craftsman openers, you’ll find two screws or dials labeled “Up” and “Down” on the side of the motor.
- Turn the screw slightly in the direction needed.
- Test the door after each adjustment.
Step 9: Inspect The Opener Motor And Gears
If you hear a humming sound but the door doesn’t move, the motor or gears may be bad. Open the motor housing and look for worn gears (often white plastic). These parts can be replaced, but may require basic tools and patience.
Step 10: Check For Lock Or Vacation Mode
Some wall switches have a lock button. If enabled, remotes won’t work. Hold the lock button for a few seconds to toggle the mode.
Step 11: Examine The Emergency Release
Sometimes, the emergency release cord gets pulled accidentally, disconnecting the door from the opener. Reattach it by running the opener once with the door closed.
Comparing Craftsman To Other Garage Door Openers
How does Craftsman stack up against other brands when it comes to reliability and troubleshooting? Here’s a quick comparison to help you understand where Craftsman stands.
| Brand | Average Lifespan | Common Issues | Ease of Troubleshooting |
|---|---|---|---|
| Craftsman | 10-15 years | Sensor misalignment, gear wear | Easy (good manuals, parts availability) |
| Chamberlain | 10-15 years | Remote programming, belt wear | Easy |
| LiftMaster | 12-20 years | Sensor issues, logic board failure | Moderate |
| Genie | 8-12 years | Remote/receiver issues, motor failure | Easy |
Craftsman is known for user-friendly troubleshooting and widely available replacement parts, making it a good choice for DIY repairs.
When To Call A Professional
Some opener problems are best left to experts. Call a qualified garage door technician if you notice:
- Broken springs or cables
- Loud grinding or banging noises
- Burnt smell from the opener
- Major electrical faults
- Frequent opener resets
- Door is off its tracks
Handling springs, high-voltage wiring, or realignment can be dangerous without the right tools and experience.
Preventing Future Problems
A little maintenance goes a long way with Craftsman garage door openers. Here’s how to keep your system working smoothly for years.
1. Lubricate Moving Parts
Apply garage door lubricant to the rollers, hinges, and tracks every 6-12 months. Avoid using WD-40, which can attract dirt.
2. Test The Safety Sensors
Wave an object in front of the sensors while closing the door. The door should reverse immediately. Test this monthly.
3. Tighten Loose Bolts
Vibration can loosen hardware over time. Use a wrench to snug up all bolts and screws twice a year.
4. Replace Remote Batteries Annually
Change your remote batteries before they die, especially in cold climates where battery life is shorter.
5. Clean The Tracks And Sensors
Dust and debris can block sensors and jam tracks. Wipe them clean as part of your garage cleaning routine.
6. Check The Balance
Disconnect the opener and manually lift the door halfway. If it moves on its own, springs may need adjustment.
7. Keep The Opener Manual Handy
Store the user manual where you can find it quickly. It includes troubleshooting charts and part numbers.
Real-world Troubleshooting Examples
Sometimes, seeing real examples helps you understand what to expect and how to solve specific problems.
Example 1: Remote Works, Wall Switch Doesn’t
Javier noticed his Craftsman remote worked perfectly, but the wall switch did nothing. He checked the wall switch wiring and found a loose wire. After tightening the screw, the wall switch worked again.
Insight: Always check for loose wires at the wall switch first.
Example 2: Door Won’t Close, Light Flashes
Maria’s garage door would start to close, then reverse with the opener light blinking. She found a bicycle wheel blocking one of the sensors. After moving the bike, the door closed normally.
Insight: Flashing opener lights usually mean a sensor problem.
Example 3: Humming Motor, No Movement
Eddie’s opener made a humming sound but didn’t move the door. He checked the motor gear and saw it was stripped. He ordered a gear replacement kit and followed an online video to install it.
Insight: If the motor hums but doesn’t move, check the drive gear before replacing the whole unit.
Typical Costs For Repairs And Replacement
Wondering how much it will cost to fix or replace your Craftsman garage door opener? Here’s a breakdown of average prices in the US.
| Repair Type | DIY Cost | Professional Cost |
|---|---|---|
| Remote Battery Replacement | $2 – $10 | $20 – $40 |
| Sensor Alignment/Cleaning | $0 – $10 | $50 – $100 |
| Gear Replacement Kit | $20 – $40 | $100 – $200 |
| Spring Replacement | Not recommended | $150 – $300 |
| Opener Replacement | $150 – $400 | $300 – $600 |
DIY repairs save money but require time and effort. For springs and major electrical work, always hire a pro.
Two Non-obvious Insights Most Homeowners Miss
- Wi-Fi interference can affect remotes: If you have new wireless routers or smart devices, their signal can sometimes interfere with garage door remotes. Try moving these devices or changing the opener’s frequency if possible.
- Weather changes affect door operation: Extreme cold or heat can cause metal parts to expand or contract, leading to misalignment. If your opener only acts up during certain seasons, check the tracks and lubricate more often.
Craftsman Model-specific Tips
Craftsman has released many garage door opener models over the years. Here are some tips for popular models:
- Craftsman 1/2 HP Chain Drive: Known for reliability, but gears may wear after 8-10 years. Keep a gear kit handy.
- Craftsman Belt Drive: Quieter but belts stretch over time. Tighten or replace if the door starts slipping.
- Smart Openers (Wi-Fi Enabled): Make sure your app is updated. Router resets can disconnect the unit; follow app instructions to reconnect.
Always check your specific model number (on the motor housing) and refer to the user manual for tailored troubleshooting steps.
Warranty Information And Support
Most Craftsman garage door openers come with a 1-5 year warranty on parts and a lifetime warranty on the motor. Check your purchase paperwork or the Craftsman website for details. If you’re within the warranty period, contact Craftsman support before attempting major repairs, as DIY fixes may void the warranty.
For official manuals, parts, and support, visit the Craftsman support page.
Frequently Asked Questions
How Do I Reset My Craftsman Garage Door Opener?
To reset, unplug the opener for 30 seconds, then plug it back in. If you need to reprogram remotes, press the “Learn” button on the opener, then hold your remote button until the light blinks.
Why Does My Garage Door Go Down Then Back Up?
This often means the safety sensors are blocked or misaligned. Clean the lenses and make sure both lights are solid. Also, check the limit switch settings if the problem continues.
My Opener Makes Noise But The Door Doesn’t Move. What’s Wrong?
A humming sound with no movement usually means a broken gear or a disconnected emergency release. Check both and replace the gear if needed.
Can I Replace A Broken Spring Myself?
It is not safe for homeowners to replace garage door springs. The springs are under high tension and can cause serious injury. Always call a professional for spring repair.
How Often Should I Service My Garage Door Opener?
Service your garage door opener every 12 months. Lubricate moving parts, clean sensors, test safety features, and replace remote batteries annually for best results.
A Craftsman garage door opener can provide many years of reliable service with regular care and quick attention to small problems. Understanding how your system works and following these troubleshooting steps will help you solve most issues and avoid costly repairs.
If you’re ever unsure or the problem seems dangerous, don’t hesitate to call a professional—your safety comes first.