Now Reading: Craftsman Garage Door Opener Remote And Keypad Not Working
- 01
Craftsman Garage Door Opener Remote And Keypad Not Working

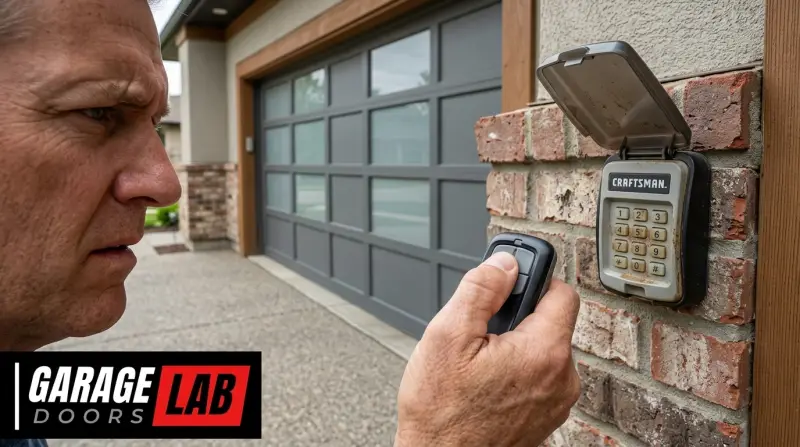
When your Craftsman garage door opener remote and keypad suddenly stop working, it can be a significant inconvenience. This essential technology, designed for convenience and security, can become a source of frustration when it malfunctions. Whether you’re unable to open your garage door from the car or enter your home via the keypad, understanding the potential causes and troubleshooting steps is crucial. This guide will walk you through the common reasons why your Craftsman remote and keypad might not be responding and provide a clear, step-by-step approach to getting them working again.
Key Takeaways
- Battery Issues: The most frequent culprit for non-functional remotes and keypads is a dead or low battery.
- Signal Interference: Other electronic devices or physical obstructions can disrupt the radio frequency signals.
- Programming Loss: Power surges, attempts to reset the opener, or physical damage can cause the opener to lose its programming.
- Opener Malfunctions: The issue might lie with the garage door opener unit itself, such as a faulty receiver board or motor.
- Keypad/Remote Damage: Physical damage to the remote or keypad can render them inoperable.
- Safety Sensor Alignment: While primarily affecting the door’s closing, misaligned safety sensors can sometimes cause erratic opener behavior.
- Troubleshooting Steps: Start with simple checks like batteries and obstructions, then move to reprogramming and checking the opener unit.
Common Reasons For Craftsman Remote And Keypad Failure
Several factors can contribute to your Craftsman garage door opener remote and keypad not working. Identifying the specific cause is the first step towards a solution. These issues range from simple, easily fixable problems to more complex mechanical or electronic failures.
Battery Depletion And Replacement
The most common reason for a Craftsman garage door opener remote or keypad to stop working is a depleted battery. Remotes and keypads use small batteries, typically coin cells or AA/AAA batteries, which have a limited lifespan. Over time, these batteries lose their charge, especially with frequent use or if the remote is accidentally activated in a pocket or bag.
- Remote Battery: The remote’s battery is usually accessible via a small screw or a snap-open casing. Always replace it with the exact same type and size of battery specified in your opener’s manual. Using an incorrect battery might not fit properly or could even damage the remote.
- Keypad Battery: Keypads often have their batteries located behind a cover on the back or inside the unit. Some models might require you to remove screws to access the battery compartment. If your keypad is battery-powered and has stopped working, a fresh set of batteries is the first thing to try.
Pro Tip: Keep a spare set of the correct batteries on hand. This way, when a remote or keypad fails, you can immediately test if a battery replacement resolves the issue without delay.
Signal Interference And Obstructions
Garage door opener systems rely on radio frequencies (RF) to communicate between the remote/keypad and the opener unit. Various sources can interfere with these signals, preventing them from reaching their destination.
- Radio Frequency Interference (RFI): Many household devices operate on RF signals, and some can clash with your garage door opener’s frequency. Common culprits include:
- Wireless doorbells
- Baby monitors
- Certain security systems
- LED or fluorescent lighting (especially older models)
- Neighboring garage door openers (if they operate on a similar frequency and are close by)
- Radio transmitters
- Physical Obstructions: While less common for signal disruption than RFI, significant physical obstructions between the remote and the opener’s antenna can also cause issues. This is usually only a problem if the opener’s antenna is damaged or obscured.
If you suspect interference, try operating the remote or keypad when closer to the garage door opener unit. If it works, interference is a likely cause. You may need to identify and move or shield the interfering device, or consult your opener’s manual for advice on minimizing RFI.
Lost Programming Or Sync Issues
The connection between your remote, keypad, and garage door opener is established through a programming process. This programming can be lost for several reasons, leading to a lack of communication.
- Power Surges or Outages: A significant power surge or a prolonged power outage can sometimes reset the opener’s memory, causing it to forget previously programmed devices.
- Accidental Reset: It’s possible to accidentally trigger a reset sequence on the opener unit, especially if you’re attempting other troubleshooting steps.
- Component Failure: In rare cases, the logic board or receiver module within the garage door opener unit might fail, leading to a loss of programming capability.
If you suspect lost programming, the solution typically involves reprogramming the remote and keypad to the opener. This process varies by model, so consulting your Craftsman garage door opener manual is essential. For Craftsman openers, the process often involves pressing a “Learn” or “Program” button on the motor unit. You can find specific instructions for many models on the Sears Home Services support site, which often handles Craftsman appliance support.
Faulty Craftsman Garage Door Opener Unit
Sometimes, the problem isn’t with the remote or keypad themselves, but with the main garage door opener unit mounted on the ceiling.
- Receiver Board Issues: The receiver board within the opener unit is responsible for picking up signals from the remote and keypad. If this board is damaged or malfunctioning, it won’t be able to process these signals, rendering your remotes and keypads useless. This can happen due to electrical faults or age.
- Antenna Problems: The opener unit has an antenna, usually a thin wire hanging down. If this antenna is damaged, cut, or obstructed, its ability to receive signals will be significantly reduced.
- Logic Board Failure: The logic board is the “brain” of the garage door opener. If it fails, the entire unit may become unresponsive, affecting remote and keypad functionality.
Troubleshooting the opener unit itself can be more complex and may require electrical knowledge. If you’ve exhausted simpler solutions and suspect a problem with the opener unit, it might be time to contact a qualified garage door technician.
Damaged Remote Or Keypad
Physical damage to the remote or keypad can also be the cause of their malfunction.
- Drops and Impacts: If a remote or keypad has been dropped multiple times or subjected to a significant impact, internal components can become dislodged or broken.
- Water Damage: Exposure to moisture or liquids can corrode internal circuitry, leading to failure.
- Wear and Tear: Over many years, buttons can become worn out, and internal connections can degrade.
If you can visually inspect the remote or keypad and see obvious signs of damage, such as cracks or corrosion, it’s likely the source of the problem. In such cases, the most straightforward solution is to replace the damaged remote or keypad.

Credit: www.amazon.com
Troubleshooting Steps For A Non-working Craftsman Remote And Keypad
When your Craftsman garage door opener remote and keypad aren’t responding, a systematic troubleshooting approach can help you pinpoint and resolve the issue efficiently. Start with the simplest solutions and progress to more complex ones.
Credit: www.youtube.com
Step 1: Check And Replace Batteries
This is the first and most crucial step. A dead battery is the most frequent cause of a non-functional remote or keypad.
Testing The Remote Battery
- Locate the battery compartment: This is usually on the back of the remote, secured by a small screw or a clip.
- Open the compartment: Carefully remove the screw or pry open the cover.
- Identify the battery type: Note the battery model (e.g., CR2032, A23).
- Remove the old battery: Use a small, non-metallic tool if necessary to gently pry it out.
- Insert a new battery: Ensure it’s oriented correctly according to the positive (+) and negative (-) markings.
- Close the compartment: Secure the cover and screw.
- Test the remote: Try operating the garage door.
Testing The Keypad Battery
- Locate the battery compartment: This is typically on the back of the keypad, often under a sliding or removable cover. Some may require unscrewing.
- Open the compartment: Remove any screws or slide the cover off.
- Identify the battery type: Note the battery model (e.g., AA, AAA, 9V).
- Remove the old batteries: Observe the orientation of the existing batteries.
- Insert new batteries: Ensure they are inserted with the correct polarity.
- Close the compartment: Secure the cover.
- Test the keypad: Enter your code and try to operate the door.
If replacing the batteries resolves the issue for either the remote or keypad, you’re done! If not, proceed to the next steps.

Credit: www.youtube.com
Step 2: Inspect For Physical Damage And Obstructions
Examine both the remote, keypad, and the garage door opener unit for any visible signs of damage.
Inspecting The Remote And Keypad
- Cracks or Breaks: Look for any physical damage to the casing.
- Loose Buttons: Ensure all buttons are intact and not stuck or loose.
- Corrosion: Check the battery terminals inside the compartment for any signs of corrosion (a white or greenish powdery substance). If present, clean the terminals gently with a pencil eraser or a cotton swab dipped in a small amount of vinegar, then dry thoroughly.
Inspecting The Garage Door Opener Unit
- Antenna: Locate the antenna wire hanging from the motor unit. Ensure it’s not cut, frayed, or excessively bent. If it’s damaged, you might be able to repair it or replace it, though this can be a more involved task.
- Visible Damage: Check the motor unit casing for any obvious signs of damage or wear.
Step 3: Check For Signal Interference
If batteries are good and there’s no visible damage, the next step is to rule out signal interference.
- Proximity Test: Try operating the remote and keypad when you are much closer to the garage door opener unit (e.g., standing directly underneath it). If they work at close range but not from a distance, interference is a strong possibility.
- Identify Potential Sources: Think about any new electronic devices you’ve recently installed or activated in your home or garage. This could include:
- Wireless devices (baby monitors, routers, smart home hubs)
- New lighting fixtures (especially LED or fluorescent)
- Anything that emits radio waves.
- Temporarily Disable Devices: If you suspect a specific device, try turning it off temporarily to see if your opener begins to work. If it does, you’ve found your culprit. You may need to relocate the interfering device, shield it, or consider a different frequency opener if possible.
Step 4: Reprogram The Remote And Keypad
If the above steps haven’t resolved the issue, it’s likely that the opener has lost its programming. Reprogramming is often necessary after power outages or resets.
Reprogramming The Craftsman Remote
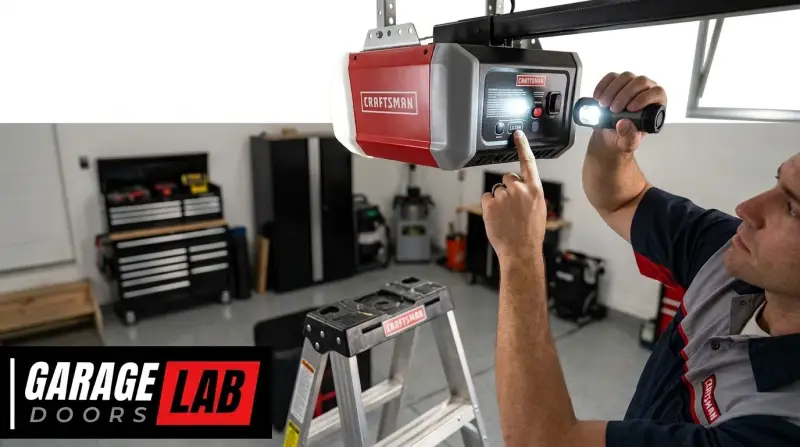
The exact procedure can vary slightly depending on your Craftsman model. You’ll generally need access to the motor unit mounted on your garage ceiling.
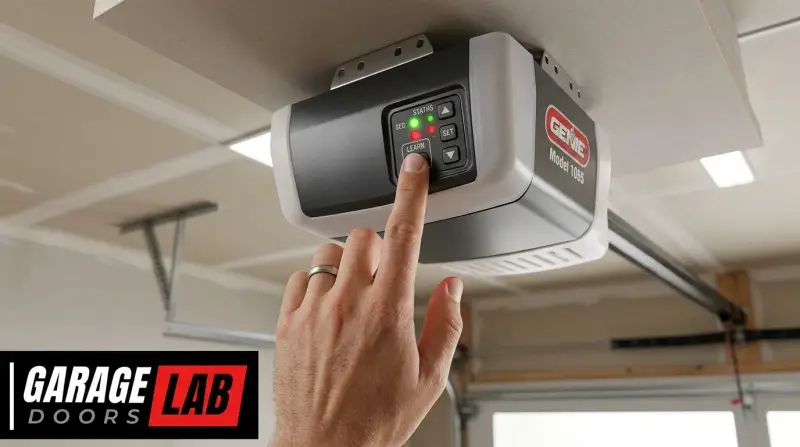
- Locate the “Learn” or “Program” Button: This button is usually located on the back or side of the motor unit, often near the antenna or the terminal for wiring. It might be labeled “Learn,” “Program,” “S,” or have a colored button.
- Press and Release the Learn Button: Press the button briefly and release it. A small LED indicator light next to the button should illuminate, indicating it’s in programming mode. You typically have about 30 seconds to complete the next step.
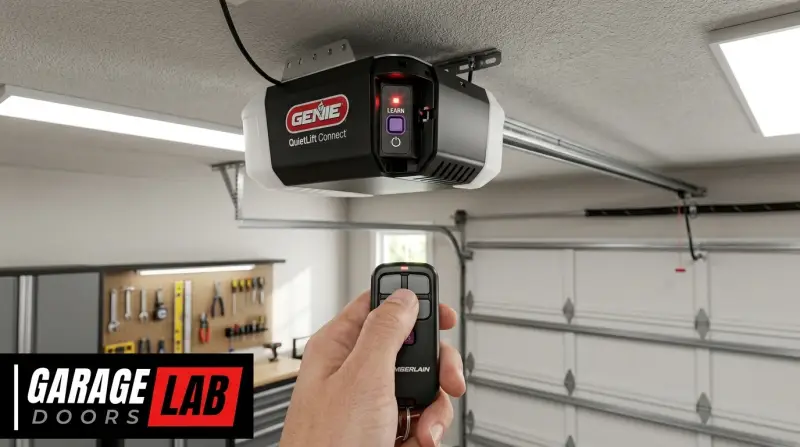
- Press the Remote Button: Immediately press and hold the button on your remote that you want to use to operate the door.
- Confirm Programming: You should hear a click from the opener unit, or the opener’s lights might flash, indicating the remote has been successfully programmed.
- Test the Remote: Release the remote button and test the remote by pressing the programmed button again. The garage door should operate.
If you have multiple remotes, you’ll need to repeat this process for each one. For detailed instructions specific to your model, consult your Craftsman remote reset guide or your owner’s manual.
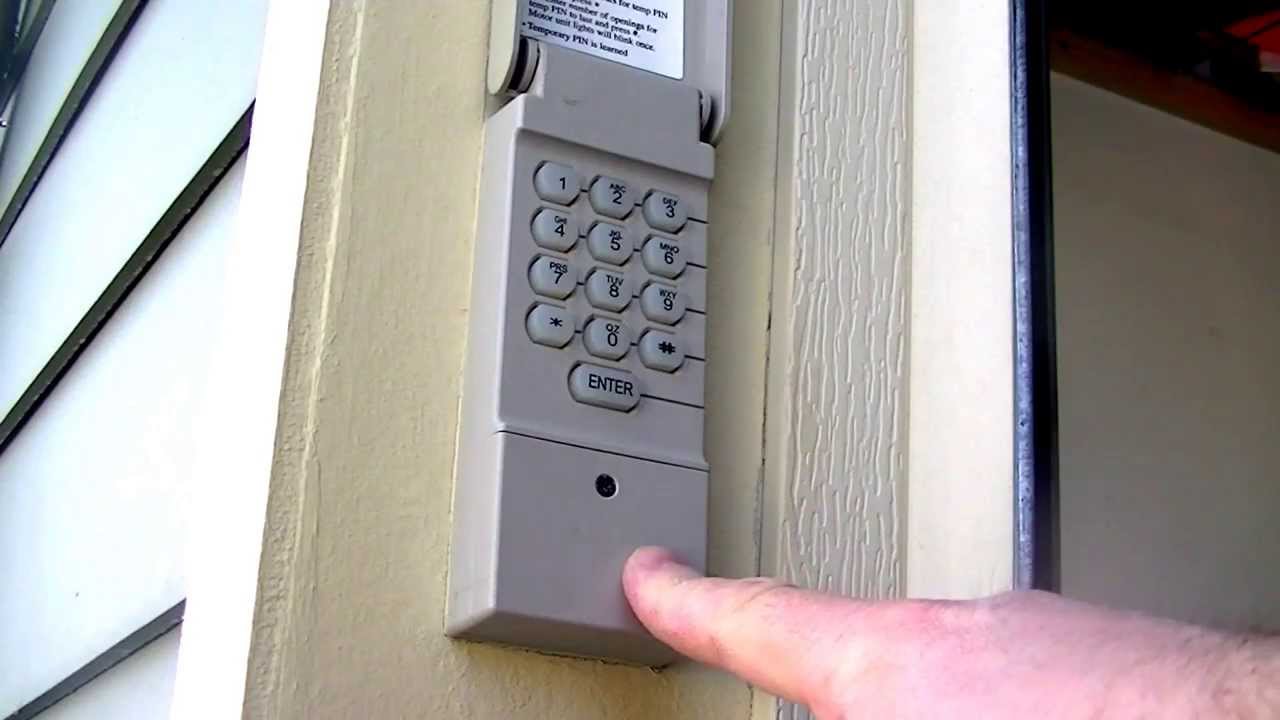
Reprogramming The Craftsman Keypad
Similar to remotes, keypads need to be programmed to communicate with the opener.
- Locate the “Learn” Button on the Opener: As with remote programming, you’ll need to access the “Learn” button on the motor unit.
- Enter Your Desired Code: On the keypad, enter your new PIN code (typically 4 digits).
- Press and Hold the Program Button: Press and hold the “Program” or “Learn” button on the motor unit until the LED indicator lights up.
- Press and Hold the Keypad Button: While still holding the motor unit’s program button, press and hold the keypad button you want to use for opening the door (often indicated by an arrow or the number 1).
- Release Both Buttons: Once the opener’s lights flash or you hear a click, release both the motor unit’s program button and the keypad button.
- Enter Your Code Again: On the keypad, enter your chosen PIN code again, followed by the “Enter” or “Program” button.
- Test the Keypad: The garage door should activate.
Remember that the programming sequence can vary. Always refer to your specific Craftsman model’s manual. If you’re having trouble with a Craftsman keypad, this guide on resetting Craftsman remotes may offer insights into general programming concepts that apply to keypads as well.
Step 5: Check The Garage Door Opener’s Logic Board And Receiver
If reprogramming fails, the issue might be with the opener’s internal electronics.
Inspecting The Logic Board
The logic board is the central control unit of the opener. Visually inspect it for any signs of damage, such as:
- Burn marks: Discoloration or charring on the board.
- Blown capacitors: Swollen or leaking cylindrical components.
- Loose connections: Wires that appear disconnected from their terminals.
If you see any of these issues, the logic board likely needs to be replaced. This is a job best left to a professional technician unless you have significant experience with electronics.
Checking The Receiver
The receiver module is often integrated into the logic board but can sometimes be a separate component. If the receiver fails, it cannot interpret the signals from your remotes or keypads. Diagnosing a faulty receiver typically requires specialized tools and knowledge.
Step 6: Consider Professional Assistance
If you’ve gone through all the previous steps and your Craftsman remote and keypad are still not working, it’s time to call in the experts.
- Technician Diagnosis: A qualified garage door technician can perform advanced diagnostics to identify issues with the opener’s internal components, wiring, or even the garage door mechanism itself.
- Safety Concerns: Garage door openers involve electrical components and heavy moving parts. Attempting complex repairs without proper knowledge can be dangerous. Professionals have the necessary training and safety equipment.
- Cost-Effectiveness: While there’s a cost associated with professional service, it can save you time, frustration, and potentially prevent further damage. The average cost for a garage door opener repair can range from $100 to $400, depending on the issue, according to various industry reports. The overall cost of garage door services can vary widely.
Troubleshooting Specific Craftsman Models
Craftsman has produced a wide range of garage door opener models over the years, and while the general principles of troubleshooting remain the same, specific button locations, programming sequences, and common issues can differ.
Older Craftsman Models (e.g., Security+ Rolling Code)
Older Craftsman openers often used the Security+ system, which employs rolling codes for enhanced security. These models typically have a colored “Learn” button (red, orange, green, or purple) on the motor unit.
- Programming: The process usually involves pressing and releasing the learn button, then pressing the remote button. The opener’s lights will flash or a click will be heard to confirm.
- Keypad Issues: If an older keypad stops working, it’s almost always a battery issue or a loss of programming. Reprogramming is the standard fix.
- Potential Problems: Older units are more susceptible to component aging. The receiver board or capacitors might fail over time.
Newer Craftsman Models (e.g., Myq Technology)
More recent Craftsman openers may incorporate MyQ technology, allowing for smart home integration and control via a smartphone app.
- MyQ Connectivity: If your remote and keypad work locally but the MyQ app doesn’t connect, the issue might be with your home’s Wi-Fi network or the opener’s Wi-Fi module. Resetting the Wi-Fi connection on the opener unit might be necessary.
- App-Based Troubleshooting: The Craftsman or Chamberlain (which often shares technology with Craftsman) app itself may offer troubleshooting guides or error messages.
- Remote/Keypad Functionality: The core functionality of the remote and keypad should still follow the standard battery and programming checks. If the opener has a Wi-Fi issue, it generally shouldn’t affect the direct RF communication of the remote and keypad unless there’s a broader logic board problem.
Common Craftsman Error Codes
Some Craftsman openers feature diagnostic LEDs that blink in specific patterns to indicate errors. Consult your owner’s manual to interpret these codes. Common codes might point to:
- Safety sensor issues: If the door won’t close, the sensors are usually the culprit.
- Strained motor: Indicates a problem with the door’s balance or obstruction on the tracks.
- Logic board failure: More serious internal problems.
If your opener is blinking an error code, identifying it can significantly speed up the diagnostic process.
Maintenance Tips To Prevent Future Issues
Regular maintenance can help prevent your Craftsman garage door opener remote and keypad from malfunctioning in the future.
Battery Management
- Regular Checks: Make it a habit to check the batteries in your remotes and keypads at least twice a year, perhaps when you change your clocks for daylight saving time.
- Use Quality Batteries: Invest in reputable brands of batteries to ensure longer life and consistent performance.
Opener Unit Care
- Keep it Clean: Dust and debris can accumulate inside the motor unit over time. Periodically (with the power off at the breaker), open the motor unit cover and gently clean out any dust with a soft brush or compressed air.
- Check Wiring: Ensure all wiring connections to the motor unit are secure and free from damage.
- Lubrication: While not directly related to remote/keypad function, ensuring your garage door mechanism is properly lubricated (tracks, rollers, springs) reduces strain on the opener motor, which can indirectly prevent electrical issues. Check out this guide on how to lubricate garage door rollers.
Programming Best Practices
- Keep Manuals Handy: Store your garage door opener’s owner’s manual in a safe place. It contains specific programming instructions and troubleshooting tips for your model.
- Avoid Unnecessary Resets: Only reset or reprogram your opener when necessary, as repeated resets can sometimes cause unforeseen issues.
Frequently Asked Questions
Why Did My Craftsman Remote Stop Working After A Power Outage?
Power surges or outages can sometimes reset the memory of your garage door opener, causing it to lose the programming for your remote and keypad. The solution is usually to reprogram them following the steps outlined in your owner’s manual.
Can I Use A Universal Garage Door Opener Remote With My Craftsman Opener?
Yes, universal remotes are available and can be programmed to work with many Craftsman models. However, ensure the universal remote is compatible with your specific Craftsman opener’s frequency and technology (e. g. , Security+, rolling code). Always follow the universal remote’s programming instructions carefully.
My Keypad Works, But My Remote Doesn’t. What Could Be The Issue?
This often points to a battery issue specific to the remote, or a programming loss specific to the remote. If both use the same battery type, try swapping the batteries to see if the problem follows the battery. If not, you’ll likely need to reprogram the remote to the opener unit.