Now Reading: How to Setup Garage Door Remote: Easy Step-by-Step Guide
- 01
How to Setup Garage Door Remote: Easy Step-by-Step Guide
Setting up a garage door remote may seem tricky if you haven’t done it before. But, with the right steps, anyone can pair a remote to their garage door opener safely and quickly. A working remote gives you convenience, security, and peace of mind—no more getting out of the car during rain or cold just to open the garage. Whether you just bought a new remote, replaced an old one, or moved into a new house, this guide will help you through every detail. We’ll cover preparation, step-by-step programming, troubleshooting, security, and tips most people miss on their first try.
By the end, you’ll not only know how to set up your garage door remote, but also understand how it works, how to add more remotes, and what to do if something goes wrong. Let’s make your garage door opener work for you—smoothly and securely.
Understanding Garage Door Remotes
Before starting, it helps to know what you’re working with. Garage door remotes are small transmitters that send a coded signal to your garage door opener. Most systems use rolling codes for security, meaning the code changes every time you press the button. Remotes work with a receiver inside the garage door opener unit.
The main types of remotes are:
- Single-button remotes: These control one door and have one button.
- Multi-button remotes: Control two or more doors or functions.
- Universal remotes: Can be programmed to work with different brands.
Most remotes use radio frequencies (RF)—usually 315 MHz or 390 MHz. Newer models use secure, encrypted signals.
What You Need Before You Start
Getting ready is key. Here’s what you should have:
- The remote you want to program. Make sure it’s compatible with your opener.
- Access to your garage door opener unit. Usually mounted on the ceiling.
- A ladder (if the unit is out of reach).
- Fresh batteries for the remote.
- Owner’s manual for your opener and remote (if available).
- A pen and paper for notes.
Not all remotes work with all openers. Check the brand and model on your garage door opener and remote. Brands like Chamberlain, LiftMaster, Genie, and Craftsman are common, but they are not always cross-compatible.
Safety First
Never skip safety. Setting up a remote requires you to access the opener unit, sometimes while on a ladder. Here’s how to stay safe:
- Make sure the area under the door is clear.
- Use a stable ladder, not a chair or box.
- Don’t program the remote with the door open.
- Keep children and pets away during setup.
- If your opener uses older wiring or is very old (pre-1993), consider upgrading for safety.
Step-by-step: How To Set Up Your Garage Door Remote
Let’s go through the main steps. The process is similar for most brands, but always check your manual for special steps.
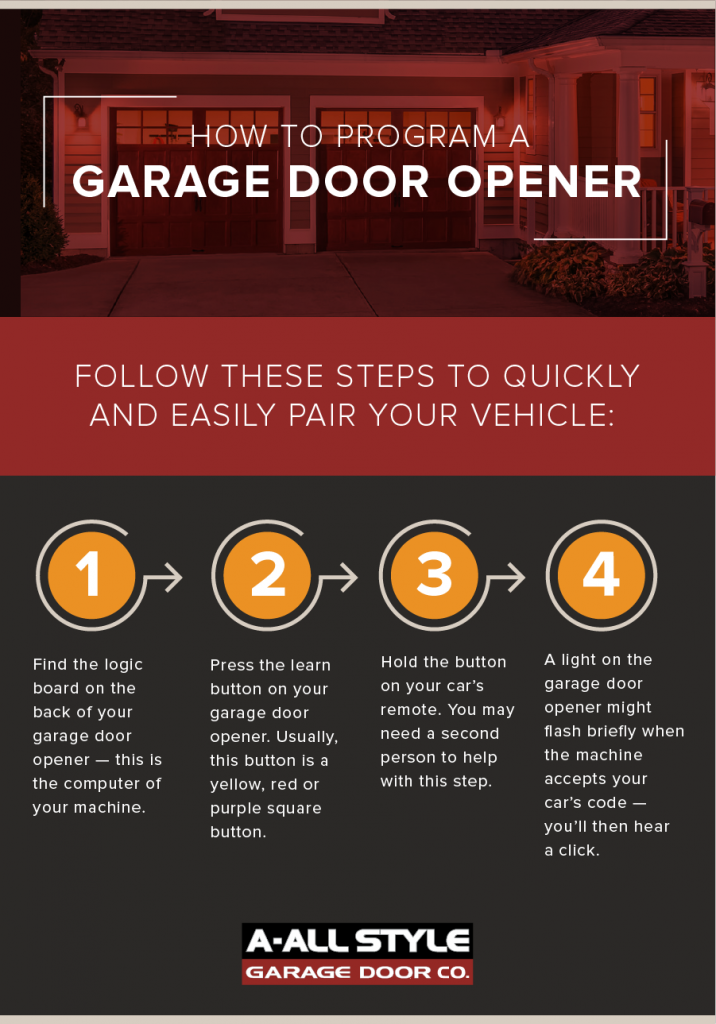
1. Locate The Learn/program Button
Every garage door opener has a Learn or Program button. It’s usually on the back or side of the opener unit, near where the wires connect. This button puts the opener into programming mode.
- The button may be under a light cover or panel.
- It’s often colored (red, yellow, purple, or green).
- You may see a small LED light near the button.
Tip: If you can’t find the button, look for the brand and model number on the opener. Search online for its manual or check the manufacturer’s website.
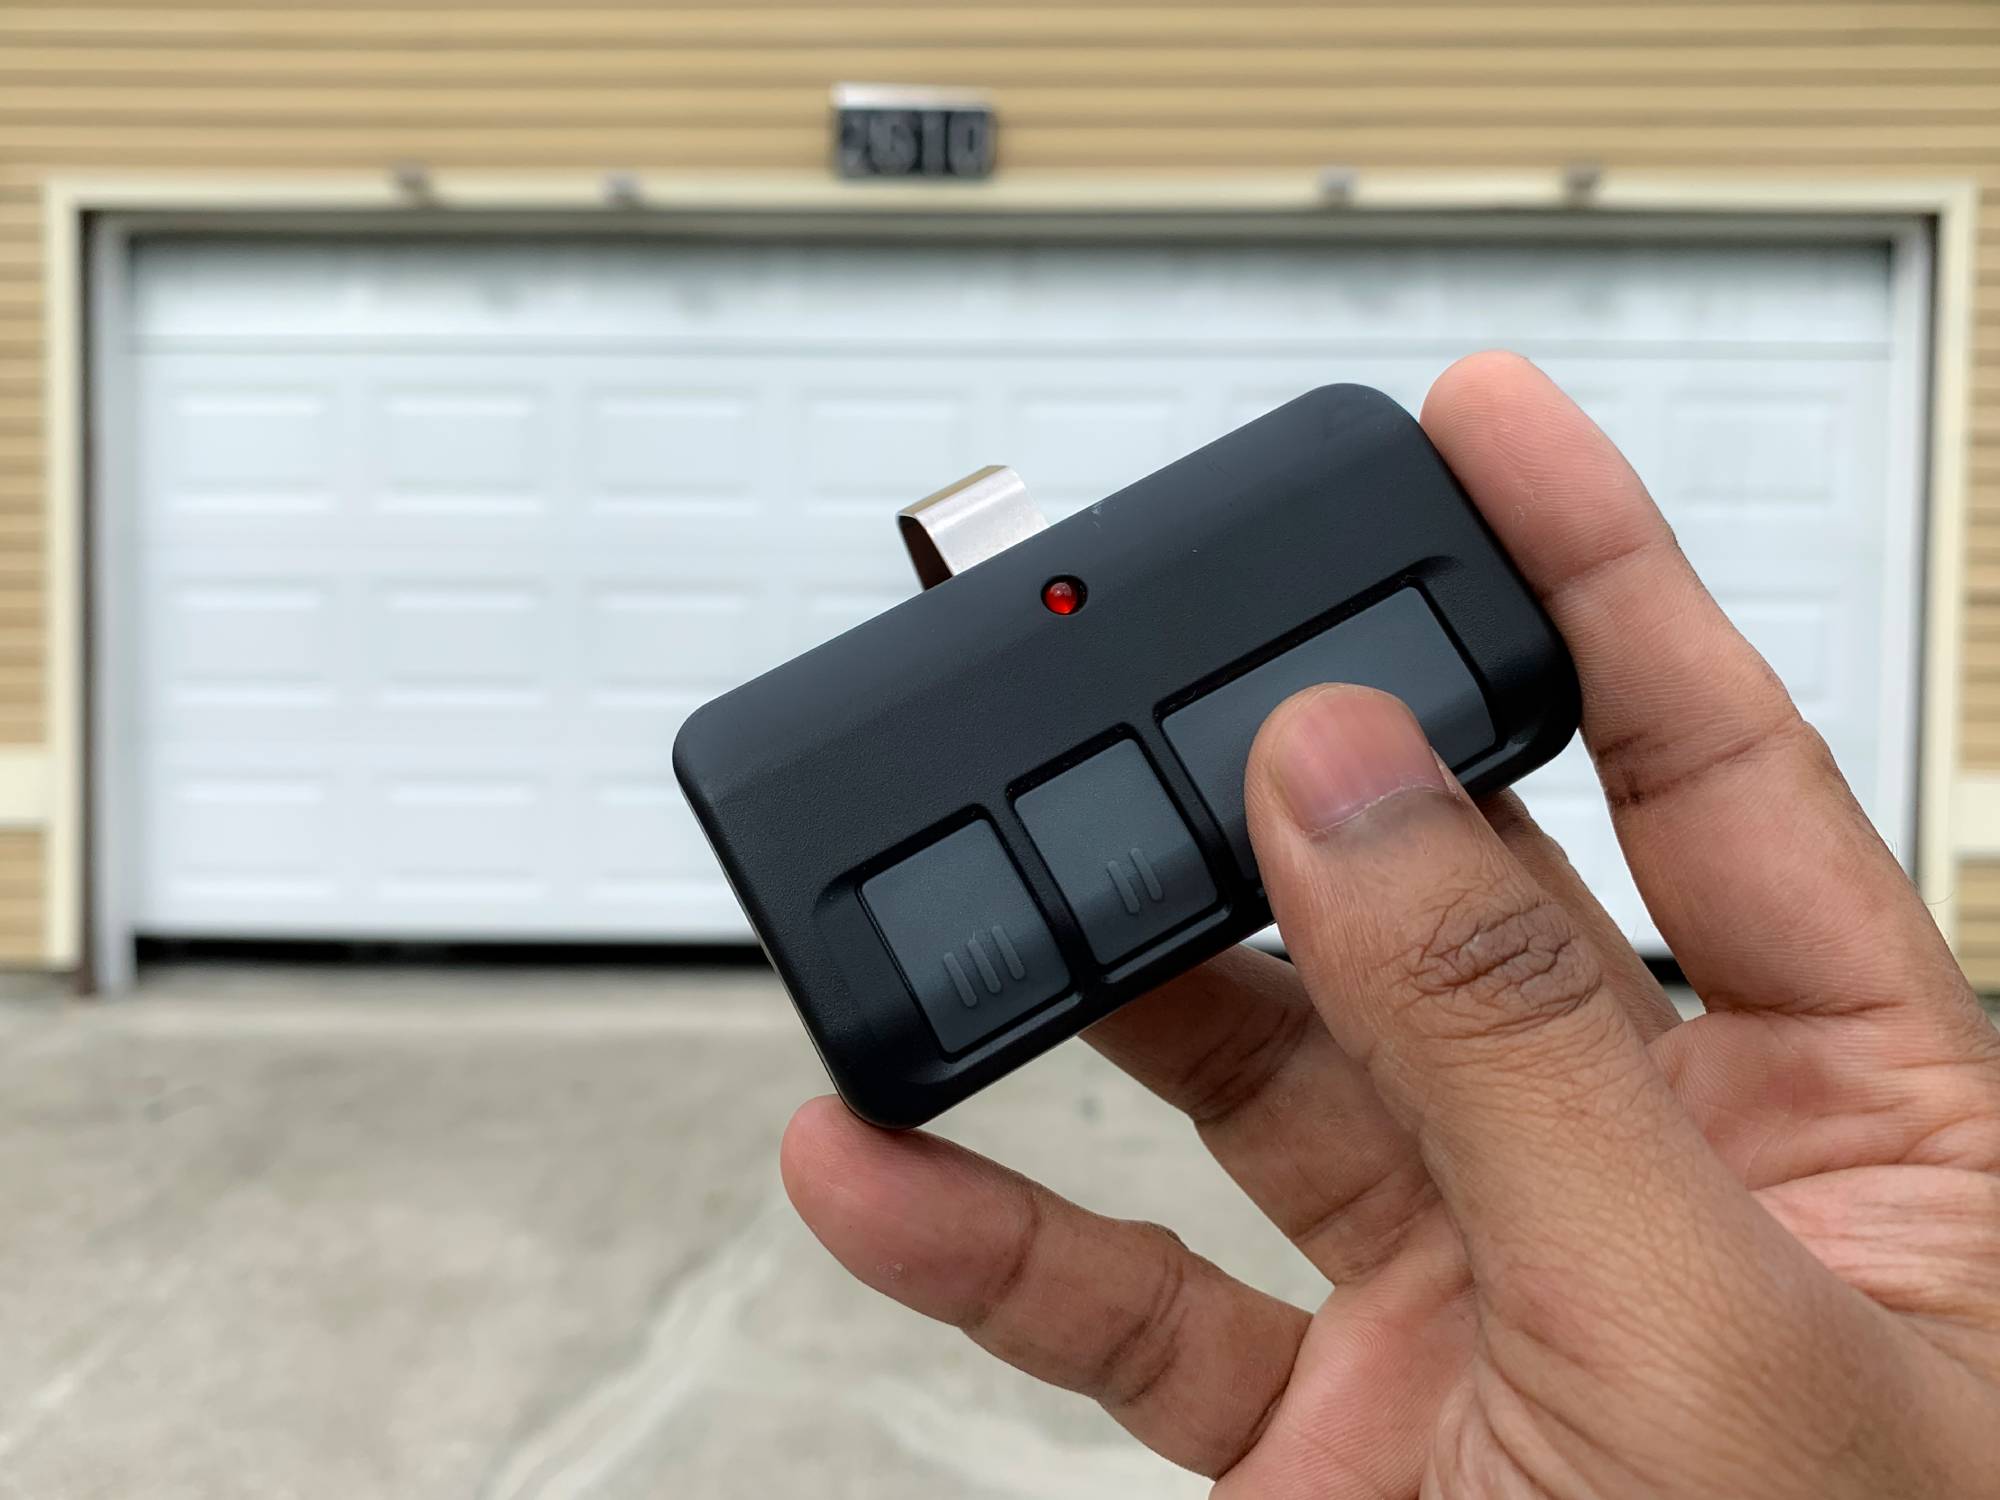
2. Prepare The Remote
Put fresh batteries in the remote. Weak batteries can cause setup to fail. Make sure you know which button you want to program (for multi-button remotes).
3. Clear Old Codes (optional)
If you bought a used opener or moved in recently, it’s smart to erase old remotes first. This step keeps your garage secure.
- Hold the Learn button for 6-10 seconds until the LED light goes out.
- This erases all programmed remotes.
- You’ll now need to program all remotes you want to use.
4. Enter Programming Mode
- Press and release the Learn button. The LED light should turn on or blink. (Don’t hold it down unless you want to erase codes.)
- You now have 30 seconds to program the remote.
5. Pair The Remote
- Stand within reach of the opener.
- Press and hold the button on the remote you want to program.
- Hold for 3-5 seconds. You may see the opener light blink, hear a click, or the LED will flash.
- Release the button.
If the light blinks or the opener clicks, the remote is now programmed. If not, repeat the step, making sure the opener is in programming mode.
6. Test The Remote
Walk a few steps back and press the remote button. The garage door should open or close. If it doesn’t, repeat the programming steps.
7. Program Additional Remotes
Repeat steps 4-6 for each remote. Modern openers can remember 5-8 remotes (sometimes more).
8. Re-attach Covers And Clean Up
If you removed a light cover or panel, put it back securely. Clean up tools and keep the ladder out of the way.
How Different Brands Handle Remote Setup
Different brands may have special steps or features. Here’s a quick look at common brands and their unique points.
| Brand | Learn Button Location | Programming Time Window | Max Remotes |
|---|---|---|---|
| Chamberlain | Back or side of unit, under lens | 30 seconds | Up to 8 |
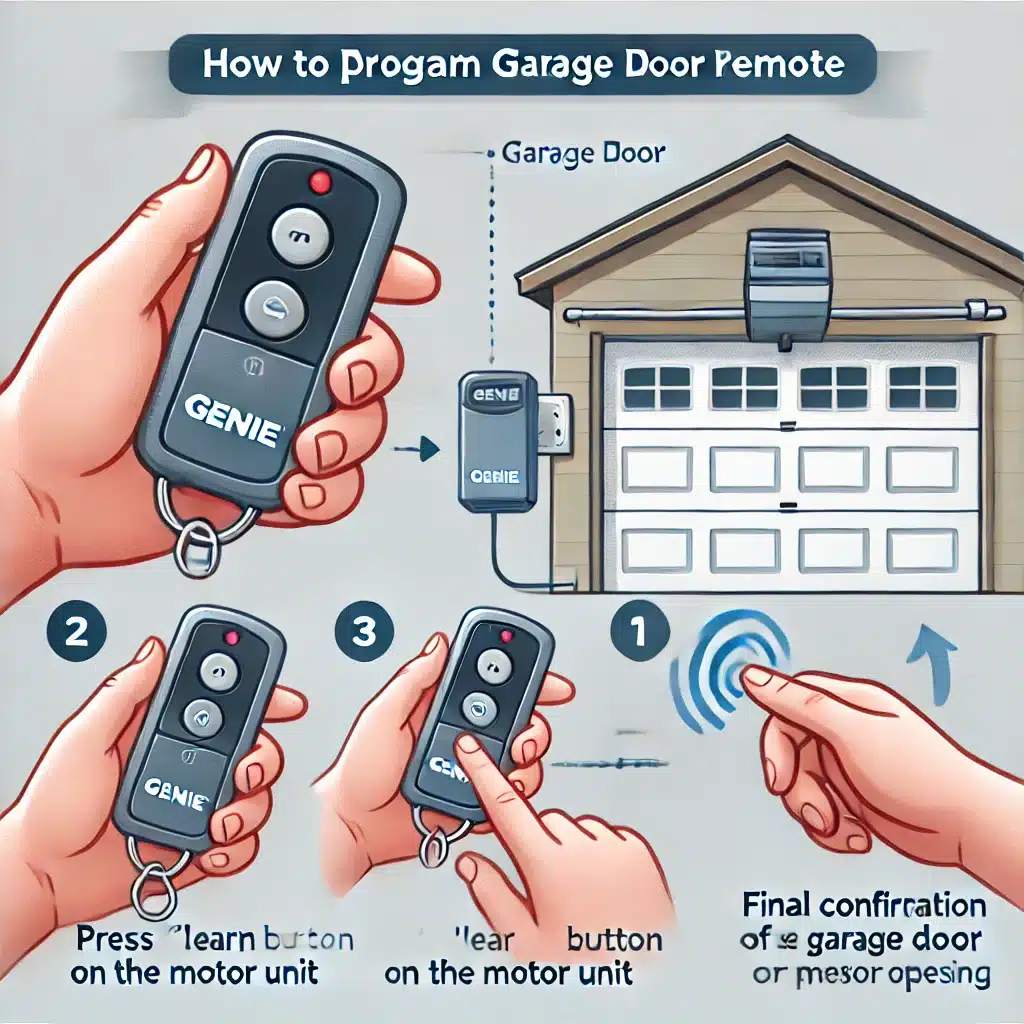
| Genie | Back or side, may say “PRGM” | 30 seconds | Up to 7 |
| LiftMaster | Back, usually colored | 30 seconds | Up to 5 |
| Craftsman | Back or side, under cover | 30 seconds | Up to 7 |
Non-obvious insight: The color of the learn button often tells you what type of remote frequency or encryption your opener uses. For example, yellow buttons often mean Security+ 2.0 technology.
Universal Remotes: Special Setup Steps
Universal garage door remotes are designed to work with many brands. They have extra steps:
- Set the internal switch or program button to select the right brand.
- Enter a specific code (found in the remote’s manual) for your brand.
- Then follow the standard pairing steps.
Some universal remotes need you to press a combination of buttons to match your opener’s frequency. Always keep the universal remote manual handy.
Syncing Remotes With Keypads And Cars
Many garage door openers support wireless keypads and in-car systems like HomeLink.
Wireless Keypads
- Put the opener in programming mode.
- Enter your desired code on the keypad.
- Press the program or enter button.
- The opener should blink or click if successful.
In-car Systems (homelink)
- Turn the car on.
- Hold the desired button and the remote together until the car’s indicator blinks fast.
- Press the learn button on the opener.
- Within 30 seconds, press the car’s programmed button.
- Test to confirm.
Practical tip: Not all cars (especially older models) work with newer Security+ 2.0 openers. An adapter may be needed.
Troubleshooting: When Setup Fails
Sometimes things don’t work on the first try. Here’s what to check:
Remote Does Not Program
- Check if the opener is in programming mode (LED should be on/blinking).
- Use fresh batteries in the remote.
- Stand closer to the opener.
- Make sure the remote is compatible. Some older openers do not support rolling code remotes.
Remote Works Intermittently
- Weak batteries or interference from other devices (Wi-Fi routers, LED lights).
- Reposition the opener’s antenna wire.
- Try reprogramming the remote.
Door Opens Or Closes On Its Own
- Someone nearby may be on the same frequency (rare with rolling codes).
- Erase all codes and reprogram.
- Check for stuck buttons on remotes.
Opener Does Not Respond To Any Remote
- Power may be off to the opener.
- Antenna wire may be damaged or missing.
- Circuit board may be faulty (call a technician).
Non-obvious insight: LED and CFL bulbs in garage door openers can sometimes block the remote signal. Try removing or replacing the bulb.
Adding, Removing, And Managing Multiple Remotes
You can program several remotes or keypads to one opener. But, there is a limit—usually 5 to 8. Once you reach the limit, new remotes will overwrite old ones.
To remove a remote: You can only erase all remotes at once (by holding the learn button for 6-10 seconds). You then need to reprogram all remotes you still want to use.
Pro tip: Keep a list of which remotes are paired, especially for large families or rental homes.
Security Tips For Garage Door Remotes
Garage door remotes are convenient, but they’re also a target for thieves. Here’s how to keep your home secure:
- Never leave remotes in your car overnight. Thieves break windows to steal them.
- Use rolling code remotes. These change the signal every time, making hacking nearly impossible.
- Erase old codes when you move into a new home or lose a remote.
- Consider a keypad. You can change the code anytime.
- Choose universal remotes carefully. Only buy from trusted brands to avoid fake or low-security devices.
Common Mistakes To Avoid
Setting up a garage door remote is simple, but some mistakes cause big headaches:
- Skipping battery replacement before setup.
- Not clearing old codes when moving into a new house.
- Pushing the learn button for too long (accidentally erasing all remotes).
- Forgetting to test the remote from outside your garage.
- Mixing remotes from different brands/models.
Tip: Always label your remotes and keep a spare in a safe place.
When To Call A Professional
While most setups are DIY-friendly, some cases need expert help:
- The opener is older than 1993 (may not support modern remotes or safety features).
- The opener does not respond after troubleshooting.
- You see exposed wires or sparks.
- Physical damage to the opener or remote.
A technician can quickly diagnose and fix complex problems.
Maintenance For Long-term Reliability
Just like any device, garage door remotes need care:
- Change batteries every year, even if the remote still works.
- Clean the remote and opener antenna with a dry cloth.
- Test all remotes every few months.
- Check for firmware updates on smart openers.
If you use a universal remote, recheck its settings after power outages.
Comparing Garage Door Remote Features
If you’re buying a new remote, here’s a side-by-side comparison of key features.
| Feature | Basic Remote | Universal Remote | Smart Remote (Wi-Fi) |
|---|---|---|---|
| Number of Doors Controlled | 1 | 2–4 | Multiple (via app) |
| Battery Life | 1–2 years | 1–2 years | N/A (plugs in) |
| Security | Rolling code (if new) | Rolling code (if new) | App-based, encrypted |
| Ease of Setup | Easy | Moderate | Varies (needs Wi-Fi) |
Example: If you want to control your door from your phone, a smart remote is best, but setup is more complex.
Garage Door Remotes And Smart Home Integration
Modern homes often use smart technology. Some garage door openers now connect to Wi-Fi and smart home systems like Google Home or Alexa.
- Smartphone apps let you open/close the door from anywhere.
- Notifications alert you if the door is left open.
- Voice commands (with Alexa/Google) can open the door.
Caution: Only use secure, official apps. Cheap knockoff devices may create security risks.
To add smart features, you may need a compatible opener or a smart garage controller (like MyQ from Chamberlain).
Real-world Examples And Scenarios
Let’s look at some situations you might face:
- You lose your remote: Erase all codes and reprogram your remaining remotes.
- You buy a new car: Program the car’s built-in HomeLink system as a new remote.
- You rent out your house: Give tenants a keypad code, then erase and change the code when they move out.
- You want to let a family member in: Program a spare remote, then erase it if lost.
- You notice the door opens randomly: This is a sign to erase all codes—someone nearby may have a conflicting frequency.
Understanding these scenarios helps you keep your garage secure and convenient.
Advanced Setup: Smart And Wi-fi Garage Door Remotes
Smart garage door remotes add convenience but require extra steps:
- Download the manufacturer’s app (e.g., MyQ for Chamberlain).
- Connect your opener to Wi-Fi (follow in-app instructions).
- Register your device and set up user accounts.
- Test remote operation through the app.
Tip: Some smart openers work with Amazon Key for in-garage deliveries.
Non-obvious insight: If your Wi-Fi signal is weak in the garage, use a range extender. Poor connection causes app delays and setup failures.
Environmental Factors And Range
Remote range varies by brand and environment. Most remotes work from 50–150 feet away, but these can reduce range:
- Metal garage doors (block signals)
- Walls and interference from other wireless devices
- Dead batteries
- Antenna wire not hanging straight down
For best results, point the remote directly at the opener and keep the antenna wire untangled.
Replacing A Lost Or Broken Remote
If you lose or break your remote:
- Buy a replacement from the opener manufacturer or a reputable universal remote brand.
- Clear all codes from the opener for security.
- Program your new remote as described above.
Pro tip: Some remotes are available online, but always check compatibility before buying.
Garage Door Remote Setup: Data At A Glance
Here’s a quick reference for common setup details.
| Step | Average Time | Tools Needed |
|---|---|---|
| Find Learn Button | 1–3 minutes | Ladder, flashlight (if needed) |
| Enter Programming Mode | 10–30 seconds | None |
| Program Remote | 30 seconds | Remote, opener |
| Test & Cleanup | 2 minutes | None |
Most people can set up a remote in under 10 minutes if prepared.
Essential Maintenance After Setup
Once your remote is working, keep everything running smoothly:
- Store remotes in a safe but accessible place.
- Test all remotes monthly.
- Clean opener sensors with a soft cloth.
- Replace batteries before they die.
- Update smart openers when new firmware is available.
Non-obvious insight: Opener lights not working? Try a regular (not LED/CFL) bulb—some bulbs interfere with signal.
Where To Find Help And More Information
If you’re stuck, check:
- Manufacturer’s website for manuals and videos.
- YouTube for step-by-step guides.
- Garage door professionals for complex issues.
Example: For Chamberlain openers, see the official Chamberlain Support website.
Frequently Asked Questions
What If My Remote Won’t Program After Several Tries?
Check for weak batteries, wrong remote type, or interference. Try erasing all codes and starting from scratch. Make sure you’re pressing the remote button within the programming window (usually 30 seconds).
Can I Use A Universal Remote With Any Garage Door Opener?
Not always. Universal remotes work with most brands made after 1993 with rolling code technology, but not all. Check the remote’s packaging and your opener’s manual for compatibility.
How Do I Erase A Lost Or Stolen Remote?
Hold the opener’s learn button for 6–10 seconds to erase all remotes. You’ll need to reprogram the remotes you still have.
How Many Remotes Can I Program To My Garage Door Opener?
Most openers support 5–8 remotes or keypads. Check your opener’s manual for the exact number.
Is It Safe To Use A Smart Garage Door Remote?
Yes, if you use official devices and keep your app updated. Avoid third-party apps or devices without security certification.
Setting up your garage door remote doesn’t have to be complicated. With the right steps, you’ll enjoy the safety and convenience of automatic access in minutes. Always follow safety precautions, keep your remotes secure, and don’t hesitate to seek help if you’re stuck.
Your garage door is one of the main entry points to your home—make sure it stays safe, easy to use, and reliable for years to come.


