Now Reading: How Do You Reset a Garage Door Opener Keypad: Easy Steps
- 01
How Do You Reset a Garage Door Opener Keypad: Easy Steps
Resetting a garage door opener keypad can feel confusing, especially if you’ve never done it before. Maybe you just moved into a new house and want to change the old code for safety. Or perhaps the keypad stopped working and you need to reprogram it.
Whatever your reason, knowing how to reset your garage door keypad gives you control over your home security. The good news is, you don’t need to be a professional to do this. Most people can reset their own keypad with just a few simple steps and a little patience.
In this article, you’ll discover exactly how to reset a garage door opener keypad. We’ll look at the main types of keypads, explain step-by-step instructions for common brands, and cover what to do if things don’t work as planned. You’ll also learn how to keep your keypad secure, when to call a professional, and get answers to the most common questions.
By the end, you’ll feel confident handling this task yourself, even if you’re not a tech expert.
Why Resetting Your Garage Door Opener Keypad Matters
Your garage door is often the largest entry point to your home. The keypad code acts like a key. If the code is old, shared with others, or not working, your home might not be as secure as you think. Resetting the keypad lets you:
- Change the code after moving in
- Fix problems if the keypad stops working
- Keep out old tenants, guests, or contractors
- Improve your home’s overall security
Some people forget that old codes can still work even after new ones are added. That’s why a proper reset is important—it wipes out the old codes and gives you a fresh start.
Understanding Garage Door Opener Keypads
Before you start, it helps to know which type of garage door opener keypad you have. Most keypads are either wired (connected directly to the opener) or wireless (battery-powered, connects by radio signal).
Wired Vs Wireless Keypads
| Type | Power Source | Common Brands | Reset Method |
|---|---|---|---|
| Wired | Opener Unit | Genie, LiftMaster | Usually at opener |
| Wireless | Battery | Chamberlain, Craftsman | Usually at keypad |
Wireless keypads are the most common today. They’re installed outside the garage and allow you to open the door without a remote or key.
Popular Keypad Brands
Some of the most common brands in the US include:
- Chamberlain
- LiftMaster
- Genie
- Craftsman
- Linear
- Overhead Door
Each brand may have a slightly different reset process. Always check your model number, usually found on the keypad or inside the battery compartment.
Safety Tips Before You Begin
Resetting a keypad is usually safe, but a few simple steps can prevent problems:
- Read the manual if you have it—some keypads have unique steps.
- Test the keypad before resetting, in case the issue is just a dead battery.
- Work in daylight or with good lighting, so you can see small buttons and wires.
- Keep your ladder steady if you need to reach the opener unit.
- Tell family members you’re working on the door to avoid surprises.
One non-obvious tip: Write down your new code and store it in a safe place. Many people forget their new code soon after changing it!
Step-by-step Guide: How To Reset A Garage Door Opener Keypad
The steps can vary a little based on brand and model, but most keypads follow a similar process. Here’s a general guide to help you reset most garage door opener keypads.
1. Locate The “learn” Or “program” Button
Most modern openers have a “Learn” button on the main unit (the box attached to your garage ceiling). This button is often:
- Yellow, red, orange, purple, or green
- Located near the antenna wire
- Behind a small light cover or panel
If you’re not sure, look for a button labeled Learn, Program, or Set.
2. Clear Old Keypad Codes
To reset the keypad, you need to erase old codes from the opener’s memory:
- Press and hold the Learn button for about 6-10 seconds.
- Watch for the indicator light to turn off (or a beep sound).
- Release the button. Old codes are now erased.
Important insight: This step removes all remote controls and keypads from memory, not just your keypad. Be ready to reprogram remotes as well.
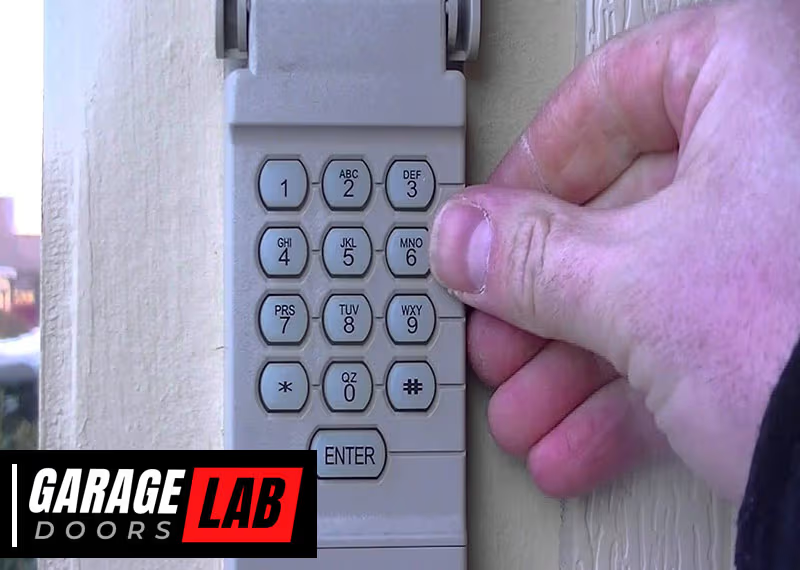
3. Set A New Keypad Code
Now you’ll add your new code:
- Press the Learn button once (just a quick press, not a long hold).
- Within 30 seconds, walk to your keypad.
- Enter your desired 4-digit code, then press the Enter button.
- The opener light may blink or you may hear a click, showing the code was accepted.
If your keypad flashes or beeps, it means the code is set.
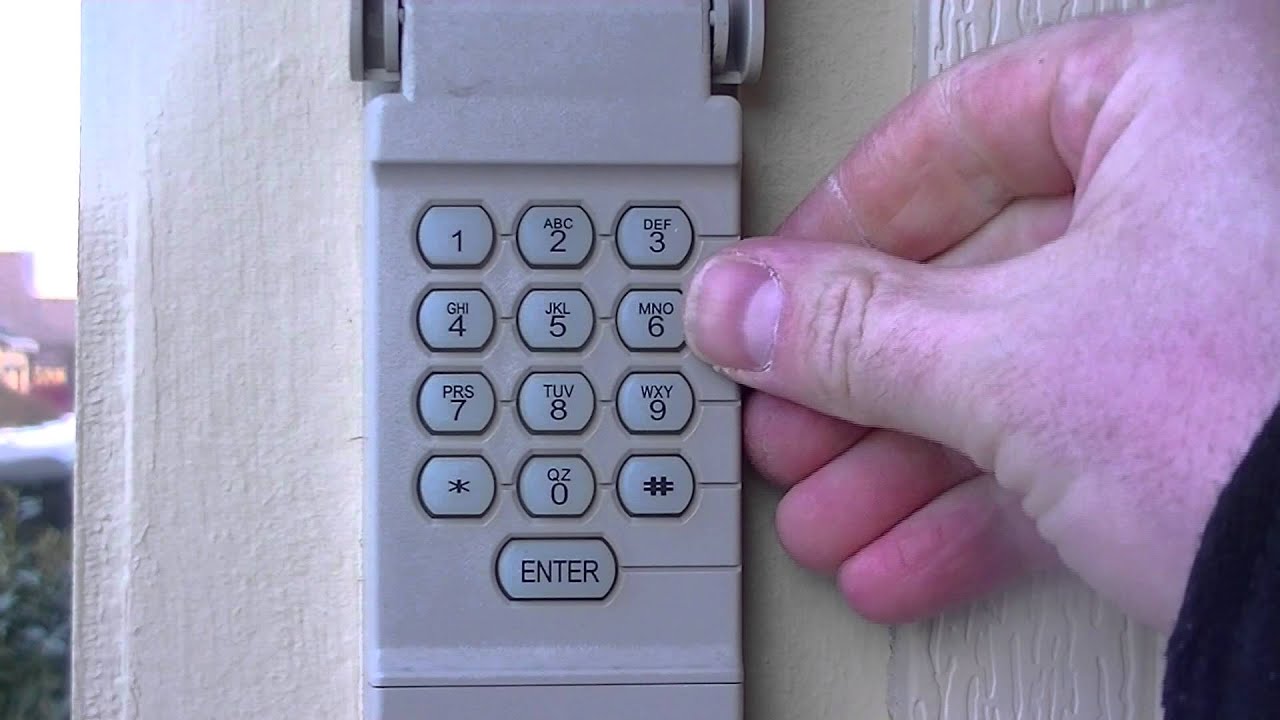
4. Test The Keypad
Enter your new code on the keypad and press Enter. The garage door should open or close. If not, repeat the steps, checking for mistakes.
Extra tip: If your keypad is not responding, try replacing the battery. Many issues are caused by weak or dead batteries.
Resetting Different Brands: Detailed Instructions
Some brands have unique steps. Let’s look at the most popular ones in more detail.
Chamberlain And Liftmaster Keypads
These brands often use similar parts and processes.
- Find the Learn button (often yellow or purple).
- Press and hold it for 6-10 seconds to erase codes.
- Press it again (quickly) to enter programming mode.
- On the keypad, enter your new code and press Enter.
- Test the keypad.
Older Chamberlain keypads may need you to enter the code, press Enter, then press the opener’s button.
Practical example: If your keypad is blinking rapidly, it means the code was accepted.
Genie Keypads
Genie often uses a “Program” or “Learn” button as well.
- Press and hold the Program button until the LED blinks.
- On the keypad, enter your new code, then press Up/Down.
- Press the Program button again to save.
- Test by entering the code.
Some Genie models have a “Reset” button inside the keypad’s battery compartment.
Craftsman Keypads
Craftsman keypads are similar to Chamberlain.
- Press and hold the Learn button for 6 seconds.
- Enter your new code on the keypad, then press Enter.
- Some models require you to press “0” before the code.
Non-obvious insight: Some Craftsman keypads need you to remove the battery and hold the “Enter” button for 30 seconds for a full reset.
Linear And Overhead Door Keypads
- Press and hold the Learn button on the opener until the light blinks.
- On the keypad, enter your new code, then press Start/Stop or Enter.
Older keypads may need you to remove the cover and press a small reset switch inside.
Common Problems When Resetting A Keypad
Resetting doesn’t always go smoothly. Here are some issues you might face and how to solve them.
The Keypad Won’t Program
- Dead battery: Replace with a fresh one.
- Too slow: Enter the code within 30 seconds after pressing “Learn.”
- Wrong sequence: Double-check steps for your model.
- Dirty contacts: Clean the inside of the keypad with a dry cloth.
Keypad Still Opens The Door With Old Code
- Didn’t clear memory: Hold the “Learn” button long enough.
- Multiple openers: Each opener needs to be reset separately.
The Keypad Doesn’t Work At All
- Worn-out keypad: If buttons don’t click, the unit may be old.
- Wiring issues: For wired keypads, check for broken wires.
- Sun damage: Outdoor keypads can fail if exposed for years.
Not-so-obvious tip: Sometimes, interference from LED lights or other wireless devices can block the keypad signal. Try turning off nearby devices to test.
How To Keep Your Keypad Secure
Changing the code is only part of staying safe. Here’s how to make your keypad harder to hack or guess:
- Use a random 4-digit code (not 1234 or your address)
- Change the code every 6-12 months
- Don’t share the code with people you don’t trust
- Cover the keypad when entering your code if neighbors or strangers are nearby
- Keep the keypad clean—stuck keys can give away your code
Some newer keypads support rolling codes, which change every use. These are much harder for thieves to copy.
When To Call A Professional
While most keypad resets are DIY-friendly, sometimes it’s safer to call an expert:
- The opener or keypad is very old (pre-1990s)
- Wires are damaged or corroded
- The keypad or opener gets hot or smells burnt
- You’ve tried resetting several times with no luck
A professional can test the system, replace parts, and upgrade you to a more secure keypad if needed. It’s better to pay for a little help than risk a security problem.
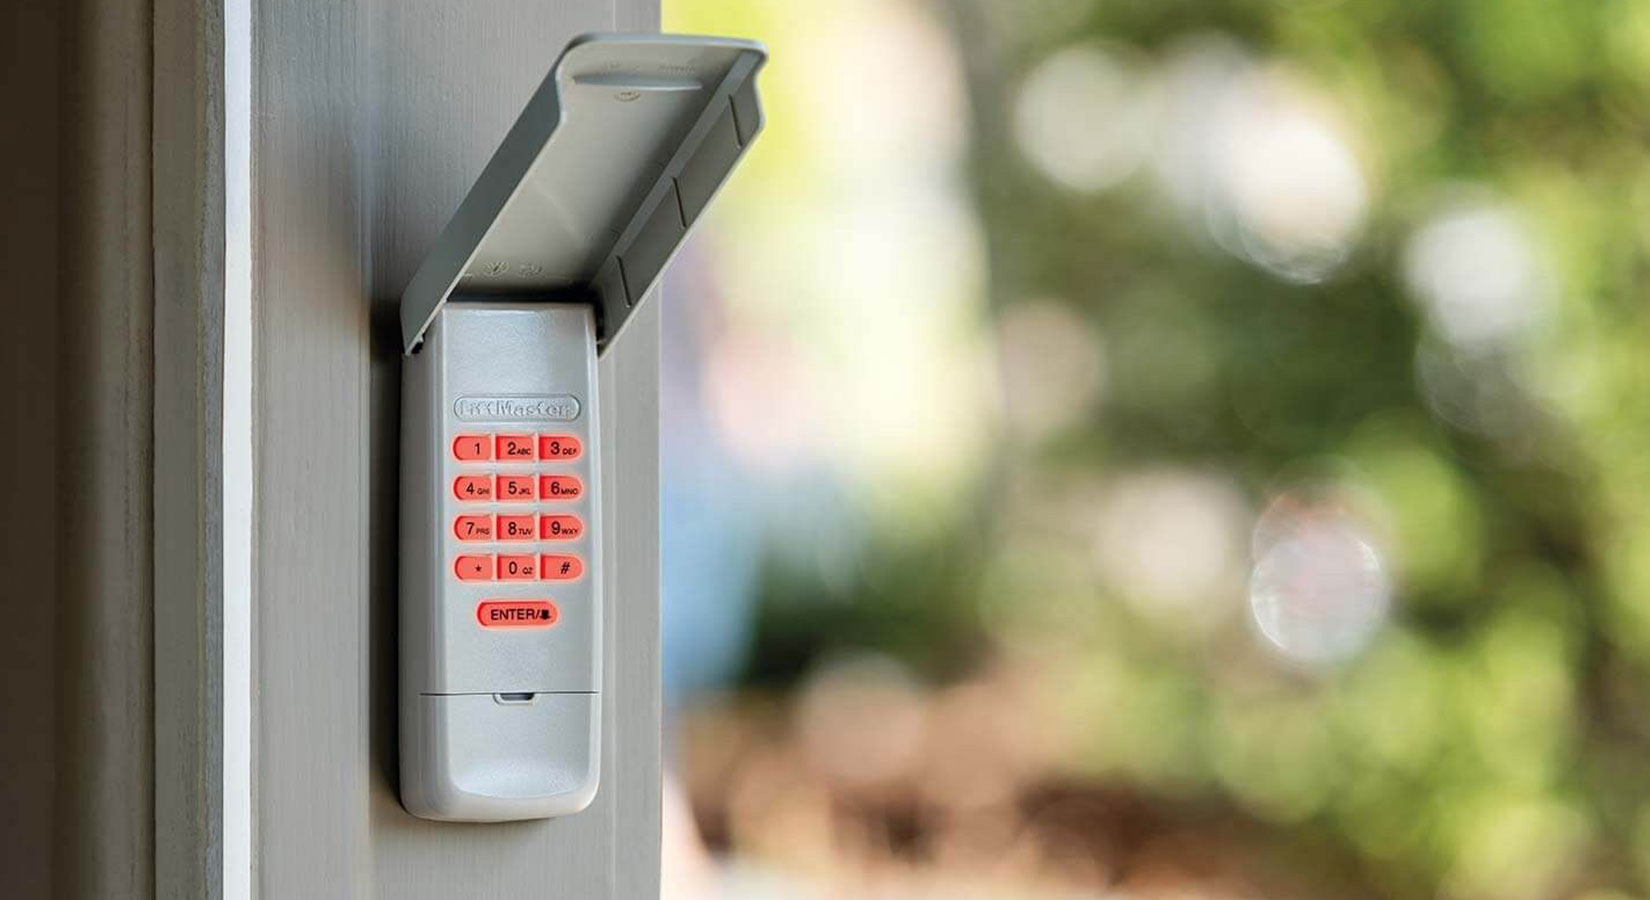
Upgrading Your Garage Door Keypad
If your keypad is old or unreliable, a new keypad can make life easier and safer. Modern keypads offer:
- Backlit buttons for night use
- Weather-resistant cases
- Rolling code technology for better security
- Temporary codes for guests or deliveries
Most brands sell universal keypads that work with many openers. Installation is usually simple—just follow the steps above for your new unit.
Comparing Old Vs. New Keypad Features
| Feature | Older Keypads | Modern Keypads |
|---|---|---|
| Security | Fixed code | Rolling code |
| Ease of Use | No backlight | Backlit keys |
| Weatherproofing | Basic | Advanced |
| Guest Codes | No | Yes |
Pro tip: If your garage opener is over 20 years old, consider replacing both the opener and keypad together for better safety and convenience.
Troubleshooting After Resetting Your Keypad
You’ve reset the keypad and set a new code, but something isn’t right. Here’s how to fix common issues:
The Door Opens Randomly
- Stuck button: Clean the keypad.
- Interference: Check for new wireless devices in the area.
- Neighbor’s remote: Rare, but possible if codes overlap on older models.
Keypad Works Sometimes, Not Always
- Weak battery: Replace with a high-quality battery.
- Weather damage: Replace the keypad if water or bugs got inside.
- Distance: Move closer to the opener to test.
Remotes Stopped Working
Remember, resetting the opener erases all remotes. You’ll need to reprogram each remote using the same “Learn” button as for the keypad.
Garage Door Keypad Maintenance Tips
A little care can help your keypad last years.
- Replace the battery every 1-2 years, or sooner if response slows.
- Clean the buttons with a dry cloth—never use water or spray cleaners.
- Check for cracks or signs of water inside the cover.
- Test the code every month to catch problems early.
Unexpected insight: Spiders and insects sometimes nest inside outdoor keypads. If buttons feel sticky, open the cover and clean carefully.
What To Do If You’re Locked Out
If you can’t reset the keypad and the remote is missing, don’t panic. Here are some options:
- Use the manual release: Most garage doors have a red cord to open the door by hand from the inside.
- Try another entrance: Check other doors or windows.
- Call a locksmith or garage door pro: They can get you in without damage.
- Install a backup keypad or smart opener for future access.
Key advice: Don’t force the door open—it could damage the opener or tracks.
Understanding Rolling Code Technology
Modern garage door openers use rolling codes to protect against hacking. Each time you enter your code, the opener uses a new signal. This makes it nearly impossible for thieves to record and reuse your code.
| Security Feature | Old Keypads | New Keypads |
|---|---|---|
| Fixed Code | Yes | No |
| Rolling Code | No | Yes |
| Vulnerability | High | Low |
If you’re not sure if your opener uses rolling codes, check the manual or look for a sticker near the “Learn” button.
Garage Door Keypad Myths And Mistakes
Many people believe resetting a keypad is difficult or risky. Here are some common myths and the real facts:
- Myth: Resetting will break the opener.
- Fact: Resetting is safe if you follow the correct steps.
- Myth: Only a pro can change the code.
- Fact: Most people can do it with basic tools.
- Myth: All keypads use the same steps.
- Fact: Always check your brand’s instructions.
A common mistake is forgetting to reprogram remotes after resetting the keypad. Always check all remotes and keypads after any reset.
Smart Garage Door Keypads
Some modern systems connect to your smartphone. These smart keypads let you:
- Change codes remotely
- Set temporary access for deliveries or guests
- Get alerts when the door opens
If you have a smart home system, check if your garage opener can be upgraded for even more control and safety. For more information on smart garage door technology, see this resource: Family Handyman.
Frequently Asked Questions
How Often Should I Change My Garage Door Keypad Code?
It’s smart to change your code every 6-12 months, or anytime you suspect someone else knows it. Change it after moving in, after guests or contractors have used it, or if you notice any unusual activity.
What If I Forget My New Keypad Code?
If you forget the code, you’ll need to reset the keypad again using the “Learn” or “Program” button on your opener. Always write down your new code and store it in a secure place.
Can Someone Hack My Garage Door Keypad?
Older keypads with fixed codes are vulnerable to hacking. Modern keypads with rolling codes are much safer. To protect yourself, use a strong code, never share it, and update old equipment if possible.
Will Resetting My Keypad Erase My Remote Controls?
Yes, pressing and holding the Learn button usually erases all remotes and keypads from the opener’s memory. You’ll need to reprogram each remote after resetting the keypad.
Is It Safe To Replace My Garage Door Keypad Myself?
Yes, most homeowners can safely replace or reset a keypad. Just follow the instructions for your brand, work carefully, and call a pro if you run into wiring or safety issues.
Resetting your garage door opener keypad is a smart way to control who can enter your home. With the right steps, you can do it quickly and safely, keeping your property secure and your mind at ease. Whether you’re updating an old code or fixing a stubborn keypad, a little knowledge makes the process simple and stress-free.


