Now Reading: How Do You Reset a Liftmaster Garage Door Opener: Easy Steps
- 01
How Do You Reset a Liftmaster Garage Door Opener: Easy Steps

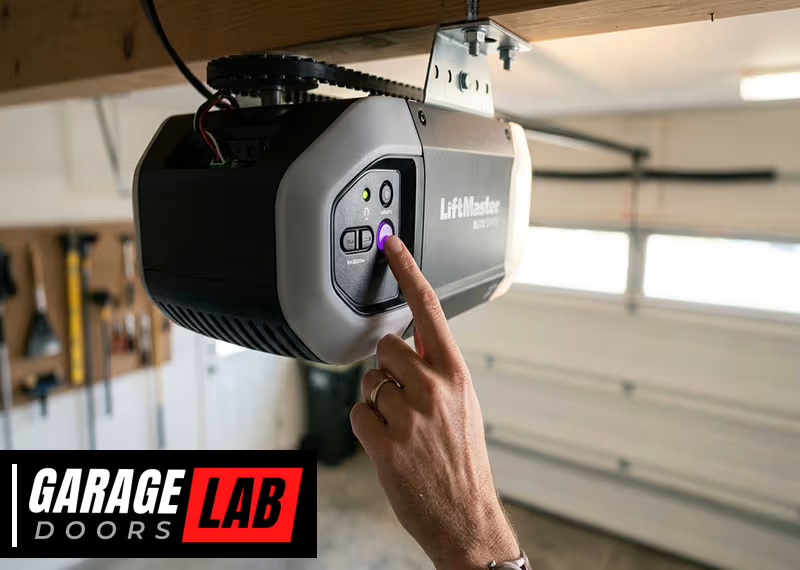
If your Liftmaster garage door opener is not working as it should, the first thought might be to call a technician. But what if you could solve the problem yourself? Many issues with Liftmaster openers can be fixed by simply resetting the system.
Understanding how to reset your opener can save you time, money, and frustration. Whether you’re dealing with a lost remote, a new home, or an unresponsive system, knowing how to reset your Liftmaster garage door opener gives you control and peace of mind.
This guide will walk you through everything you need to know about resetting a Liftmaster garage door opener. You’ll learn when a reset is necessary, the different ways to reset your device, and practical troubleshooting tips. We’ll cover both basic and advanced steps, from clearing remote controls to resetting the Wi-Fi, and even what to do if you hit a snag.
By the end, you’ll have the confidence to handle most problems on your own.
Why Reset A Liftmaster Garage Door Opener?
People reset their garage door opener for several reasons. Sometimes, it’s because a remote is lost or stolen, making security a concern. In other cases, the opener stops responding, or you’ve just moved into a new home and want a fresh start.
Here are the main reasons for resetting your Liftmaster opener:
- Lost or stolen remote: Prevent unauthorized access by clearing all codes and reprogramming only trusted remotes.
- Moving to a new home: Ensure the old owners or renters can’t access your garage.
- Device not responding: Fix unresponsive openers and remotes by resetting the system.
- Adding or removing remotes: Manage which remotes can control your opener.
- Integrating smart features: Resetting may be needed to connect the opener to Wi-Fi or smart home apps.
- Security upgrades: After a break-in or attempted entry, a reset adds a layer of safety.
Resetting is not just about fixing problems—it’s about making sure your home stays safe and your garage runs smoothly.
Understanding Your Liftmaster Garage Door Opener
Before you start, it helps to know some basics about your opener. Liftmaster is one of the most popular brands, and their openers come in many models. However, most share common features and reset methods.
Main Parts Of A Liftmaster Opener
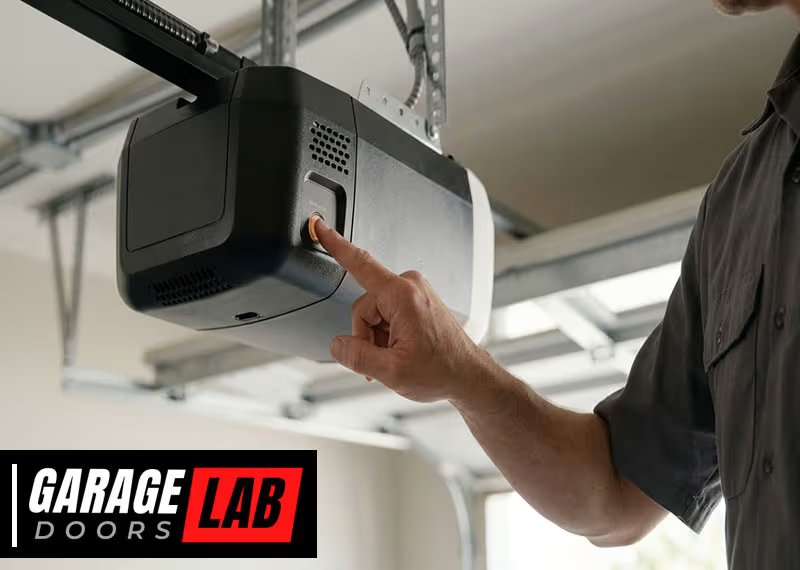
- Motor unit: The main box attached to your garage ceiling.
- Remote controls: Handheld devices used to open or close the garage.
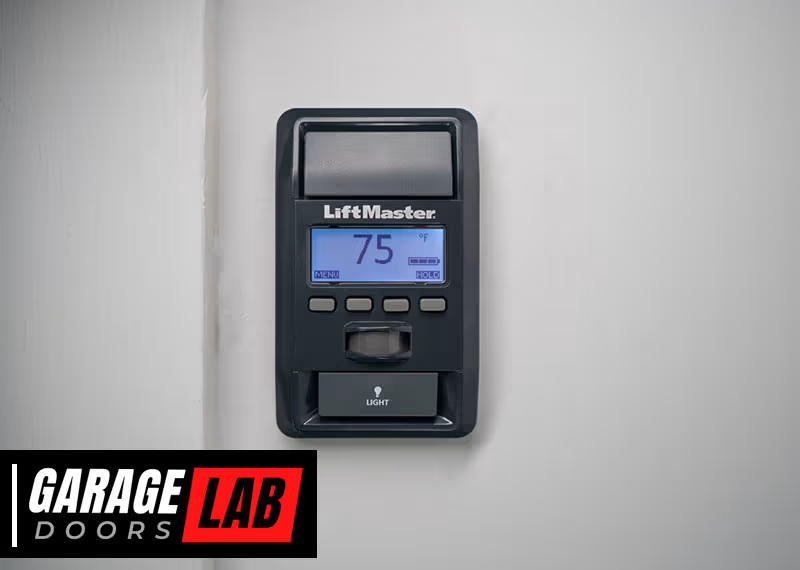
- Wall control panel: Usually installed inside your garage near the door.
- “Learn” button: Key to resetting and reprogramming remotes.
- Safety sensors: Near the bottom of the garage door tracks.
- Lights and Wi-Fi indicator: For feedback and connection status.
Where To Find The “learn” Button
The “Learn” button is usually on the back or side of the motor unit. You may need to remove a light cover to see it. The button is often colored (yellow, red, orange, or purple) and may have a small LED next to it.
Knowing the location and color of your Learn button is important because some reset steps depend on it.
Common Liftmaster Models
Liftmaster openers include chain drive, belt drive, and wall-mount types. Most modern models (after 1993) use rolling code technology for security. Newer models may also have built-in Wi-Fi for smart home integration.
If you’re unsure of your model, check the label on the motor unit for the model number and year of manufacture. This information can help you find the right instructions if you run into trouble.
Types Of Resets For Liftmaster Garage Door Openers
Not all resets are the same. Depending on your problem, you might need a basic remote reset, a Wi-Fi reset, a full system reset, or a reset for the keypad.
Here’s a quick overview:
| Reset Type | What It Does | When to Use |
|---|---|---|
| Remote/Keypad Reset | Clears remote and keypad codes | Lost remotes, security updates |
| Wi-Fi Reset | Disconnects and reconnects Wi-Fi | Network issues, new router |
| Full System Reset | Restores all settings to factory | Major errors, new home |
Choosing the right reset depends on your situation. Let’s go through each type in detail.
How To Perform A Basic Remote And Keypad Reset
Most problems are solved by resetting the remotes and keypads. This clears all previous codes, which is important if you’ve lost a remote or want to be sure no one else can access your garage.
Step-by-step: Clearing All Remote Controls
- Locate the Learn button on your motor unit. Remove the light cover if necessary.
- Press and hold the Learn button for about 6-10 seconds. The LED light next to the button will turn on, then go out.
- Release the button when the light goes out. All remotes and keypads are now erased from memory.
Your garage door opener will no longer respond to any previously programmed remote or keypad.
Non-obvious Insight 1
Many people forget that this process also erases wireless keypad codes. If you have a keypad outside your garage, you’ll need to reprogram it after the reset.
Step-by-step: Reprogramming Remotes After Reset
- Press and release the Learn button (don’t hold it this time).
- Within 30 seconds, press and hold the button on your remote you want to program.
- When the motor unit’s lights blink or you hear a click, the remote is programmed.
- Repeat for each remote.
Non-obvious Insight 2
If you have multiple remotes, you must program each one individually. There is no “bulk program” feature.
Step-by-step: Reprogramming The Keypad
- Press and release the Learn button.
- Enter your chosen 4-digit code on the keypad, then press the Enter button within 30 seconds.
- The garage door should move, or the light will blink to confirm the code.
If the keypad does not work, double-check the code and repeat the steps. Keypads often have a battery—if the keypad is unresponsive, check the battery before assuming it’s broken.
How To Reset A Liftmaster Garage Door Opener With Wi-fi
Many modern Liftmaster openers have Wi-Fi for smart home features. Sometimes, you need to reset the Wi-Fi connection if you change your router or encounter connectivity problems.
Resetting Wi-fi On A Liftmaster Opener
- Find the Learn button (may be labeled “Learn” or “Learn Wi-Fi”).
- Press and hold the Learn button until the LED blinks blue (about 6 seconds).
- Release the button. The LED should switch to solid blue, meaning it’s ready for setup.
- Open the myQ app on your smartphone and follow the prompts to connect the opener to your network.
If you don’t use the myQ app, you can download it from your phone’s app store. The app will walk you through adding your device.
Practical Tip
After a Wi-Fi reset, you might need to reconnect any smart home integrations (like Google Home or Alexa) to your opener. This process is not automatic.
What If The Wi-fi Light Stays Blinking?
If the LED does not change from blinking to solid, check your Wi-Fi signal strength in the garage. Weak signals can cause connection failures. Moving your router closer or using a Wi-Fi extender may help.
Performing A Full Factory Reset
Sometimes, a simple remote or Wi-Fi reset is not enough. If your opener is acting strangely, making odd noises, or you want to clear everything (for example, after buying a new home), a full factory reset is the solution.
How To Do A Full Factory Reset
- Unplug the garage door opener from the power outlet.
- Wait 60 seconds. This step is important to clear any residual charge.
- Plug the opener back in.
- Locate the Learn button. Press and hold it for about 10 seconds—much longer than a normal reset.
- Release the button when the indicator LED goes out.
This will erase all remotes, keypads, Wi-Fi data, and custom settings. You’ll need to set up everything from scratch.
After A Full Reset
- Reprogram all remotes and keypads
- Reconnect to Wi-Fi and myQ app
- Re-adjust travel and force settings (see next section)
A full reset is like starting with a brand-new opener.
Adjusting Travel And Force Settings After Reset
When you reset your Liftmaster garage door opener, especially after a full factory reset, you may need to re-adjust the travel and force settings. These settings tell the opener how far to open and close the door, and how much force to use.
Why Are These Settings Important?
Incorrect travel or force can cause the door to:
- Stop before it’s fully open or closed
- Reverse unexpectedly
- Not seal tightly to the ground
- Put strain on the motor
Adjusting Travel Limits
- Find the travel limit adjustment screws on the motor unit. They are often labeled “Up” and “Down.”
- Use a flathead screwdriver to turn the screws. A small turn equals a big change.
- Turn the “Up” screw to set how far the door opens.
- Turn the “Down” screw to set how far the door closes.
- Test the door after each adjustment. Stop if the door hits the floor too hard or doesn’t close all the way.
Adjusting Force Settings
- Locate the force adjustment dials (often labeled “Open Force” and “Close Force”).
- Increase force if the door reverses when there’s no obstruction.
- Decrease force if the door does not reverse when it hits an object (for safety).
Never set force too high. The door should reverse easily if it touches an obstacle. This prevents injury and damage.
Troubleshooting Common Problems After A Reset
Resetting your Liftmaster opener usually solves problems, but sometimes new issues appear. Here’s how to handle the most common ones.
Problem 1: Remotes Still Don’t Work
- Double-check you pressed the Learn button for the correct amount of time.
- Make sure each remote is programmed again after the reset.
- Replace the remote’s battery if it’s old or weak.
Problem 2: Keypad Not Responding
- Check if the keypad lights up when you press buttons.
- Replace the keypad battery.
- Clear and reprogram the keypad using the steps above.
Problem 3: Door Only Moves Part Way
- Re-adjust the travel limits.
- Check for obstructions in the tracks.
- Lubricate the moving parts if the door is sticking.
Problem 4: Smart Features Won’t Connect
- Ensure your garage Wi-Fi signal is strong.
- Reset the Wi-Fi and try setup again in the myQ app.
- Update the myQ app to the latest version.
Problem 5: Safety Sensors Not Working
- Make sure sensors are aligned and free from dirt.
- The small lights on both sensors should be lit.
- If a sensor light is off or blinking, check the wiring.
When You Should Call A Professional
Most resets and basic problems can be handled by homeowners. But sometimes, you need an expert. Call a certified technician if:
- The opener makes grinding or burning smells.
- The door is off its tracks or very heavy to move.
- You see exposed wires or damaged parts.
- The opener is more than 15 years old and keeps failing.
A professional can inspect the system and recommend repair or replacement if needed.
Safety Tips For Resetting And Reprogramming
Working with a garage door opener is usually safe, but accidents can happen. Here are some tips to keep you and your property protected:
- Unplug the opener before touching wires or internal parts.
- Keep hands clear of moving parts while testing the door.
- Use a sturdy ladder when reaching the motor unit.
- Don’t force settings—if something feels stuck, stop and reassess.
- Test safety reversal after any adjustment. Place a small object in the door’s path and close the door. It should reverse on contact.
If you have children or pets, make sure they are not near the door while you work.

Credit: www.garaga.com
Comparing Liftmaster With Other Brands: Reset Features
How does resetting a Liftmaster opener compare with other brands like Genie, Chamberlain, or Craftsman? Here’s a quick side-by-side look:
| Brand | Reset Method | Ease of Use | Unique Features |
|---|---|---|---|
| Liftmaster | Learn button, app for Wi-Fi | Simple, most models similar | myQ smart integration |
| Genie | Learn button, physical switch | Simple, but older models vary | Intellicode security |
| Chamberlain | Same as Liftmaster (same company) | Very easy | myQ, HomeLink compatibility |
| Craftsman | Learn button, some DIP switches | Easy for newer models | Some models use old switch code |
Liftmaster stands out for its consistent reset process and easy-to-find support, especially with myQ integration for smart features.
Resetting The Garage Door Opener Keypad: Extra Tips
Wireless keypads are a common source of confusion. Here are a few extra tips:
- Keypad codes are erased when you clear remotes using the Learn button.
- If your keypad doesn’t program, check the battery—even new keypads sometimes ship with a weak battery.
- Some models require you to enter the code and then press the Learn button a second time to confirm.
- If you’re still stuck, consult the manual for your specific model.
Many manuals are available on the official Liftmaster Support site.

Credit: www.youtube.com
Resetting After Power Outages Or Surges
A power outage or electrical surge can sometimes scramble the opener’s memory. If your opener acts oddly after a power failure:
- Unplug the opener for 60 seconds and plug it back in.
- If remotes or keypads don’t work, do a basic remote reset.
- If the door moves slowly or erratically, re-adjust travel and force settings.
- Consider adding a surge protector to your opener’s outlet.
Surges can damage electronics over time, so prevention is important.
Common Mistakes To Avoid When Resetting
Many homeowners make simple mistakes that lead to frustration or wasted time. Here’s what to watch out for:
- Not holding the Learn button long enough: Some resets require up to 10 seconds.
- Forgetting to reprogram all remotes: After a reset, every remote must be added again.
- Ignoring keypad reprogramming: Keypads are cleared along with remotes.
- Skipping force/travel adjustments: After a factory reset, these must be checked.
- Not checking batteries: Many problems are due to weak remote or keypad batteries.
- Not testing safety reversal: Always test safety features after changes.
- Missing Wi-Fi reconnect: If using smart features, reconnect the opener to your network.
Following the steps carefully helps avoid repeat resets and saves time.
How To Know If Your Reset Worked
After you reset your Liftmaster garage door opener, confirm everything is working:
- All old remotes and keypads should stop working.
- New remotes/keypads should operate the door as programmed.
- The opener should respond to the myQ app if using smart features.
- The door should move smoothly and reverse if it hits an object.
- Lights on the opener should display normal patterns, not blinking error codes.
If any of these are not true, repeat the reset steps or check for troubleshooting tips above.
Advanced: Resetting Homelink In Your Car
If your vehicle uses HomeLink (built-in garage door buttons), you’ll need to reset this after clearing your opener’s memory.
- Hold the two outer HomeLink buttons in your car until the indicator light flashes rapidly.
- Press and hold the desired HomeLink button and your Liftmaster remote button at the same time until the HomeLink light changes.
- Press the Learn button on your opener, then go back to your car and press the programmed HomeLink button twice.
Now your vehicle’s HomeLink should work with the newly reset opener.
When To Replace Instead Of Reset
If you find yourself resetting your opener often, or it is more than 15 years old, it may be time to consider a replacement.
Signs you should replace:
- Frequent motor failure or noise
- Door does not move smoothly even after adjusting
- No support for modern remotes or smart features
- Parts are no longer available
A new opener offers better security, quieter operation, and features like smartphone integration.
Frequently Asked Questions
How Do I Find The Learn Button On My Liftmaster Opener?
The Learn button is usually on the back or side of the motor unit, sometimes under a light cover. It’s often colored (yellow, orange, red, or purple) and may be labeled “Learn.” If you can’t find it, check your owner’s manual or look for a small square button next to a small LED light.
Will Resetting My Liftmaster Garage Door Opener Erase My Wi-fi Settings?
Yes, a full factory reset erases all settings, including Wi-Fi data. A basic remote reset only clears remotes and keypads, not Wi-Fi. If you need to reconnect to a new Wi-Fi network, use the specific Wi-Fi reset steps.
What Should I Do If My Keypad Won’t Program After A Reset?
Replace the keypad battery first. Next, make sure you’re pressing the Learn button and entering your code within 30 seconds. If it still doesn’t work, clear all codes again and repeat the steps. For stubborn keypads, consult the manual for your exact model.
How Often Should I Reset My Garage Door Opener For Security?
You don’t need to reset often. Do a reset if you lose a remote, move to a new home, or after a break-in attempt. Regularly check your opener for strange behavior or unrecognized remotes.
Can I Reset My Liftmaster Opener Without A Remote?
Yes. You can reset using the Learn button on the motor unit—no remote is needed. After the reset, you’ll need at least one working remote or a keypad to reprogram the system.
Resetting your Liftmaster garage door opener is an easy way to solve many problems and improve your home’s security. With clear steps and a little patience, you can handle most issues without calling a pro. If you need extra help, check the Liftmaster support site or consult a certified technician for your safety and peace of mind.

Credit: www.truelancer.com