Now Reading: Chamberlain Garage Door Opener Not Working? Easy Fixes Inside
- 01
Chamberlain Garage Door Opener Not Working? Easy Fixes Inside
Chamberlain Garage Door Opener Not Working? Easy Fixes Inside

A garage door opener is something we rely on every day, but we rarely think about it—until the moment it stops working. When your Chamberlain garage door opener fails, it can feel frustrating and even a little overwhelming. You might wonder if you need a professional, if you can fix it yourself, or if you’ll end up replacing the whole system. The good news is, most problems have clear causes and solutions. With the right guidance, you can often fix your opener yourself and avoid expensive service calls.
This article explains, in simple terms, why your Chamberlain garage door opener might not be working. It covers the most common causes, how to diagnose the problem, practical fixes, and when to call an expert. You’ll also find data tables, real-world examples, and answers to questions that many homeowners ask.
Whether you’re a hands-on person or just want to understand what’s going on, you’ll find everything you need to get your garage door working again.
Common Reasons A Chamberlain Garage Door Opener Stops Working
When your garage door opener fails, the cause is often simple. Let’s break down the most frequent reasons:
1. Power Issues
If the opener does not respond at all—no sound, no movement—the problem might be with the power source. This could be a tripped circuit breaker, a blown fuse, or a disconnected power cord.
2. Remote Control Problems
If the wall button works but the remote does not, the issue is likely with the remote itself. Dead batteries, signal interference, or needing to reprogram the remote are common.
3. Sensor Alignment
Chamberlain openers have safety sensors at the base of the door. If these are dirty or misaligned, the opener will not close the door.
4. Lock Feature Activated
Some wall control panels have a “lock” feature. If this is on, remotes won’t work, but the wall button might.
5. Broken Springs Or Cables
A garage door relies on springs and cables to open and close. If these break, the opener can’t move the heavy door.
6. Travel Limit Settings
If your door opens partway and stops, or closes and then reverses, the travel limits might need adjustment.
7. Blocked Tracks Or Rollers
Obstructions or debris in the tracks can prevent the door from moving smoothly.
8. Worn Gears Or Motor Problems
If you hear the motor but the door doesn’t move, the gears inside the opener may be worn out.
9. Photo-eye Sensor Wiring
Wires to the safety sensors can become loose or damaged, causing the opener to stop working.
10. Circuit Board Failure
The main electronic board inside the opener can fail due to age, power surges, or moisture.
Example: Quick Diagnosis Table
Below is a reference table showing common problems and what they usually mean:
| Symptom | Likely Cause | Quick Test |
|---|---|---|
| No response at all | Power issue | Check outlet and breaker |
| Remote not working | Dead battery or lock enabled | Try wall button |
| Door reverses after closing | Sensors misaligned | Check sensor lights |
| Motor runs, door doesn’t move | Broken gear | Listen for humming |
Step-by-step Troubleshooting Guide
Before you call for help, follow these steps to find and fix the problem. Most solutions only need simple tools or a bit of patience.
1. Check The Power Supply
First, make sure the opener is getting power:
- Plug a lamp into the same outlet. If it doesn’t turn on, check your circuit breaker or fuse box.
- If the outlet works, inspect the opener’s power cord for damage.
- Some garages have a wall switch that controls power to the opener—make sure it’s ON.
Non-obvious insight:
Many people forget that outlets in garages sometimes have a GFCI (Ground Fault Circuit Interrupter). If tripped, reset it by pressing the “reset” button on the outlet.
2. Test The Wall Button And Remote
- Press the wall button. If the door works, the opener itself is fine.
- Replace remote batteries if it does not respond.
- Try reprogramming the remote (check your owner’s manual for steps).
- Remove possible interference sources, such as LED light bulbs, which can block remote signals.
3. Inspect And Align The Safety Sensors
Look at the sensors near the bottom of the garage door rails.
- Both sensors should have a steady light (color depends on model).
- Clean the lenses with a soft cloth. Dust or cobwebs can block the signal.
- Adjust each sensor so they point directly at each other.
Practical tip:
If you see one light is blinking, that sensor is the problem. Wiggle the sensor gently to see if the light becomes steady.
4. Check For The Lock Feature
Some wall panels have a lock button (sometimes called “vacation mode”).
- Look for a padlock symbol or a button labeled “Lock.”
- Hold the button for 3-5 seconds to toggle the lock off.
5. Examine The Door’s Springs And Cables
- With the opener disengaged (pull the red emergency release), try lifting the door manually.
- If it’s extremely heavy or doesn’t move, a spring or cable may have broken.
- Do not attempt to repair springs yourself—they are under high tension.
6. Adjust The Travel And Force Settings
If your door reverses before closing or stops before opening fully:
- Locate the adjustment screws (usually on the opener’s side or back).
- Adjust the “up” or “down” travel limits in small increments.
- Test after each adjustment.
Non-obvious insight:
If the opener is new, installers sometimes forget to set limits for your door’s size. This is especially common in homes with extra-tall or insulated doors.
7. Inspect Tracks, Rollers, And Door Balance
- Clear any debris or obstructions from the tracks.
- Lubricate rollers and hinges with a silicone-based spray.
- Check that the door moves smoothly by hand.
8. Listen To The Opener
- If the motor runs but the door stays still, the main gear may be stripped.
- If you hear a humming sound, the motor is trying but something is stuck or broken.
At this stage, you may need to open the opener’s cover to inspect the gears.
9. Examine Sensor Wiring
- Follow the wires from the sensors to the opener.
- Look for any loose connections, breaks, or chewed wires (pets sometimes cause this).
- Reconnect or replace as needed.
10. Inspect The Logic Board
If all else fails:
- Check for a burning smell or visible damage on the opener’s main circuit board.
- Power surges, lightning, or age can damage this part.
- Replacement boards are available, but sometimes it’s more cost-effective to replace the whole unit.
When To Call A Professional
While many problems have simple fixes, some require special tools or experience:
- Broken springs are dangerous to repair without training.
- Serious electrical issues (sparks, burning smells) are best left to experts.
- Complete gear or motor failure may need professional repair or replacement.
If you’re unsure, it’s always safer to consult a qualified garage door technician.
Chamberlain Garage Door Opener Error Codes
Many newer Chamberlain models display error codes using blinking lights. These codes help you pinpoint the problem quickly.
Common Error Codes And Their Meanings
| Code | Meaning | Typical Fix |
|---|---|---|
| 1 Blink | Sensor wire is open or disconnected | Reconnect or replace wire |
| 2 Blinks | Sensor wire is shorted | Check for pinched wires |
| 3 Blinks | Door control wiring shorted | Inspect wall button wiring |
| 4-5 Blinks | Motor or circuit board issue | Call a technician |
Tip:
Count the blinks carefully. If you see a pattern (e. g. , blink-pause-blink-blink), check your manual or Chamberlain’s website for details.

How To Reset A Chamberlain Garage Door Opener
Resetting the opener can fix many simple problems, especially after a power outage or electrical surge.
Steps To Reset:
- Unplug the opener from the power outlet.
- Wait 30 seconds.
- Plug the opener back in.
- Test the wall button and remotes.
If remotes still do not work, you may need to reprogram them:
- Press and release the “Learn” button on the opener (usually a yellow or purple button).
- Press the remote button within 30 seconds.
- The opener light will blink or you’ll hear a click.
Caution:
Resetting erases all remote and keypad codes. You’ll need to reprogram each device.
Preventive Maintenance For Chamberlain Openers
Simple maintenance can prevent most opener problems. Here’s how to keep your system reliable:
- Check door balance twice a year by disconnecting the opener and lifting the door by hand.
- Lubricate moving parts—rollers, hinges, and springs—every 6-12 months.
- Clean safety sensors regularly to avoid false reversals.
- Replace remote batteries before they fail.
- Inspect wiring for wear, especially if you have pets or rodents in the garage.
- Test the auto-reverse function by placing a small object in the door’s path and closing it. The door should reverse immediately.
Upgrading Your Chamberlain Garage Door Opener
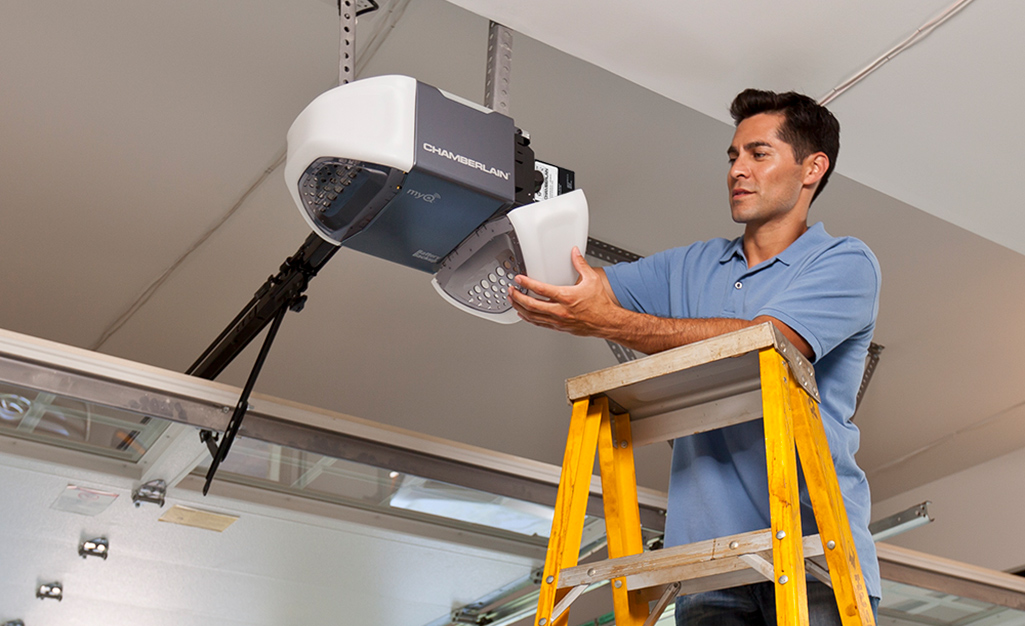
If your opener is over 10 years old or repairs are frequent, consider an upgrade. New models offer:
- Quieter operation (belt drives are much quieter than chain drives)
- Smartphone control via Chamberlain’s myQ app
- Better security with rolling code technology
- Battery backup for power outages
Comparison Of Common Chamberlain Models
Here’s a quick look at three popular Chamberlain openers:
| Model | Drive Type | Smart Features | Battery Backup | Noise Level |
|---|---|---|---|---|
| B550 | Belt | myQ app | No | Very quiet |
| B970 | Belt | myQ app | Yes | Very quiet |
| C273 | Chain | myQ app | No | Louder |
Advice:
If quiet operation and smart features matter, a belt-drive model with myQ is worth the investment.
Chamberlain Vs. Other Garage Door Openers
When troubleshooting, you might wonder if all openers are alike. While most brands use similar technology, Chamberlain is known for reliable performance and wide availability of parts. Here’s how Chamberlain compares with two other common brands:
| Feature | Chamberlain | Genie | LiftMaster |
|---|---|---|---|
| DIY Friendly | Yes | Yes | No (pro install) |
| Smart Features | myQ | Aladdin Connect | myQ |
| Parts Availability | High | Medium | High |
| Price Range | $$ | $$ | $$$ |
Observation:
Chamberlain is a strong choice for most homeowners because it balances price, features, and ease of repair.
Common Mistakes To Avoid When Troubleshooting
Many people make the same errors while trying to fix their garage door opener. Here are some to watch for:
- Ignoring safety warnings—springs and cables can cause injury.
- Forgetting to check the power outlet—it’s easy to overlook.
- Not reading error codes—the blinking lights are your friend.
- Skipping the owner’s manual—it often has model-specific tips.
- Using the wrong type of lubricant—use silicone, not grease.
- Over-adjusting travel limits—small turns make a big difference.
- Not checking the lock button—an easy fix, but often missed.
Real-world Scenarios: What To Do
Scenario 1: Opener Works, But Door Only Moves A Few Inches
This often means the travel limits or force settings are off. Adjust them slowly, testing after each change.
Scenario 2: Door Reverses When Closing
Check the safety sensors for dirt or misalignment. Make sure nothing is blocking the door.
Scenario 3: Opener Makes A Humming Noise
This can signal a jammed door or a stripped gear. Disconnect the door and try moving it by hand. If it’s stuck, clear the tracks. If it moves, the problem is in the opener.
Scenario 4: Opener Works With Wall Button But Not Remote
Check remote batteries first. If the wall button has a lock feature, make sure it’s off.
Scenario 5: Door Won’t Open After Power Outage
You may need to reset the opener or reprogram the remotes. Some models lose settings when power is lost.

Getting Genuine Chamberlain Parts And Support
When you need parts—like sensors, gears, or remotes—it’s best to use genuine Chamberlain components. These fit properly and last longer. You can order from the official Chamberlain website or major retailers.
For more details, Chamberlain offers guides and videos on their support site:
chamberlain Support
Frequently Asked Questions
Why Does My Chamberlain Garage Door Opener Only Work Sometimes?
Intermittent problems are often due to weak remote batteries, signal interference (from LED bulbs or Wi-Fi devices), or a loose wire in the wall button or sensors. Try replacing batteries, moving electronic devices, or checking connections.
How Do I Reprogram A Chamberlain Remote?
Press the “Learn” button on the opener, then press your remote’s button. The opener light will blink or click, showing it’s paired. Repeat for each remote. If you get stuck, check the owner’s manual for your model.
What Do I Do If The Safety Sensors Won’t Align?
Clean both lenses first. Make small adjustments to each sensor until both lights are steady. If one light still blinks, check the wiring for damage or try swapping the sensors to see if the problem moves.
Can I Replace A Broken Spring Myself?
It’s not recommended. Garage door springs are under high tension and can cause injury or death if handled incorrectly. Always call a trained technician for spring replacement.
How Long Should A Chamberlain Garage Door Opener Last?
With regular maintenance, most Chamberlain openers last 10–15 years. Heavier doors and harsh climates may shorten their lifespan. Upgrading to a newer model can offer more features and reliability.
A Chamberlain garage door opener is a dependable part of any home, but even the best technology has limits. When your opener stops working, the problem is usually something you can fix yourself with a little knowledge and patience. By understanding the common causes, following a step-by-step troubleshooting plan, and knowing when to call an expert, you can keep your garage secure and your life running smoothly. When in doubt, consult the official Chamberlain site for up-to-date support and resources. With the right care, your opener will serve you well for many years.