Now Reading: How to Reset a Genie Garage Door Opener Quickly and Easily
- 01
How to Reset a Genie Garage Door Opener Quickly and Easily

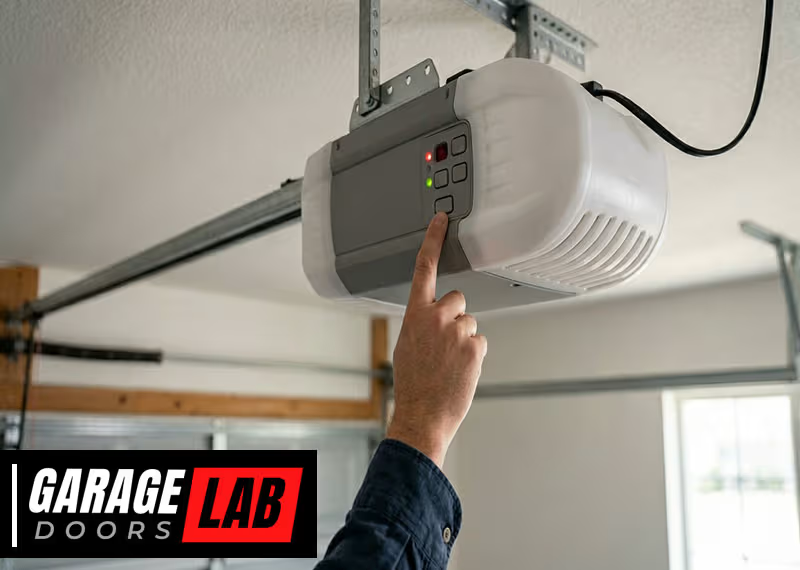
Resetting a Genie garage door opener can seem confusing if you have never done it before. Whether you lost your remote, changed your keypad code, or your opener is acting strangely, knowing how to reset it can save you time, money, and stress.
With the right guidance, you can do this job yourself—no technical background needed. This guide will walk you through every step, cover the different Genie models, give practical troubleshooting tips, and explain what to do if something goes wrong. You will also see common mistakes to avoid, so you do not waste time or damage your opener.
Resetting your Genie opener is not just about pushing a button; understanding the process helps keep your home secure and your garage reliable.
Why You Might Need To Reset A Genie Garage Door Opener
There are several situations where a reset becomes necessary. Maybe you just moved into a new house and want to clear old remote codes for security. Sometimes, your remote or keypad stops working, or you added a new device and the system became confused.
Power surges, old batteries, or even software glitches can cause issues that a simple reset can solve. Resetting can also help if your opener is running slowly or behaving in an odd way, like opening and closing on its own.
In some cases, you must reset everything after a repair or maintenance session. Every Genie garage door opener owner will probably need to reset their device at least once.
Types Of Genie Garage Door Openers
Not all Genie openers are the same, and the reset method can depend on your model. Genie has produced many different openers, including:
- Intellicode models – Use rolling codes for extra security.
- Non-Intellicode models – Older, use fixed codes.
- Chain drive openers – Reliable and strong, often found in older homes.
- Belt drive openers – Quieter, common in newer installations.
- Screw drive openers – Require less maintenance, but can be louder.
- Wall-mounted units – Save ceiling space, newer technology.
Most openers from the late 1990s use Intellicode technology, which changes the security code every time you use the remote. Some even have Wi-Fi for smart home integration. Knowing your model helps you find the right reset steps.
Example: Identifying Your Genie Model
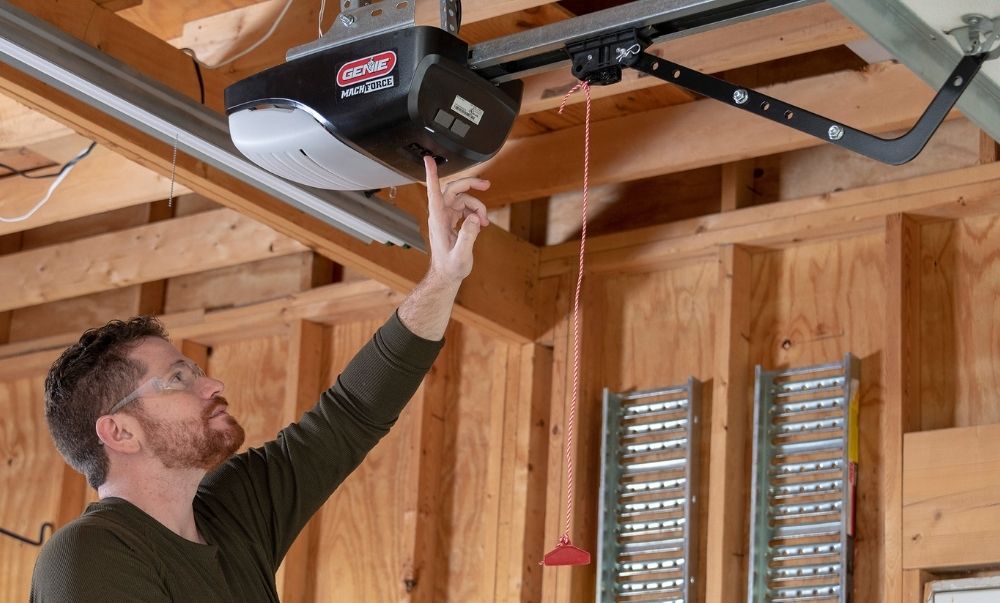
Your Genie opener will have a label on the main unit, usually on the back or side. Look for the model number and serial number. If you have the manual, check there too. This step is important because reset buttons can be in different places on different models.
Understanding The Reset Types
“Reset” can mean a few different things with Genie garage door openers. Here are the main types:
- Factory Reset – Erases all remotes, keypads, and custom settings. Good for starting fresh.
- Remote Control Reset – Removes or adds a specific remote.
- Keypad Reset – Changes or clears a wireless keypad code.
- Wi-Fi/Smart Reset – For Genie models connected to your home network.
Each reset has its own steps and purpose. Factory resets are most powerful, but you may only need to reset a remote or keypad.
Safety Precautions Before You Start
Before you touch any buttons, think about safety. Genie openers are electrical devices with moving parts. Always:
- Make sure the garage door area is clear.
- Let other people know you are working on the opener.
- Disconnect power if you will open the main unit (for advanced resets).
- Do not stand under the door while testing.
It is also smart to have a small ladder, a flashlight, and your instruction manual nearby. If you do not have your manual, Genie has many available online.
How To Do A Factory Reset On Genie Garage Door Opener
A factory reset will clear all programmed remotes, keypads, and wireless devices from your opener’s memory. Use this if you want to start over or after moving into a new home.
Step-by-step Factory Reset
- Find the “Learn” or “Program” Button
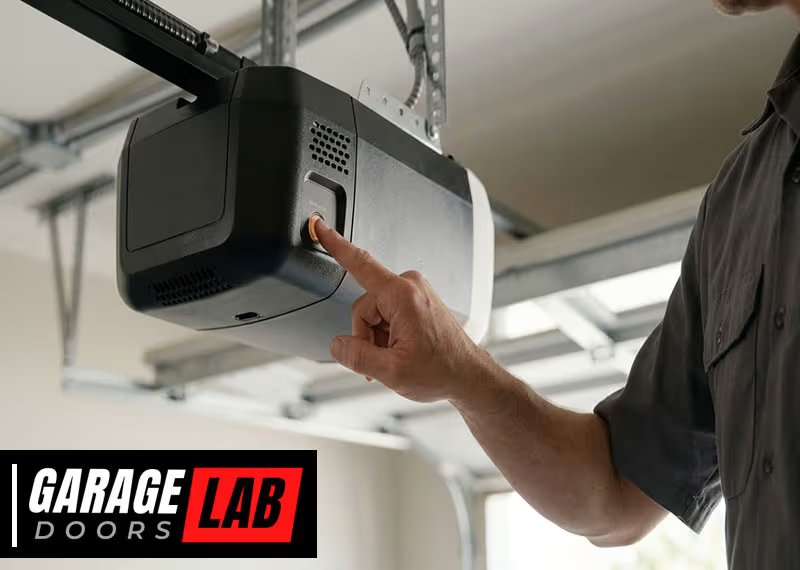
- On most Genie models, this is a small, colored button on the main unit (often red, purple, or black).
- It may be behind a light cover or panel.
- Press and Hold the Button
- Use your finger or a small tool to press and hold the button.
- Hold for about 10 seconds. You may see the LED light blink or turn off.
- Wait for Confirmation
- The light will usually blink, then turn off, showing the memory is cleared.
- Some models may beep or make a click sound.
- Test the Remotes and Keypads
- Try your remotes. They should not work.
- If any device still works, repeat the process.
- Reconnect Power (if you unplugged the unit)
- Plug the opener back in and test again.
Important Notes
- After a factory reset, all remotes and keypads must be reprogrammed.
- Some older models may need a slightly different process; check your manual.
- If you see no LED or hear no sound, try holding the button for a full 15 seconds.
Resetting A Genie Remote Control
Sometimes, only your remote is not working, or you want to add or remove a remote. Here is how to reset or reprogram your Genie remote:
Removing An Old Remote
- Factory reset (explained above) clears all remotes.
- To remove one remote only: Not possible on all models; most Genie openers clear all remotes at once.
Programming A New Remote
- Press and Release the “Learn” Button
- The LED will blink, meaning the opener is in programming mode.
- Press the Remote Button
- Within 30 seconds, press and hold the button you want to use on your remote.
- The LED should stop blinking or turn off.
- Test the Remote
- Wait a few seconds, then press the remote button to see if the door moves.
Common Mistakes
- Waiting too long between pressing the “Learn” button and the remote.
- Not pressing the remote button firmly enough.
- Trying to program from far away (stand near the opener).
Resetting A Genie Wireless Keypad
The wireless keypad is handy for family members who do not have remotes. Resetting or changing the code is simple:
Changing The Keypad Pin
- Open the Keypad Cover
- You will see the number buttons and possibly a “Program” or “Learn” button.
- Enter the Current PIN
- Type the existing code, then press the Up/Down key (usually marked with arrows).
- Press and Hold the “Program” Button
- Hold until the indicator light blinks.
- Enter Your New PIN
- Type your new 4-digit PIN, then press the Up/Down key.
- Test the Keypad
- Close the cover, then try your new code.
Factory Resetting The Keypad
- If you do not know the old PIN, you must clear the keypad using the “Learn” button on the main opener (see Factory Reset section).
- After clearing, follow the keypad instructions to set a new PIN.
Tips
- Avoid using simple PINs like 1234.
- Write down your new code in a safe place.
Resetting Wi-fi And Smart Genie Openers
Modern Genie openers may have Wi-Fi for smart home connections. If you change your router or want to switch Wi-Fi networks, follow these steps:
Steps To Reset Wi-fi Settings
- Find the “Wi-Fi” or “Smart” Button
- Some units have a dedicated Wi-Fi button, others use the “Learn” button.
- Press and Hold for 10 Seconds
- This will clear the old Wi-Fi network from memory.
- Use the Genie App
- Follow app instructions to add the opener to your new network.
- Test with Your Smartphone
- Make sure you can open/close the garage door remotely.
Practical Insight
- Some Genie models only support 2.4GHz Wi-Fi.
- Make sure your smartphone and the opener are on the same network during setup.
Troubleshooting After Reset
Sometimes, you finish the reset, but things do not work as expected. Here are common issues and solutions:
Remotes Or Keypads Not Working
- Batteries: Low batteries are the most common problem.
- Distance: Too far from the opener during programming.
- Interference: Nearby electronics can block signals.
- Wrong Model: Make sure your remote is compatible with your opener.
Opener Won’t Respond At All
- Power: Is the opener plugged in? Check your breaker.
- Lock Feature: Some wall consoles have a “lock” or “vacation” button—turn it off.
- Overheated Motor: Wait 15 minutes and try again.
Door Moves Incorrectly
- Travel Limits: You may need to adjust open/close limits after a reset.
- Obstructions: Check for objects blocking the door path.
- Sensors: Make sure the safety sensors at the door bottom are clean and aligned.
Example: Fixing Sensor Issues
If your door only goes down halfway or reverses, check the two small lights at the bottom of your garage door tracks. Both should be green (or one green, one yellow depending on the model). If not, wipe the sensors and make sure nothing is blocking them.
How Genie Stacks Up: Comparison With Other Brands
To help you understand your Genie opener, here is a comparison with two popular brands: Chamberlain and LiftMaster.
| Feature | Genie | Chamberlain | LiftMaster |
|---|---|---|---|
| Reset Method | “Learn” button or Wi-Fi reset | “Learn” button or MyQ app | “Learn” button or manual switch |
| Remote Compatibility | Genie remotes only | Chamberlain remotes/MyQ | LiftMaster remotes/MyQ |
| Wi-Fi Support | Most new models | Most new models | Most new models |
| Security Features | Intellicode rolling code | Security+ rolling code | Security+ 2.0 rolling code |
Programming Multiple Remotes And Devices
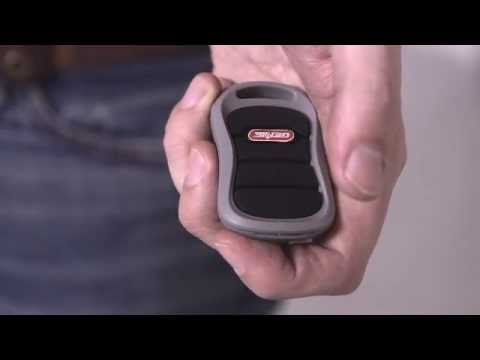
After a reset, you might want to add several remotes, a keypad, and maybe a car’s built-in HomeLink system. Most Genie openers let you do this easily.
- Program Each Device Separately
- Enter programming mode with the “Learn” button.
- Program each remote or keypad one at a time.
- Order Matters
- It does not matter which order you program remotes, but each device must be programmed within 30 seconds of pressing the “Learn” button.
- HomeLink Programming
- For cars with built-in garage door buttons, follow your car’s manual and press the Genie “Learn” button during setup.
Device Memory Limit
Most Genie openers can store 7–10 remote codes. If you try to add more, the oldest device will be erased. This is a security feature.
Common Mistakes And How To Avoid Them
Many people make simple mistakes when resetting their Genie opener. Avoid these to save time:
- Not waiting long enough after pressing the “Learn” button.
- Programming from too far away – always stand near the opener.
- Forgetting to reprogram all devices after a factory reset.
- Ignoring the sensors – if sensors are misaligned, the opener may seem “broken.”
- Not checking batteries in remotes/keypads.
Non-obvious Tips
- Garage lights can interfere with some remotes if using LED bulbs; try a different bulb if your remote signal is weak.
- Power surges can “lock up” the opener; unplug for 30 seconds and plug back in.
Reset Process For Different Genie Models
While the basic reset steps are similar, some models have small differences.
Example: Genie Silentmax Vs. Chainmax
| Model | Learn Button Location | Factory Reset Time (seconds) | LED Indicator? |
|---|---|---|---|
| SilentMax 1000 | Under light cover, back side | 10 | Yes (red/green) |
| ChainMax 3022 | Side panel, near antenna | 12 | Yes (red only) |
| Genie Pro 88 | Front panel, near wires | 15 | No |
If you are not sure about your model, use Genie’s official support or call their helpline.
When To Call A Professional
Most resets are safe for DIY, but some situations need expert help:
- Opener is very old (pre-1993 models): These may not support modern resets.
- Wires are damaged or there is visible electrical damage.
- Opener still does not work after multiple resets.
- Safety sensors are broken or missing.
If you see sparks, smell burning, or hear loud popping, stop and call a technician immediately.

Keeping Your Genie Opener Secure After A Reset
After resetting, always:
- Reprogram all remotes and keypads.
- Change your PIN to something unique.
- Test all devices to make sure they work.
- Make a note of your new settings (but keep it private).
This prevents unauthorized access and keeps your garage secure.
How To Maintain Your Genie Opener For Fewer Resets
A well-maintained opener rarely needs resets. Simple maintenance can save you trouble:
- Check batteries in remotes and keypads every 6 months.
- Clean the sensors with a soft cloth.
- Lubricate the door (not the opener) as needed.
- Inspect for loose wires or worn parts.
- Test the safety reversal monthly (place a roll of paper towels under the door and close it).
If you notice anything strange, fix it early before a reset is needed.
Genie Reset: Quick Reference Guide
Here’s a fast summary for easy reference:
| Reset Type | Button to Press | Hold Time | Result |
|---|---|---|---|
| Factory Reset | Learn/Program | 10-15 sec | Clears all remotes/keypads |
| Remote Program | Learn/Program | Tap once | Adds remote |
| Keypad Reset | Keypad Program | Until light blinks | New PIN set |
| Wi-Fi Reset | Wi-Fi/Smart | 10 sec | Clears Wi-Fi settings |
Additional Resources
If you need more details or your model is not covered here, check the official Genie site or their customer support. Manuals and video guides can be found at Genie Company Support.
Frequently Asked Questions
How Do I Know If My Genie Opener Has Been Reset?
After a factory reset, none of your remotes or keypads will work. If you try a remote and the door does not move, the reset was successful. Some models also flash their LED light or beep to confirm.
Why Won’t My Genie Remote Work After Resetting?
This usually means you need to reprogram the remote. Press the “Learn” button, then your remote button within 30 seconds. Also, check the remote’s battery and make sure you are standing close to the opener.
Can I Reset My Genie Opener Without A Ladder?
On some models, the “Learn” button is easy to reach without a ladder, especially on wall-mounted units. For ceiling units, a step stool or small ladder is usually needed for safety.
What Should I Do If My Genie Opener’s Light Keeps Blinking After A Reset?
A blinking light can mean the opener is in programming mode, or there is a sensor problem. Check that the sensors are clear and aligned. If the light still blinks, unplug the opener for 30 seconds and try again.
How Often Should I Reset My Genie Garage Door Opener?
You only need to reset it if you change remotes, move into a new home, or have a technical problem. Regular resets are not necessary for most users.
Resetting your Genie garage door opener does not have to be complicated. With the right steps and a little patience, you can fix most problems yourself and keep your garage safe and secure. If you ever feel unsure, Genie’s support and a professional technician are just a call away.