Now Reading: How to Pair Garage Door Opener to Car: Easy Step-by-Step Guide
- 01
How to Pair Garage Door Opener to Car: Easy Step-by-Step Guide
How to Pair Garage Door Opener to Car: Easy Step-by-Step Guide

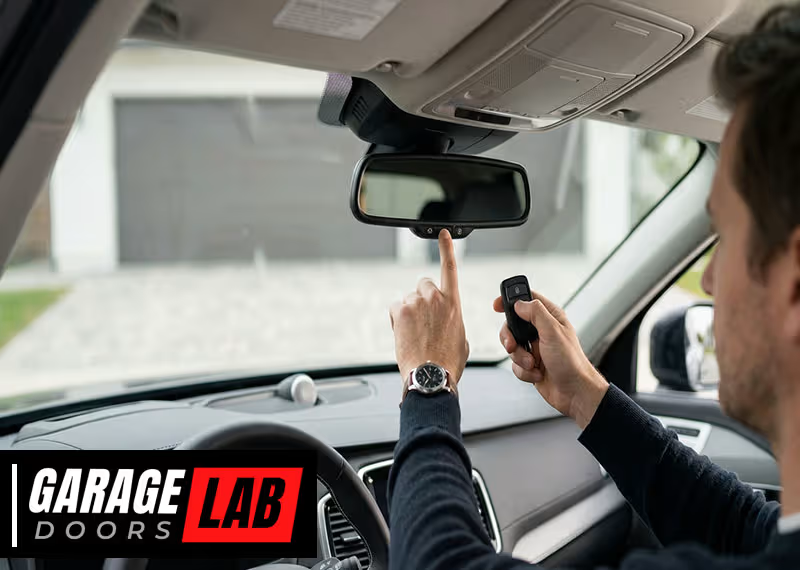
Pairing your garage door opener with your car can feel confusing, especially if you’ve never done it before. But once you understand the steps and what is happening behind the scenes, it becomes a simple process you can do in less than 15 minutes.
Many people want to use their car’s built-in buttons to open and close their garage door instead of carrying a separate remote. This not only reduces clutter but also adds security and convenience to your daily routine.
In this guide, you’ll learn everything about how to pair your garage door opener to your car. You’ll discover step-by-step instructions, common challenges, and how to solve them. Whether you drive a brand-new vehicle with the latest technology or an older model, you’ll find clear advice here. Plus, you’ll get insights many beginners miss, such as safety checks, what to do if you lose your manual, and how to handle smart garage systems.
Understanding Garage Door Opener Technology
Before you start pairing, it helps to know how garage door opener systems work. Most modern garage door openers use rolling code technology. This means every time you press the remote, the code changes, making it hard for someone to steal your signal.
Cars usually use one of these systems:
- HomeLink: Built into many vehicles since the late 1990s, it’s the most common system for in-car garage door control.
- Car2U: Less common, but found in some Ford, Lincoln, and GM vehicles.
- Aftermarket Systems: These are add-on devices for cars without built-in garage door buttons.
Your garage opener brand (like Chamberlain, LiftMaster, Genie, or Craftsman) may require slightly different steps, but the basic process is similar. Always check your car and garage opener manuals for brand-specific details.
Safety Precautions Before Pairing
Pairing a garage door opener is usually safe, but there are important checks to make first:
- Park your car outside the garage. This prevents you from being accidentally locked in or hit by the door during programming.
- Keep people and pets clear of the door. The door may move unexpectedly during setup.
- Know where the emergency release is. If the door malfunctions, you’ll be able to open it manually.
- Have a helper if possible. Some steps require pressing buttons in the car and on the opener nearly at the same time.
These steps protect you and your property. Never skip safety checks, especially if you are new to garage door systems.

Gathering What You Need
To make pairing smooth, collect everything before you begin:
- Your vehicle’s owner’s manual
- The garage door opener remote (the handheld one)
- Access to the garage door opener unit (usually on the garage ceiling)
- A small ladder, if your opener is mounted high
- A flashlight for dark garages
If you cannot find your manual, almost all car and opener brands have digital manuals online. Search the brand name, model, and “owner’s manual” for a PDF.
Step-by-step Guide To Pairing Garage Door Opener To Car
Let’s walk through the full process. The most popular system is HomeLink, so the main instructions will focus on that, but you’ll also see notes for other systems.
Step 1: Locate The In-car Garage Door Buttons
Look for three small buttons on your car’s ceiling, sun visor, or rearview mirror area. They may have a house icon. This is the garage door control panel.
- In some vehicles, the buttons are behind a flip-down panel.
- If you see only one or two buttons, check your manual to confirm it’s a garage door control system.
Step 2: Clear Pre-existing Codes (optional But Recommended)
If you bought your car used, or you’re not sure if someone else paired a garage door before, clear any old codes:
- Hold down the two outer buttons on the control panel.
- Keep holding until the indicator light blinks rapidly (usually 10–20 seconds).
- Release the buttons.
This step prevents interference from old pairings.
Step 3: Prepare The Remote Control
Take your working garage door remote and stand close to your car (within arm’s reach of the in-car buttons).
- Make sure the remote has a fresh battery. Weak batteries can cause failed programming.
- Know which button on the remote opens your garage.
Step 4: Program The Car With The Remote
This is the main pairing step.
- Press and hold the button on your in-car panel that you want to assign to the garage door.
- While holding that button, press and hold the button on your garage remote.
- The indicator light on your car panel will change from slow to fast blinking (usually after 20–30 seconds).
- Release both buttons.
If successful, the indicator light should stay on or blink steadily.
If Your Car Has A “learn” Or “training” Mode
Some cars require you to press a “training” button first, or turn the ignition to the “on” position. Check your manual for these details.
Step 5: Sync With The Garage Door Opener Unit (“learn” Button)
For most openers made after 1996, you must finish setup at the garage ceiling unit:
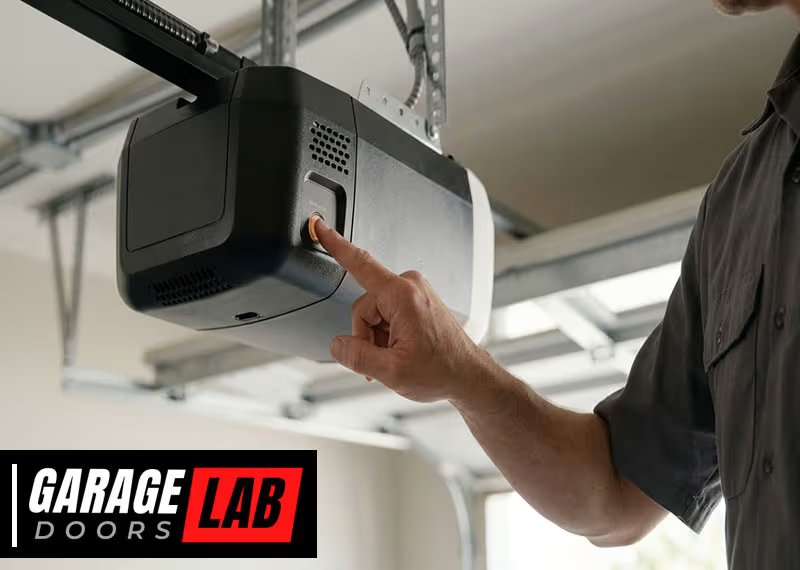
- Find the Learn or Program button on the opener. It’s usually on the back or side, sometimes under a light cover.
- The button color varies by brand (yellow, red, purple, or green).
- Press and release the Learn button. You’ll see a light start blinking (you usually have 30 seconds to finish).
- Within that time, return to your car and press the in-car button you programmed, holding it for 2 seconds.
- Release, then press again. The garage door should move.
If The Door Moves, You’ve Successfully Paired Your Car!
Step 6: Test The System
Move your car a short distance away and test the button again:
- The garage door should open and close smoothly.
- If the range is short, check for weak batteries or interference.
Step 7: Repeat For Additional Doors
If you have more than one garage door, repeat the process with a different in-car button and remote.
Troubleshooting Common Problems
Sometimes, pairing does not work the first time. Here’s how to fix common issues:
The Light Never Blinks
This can mean:
- The remote battery is dead.
- You’re too far from the in-car panel.
- You’re pressing the wrong button.
The Garage Door Opener Is Too Old
Units made before 1993 often use fixed codes, not rolling codes. Many modern cars can’t pair with these directly. You may need an adapter or a new opener.
The Car System Is Not Compatible
Some garage door openers, especially newer “smart” models, need a HomeLink repeater to work with in-car buttons. Check the opener brand website for details.
The Door Moves Only Once
If the door opens but won’t close, or vice versa, the opener’s safety sensors may be misaligned or blocked.
The In-car Buttons Won’t Program
Try resetting the car’s garage system (see Step 2). If that fails, disconnect the car battery for a few minutes and try again.
Special Instructions By Car Brand
Some car brands use slightly different steps or unique systems. Here’s what you should know for the most common brands:
Toyota, Honda, Ford, Gm, Nissan
Most models use HomeLink. Follow the standard steps above.
Bmw, Mercedes-benz, Audi, Lexus
Luxury brands sometimes require you to turn the ignition to “on” (but not start) before programming. Check your manual.
Tesla
Tesla cars have an app-based system and can learn from most rolling code remotes. Programming is done via the vehicle touchscreen.
Older Cars Without Built-in Systems
You can buy a universal garage door remote that plugs into your cigarette lighter or attaches to your sun visor.
Special Instructions By Garage Door Opener Brand
Chamberlain, Liftmaster, Craftsman
These brands use similar technology. The color of the Learn button tells you what frequency and remote type you need.
Genie
Genie openers often require you to press the Learn button twice: once to enter programming mode, once to confirm.
Overhead Door, Linear
These brands may use remote controls with dip switches if they’re older. For these, follow the manual closely or consider upgrading.
Compatibility Table: Car Systems Vs. Opener Brands
Here’s a quick reference to see if your car’s system works with your opener brand.
| Car System | Chamberlain/LiftMaster | Genie | Overhead Door | Older Openers (pre-1993) |
|---|---|---|---|---|
| HomeLink (modern) | Yes | Yes (sometimes needs repeater) | Yes (if rolling code) | No |
| Car2U | Yes | Yes | Limited | No |
| Universal Aftermarket Remote | Yes | Yes | Yes | Yes |
Smart Garage Door Openers
Many newer openers connect to Wi-Fi and can be controlled by smartphone apps, like myQ or Aladdin Connect. These openers use advanced encryption and sometimes require extra steps for in-car pairing.
What To Do If You Have A Smart Opener
- Check if your opener supports rolling code pairing.
- Some smart openers need a HomeLink bridge or repeater, which acts as a translator between the car and the opener.
- If your car is very new (2020 or later), it may support direct smart opener integration via software updates.
If you’re unsure, visit the support page for your garage opener brand or check the HomeLink official site for compatibility tools.
Upgrading An Old Garage Door Opener
If your opener is very old (before 1993), it may not be secure or compatible with modern cars. Upgrading is often the best option for safety and convenience. New openers offer:
- Rolling code technology for better security
- Battery backup in case of power outage
- Smartphone control and remote monitoring
The cost of a new opener ranges from $150 to $400, plus installation.
Garage Door Opener Features Comparison
To help you choose or understand your system, here’s a feature comparison of the most popular opener brands.
| Brand | Rolling Code | Smartphone Control | Battery Backup | LED Lighting |
|---|---|---|---|---|
| Chamberlain | Yes | Yes (myQ) | Yes | Yes |
| LiftMaster | Yes | Yes (myQ) | Yes | Yes |
| Genie | Yes | Yes (Aladdin Connect) | Some models | Some models |
| Craftsman | Yes | Yes (myQ compatible) | Some models | Yes |
Advanced Tips And Non-obvious Insights
Beyond the basic steps, here are practical tips and expert insights that many beginners overlook:
- Replace remote batteries before starting. Weak batteries are the number one cause of failed pairing.
- Check for radio interference. Wi-Fi routers, LED lights, and nearby electronics can block garage door signals. Move or switch off nearby devices if you have pairing trouble.
- Don’t rush the Learn button step. After pressing the Learn button on your opener, you must complete the in-car pairing within 30 seconds for most brands.
- Keep your car in Park. Some vehicles require this for garage programming mode to activate.
- Label your in-car buttons. If you pair more than one door, use a sticker or memory aid so you don’t mix them up.
- Secure your garage. If you sell your car, always clear the codes (see Step 2) to prevent the new owner from accessing your garage.
- If your opener is mounted high, use a sturdy ladder and don’t overreach. Safety first.
- Ask for help if needed. Some people find it easier with two people, especially for the Learn button step.
What To Do If You Lose Your Garage Door Remote
Losing your original remote is not the end of the world. You can:
- Buy a universal remote from hardware stores or online.
- Use the in-car system if it is already paired.
- Use your garage opener’s app (if it’s a smart model).
If you lose all remotes and cannot open the garage, use the emergency release cord inside the garage to open the door manually.
Security And Privacy Concerns
Many people worry about garage door security. Modern systems with rolling codes are very secure. But always:
- Clear codes when selling your car.
- Don’t share your garage remote with others.
- Choose a strong password if your opener has Wi-Fi features.
- Regularly test your system to make sure it works only for you.
Common Mistakes To Avoid
- Not clearing old codes before pairing (can cause interference).
- Skipping the Learn button step (means the car won’t sync with the opener).
- Using a weak or dead remote battery during setup.
- Standing too far from the garage unit during programming.
- Not checking compatibility between your car and opener.
- Forgetting to test the range after setup.
Avoiding these mistakes saves time and prevents frustration.
When To Call A Professional
Pairing your garage door opener to your car is usually a do-it-yourself job. But call a pro if:
- Your opener is very old or not responding
- The door moves erratically during programming
- The Learn button or opener unit is damaged
- You feel unsafe using a ladder or working with electronics
Garage door technicians have the tools and experience to solve complex problems.
Frequently Asked Questions
How Do I Know If My Car Supports Homelink?
Most cars made since the late 1990s have HomeLink or a similar built-in garage door system. Look for three small buttons on the visor, ceiling, or mirror area. Your owner’s manual will confirm if you have HomeLink or another system.
My Garage Door Opener Is From The 1980s. Can I Still Pair It?
Older openers with fixed code or dip switches are often not compatible with modern cars. You may need an adapter or to upgrade your opener. Universal remotes can sometimes work, but for safety and security, consider a new opener.
Why Does My Garage Door Only Open, But Not Close, From My Car?
This usually means the safety sensors near the garage floor are misaligned or blocked. Check for objects in the sensor path or clean the sensor lenses. If the problem continues, consult your opener’s manual.
Can I Pair More Than One Car To The Same Garage Door Opener?
Yes, most openers support multiple paired remotes and cars. Repeat the programming process for each vehicle, using a different in-car button for each garage if you have more than one door.
Do I Need To Re-pair After A Power Outage?
Usually, no. Most modern openers and in-car systems remember their settings through power loss. If you replace your garage opener or car battery, you may need to re-pair.
Pairing your garage door opener to your car is a smart move for convenience and safety. With the right steps, you can set it up in minutes. Take your time, check compatibility, and use the tips above to avoid common mistakes. If you ever get stuck, your manuals and manufacturer websites offer extra guidance. Now, you’re ready to enjoy seamless garage access—no more searching for remotes or worrying about lost openers.