Now Reading: How to Reprogram a Genie Garage Door Opener in 5 Easy Steps
- 01
How to Reprogram a Genie Garage Door Opener in 5 Easy Steps

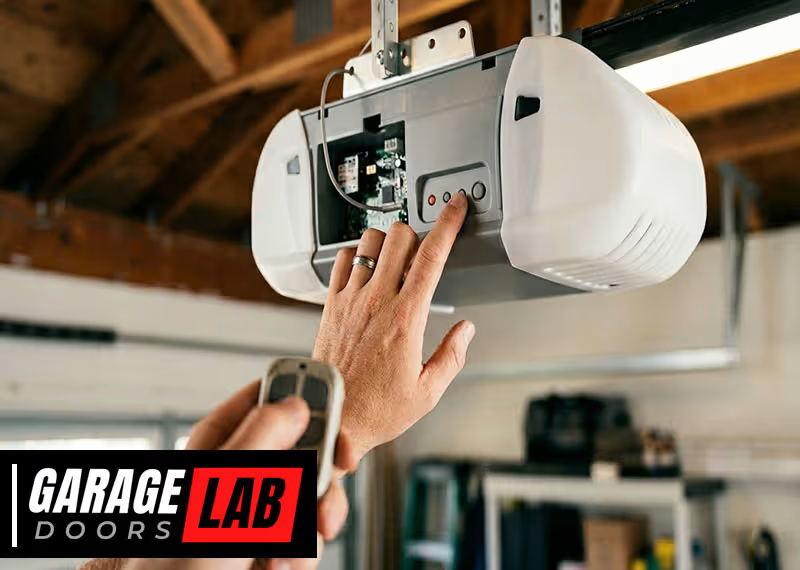
Reprogramming a Genie garage door opener can feel confusing if you have never done it before. Maybe you just moved into a new home, want to reset all remotes for safety, or are adding a new remote to your system.
No matter your reason, understanding how to reprogram your Genie opener puts you in control of your garage’s security and convenience.
Many owners worry that the process is complex or risky. In reality, most Genie systems are designed for easy programming, as long as you follow the right steps. This guide explains everything in clear language, making it simple for anyone to follow—even if you are new to garage door openers.
You will find step-by-step instructions, troubleshooting help, and tips to keep your system secure.
You will also learn about the different Genie opener models, how to clear old codes, and how to program both remotes and keypads. If you have lost your manual or never received one, this guide fills in all the details.
By the end, you will have the confidence to reprogram your Genie garage door opener and keep your garage safe and working smoothly.
Understanding Genie Garage Door Opener Models
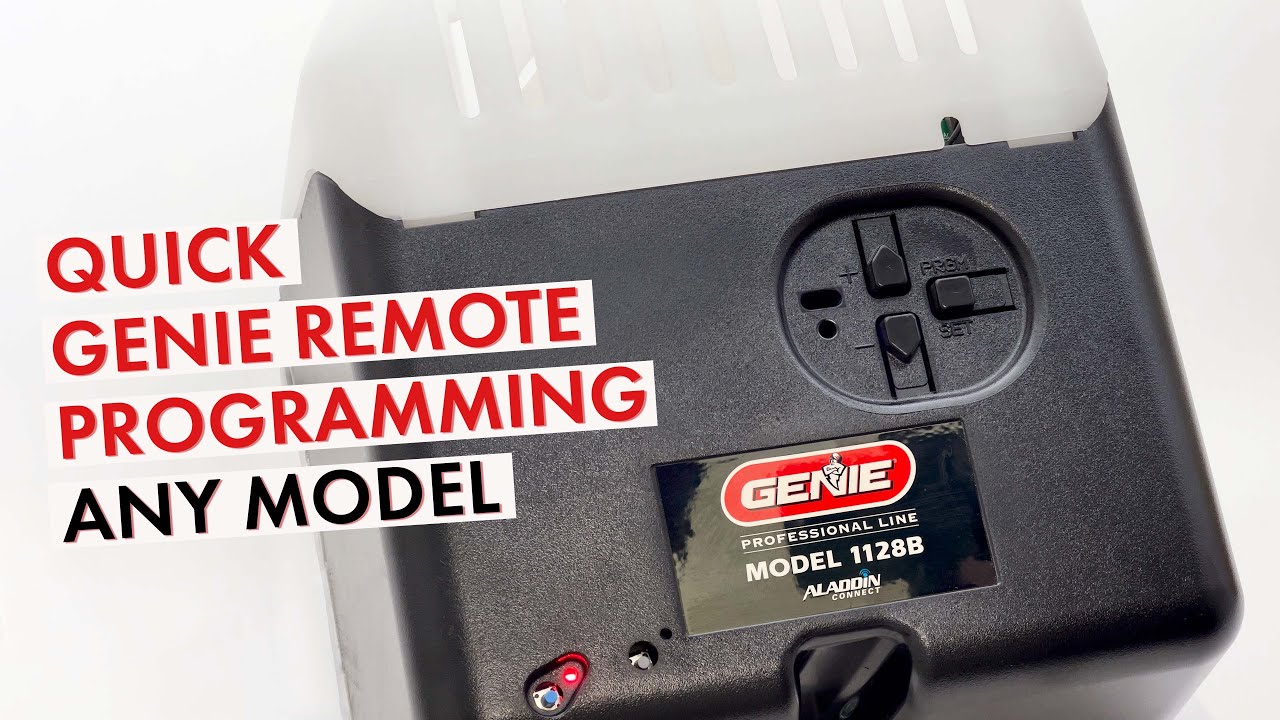
Before you start programming, it’s important to know which Genie model you have. Different models have slightly different steps for programming remotes and keypads. Most Genie openers fall into a few main types:
- Intellicode Series: Uses rolling codes for security. This is the most common modern Genie opener.
- Fixed Code Series: Older models using DIP switches for programming.
- Genie Pro Series: A professional line with advanced features.
You can find your model number on a sticker on the opener motor unit, usually on the ceiling of your garage. The sticker also shows the serial number and sometimes the year of manufacture.
Why Model Type Matters
- Programming methods differ between Intellicode (learn button) and Fixed Code (DIP switches).
- Remote compatibility: New remotes may not work with older fixed-code openers.
- Security features: Rolling code models are much safer.
If you are unsure, search your model number on the Genie website or check your opener’s manual. Knowing your model helps you avoid mistakes and ensures you follow the correct instructions.
Tools And Preparation
You do not need many tools to reprogram a Genie garage door opener, but preparing in advance saves time.
What You Need
- Step ladder: Most openers are installed on the ceiling.
- Working remote(s): The remote you want to program or reprogram.
- Access to the motor unit: You may need to press the “learn” button.
- Keypad (if programming): For wireless keypad programming.
- Pen and paper: To note down PIN codes or new settings.
Safety First
- Unplug the opener if you need to access internal wiring.
- Keep children and pets away during programming.
- Test the door’s safety reverse sensors after programming.
How To Reprogram A Genie Intellicode Remote
Most Genie openers today use the Intellicode system, which changes the door code every use for security. Programming is simple if you follow these steps.
Step-by-step Reprogramming
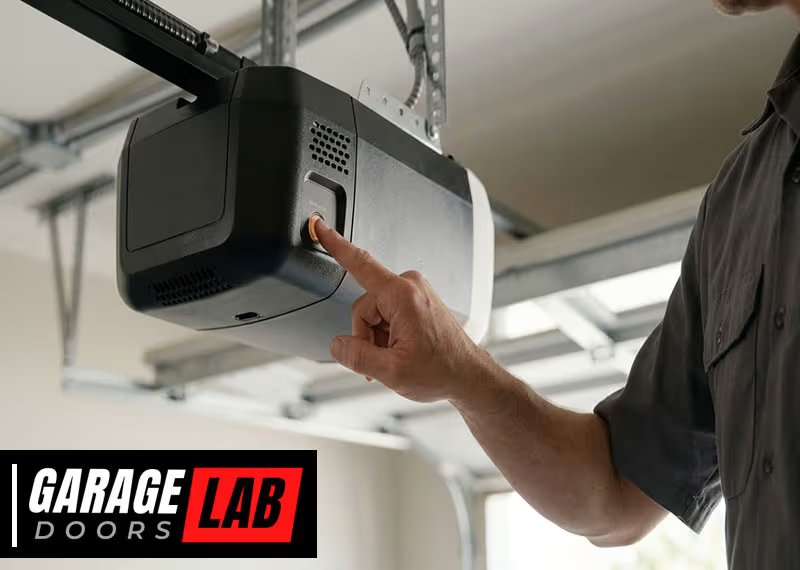
- Find the Learn Button
- On the motor unit, look for a small button labeled “Learn Code” or just “Learn.”
- The button is usually behind a light cover or on the side of the unit.
- It may be red, purple, or black, depending on your model.
- Clear Old Remote Codes (If Needed)
- Press and hold the Learn button for about 10 seconds until the indicator light turns off. This removes all previous remote codes.
- Release the button. Wait a few seconds before proceeding.
- Program the New Remote
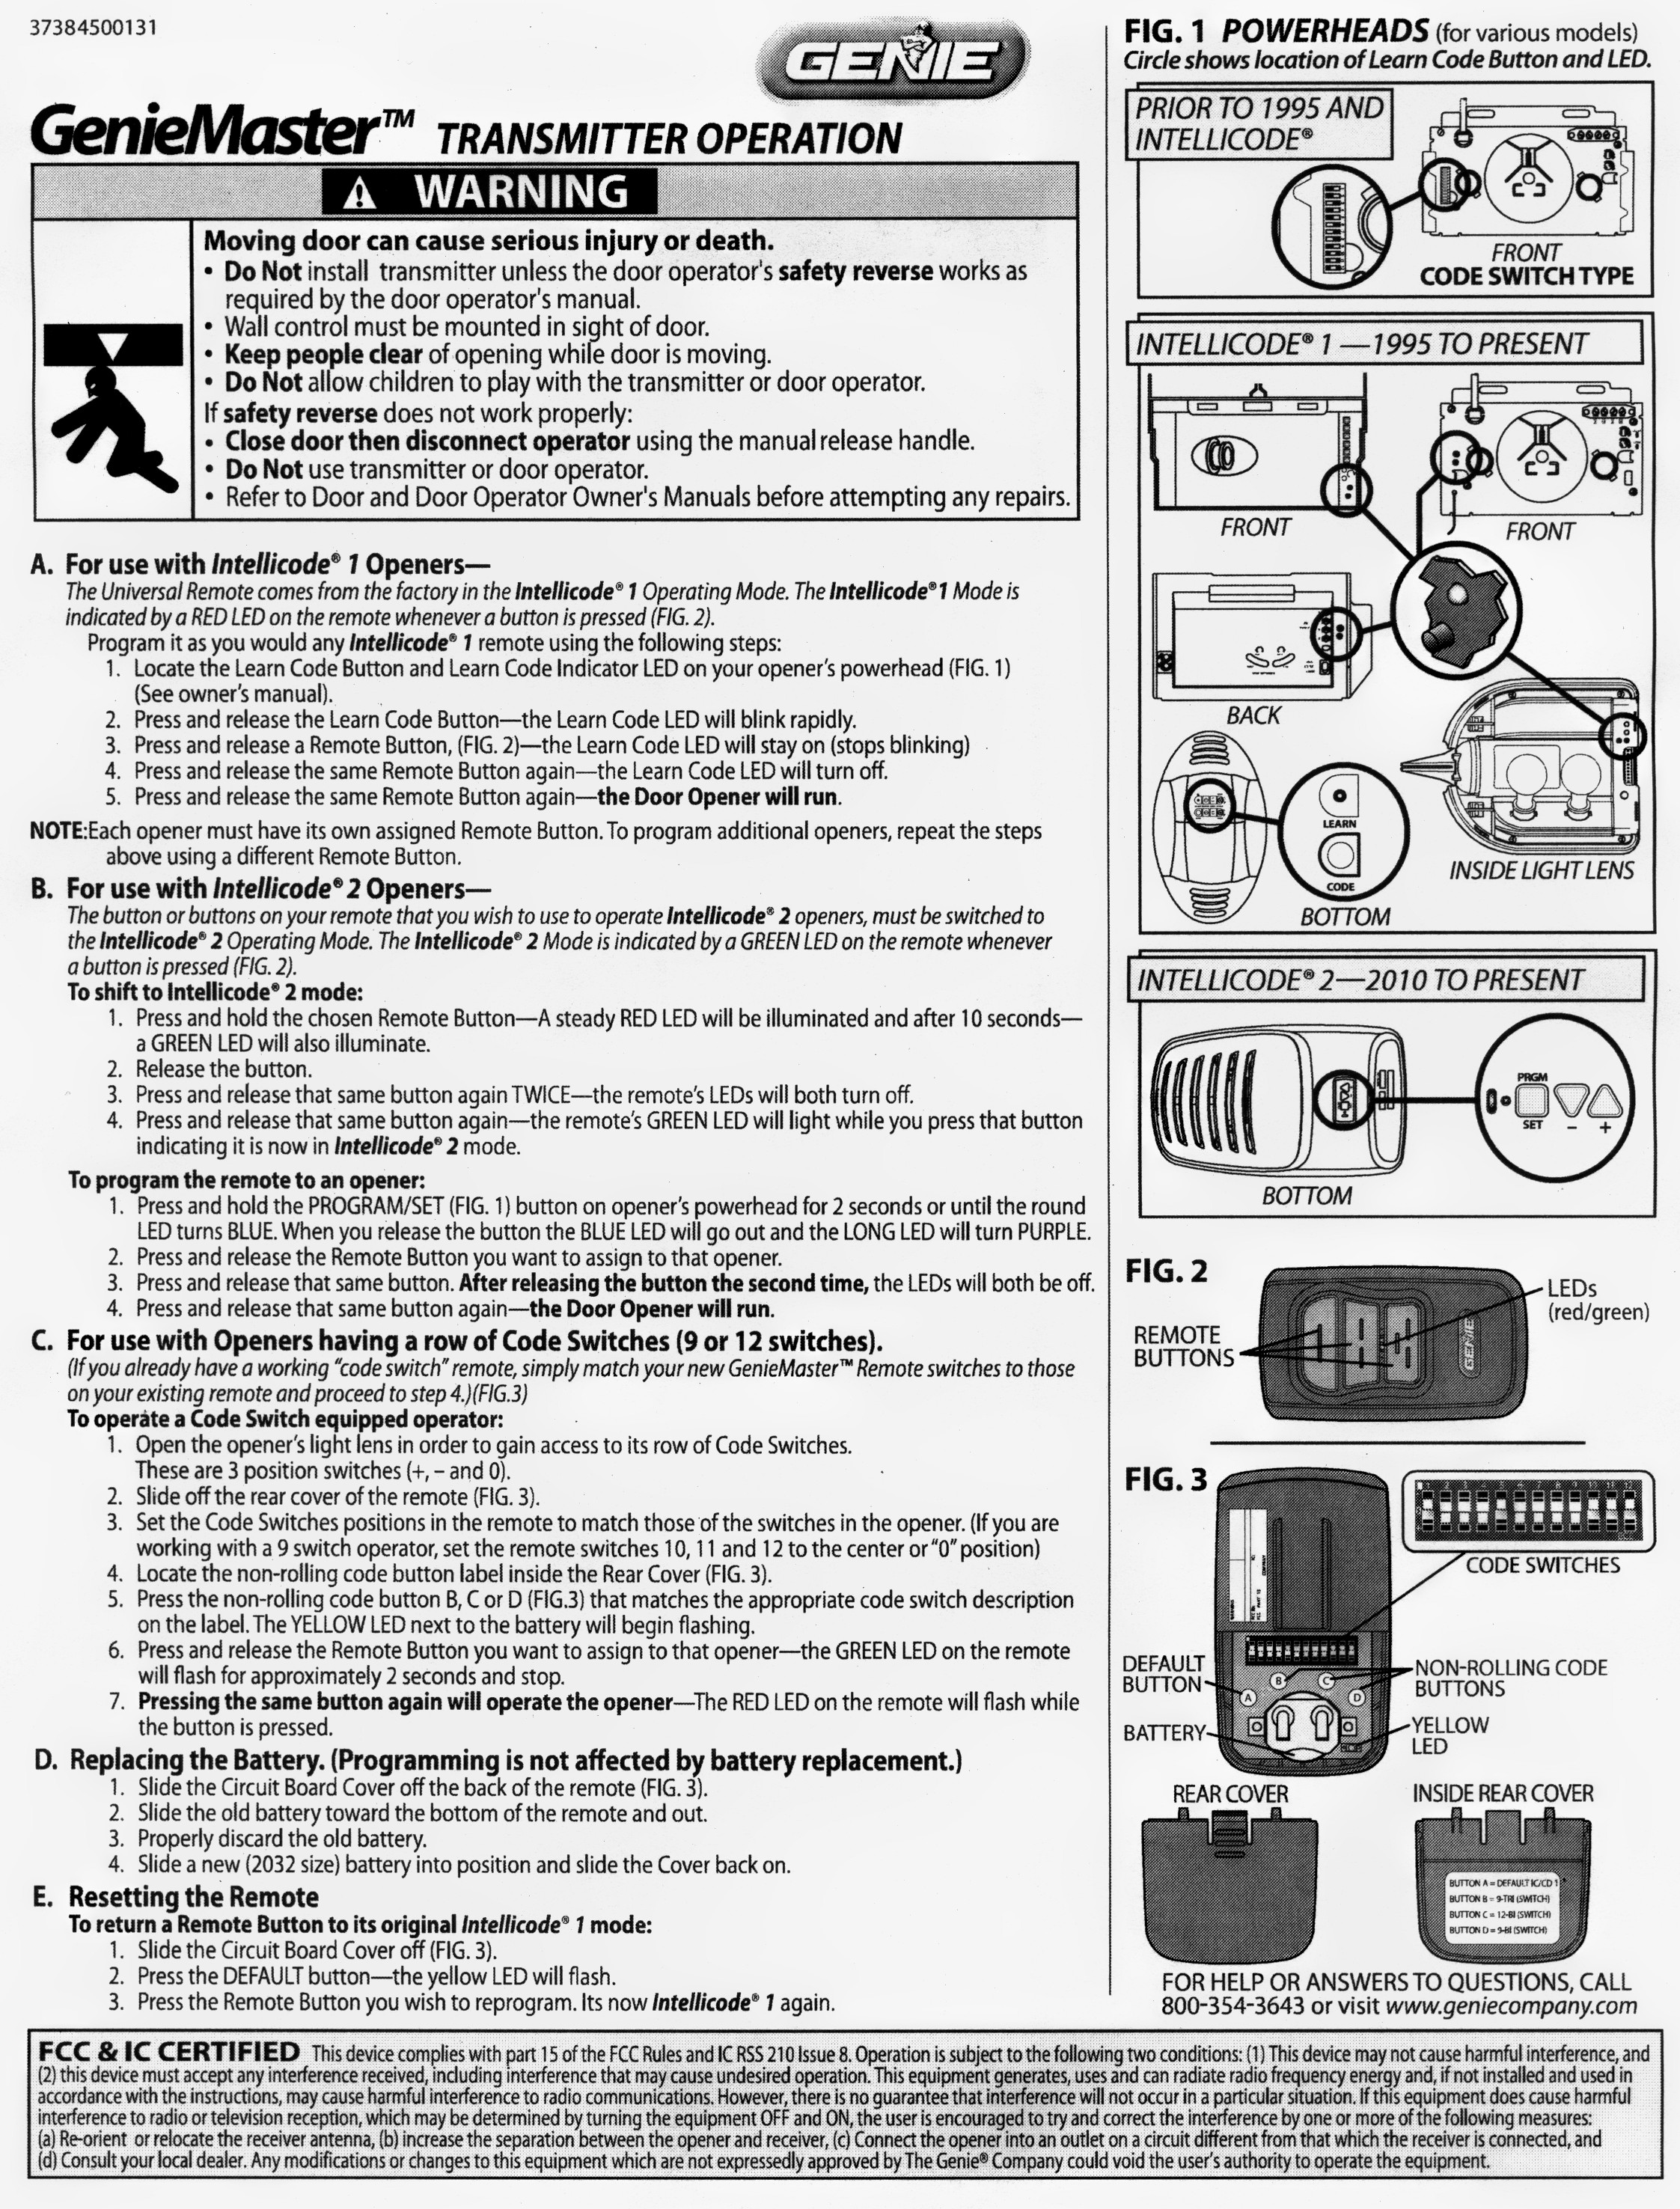
- Press and release the Learn button. The indicator LED will start blinking.
- Within 30 seconds, press the button on your remote you want to program.
- The opener’s light will blink or the door will move briefly, confirming successful programming.
- Test the Remote
- Stand a few feet away and press the remote button. The door should open or close.
- If it does not work, repeat the steps and check for mistakes.
Example: Programming A Genie G3t-bx Remote
- Press and hold the remote button while pressing the opener’s Learn button.
- Wait for the opener light to blink, then release both buttons.
- The remote is now programmed.
Non-obvious Insights
- Genie systems allow programming of multiple remotes. You do not need to erase existing remotes unless you are resetting all codes.
- If your remote has multiple buttons, each can be programmed to control different doors or functions.
How To Erase All Existing Codes
Sometimes you want to erase all remotes—especially when moving into a new home or after a lost remote. This prevents old remotes from working.
- Locate the Learn Button on the opener.
- Press and Hold the Learn button for about 10 seconds.
- The indicator light will turn off, showing all codes are erased.
Now, program new remotes as described above. This is an important security step if you are worried about unauthorized access.
Programming A Genie Keypad
A wireless keypad lets you open your garage door using a PIN code. This is useful for family members or guests who do not have remotes.
Programming Steps
- Find the Learn Button on your opener unit.
- Prepare the Keypad
- Open the keypad cover.
- Press the Program button (usually a “PRGM” or “PROG” button on the keypad).
- Enter a Personal PIN
- Enter your desired PIN (usually 3-8 digits), then press the Program or Enter button.
- Pair with the Opener
- Press and release the Learn button on the opener.
- Within 30 seconds, return to the keypad and enter your PIN, then press the Up/Down (arrow) button.
- The opener’s light will blink or the door will move, confirming success.
Tips For Keypad Security
- Avoid simple PINs like 1234 or your address.
- Change your PIN regularly.
- If your keypad stops working, check the battery before reprogramming.
Example: Genie Gk-r Keypad
- Enter “357” (factory code), then press and hold the Program button.
- Enter your chosen PIN, then press Program.
- Complete pairing with the Learn button on the opener.
Programming A Genie Fixed Code Opener
Older Genie models use DIP switches instead of rolling codes. These are less secure, but some homes still use them.
How To Set Dip Switches
- Locate the DIP Switch Panel
- Usually inside the remote and on the opener motor unit.
- Match the Switch Positions
- Use a pen or small tool to flip each switch to match the pattern on the opener.
- Test the Remote
- Press the button. The door should operate.
Important Advice
- DIP switch patterns are easy to copy. Consider upgrading to a rolling code system for better security.
- Do not share your switch pattern with others.
Adding Or Replacing A Genie Remote
If you want to add a new remote or replace a lost one, the process is similar to programming. Here’s what to keep in mind:
Adding A New Remote
- You do not need to erase old remotes.
- Simply press the Learn button, then the remote button, as described before.
- Most Genie openers support up to 7 remotes.
Replacing A Lost Remote
- If security is a concern, erase all codes from the opener and reprogram only the remotes you want to keep.
- This prevents anyone with the old remote from opening your garage.
Genie Remote Compatibility Table
Below is a comparison of popular Genie remote models and their compatibility with opener types.
| Remote Model | Intellicode Openers | Fixed Code Openers | Key Features |
|---|---|---|---|
| G3T-BX | Yes | No | 3 buttons, rolling code |
| G1T-BX | Yes | No | 1 button, rolling code |
| GT912 | No | Yes | 12 DIP switches |
| GITR-3 | Yes | No | Intellicode only |
Check your opener’s manual or the Genie website for the latest compatibility updates.
Programming A Genie Wall Console
Some Genie systems include a wall console (wall-mounted button) for operating the door. Programming is rarely needed for basic open/close, but advanced models allow for extra functions like vacation lock or light control.
Vacation Lock Feature
- Many wall consoles have a lock button. Pressing and holding it disables all remotes until unlocked. This is useful for long trips.
- To re-enable remotes, press and hold the lock button again until the indicator light goes out.
Programming Steps
- Most wall consoles work by simply wiring them to the opener.
- If your model supports advanced programming, follow the instructions in your manual.

Troubleshooting Programming Problems
Sometimes, remotes or keypads refuse to program or work after programming. Here’s how to diagnose and fix common issues.
Common Problems And Solutions
- Remote will not program
- Check remote battery.
- Make sure you pressed the Learn button correctly.
- Stand within range (10-15 feet).
- Keypad not working
- Replace the battery.
- Re-enter the PIN slowly.
- Make sure the opener is not locked out by a wall console lock feature.
- Door moves only a little or not at all
- Check for obstructions.
- Make sure the opener’s sensors are clear and aligned.
- Opener light does not blink when programming
- The Learn button may be stuck or faulty.
- Power cycle the opener (unplug for 30 seconds, then plug in).
Diagnostic Table
Below is a table to help you match symptoms with possible fixes.
| Symptom | Possible Cause | Recommended Fix |
|---|---|---|
| Remote not working | Dead battery, out of range, not programmed | Replace battery, move closer, reprogram |
| Keypad error | Wrong PIN, dead battery, interference | Reset PIN, replace battery, move closer |
| Opener unresponsive | Power loss, Learn button issue, locked console | Check power, reset opener, unlock console |
| Light does not blink | LED burnt out, Learn button issue | Test programming, replace opener if needed |
Two Insights Beginners Miss
- If your opener has a vacation lock, remotes and keypads will not work until it is unlocked—even if they are programmed correctly.
- Programming must be completed within about 30 seconds of pressing the Learn button, or the system will time out.
Maintaining Opener Security
Garage security is often overlooked. Here are some ways to keep your Genie system safe:
- Erase old codes when moving in or after losing a remote.
- Use strong PINs for keypads and change them every few months.
- Keep remotes out of sight in your car or home.
- Upgrade old fixed-code systems to rolling code for much better protection.
Upgrading Your Genie Opener
Older Genie openers (pre-1996) may lack modern security and convenience features. Upgrading can improve safety, compatibility, and reliability.
Signs You Should Upgrade
- Your opener uses DIP switches (fixed code).
- The opener is loud or unreliable.
- You want smart-home features (Wi-Fi control, smartphone access).
Comparison: Old Vs. New Genie Openers
| Feature | Old Fixed Code | New Intellicode |
|---|---|---|
| Security | Low (easy to copy) | High (rolling code) |
| Remote Range | Short | Long |
| Smart Features | No | Yes (Wi-Fi, app) |
| Noise Level | Loud | Quiet |
Modern openers are not just safer—they are often quieter, faster, and compatible with smart home systems.
Keeping Your Genie Opener Working Smoothly
Programming is only one part of garage door opener maintenance. Regular checks keep your system reliable and safe.
Routine Checks
- Test Safety Reverse
- Place an object (like a 2×4 piece of wood) under the door. The door should reverse when it touches the object.
- Check Remote Batteries
- Weak batteries cause unreliable performance.
- Inspect Sensors
- Clean photo-eye sensors with a soft cloth.
- Lubricate Moving Parts
- Use a silicone-based lubricant on rollers and hinges.
When To Call A Professional
- If the opener makes grinding noises.
- If you see loose wires or damaged parts.
- If programming fails after several tries.
A well-maintained opener lasts longer and provides better security.
Frequently Asked Questions
How Do I Reset My Genie Garage Door Opener To Factory Settings?
Press and hold the Learn button on your Genie opener for about 10 seconds until the indicator light goes out. This will erase all remote and keypad codes, returning the opener to its original factory state. You will need to reprogram all remotes and keypads.
Can I Program A Genie Remote Without The Learn Button?
No, for most modern Genie openers, the Learn button is required for programming remotes and keypads. If your opener does not have a Learn button, it is likely an older fixed-code model using DIP switches. In that case, you must manually set the DIP switches in both the remote and opener to match.
Why Is My Genie Remote Not Working After Programming?
Check if the remote battery is fresh, you are within range, and the opener is not in vacation lock mode. Also, make sure you programmed the remote within 30 seconds after pressing the Learn button. If the problem continues, erase all codes and reprogram from scratch.
How Many Remotes Can I Program To My Genie Opener?
Most modern Genie openers can support up to seven remotes plus one wireless keypad. Older models may allow fewer remotes. If you reach the limit, you may need to erase all codes and start over.
Where Can I Find More Information On Genie Opener Models?
For the latest support and manuals, visit the official Genie website at Genie Company. You will find model-specific guides, videos, and troubleshooting tips.
Taking control of your Genie garage door opener programming is a valuable skill. It boosts your home’s security, makes life more convenient, and can save you money on service calls. With the steps and advice in this guide, you can confidently reprogram remotes, keypads, and keep your garage system working its best for years to come.