Now Reading: How to Reprogram Garage Door Opener Remote Easily and Quickly
- 01
How to Reprogram Garage Door Opener Remote Easily and Quickly
How to Reprogram Garage Door Opener Remote Easily and Quickly

Reprogramming your garage door opener remote can seem difficult if you have never done it before. But in reality, it’s a task that almost any homeowner can do with a little guidance. Whether your old remote stopped working, you bought a new one, or you want to reset your system for security reasons, understanding how to reprogram your garage door opener remote can save you time, money, and stress.
This process not only restores your convenience but also helps you keep your home secure.
Many people are surprised to learn that the steps for reprogramming are quite similar across most major brands, but small differences can lead to confusion or mistakes. In this guide, you’ll learn the exact steps, what to look out for, and how to solve common problems.
You’ll also see examples, detailed explanations, and practical advice that goes beyond simple instruction manuals. By the end, you’ll have the knowledge and confidence to handle your garage door opener remote like a pro.
Understanding Your Garage Door Opener System
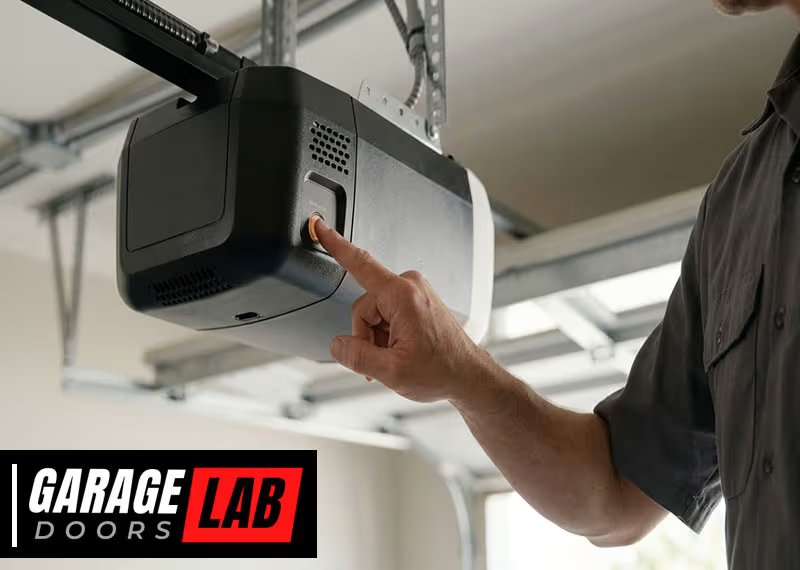
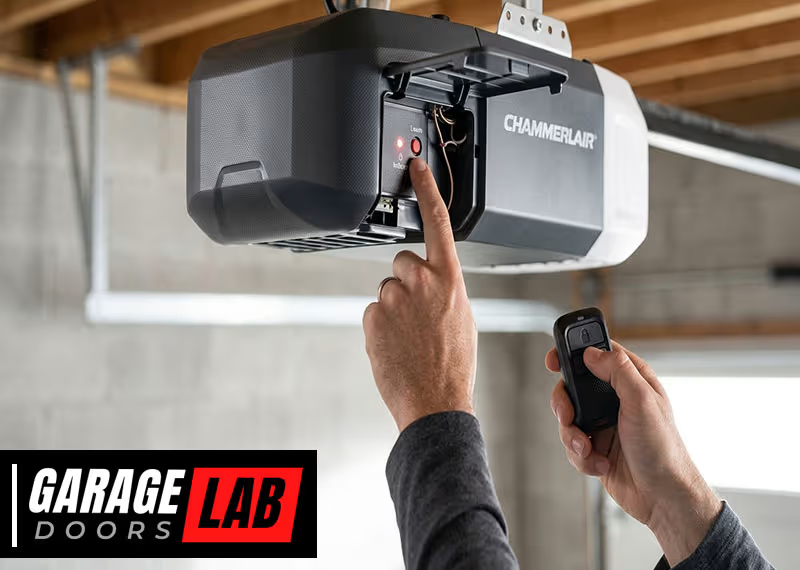
Before you start, it’s important to know the parts of your garage door opener system. Most modern systems have two main parts: the opener unit (mounted on your garage ceiling) and the remote control. The opener unit contains a receiver, circuit board, and a learn button. The remote is the handheld device that sends a signal to the opener.
The learn button is key to reprogramming. It is usually located on the back or side of the opener unit, often under a light cover. It may be colored red, yellow, orange, or purple, depending on the brand. The color can help you identify what type of remote or system you have.
Some garage door openers use rolling code technology for better security. This means the code changes every time you use the remote, making it harder for someone to copy your signal. If your opener is from the last 20 years, it likely uses this technology.
Older systems, especially those before 1993, might use DIP switches. These are small switches inside the remote and the opener that must match. If your system uses DIP switches, the reprogramming steps will be different.
Knowing these basics helps you avoid mistakes and makes the process smoother.
When Should You Reprogram Your Garage Door Remote?
There are several situations where you should reprogram your garage door opener remote:
- Lost or stolen remote – If your remote is missing, someone else could use it to enter your home.
- New remote – If you buy a replacement or want to add another remote, it must be programmed.
- System reset – If you move into a new house or want to clear out old remotes, reprogramming is essential.
- Malfunctioning remote – Sometimes, reprogramming can fix remotes that stopped working.
- Security updates – If you suspect a security breach or just want peace of mind, resetting and reprogramming is smart.
Many homeowners don’t realize that old remotes can still open their doors if not erased from the system. Reprogramming helps you control exactly who can access your garage.
Tools And Preparation
You don’t need many tools, but a few preparations can save you time:
- Stable ladder – Needed to reach the garage door opener unit
- New batteries – Weak batteries cause many remote issues
- Flashlight – Helps you see the learn button and wiring
- Owner’s manual – Every opener is a bit different; the manual gives brand-specific guidance
Most importantly, clear the area around your garage opener. Make sure you can safely reach the unit without risk of falling or dropping your remote.
Step-by-step: How To Reprogram Garage Door Opener Remote
The exact steps can vary by brand, but most openers follow a similar process. Here’s a universal method that covers the majority of systems used in the US.
1. Locate The Learn Button
Climb your ladder and look for the learn button on the opener unit. It’s often next to a small LED light. You may need to remove a light cover or panel.
- Chamberlain/LiftMaster: Usually a yellow, red, orange, or purple button.
- Genie: Often a black or red button.
- Craftsman: Similar to Chamberlain, since they often use the same hardware.
If you cannot find the learn button, check your manual or look for a small access panel near the wiring.
2. Clear Old Codes (optional But Recommended)
If you want to erase all previous remotes (for example, after moving into a new home), press and hold the learn button for about 6-10 seconds. The LED light should turn off or blink, showing all previous codes are erased.
This step is often skipped, but it’s a smart way to make sure only your remotes work.
3. Prepare The Remote
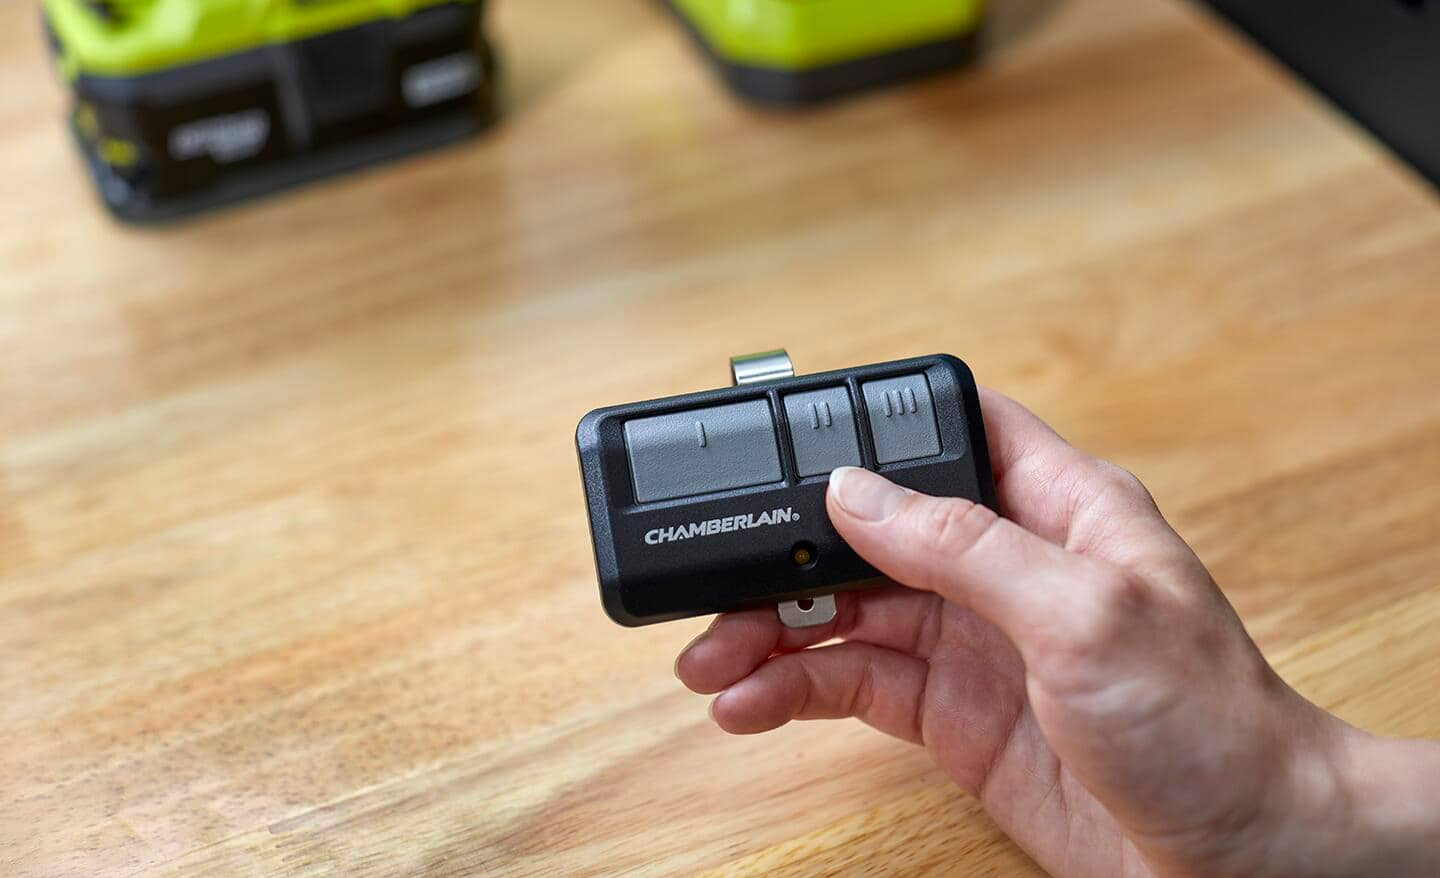
Make sure your remote has fresh batteries. Stand within 5-10 feet of the opener unit. If you’re programming more than one remote, do them one at a time.
4. Enter Programming Mode
Press and release the learn button once. The indicator light will turn on or start blinking, meaning the opener is ready to learn a new remote. You usually have about 30 seconds to finish the next step.
5. Program The Remote
While the indicator light is on, press and hold the button on your remote you want to program. Hold it for a few seconds until the opener light blinks or you hear a click. This means the system has learned the remote.
Release the remote button and test by pressing it again. The garage door should move.
If nothing happens, repeat the process or try another button on the remote.
6. Test And Repeat
Test the remote several times from different distances. If you have more remotes or a wireless keypad, repeat the programming steps for each device.
7. Reattach Covers And Clean Up
Replace any covers you removed from the opener and make sure your ladder is put away safely. Keep your remotes in a safe place and consider labeling them.
Programming Different Brands: Key Differences
While the general steps are similar, each brand has unique features. Here are some specifics for major brands:
Chamberlain, Liftmaster, Craftsman
These brands share much of the same technology. The learn button color often tells you what kind of remote you need and how to program it.
- Yellow button: Security+ 2.0 remotes
- Purple button: Security+ 315 MHz remotes
- Red/Orange button: Security+ 390 MHz remotes
For these brands, the process is as described above. If you have a wireless keypad, enter your code after pressing the learn button to sync it.
Genie
Genie openers usually have a “learn code” or “program” button.
- Press and release “learn code,” then press the remote button three times.
- The door should move to confirm programming.
Some Genie remotes have a “smart set” feature, which programs multiple remotes faster. Always read your manual for details.
Other Brands (marantec, Linear, Overhead Door)
These brands often use a similar method, but some require a “learn” or “program” button on both the opener and the remote. Sometimes, you need to enter a PIN or push a sequence of buttons.
If your opener has DIP switches, you need to match the pattern in the remote with the one inside the opener. This is less common today but still seen in older systems.
Troubleshooting: When Reprogramming Doesn’t Work
Sometimes, things don’t go as planned. Here are common problems and how to solve them:
Remote Not Responding
- Check batteries: Old batteries are the top cause.
- Distance: Stand closer to the opener during programming.
- Interference: LED lights, Wi-Fi routers, or metal objects can block the signal.
- Wrong button: Make sure you pressed the correct button on the remote and the opener.
Opener Won’t Enter Programming Mode
- Power cycle: Unplug the opener for 30 seconds, then try again.
- Check manual: Some models require holding the learn button instead of pressing and releasing.
- Damaged unit: If the learn button doesn’t work, the circuit board could be faulty.
Door Moves Randomly
- Neighbor’s remote: Rare, but possible with old DIP switch systems.
- Rolling code sync issue: Clear all codes and reprogram each remote.
Keypad Won’t Program
- Wrong sequence: Many keypads require a specific order, like pressing a “Program” button before entering the code.
- Low battery: Keypads also need fresh batteries.
Still Stuck?
If you have tried everything and it still doesn’t work, check the manufacturer’s website or customer support. Some newer systems have online guides or video tutorials. You can also find additional advice at This Old House.
Safety Tips For Reprogramming Your Garage Door Opener
Safety is often overlooked, but it’s very important when working around electrical devices and moving garage doors:
- Unplug the opener if you need to open the housing or touch wiring.
- Use a sturdy ladder and never overreach.
- Keep children and pets away during programming and testing.
- Do not stand under the door when testing your remote.
- Check door sensors after programming to make sure safety features still work.
If your opener is very old (before 1993) and does not have auto-reverse sensors, consider upgrading your system. Modern openers are much safer.
Reprogramming With Dip Switch Systems
If your opener and remote use DIP switches, the process is different:
- Open the remote: Find the small switches inside. There are usually 8-12, each can be “on” or “off.”
- Match the opener: Open the housing on your garage door opener and find the same set of switches.
- Match the pattern: Use a small tool or pen to set each switch in the remote to match the opener.
- Test the remote: Press the button; the door should move.
DIP switch systems are less secure than rolling code openers. If you still use this type, consider upgrading for better safety.
Adding Or Removing Multiple Remotes
Modern openers allow you to program several remotes or keypads at once. Here’s how to manage them:
Adding New Remotes
- Press the learn button
- Program the new remote as described earlier
- Test all remotes to make sure they work
Removing Old Remotes
- Press and hold the learn button until the LED turns off
- This erases all remotes
- Reprogram only the remotes you want to keep
Many people forget to remove access from old remotes, especially after moving or when giving away old cars. Clearing all codes and starting fresh gives you control over who can access your garage.
How To Program A Wireless Keypad
Wireless keypads are a popular way to open your garage without a remote. They are usually installed outside the garage.
- Find the learn button on your opener unit.
- Press and release the learn button
- Within 30 seconds, enter your PIN on the keypad, then press “Enter” or “Send.”
- Wait for confirmation – the opener light will blink, or you’ll hear a click.
Some keypads require you to hold “Enter” for a few seconds. Always check the manual for your model.
If you forget your PIN, erase all codes as above and program a new PIN.
Programming Garage Door Remotes In Cars (homelink And Car2u)
Many newer cars come with built-in garage door opener buttons, often called HomeLink or Car2U. Here’s how to program them:
- Turn on ignition (but do not start the car).
- Hold your garage remote 1-3 inches from the car’s HomeLink/Car2U button.
- Press and hold both buttons (remote and car) until the HomeLink light blinks fast.
- Go to your garage opener unit and press the learn button.
- Within 30 seconds, press the HomeLink button in your car.
- Test – the garage door should move.
Some models need extra steps or two people. Check your car’s manual or the HomeLink website for brand-specific help.
Comparing Garage Door Opener Features
Not all garage door openers are the same. Here’s a simple comparison of features that matter for reprogramming and convenience:
| Feature | Modern Openers (Rolling Code) | Older Openers (DIP Switch) |
|---|---|---|
| Security | High (code changes every use) | Low (fixed code) |
| Number of Remotes | Usually 5-10 | 1-2 |
| Programming Steps | Simple, uses learn button | Manual, match switches |
| Compatibility | Most universal remotes work | Limited, must match switches |
Common Mistakes To Avoid
Even experienced homeowners make errors when reprogramming remotes. Here are common mistakes and how to avoid them:
- Not clearing old codes: Skipping this can leave your garage open to old remotes.
- Wrong button sequence: Each brand may have a different sequence; check the manual.
- Weak or dead batteries: Always use new batteries for programming.
- Standing too far away: Program remotes within 5-10 feet of the opener.
- Mixing remotes from different brands: Universal remotes don’t always work with every opener.
- Forgetting to test: Always test remotes multiple times before finishing.
Upgrading Your Garage Door Opener For Better Security
If your opener is older or not working well, it may be time to upgrade. Modern openers offer:
- Rolling code security
- Smartphone control
- Battery backup
- Quiet operation
Here’s a quick comparison of old vs. new systems:
| Feature | Old Opener | New Opener |
|---|---|---|
| Security | Low, easy to copy | High, rolling code |
| Remote Programming | DIP switches | Learn button |
| Smartphone Control | No | Yes |
| Battery Backup | No | Yes |
| Auto-Reverse Safety | Rare | Standard |
Upgrading can improve your security, convenience, and even lower your home insurance in some cases.
Practical Tips For Reliable Performance
To make sure your garage door opener remote works well after reprogramming, follow these tips:
- Keep remotes clean and dry. Moisture damages electronics.
- Replace batteries yearly. Don’t wait until they die.
- Check for interference. LED bulbs or Wi-Fi routers nearby can block signals.
- Label your remotes. This helps you remember which remote goes with which opener.
- Store a spare remote. In your car or with a trusted neighbor.
Many people overlook interference from new LED bulbs. Try swapping bulbs if your remote suddenly stops working.
How To Reset Your Entire Garage Door System
Sometimes, you need to fully reset the opener:
- Unplug the opener. Wait 30 seconds.
- Press and hold the learn button for 10 seconds to erase all codes.
- Reprogram all remotes and keypads from scratch.
- Test each device to make sure it works.
This is important after a break-in or if you lose track of which remotes are programmed.
Real-world Examples And Insights
Let’s look at a few common situations:
- You bought a new car: You need to program the built-in HomeLink buttons and erase your old car’s remote.
- You moved into a new home: Erase all codes from the opener and program your own remotes and keypads.
- Your remote works only sometimes: Replace batteries, check for interference, and reprogram to restore reliability.
- Your neighbor’s remote opens your door: If you have an old DIP switch opener, change the switch pattern or upgrade to a rolling code model.
Here’s a non-obvious tip: If you have trouble programming a remote, try unplugging the opener for one minute, then plugging it back in. This resets the circuit board and often fixes stubborn issues.
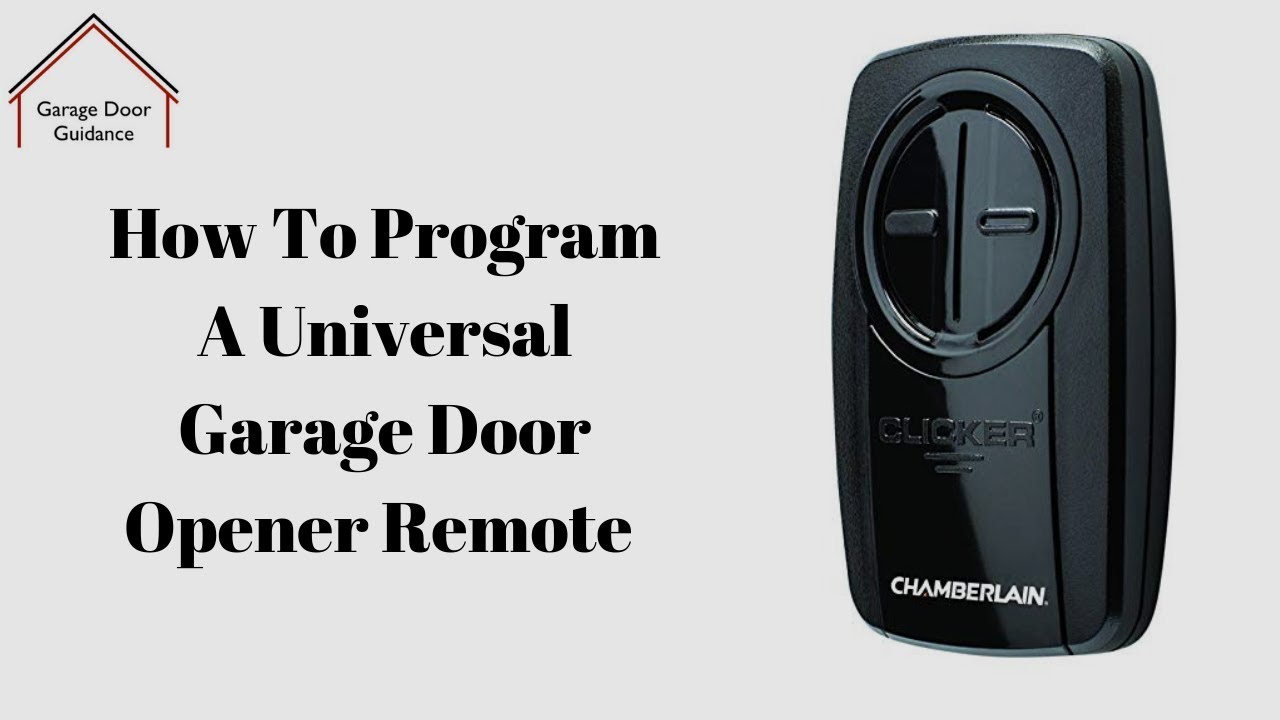
Another insight: Universal remotes are not always truly universal. Check that your remote is compatible with your opener’s brand and frequency before buying.

Frequently Asked Questions
How Do I Find The Learn Button On My Garage Door Opener?
The learn button is usually on the back or side of the garage door opener unit, often under a light cover. It may be colored yellow, red, orange, or purple. If you can’t find it, check your owner’s manual or look for a small panel near the wiring.
Can I Program A New Remote Without The Old One?
Yes, you do not need the old remote to program a new one. Just use the learn button on the opener unit and follow the programming steps for your brand.
Why Won’t My Garage Door Remote Work After Programming?
Common reasons include dead batteries, standing too far from the opener, interference from electronics, or using the wrong programming sequence. Make sure you follow all steps, use fresh batteries, and test the remote close to the opener.
How Many Remotes Can I Program To My Garage Door Opener?
Most modern openers let you program between 5 and 10 remotes or keypads. Check your opener’s manual for the exact number. If you reach the limit, you may need to erase all codes and start over.
What Should I Do If My Garage Door Opens By Itself?
This can be caused by radio interference, neighbor’s remotes with similar codes (on old systems), or a stuck button on your remote. Clear all codes, reprogram your remotes, and check for any stuck buttons. If the problem continues, contact the manufacturer.
Reprogramming your garage door opener remote is a smart way to keep your home safe and convenient. By following these detailed steps, understanding the small differences between systems, and using practical tips, you can handle almost any situation with confidence.
Garage door technology is always changing, but with this knowledge, you’re ready to keep your system working smoothly for years to come.