Now Reading: Garage Door Opener Light Blinks But Does Not Open
- 01
Garage Door Opener Light Blinks But Does Not Open

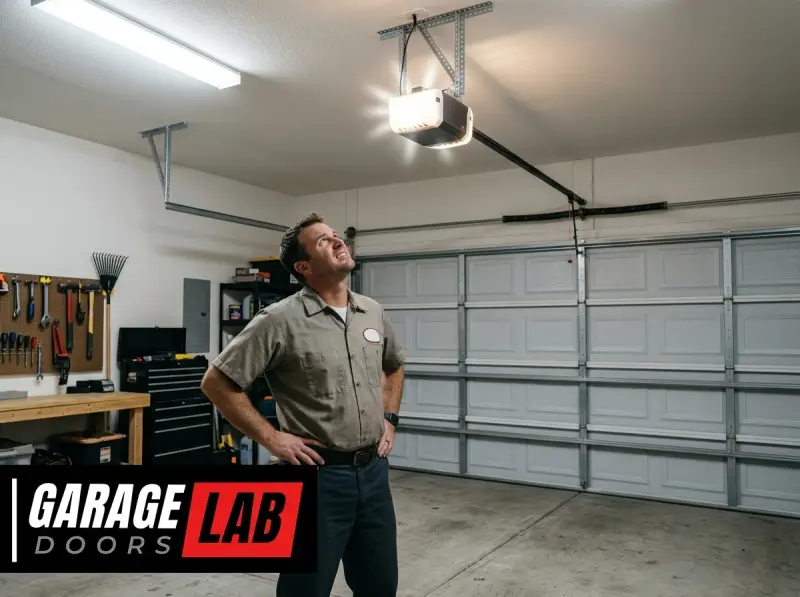
A garage door that blinks but refuses to open is a frustratingly common problem for homeowners. You press the button, hear the opener motor hum, see the lights flash as if it’s about to spring into action, but then… nothing.
The door remains stubbornly shut. This seemingly simple issue can stem from a variety of causes, ranging from minor inconveniences to more significant mechanical or electrical faults. Understanding these potential culprits is the first step toward a swift resolution, saving you time, money, and the inconvenience of a non-functional garage door.
Key Takeaways
- Safety First: Always disconnect power to the opener before attempting any troubleshooting or repairs.
- Blinking Lights Signal Errors: The flashing lights on your garage door opener aren’t just decorative; they are diagnostic codes indicating specific problems.
- Common Causes: The most frequent reasons for a blinking light and no movement include blocked safety sensors, a disengaged opener, a faulty remote or wall button, and issues with the drive mechanism.
- Troubleshooting Steps: Start with simple checks like verifying power, checking for obstructions, and testing remotes/buttons before moving to more complex diagnostics.
- Safety Sensors are Crucial: These invisible beams prevent the door from closing on obstructions. If misaligned or blocked, the door will not operate.
- Manual Override: Knowing how to disengage the opener and operate the door manually is essential for emergencies.
- When to Call a Pro: Complex electrical issues, broken springs, or persistent problems necessitate professional garage door technician assistance.

Credit: www.youtube.com
Understanding The Blinking Light: Your Opener’s Diagnostic Language
The blinking lights on your garage door opener are not random; they are a sophisticated diagnostic system designed to alert you to specific issues. Different brands and models use various blinking patterns to communicate the problem. For instance, a LiftMaster opener might flash its error code a certain number of times to indicate a problem with the safety sensors, while a Genie opener might have a different sequence for a similar issue.
Identifying the specific blinking pattern is often the quickest way to pinpoint the root cause.
Decoding Error Codes
Most modern garage door openers feature indicator lights that flash in specific sequences to signal different error conditions. These codes are your opener’s way of telling you what’s wrong. While the exact sequence for each error varies by manufacturer and model, common patterns often relate to:
- Safety Sensor Malfunctions: This is perhaps the most frequent cause. If the sensors are misaligned, blocked, or damaged, the opener will refuse to operate. The lights will typically blink rapidly or in a specific, repeating pattern.
- Travel Limit Issues: The opener needs to know how far to open and close the door. If these limits are set incorrectly or have been lost, the opener may stop prematurely or refuse to move.
- Force Settings: Similar to travel limits, the opener has force settings that dictate how much power it uses. If these are set too low, the opener might think it’s encountering an obstruction and stop.
- Internal Motor or Logic Board Problems: In more complex scenarios, the blinking could indicate a fault within the opener’s motor or its main control board.
Consulting your garage door opener’s user manual is paramount. It will contain a detailed chart or section explaining the specific blinking codes for your model. If you’ve misplaced your manual, a quick search online using your opener’s brand and model number will likely yield a digital copy. For example, many Chamberlain openers use a series of rapid flashes to indicate a safety sensor obstruction, while a steady, non-opening state with occasional blinks might point to a different issue.
The Role Of Safety Sensors
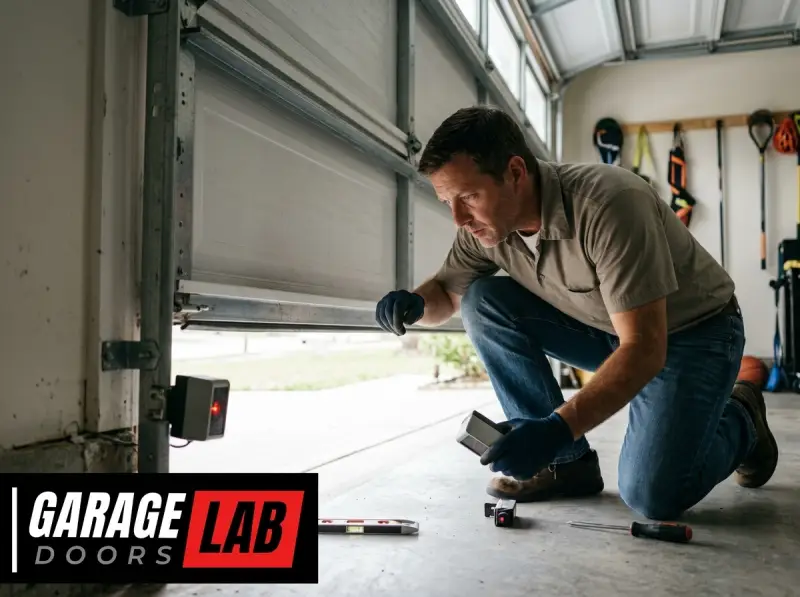
Safety sensors are a critical component of any garage door opener system, designed to prevent accidents. These devices consist of two units, typically mounted a few inches off the ground on either side of the garage door tracks. One unit transmits an infrared beam, and the other receives it.
When the beam is unbroken, it signals to the opener that the path is clear. If something obstructs this beam, a parked car, a child’s toy, or even overgrown shrubbery, the opener will prevent the door from closing or cause it to reverse if it’s already in motion.
When the safety sensors are the issue, the opener’s lights often blink as a warning. This blinking is a direct communication that the infrared beam is not being detected. The problem can arise from:
- Misalignment: The sensors may have been bumped out of alignment, causing the transmitted beam to miss the receiver.
- Obstruction: Debris, cobwebs, or even dirt on the sensor lenses can block the beam.
- Damage: The sensors themselves, or their wiring, might be damaged due to impact or wear and tear.
- Power Issues: While less common for just the sensors, a faulty connection or power supply to the sensors can also cause them to malfunction.
Checking The Opener’s Indicator Lights
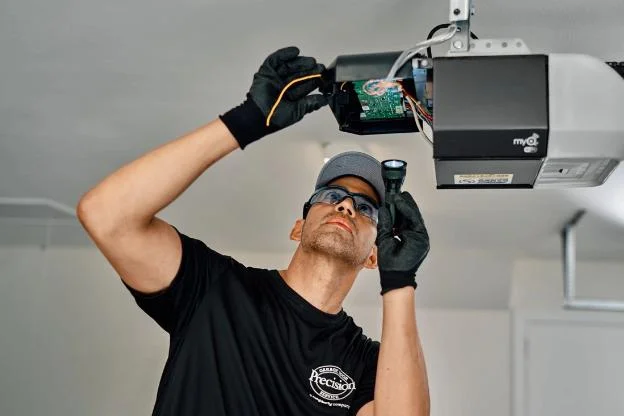
Before diving into more complex diagnostics, take a moment to observe the indicator lights on the garage door opener motor unit itself. Many openers have a small LED light that flashes a specific number of times when an error occurs.
For example, a LiftMaster opener might have a diagnostic LED that flashes 5 times, indicating a safety sensor issue. A different number of flashes could point to a different problem entirely, such as a loose connection or a limit setting error.
Example: A common troubleshooting scenario involves a LiftMaster Professional Series opener where the safety eye indicator light is blinking. If this light blinks 4 times, it often signifies a problem with the opener’s internal force adjustment, suggesting the motor is working too hard and may need recalibration or has a mechanical issue. If it blinks 10 times, it typically points to a safety sensor alignment problem. Always refer to your specific opener’s manual for accurate code interpretation.
Credit: www.precisiondoor.net
Common Culprits: Why Your Garage Door Won’t Budge
When your garage door opener’s lights blink but the door remains stationary, it’s a clear sign that something is preventing the system from operating. The issue could be with the opener itself, the door’s mechanism, or the safety features designed to protect you and your property.
The Safety Sensor Conundrum
As mentioned, safety sensors are the most frequent offenders. If these sensors are misaligned, blocked, or damaged, the opener will refuse to function. The blinking lights on the motor unit are often a direct indicator of this problem.
Troubleshooting Steps for Safety Sensors:
- Visual Inspection: Look for any obvious obstructions in the path of the infrared beam. This could be anything from a stray tool to a build-up of dirt or even a spiderweb.
- Clean the Lenses: Gently wipe the lenses of both sensors with a soft, dry cloth.
- Check for Alignment: The sensors are typically mounted in small brackets. Ensure they are pointing directly at each other. You can often tell if they are aligned by looking at the indicator lights on the sensors themselves. One sensor usually has a steady light, while the other might flash until it receives the beam. If both are flashing or off, they are likely misaligned.
- Test Alignment: Many openers have a small screw or adjustment mechanism on the sensor bracket that allows you to fine-tune their position. Adjust them slightly until the receiving sensor’s light becomes steady.
- Inspect Wiring: Check the wires leading to the sensors for any signs of damage, cuts, or loose connections.
Disengaged Opener Or Trolley
Your garage door opener consists of a motor unit and a trolley (also called a carriage) that moves along a rail. This trolley is connected to your garage door via a J-arm. If the trolley becomes disengaged from the opener’s drive mechanism or the J-arm becomes disconnected from the door, the opener motor might run, but the door won’t move.
Reasons for Disengagement:
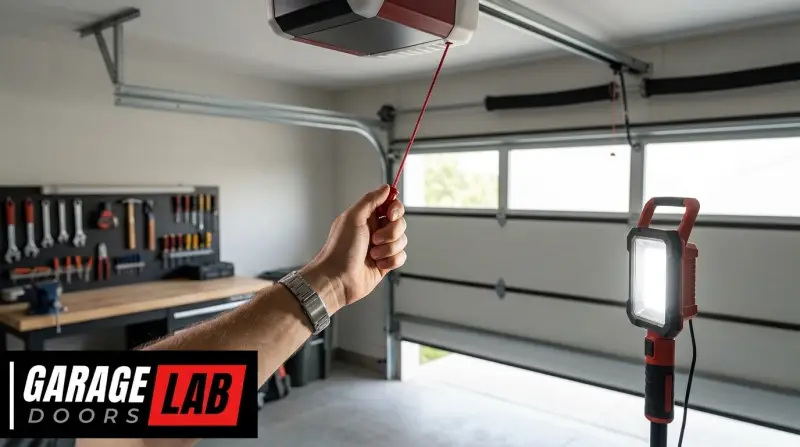
- Manual Release Engaged: Most openers have a manual release cord (often red) that, when pulled, disengages the trolley from the motor. This is typically used during power outages or for maintenance. It’s possible this cord was accidentally pulled or the mechanism got stuck in the disengaged position.
- Trolley Mechanism Failure: The internal gears or components within the trolley that engage with the drive chain or screw can wear out or break.
- J-Arm Disconnection: The J-arm that connects the trolley to the door can become loose or detach.
How to Check:
- Locate the Trolley: Find the movable part on the rail above your garage door.
- Check the Manual Release: Look for the red cord hanging from the trolley. If it’s pulled down, the trolley is disengaged. Try re-engaging it by pushing the lever on the trolley back into its original position or by pulling the cord in the opposite direction (refer to your manual).
- Inspect the J-Arm: Ensure the J-arm is securely bolted to the door and connected to the trolley.
Faulty Remote Control Or Wall Button
While the blinking lights usually point to a system-wide issue, it’s worth considering if the signal to open the door is even being sent correctly. A malfunctioning remote control or a stuck wall button could prevent the opener from receiving the command.
Troubleshooting Remote and Wall Button Issues:
- Remote Battery: The most common remote issue is a dead battery. Try replacing it with a fresh one.
- Remote Signal: Ensure you are within range of the opener and that there are no significant obstructions between the remote and the opener’s antenna.
- Reprogramming: Sometimes, the remote can lose its programming. You might need to reprogram your garage door remote. This process varies by brand; check your manual for instructions. For specific brands like Craftsman or Genie, dedicated guides exist, such as how to reset a Craftsman garage door remote.
- Wall Button: Press the wall button directly. If the door operates, the issue is likely with your remote. If it doesn’t operate, the problem is with the opener or its wiring to the button. Check if the button is sticking or damaged.
Obstructions In The Door’s Path
Though less likely to cause blinking lights (more often, the opener will just stop or reverse), a significant physical obstruction can prevent the door from moving at all, even if the opener is trying to operate. This could be something lodged in the tracks or a mechanical failure within the door itself.
Checking for Obstructions:
- Visual Scan: Carefully inspect both vertical and horizontal tracks for any debris, tools, or objects.
- Door Movement: Try to manually move the door (after disengaging the opener). If it feels extremely heavy or is physically stuck, there’s likely a mechanical issue with the door itself, such as a broken spring or bent track.
Deeper Dives: Mechanical And Electrical Faults
When the simpler checks don’t resolve the issue, you might be facing more complex mechanical or electrical problems within the garage door opener system. These often require a more thorough inspection and sometimes professional intervention.
Drive Mechanism Issues (chain, Belt, Screw)
The drive mechanism is what translates the motor’s power into the movement of the trolley. This can be a chain, a belt, or a threaded screw. If this mechanism is damaged, loose, or broken, the opener might hum, lights might blink, but the door won’t move.
- Loose Chain/Belt: Over time, chains and belts can stretch or come off their sprockets/pulleys. This often results in a grinding noise or no movement at all. You might need to adjust the chain on your garage door opener or re-tension a belt.
- Broken Chain/Belt: A snapped chain or belt means the connection between the motor and the trolley is severed. This requires replacing the entire chain or belt assembly.
- Damaged Sprocket/Pulley: The gears or pulleys that the chain or belt wrap around can also break or strip, preventing engagement.
- Screw Drive Issues: If you have a screw drive opener, the large threaded rod can become bent, stripped, or the trolley can strip its threads, leading to a lack of movement.
Motor Or Logic Board Malfunction
The motor is the powerhouse of the opener, and the logic board is its brain. If either of these components fails, the opener will cease to function correctly.
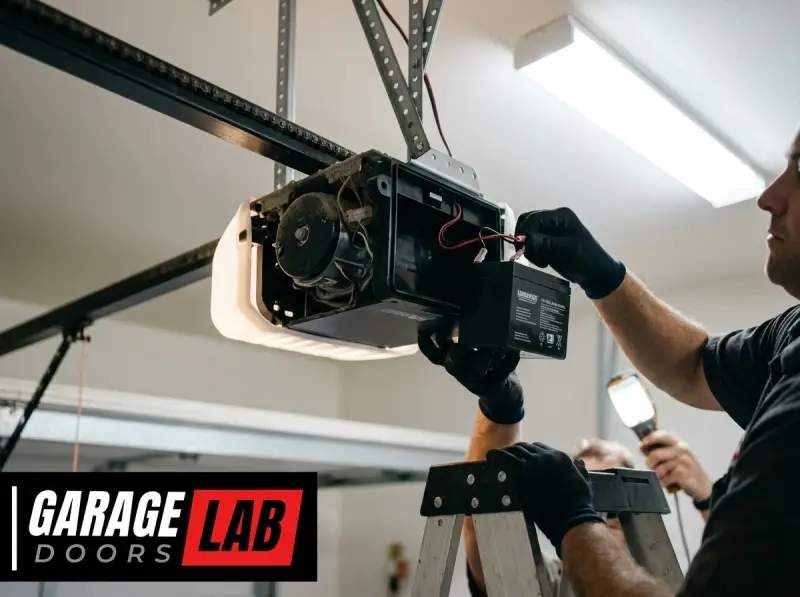
- Motor Failure: If the motor is burnt out or has a mechanical fault, it might hum briefly or not engage at all. You might smell a burning odor in this case.
- Logic Board Issues: The logic board controls all functions of the opener. If it’s damaged due to a power surge, lightning strike, or component failure, it can cause a wide range of erratic behaviors, including blinking lights and no operation. Sometimes, a simple reset of the logic board can resolve minor glitches, similar to resetting your garage door opener.
Limit And Force Settings Gone Awry
Garage door openers are programmed with travel limits (how far the door opens and closes) and force settings (how much power the opener uses). If these settings are corrupted, lost, or improperly adjusted, the opener may refuse to operate.
- Lost Limits: Power surges or intermittent power can sometimes cause the opener to lose its programmed limits. The opener might then behave erratically, often flashing lights to indicate it doesn’t know where to stop.
- Incorrect Force Settings: If the force settings are too low, the opener will interpret even minor resistance (like a slightly stiff track) as an obstruction and stop. Conversely, if they are set too high, it can strain the motor.
These settings are usually adjusted via buttons or dip switches on the motor unit, and the process is detailed in your owner’s manual. For example, you might need to adjust a Chamberlain garage door opener by pressing specific buttons until the desired movement is achieved.
Problems With The Garage Door Itself
Sometimes, the issue isn’t with the opener but with the garage door’s mechanics. A binding door, a broken spring, or damaged tracks can create so much resistance that the opener cannot overcome it, leading to blinking lights and no movement.
- Broken Torsion Spring: This is a critical safety component. If a torsion spring breaks, the door will become extremely heavy, and the opener will likely not be able to lift it. Warning: Garage door springs are under immense tension and can cause serious injury. Never attempt to replace them yourself without proper training and equipment.
- Bent or Damaged Tracks: If the vertical or horizontal tracks are bent, dented, or misaligned, the rollers can get stuck, preventing the door from moving smoothly or at all.
- Worn Rollers: Old or damaged rollers can also cause excessive friction. Regularly lubricating your garage door rollers, as outlined in guides like how to lubricate garage door rollers, can help prevent this.
Step-by-step Troubleshooting Guide
When your garage door opener lights are blinking but the door won’t open, follow these steps systematically to diagnose and potentially fix the problem. Remember to always prioritize safety.
Step 1: Safety First, Power Disconnection
Before touching any part of the mechanism, disconnect power to the garage door opener. You can do this by unplugging the unit from the electrical outlet or by flipping the appropriate circuit breaker in your home’s electrical panel. This prevents accidental activation of the door while you are working on it.
Step 2: Observe And Record The Blinking Pattern
Note the exact sequence of blinks from the indicator light on the motor unit. Count the number of flashes and their pattern (e.g., rapid, slow, long pause). This information is crucial for deciphering the error code. Refer to your opener’s user manual to understand what the specific pattern signifies. If you don’t have the manual, search online for “[Your Opener Brand and Model] error codes.”
Step 3: Check Safety Sensors
This is the most common fix.
- Locate Sensors: Find the two small sensors near the bottom of the garage door tracks.
- Inspect for Obstructions: Look for anything blocking the beam between them.
- Clean Lenses: Wipe both sensor lenses with a soft cloth.
- Check Alignment Lights: Observe the small LED lights on each sensor. Typically, one will be solid, and the other will flash until the beam is aligned. If both are off or flashing erratically, they need alignment.
- Realign Sensors: Gently adjust the position of the sensors until the receiving sensor’s light becomes solid. This might involve loosening a bracket screw and carefully turning the sensor.
- Test: After ensuring alignment, reconnect power and test the opener.
Step 4: Inspect The Trolley And Manual Release
- Disengage Power: Ensure power is off.
- Locate Trolley: Find the carriage that moves along the rail.
- Check Manual Release Cord: See if the red emergency release cord is pulled. If so, re-engage the trolley by following your manual’s instructions (usually involves pushing a lever or pulling the cord differently).
- Inspect J-Arm: Ensure the J-arm connecting the trolley to the door is secure and properly attached to both.
Step 5: Test Wall Button And Remotes
- Press Wall Button: With power reconnected, try the wall-mounted button.
- If the door opens, the problem is likely with your remote(s). Try replacing batteries or reprogramming them. You may need to reset a Liftmaster remote or a similar process for other brands.
- If the door still doesn’t open, the issue is likely with the opener itself or its wiring.
- Test Remotes: If the wall button works, try your remotes. If they don’t, consider battery replacement or reprogramming. For keypad issues, you might need to reprogram a Genie keypad or a Chamberlain keypad.
Step 6: Check Drive Mechanism And Door Balance
- Disengage Power: Turn off the power.
- Manually Operate Door: Pull the manual release cord to disengage the opener. Try lifting the door by hand.
- Smooth and Light: If the door moves smoothly and feels balanced (stays partially open on its own), the door mechanism is likely fine, and the problem is with the opener.
- Heavy or Stuck: If the door is very heavy, jerky, or stuck, you likely have a problem with the door’s springs, tracks, or rollers. Warning: Do not attempt to fix spring issues yourself. Call a professional.
- Inspect Drive Chain/Belt: Look for any obvious slack, damage, or if it has come off the sprocket/pulley.
Step 7: Examine Limit And Force Settings
If the blinking code indicated limit or force issues, or if other steps failed, consult your manual to reset or readjust these settings. This typically involves pressing buttons on the motor unit in a specific sequence.
Step 8: When To Call A Professional
If you’ve gone through these steps and the door still doesn’t operate, or if you suspect a broken spring, damaged tracks, or internal motor/logic board failure, it’s time to call a qualified garage door technician. Attempting complex repairs without the necessary expertise can be dangerous and may cause further damage.
Real-world Scenarios And Solutions
Understanding how these issues manifest in practice can be incredibly helpful. Let’s look at a couple of common scenarios.
Scenario 1: The “phantom Obstruction”
The Problem: Sarah presses her remote, the garage door opener lights blink rapidly, but the door doesn’t move. She checks for obvious obstructions like tools or boxes, cleans the sensors, and even replaces the batteries in her remote. Still no movement.
The Diagnosis: Sarah consults her LiftMaster manual and finds that a rapid blinking sequence indicates a safety sensor fault. Upon closer inspection, she notices that one of the sensors, mounted low on the track, has a slight bend in its bracket, causing it to point slightly downwards. The infrared beam is not reaching the other sensor consistently.
The Solution: Sarah carefully loosens the bracket screw, gently bends the bracket back into