Now Reading: How to Reset Garage Door Remote Liftmaster: Quick Guide
- 01
How to Reset Garage Door Remote Liftmaster: Quick Guide
If your LiftMaster garage door remote has stopped working, is acting strangely, or you just bought a new remote and need to start fresh, knowing how to reset it is essential. Resetting your remote can solve issues like unresponsive buttons, interference, or lost remotes that pose a security risk. This guide walks you through the full process to reset your LiftMaster garage door remote, covering every step, common problems, and tips to avoid mistakes. Even if you’re not a technical person, you’ll find clear instructions and useful advice here to get your garage system back to normal.
Understanding Liftmaster Garage Door Remotes
LiftMaster is a leading brand in garage door openers across North America. Their remotes are known for durability, smart features, and compatibility with both old and new systems. But before starting the reset process, you need to know a few basics about these remotes.
There are two main types of LiftMaster remotes: fixed code and rolling code. Fixed code remotes use the same signal each time. Rolling code remotes, which most modern models use, change the signal every time you press the button. This makes it much harder for someone to copy the signal and break in.
Knowing which remote you have will help you follow the right reset process. Most remotes made after 1993 use rolling codes and a “Learn” button on the opener itself.
When And Why You Should Reset Your Liftmaster Remote
Resetting your garage remote is not something you do every day. There are key situations where a reset is the best solution:
- Lost or stolen remote: If you lose a remote, someone could use it to open your garage. Resetting removes old remotes from the system.
- Upgrading or replacing remotes: If you buy a new remote, you must clear the old settings before pairing.
- Remote stops working: Sometimes, remotes stop working because of interference or corrupted signals. Resetting often solves these issues.
- Security concerns: If you believe someone copied your remote code, a reset ensures only remotes you control will work.
- Moving to a new house: Always reset the garage opener at your new home to block access from previous owners’ remotes.
Many people overlook the security risk of not resetting after losing a remote. Also, if your opener acts strangely—like opening on its own—a reset can stop unwanted signals from triggering your door.
Essential Tools And Preparation
Before starting, gather what you need to avoid interruptions:
- Step ladder (for reaching the garage opener unit)
- The remote(s) you want to reset or reprogram
- A pen or small screwdriver (optional, for pressing small buttons)
- Owner’s manual (helpful for model-specific info, but not required)
Always check that you have a working light in your garage, and keep children and pets away from the door area during the process.
Safety tip: If your garage door is open, close it before starting. You don’t want it to move suddenly during the reset.
Step-by-step: How To Reset Your Liftmaster Garage Door Remote
Resetting your remote involves clearing the memory on the main opener unit, then reprogramming the remotes you want to keep. Here’s how to do it safely and correctly:
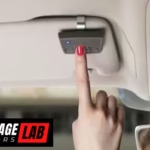
1. Locate The “learn” Button
Almost all modern LiftMaster openers have a Learn button. This button is usually found on the back or side of the main garage opener (the box hanging from the ceiling).
- Remove the light cover if necessary.
- The Learn button is often yellow, orange, red, or purple.
- Some models have it near a small LED light.
If you can’t find it, check the manual or look for a label with instructions.
2. Clear The Opener’s Memory
This is the main reset step. It will erase all programmed remotes and keypads from the opener’s memory.
- Press and hold the Learn button for about 6-10 seconds.
- Watch for the small LED light next to the button. It will turn off or blink, showing the memory is cleared.
- Release the button.
Important: All remotes and wireless keypads will stop working after this step. You must reprogram the ones you want to keep.
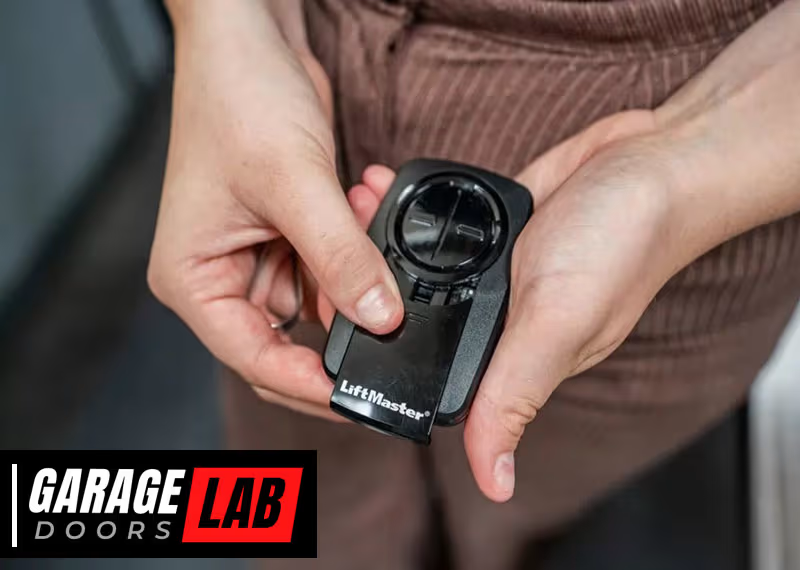
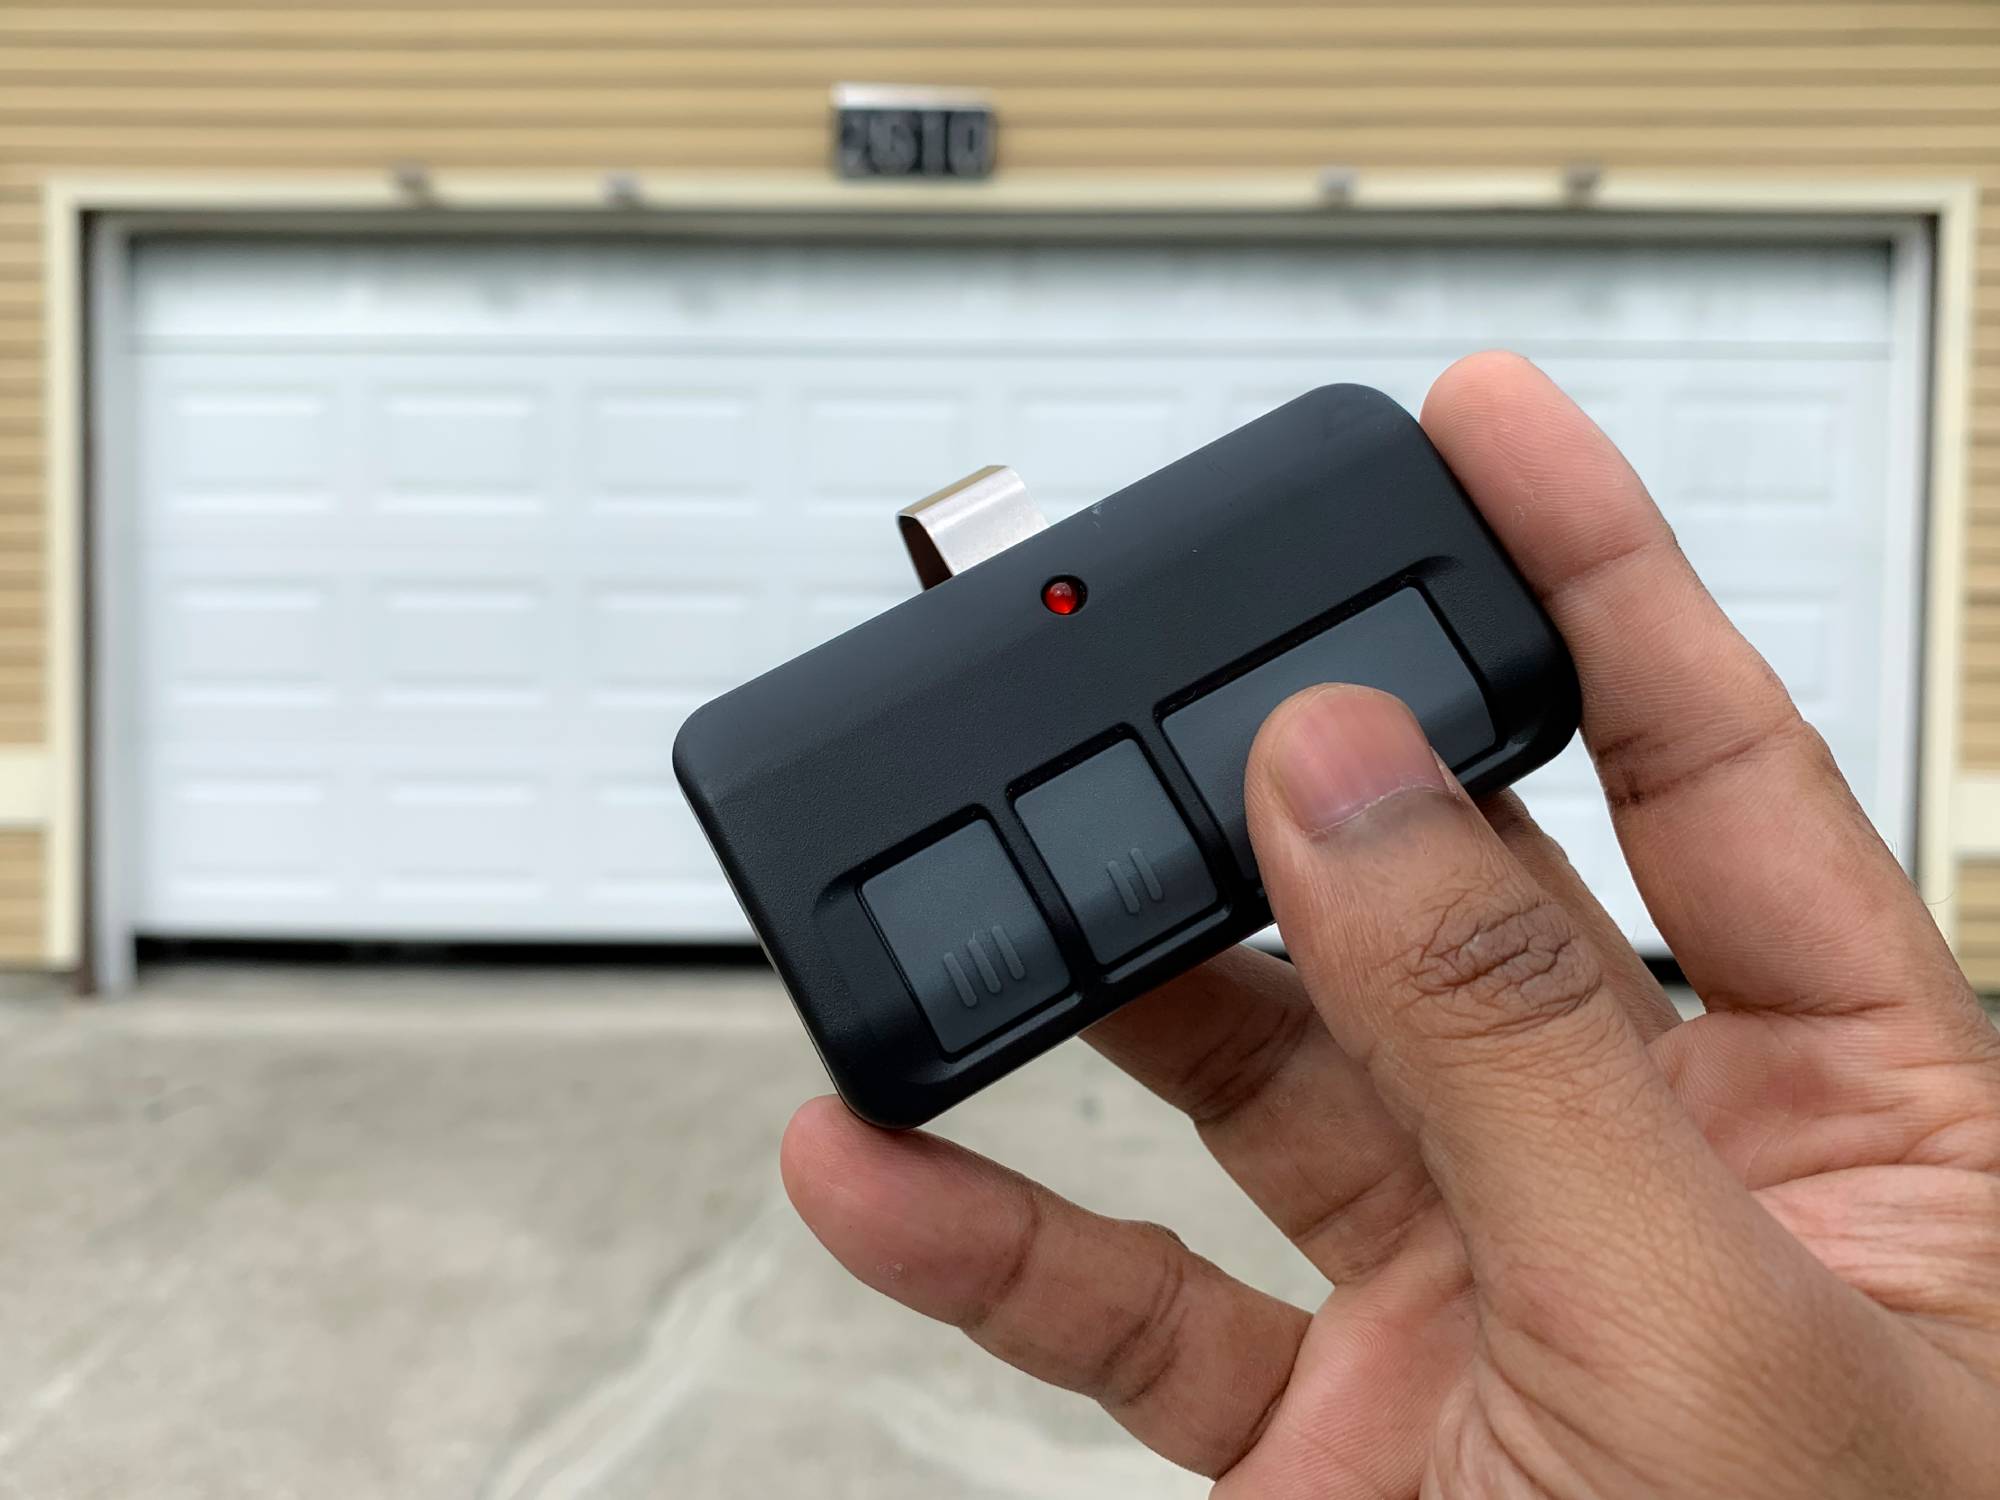
3. Reprogram Your Remote(s)
Now, you need to pair each remote you want to use.
- Press and release the Learn button (do not hold this time).
- The indicator light will turn on (it may blink).
- Within 30 seconds, press the button on your remote that you want to use for the garage door. Hold it down until you hear a click, the garage light blinks, or the opener makes a noise.
- Release the remote button.
Repeat this step for each additional remote or wireless keypad.
4. Test Your Remote
Stand clear of the door. Press the button on your newly programmed remote.
- The door should open or close smoothly.
- If it doesn’t, repeat the programming step, making sure you press the remote button within 30 seconds of pressing the Learn button.
5. Secure Unused Remotes
If you have remotes you no longer need, remove their batteries or store them safely. Don’t throw them out with batteries inside—they can be reused with a new system if reset.
Quick Comparison: Resetting Old Vs. New Liftmaster Models
Some older models (before 1993) may use dip switches or fixed codes. For almost all modern LiftMaster openers, the Learn button process works. Here’s a comparison for clarity:
| Feature | Old Models (Fixed Code) | New Models (Rolling Code) |
|---|---|---|
| Reset Method | Change dip switches manually | Use Learn button to clear memory |
| Security Level | Low | High (rolling code) |
| Remote Compatibility | Specific remotes only | Most modern LiftMaster remotes |
| Programming Time | Longer, manual process | Quick, under 1 minute |
If you have an old opener, check the manual or contact LiftMaster support for help.
Common Mistakes To Avoid When Resetting
Resetting is simple, but beginners often make avoidable errors. Here are some mistakes and how to avoid them:
- Not clearing the memory fully: Some people just press the Learn button once. To erase all remotes, you must hold it for several seconds.
- Waiting too long to reprogram: There is a short window (usually 30 seconds) after pressing the Learn button to pair a remote.
- Forgetting wireless keypads: If you have a wall keypad, it also needs reprogramming after a reset.
- Standing under the door: The door may move during testing, so stay clear for safety.
- Not testing all remotes: After resetting, test each remote to be sure it works.
- Mixing up remotes from different brands: Only LiftMaster, Chamberlain, and some Craftsman remotes use the same technology. Others may not work even if the frequency matches.
Non-obvious tip: If you have a neighbor with a similar opener, a reset can prevent their remote from accidentally working on your door.
Resetting A Liftmaster Keypad
Many people use a wireless keypad to open their garage without a remote. Resetting the opener clears this as well, so you must reprogram it.
- After resetting the opener, press the Learn button once.
- Go to your keypad, enter your desired four-digit PIN, and press the “Enter” button.
- The opener light should blink, or you’ll hear a click.
- Test the keypad by entering your PIN and pressing “Enter”.
If the keypad is not responding, check the battery or consult your model’s instructions.
Insight: Many keypads have a “0” or “Enter” button, not both. Press the correct button for your model.
What To Do If Your Remote Still Doesn’t Work
If you follow the steps but the remote doesn’t work, try these troubleshooting tips:
- Change the remote battery: Weak batteries are a common reason for failure.
- Check for interference: LED lights, Wi-Fi routers, or metal objects can block signals. Try moving these away from the opener.
- Reprogram again: Sometimes, the process needs to be repeated.
- Check compatibility: Not all remotes work with all openers. Confirm your remote model supports your opener’s frequency and security system.
- Inspect the antenna: The opener has a small hanging wire. If it’s damaged or missing, the range may be reduced.
If nothing works, your opener may need professional service, or the remote could be defective.
Advanced Tips: Handling Multiple Doors And Smart Systems
Many garages have more than one door, or use smart features. Here’s how to handle these situations:
Resetting Remotes For Multiple Doors
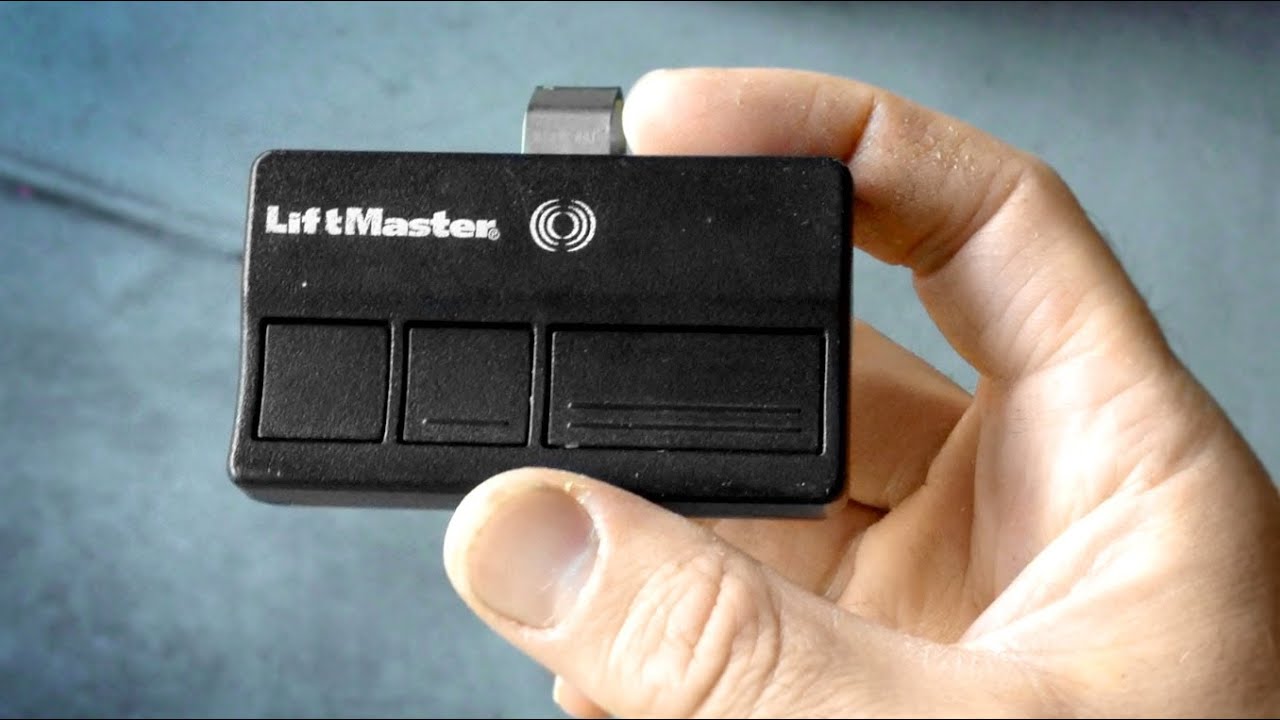
LiftMaster remotes often have two or three buttons. You can program each button for a different door:
- Program Button 1 for Door 1 (use Door 1’s Learn button).
- Program Button 2 for Door 2 (use Door 2’s Learn button).
This allows you to control multiple doors with one remote. If you reset one door, it won’t affect the other unless both are reset.
Integrating With Smart Home Systems
Some newer LiftMaster openers use MyQ technology, allowing control from a smartphone app. Resetting the remote won’t affect your MyQ app, but if you want to reset everything:
- Delete the device from your app.
- Reset the opener using the Learn button.
- Re-add the opener in the MyQ app.
Hidden insight: If you sell your house, remember to remove your opener from the MyQ app and reset the opener so the new owner can set up their own account.

Security After Resetting: Protecting Your Home
A garage door is often a main entry point. Resetting your remote is only one part of home security. Here are extra steps to consider:
- Change your keypad PIN: Don’t use simple codes like 1234 or your address.
- Check for old remotes: Destroy or recycle old remotes you no longer use.
- Update your opener’s firmware: If your opener is smart-enabled, check for updates.
- Install a deadbolt on the door between your garage and house: This adds a second layer if someone does get into your garage.
Data point: According to the FBI, over 9% of burglaries in the US start through the garage. Keeping your system updated and secure is a smart move.
When To Call A Professional
Resetting a LiftMaster garage remote is usually a do-it-yourself job. But some situations call for expert help:
- Wiring problems: If the opener doesn’t respond at all, there could be a wiring issue.
- Physical damage: If your remote or opener is broken, a pro can safely replace or repair it.
- Very old openers: Openers made before 1993 may not have rolling code safety features. It’s best to upgrade.
- Complex smart home setups: If your opener is tied to a whole home automation system, a technician can ensure everything works smoothly.
Lifespan And Maintenance Tips For Liftmaster Remotes
A well-maintained remote can last 5-10 years or more. Here’s how to extend its life:
- Replace batteries every 1-2 years (or when the range drops).
- Keep remotes dry and clean. Water or dirt can damage the circuits.
- Don’t drop or crush remotes. A cracked remote can send false signals or stop working.
- Store a spare battery in your car or home for emergencies.
Insight: If you have young children, consider mounting remotes out of reach to avoid accidental door openings.
How To Tell If You Need A New Remote
Sometimes, a reset won’t solve your problem. Here are signs it’s time for a new remote:
- Remote only works very close to the opener (even with a new battery).
- Buttons are stuck or broken.
- Remote is physically damaged (cracked case, water damage).
- Remote light does not turn on when you press a button (after trying a new battery).
Replacement remotes are widely available online and in hardware stores. Be sure to buy a model compatible with your opener’s year and technology (rolling code, MyQ, etc. ).
Comparing Liftmaster With Other Garage Door Opener Brands
Is there a big difference in how you reset remotes for other brands? Here’s a quick overview:
| Brand | Reset Method | Key Difference |
|---|---|---|
| LiftMaster | Learn button, clear memory | Standardized across most models |
| Chamberlain | Learn button, clear memory | Nearly identical to LiftMaster |
| Genie | Learn button, different timing | Programming steps may vary slightly |
| Craftsman | Learn button, clear memory | Some models identical to LiftMaster |
| Linear | Learn button or dip switches | Older models use switches |
LiftMaster’s process is one of the most consistent and user-friendly, especially for remotes made after 1993.
Keeping Your Garage Door Opener Up-to-date
Resetting your remote is a good time to check the overall health of your garage system:
- Lubricate moving parts of the door twice a year.
- Check the safety sensors (the small boxes at the base of the door rails). They should be aligned and clean.
- Test the auto-reverse feature: Place a block under the door and close it. The door should stop and reverse when it touches the block.
- Update smart features: If your opener connects to Wi-Fi, make sure your app and firmware are current.
A well-maintained opener is safer, quieter, and less likely to fail when you need it.
Real-world Example: Resetting After A Lost Remote
Imagine you park in your driveway and realize your garage remote is missing. Maybe it fell out at a store or was stolen from your car. Here’s what you should do:
- Go inside and close the garage door manually if needed.
- Follow the reset steps above to erase all remotes from the opener’s memory.
- Reprogram only the remotes you still have.
- Change your keypad code for extra safety.
- If your opener is MyQ-enabled, check the app for any connected devices and remove unknown ones.
By acting quickly, you prevent someone from using your lost remote to enter your home.
Frequently Asked Questions
How Do I Know If My Remote Is Compatible With My Liftmaster Opener?
Check the remote’s model number and the year your opener was made. Most LiftMaster openers after 1993 use rolling code technology and are compatible with remotes using Security+ or Security+ 2.0. For more details, see the official LiftMaster support page.
How Many Remotes Can I Program To My Liftmaster Opener?
Most LiftMaster garage door openers can store up to 8-12 remote controls and keyless entries combined. If you try to add more, the oldest ones are erased first.
My Remote Suddenly Stopped Working After A Power Outage. Do I Need To Reset It?
Usually, you do not need to reset after a power outage. Try unplugging the opener for 30 seconds, then plug it back in. If your remote still doesn’t work, reprogram it using the Learn button.
Can Someone Hack My Liftmaster Remote Signal?
Modern LiftMaster remotes use rolling code technology, which changes the signal every time. This makes hacking extremely difficult. However, older remotes (pre-1993) are less secure, so consider upgrading if you have an old opener.
I Followed All Steps, But My Remote Still Won’t Program. What Should I Do?
Double-check that you’re using a compatible remote and that the opener’s Learn button is working. Replace the remote battery. If the opener still doesn’t respond, the Learn button or circuit board may be faulty, and you should contact a professional for repair.
Resetting your LiftMaster garage door remote is a simple but important way to keep your home secure and your garage working smoothly. With the right steps, you can handle most problems yourself and avoid the risk of unauthorized access. Remember to check your opener’s health, test all remotes, and update your codes regularly for best results.