Now Reading: How to Change Garage Door Panels: A Step-by-Step Guide
- 01
How to Change Garage Door Panels: A Step-by-Step Guide

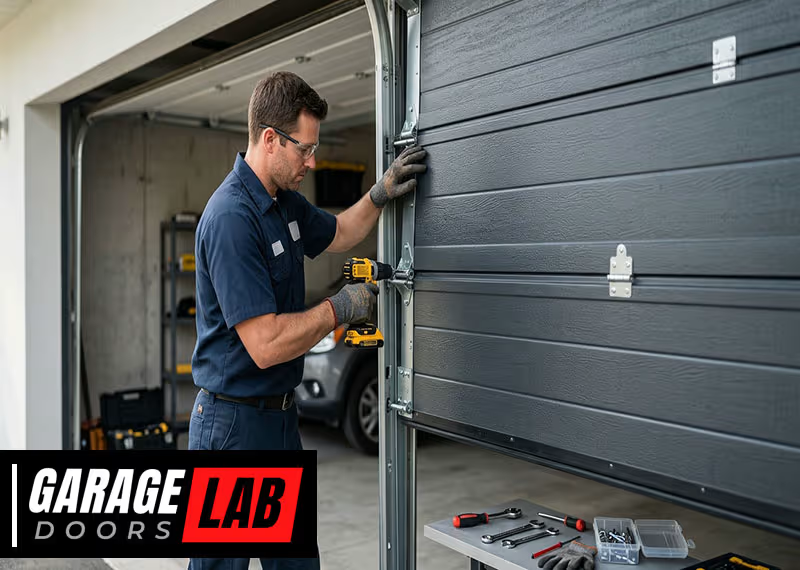
Changing garage door panels can seem like a big challenge, especially if you have never done this type of home improvement before. But with the right knowledge, tools, and steps, you can handle this task safely and efficiently. Whether your garage door panel is dented, rusted, or simply old, replacing it can improve your home’s appearance and security.
This guide will show you every detail you need to know, from understanding your garage door’s structure to finishing with a smooth, professional look.
Understanding Garage Door Panels
Before you start removing anything, it is important to know what garage door panels are and how they fit into the whole system. Most modern garage doors are made of separate panels connected by hinges. These panels move together as the door opens and closes. When one panel gets damaged, you don’t always have to replace the entire door—sometimes, swapping just one or two panels is enough.
Panels are usually made from steel, aluminum, wood, or fiberglass. Each material has its own advantages and challenges. For example, steel panels are strong and secure, but they can rust. Wood panels look classic but need more care to prevent rot. Knowing your panel material helps you select the right replacement and handle the job correctly.
Reasons To Change Garage Door Panels
Many homeowners wonder if they really need to change a damaged panel. Here are some common reasons to make this repair:
- Accidental Damage: Hitting the garage door with a car or bike can dent or bend a panel.
- Rust or Rot: Over time, moisture can cause steel panels to rust or wood panels to rot.
- Wear and Tear: Daily use can cause cracks, warping, or fading.
- Security: Damaged panels may make it easier for thieves to break in.
- Curb Appeal: Replacing old or mismatched panels improves your home’s appearance and value.
Changing panels instead of the whole door is often cheaper and faster. However, sometimes, if several panels are damaged or the door is very old, a full replacement is better.

Tools And Materials You Need
Gather all your tools and materials before you start. This helps the job go smoothly and prevents last-minute trips to the hardware store.
Basic tools:
- Adjustable wrench
- Socket set
- Screwdriver (Phillips and flathead)
- Drill (with bits)
- Locking pliers (vise grips)
- Tape measure
- Level
- Stepladder
- Safety glasses and gloves
Materials:
- Replacement garage door panel(s) (make sure they match your door’s brand and model)
- New hinges (if old ones are worn)
- New rollers (optional, if old ones are noisy or stiff)
- Paint or stain (if your door needs touch-ups)
- Lubricant (for moving parts)
Don’t forget to check your garage door opener and springs. While you don’t need to replace these for a panel swap, it’s a good time to inspect them.
Safety Precautions
Garage doors are heavy and under high tension, especially the springs and cables. Improper handling can cause injury. Always put safety first:
- Unplug the garage door opener before you begin.
- Wear safety glasses and gloves to protect your eyes and hands.
- Use a sturdy ladder and never stand on the top step.
- Don’t try to remove or adjust torsion springs unless you are trained—these can cause serious injury.
- Ask a friend or family member to help, especially with large or heavy panels.
Many professionals recommend calling an expert if you feel unsure about any part of the process.
How To Identify The Right Replacement Panel
Not all garage door panels are the same. Getting the right match is key for proper function and appearance.
- Find the Brand and Model: Look for labels or imprints on your door. The brand and model number are often on the side or back.
- Measure Carefully: Use a tape measure to get the panel’s width, height, and thickness. Write these down.
- Count the Panels: Garage doors usually have 3 to 5 panels. Identify which panel needs replacing (top, middle, or bottom).
- Color and Finish: Try to get a panel that matches your door’s color and finish. Some homeowners repaint the whole door for a perfect match.
- Order from a Reputable Supplier: Bring your measurements and details to a garage door dealer. Many brands like Clopay, Amarr, and Wayne Dalton offer replacement panels.
If your door is very old or discontinued, you might need a custom panel. This can cost more and take extra time.
Preparing For The Panel Replacement
Preparation is often the most important part of any repair. Follow these steps before you touch the garage door:
- Clear the Area: Move cars, bikes, and boxes away from the garage door. Give yourself plenty of space to work.
- Disconnect the Opener: Unplug the automatic opener to prevent accidental movement.
- Release Tension: If you need to remove the bottom panel, you may have to release spring tension. For most panel swaps, you can leave springs alone, but always check your manual.
- Gather Tools and Helpers: Place all tools within easy reach. Ask someone to help hold panels if needed.
Many beginners skip careful preparation, which leads to mistakes and delays. Spend extra time here to avoid problems later.
Removing The Damaged Garage Door Panel
Now it’s time to remove the damaged panel. The process will be different depending on whether you’re replacing a top, middle, or bottom panel. Here’s a general step-by-step guide:
- Open the Door Partway: Raise the garage door until the panel you want to remove is at chest height. Secure the door with locking pliers on the tracks so it can’t move.
- Remove Hinges and Rollers: Use a wrench or drill to remove the bolts or screws holding the hinges that connect the damaged panel to the others. If there are rollers attached, slide them out of the track carefully.
- Slide the Panel Out: Once the hinges and rollers are removed, you should be able to slide the panel out from the door frame. Have your helper steady the panel as you work.
- Set Aside Hardware: Keep all screws, bolts, and hinges in a cup or bag so you don’t lose them.
Note: If you are removing the bottom panel, the process can be more complex because the cables and springs may attach here. If you see tension on the springs or cables, stop and call a professional.
Comparing Panel Replacement: Top, Middle, And Bottom Panels
To help you understand the differences in replacing each panel, here’s a comparison:
| Panel Position | Difficulty Level | Common Issues | Special Tips |
|---|---|---|---|
| Top Panel | Medium | Hinges, opener bracket | Check for opener attachment |
| Middle Panel | Easy | Hinges only | Usually no cables or springs attached |
| Bottom Panel | Hard | Cables, springs, bottom seal | Often requires spring tension release |
The bottom panel is the most difficult because it is connected to the lifting cables and often has the most wear.

Installing The New Garage Door Panel
After removing the old panel, you’re ready to install the new one. Take your time to get the fit and alignment just right.
- Position the Panel: With your helper, lift the new panel into place. Slide it into the door frame where the old panel was.
- Attach Hinges and Rollers: Fasten the hinges to connect the panel to the ones above and below. If you replaced a side panel, make sure the rollers fit smoothly into the tracks.
- Check Alignment: Use a level to confirm that the panel is straight. Tighten all bolts and screws securely.
- Reconnect Cables or Springs (if needed): If you removed the bottom panel, carefully reattach the cables or springs. This step is dangerous—if you are not confident, call a professional.
- Test the Door: Remove any clamps or pliers. Slowly open and close the garage door by hand to check for smooth movement and proper fit.
One non-obvious tip: sometimes new panels come with a protective film. Remove this after installation to avoid trapping moisture.
Reattaching And Testing The Garage Door Opener
Once your new panel is installed and the door moves smoothly, it’s time to reconnect the automatic opener.
- Plug in the Opener: Restore power to your garage door opener.
- Reconnect the Trolley: If you pulled the emergency release, reattach it following your opener’s manual.
- Test Operation: Use the remote to open and close the door. Listen for any strange noises or resistance.
- Check Safety Sensors: Make sure the sensors at the bottom of the door work properly. The door should reverse if something crosses their path.
If you notice jerky movement or the door doesn’t close evenly, stop and check the panel alignment or hardware.
Painting And Finishing Your New Panel
Most replacement panels come unfinished or in a basic color. For a consistent look, you may need to paint or stain your new panel.
- Clean the Surface: Wipe down the new panel with a damp cloth to remove dust.
- Prime (if needed): For wood panels or raw steel, apply a primer.
- Paint or Stain: Use exterior-grade paint or stain. Apply with a brush or roller for even coverage.
- Let Dry: Allow the panel to dry fully before using the door.
A helpful tip: paint or stain the panel before installation if possible. This prevents drips and gives better coverage.
Common Mistakes To Avoid
Even experienced DIYers can make mistakes. Here are some pitfalls to watch for:
- Ordering the Wrong Panel: Double-check all measurements and specifications before buying.
- Ignoring Safety: Never try to adjust springs or cables without proper training.
- Forgetting Hardware: Always save and reuse hardware, or buy new if the old parts are worn.
- Poor Alignment: Misaligned panels can cause the door to jam or wear unevenly.
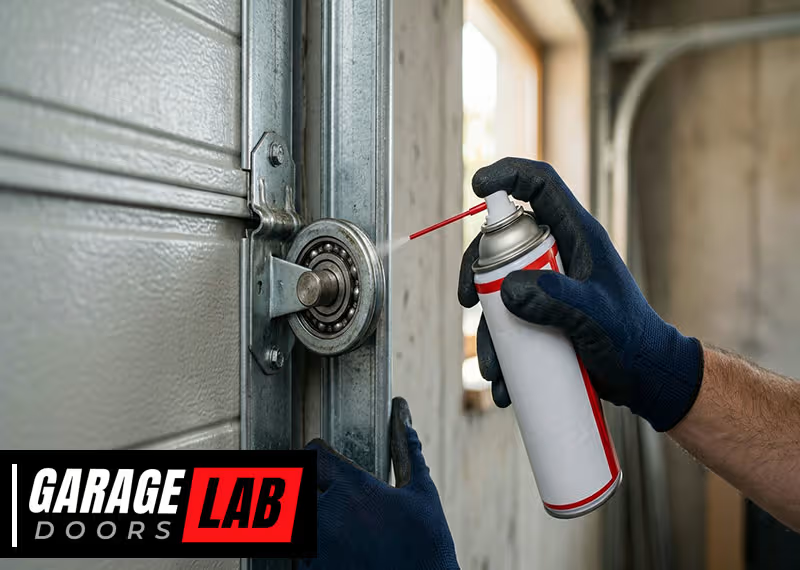
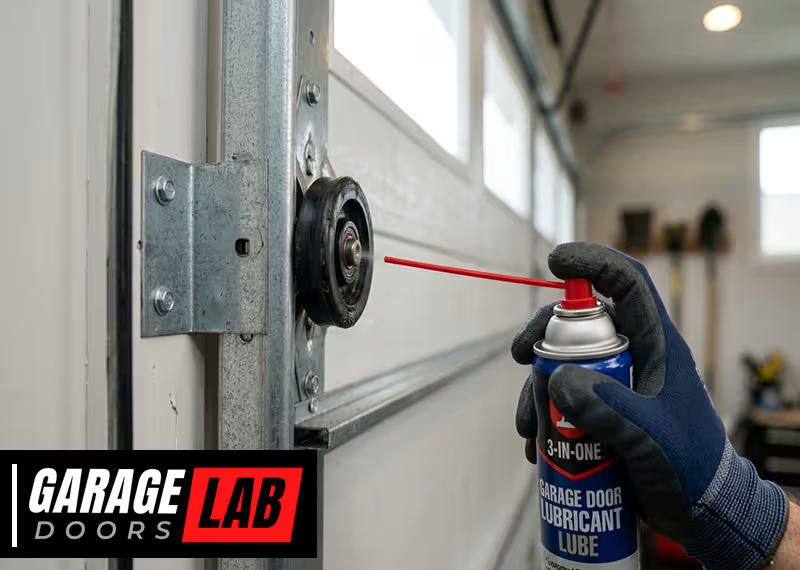
- Skipping Maintenance: Lubricate moving parts after installation to prevent squeaks and wear.
One insight beginners miss: even small misalignments can cause big problems over time. Check your work carefully.
Comparing Diy Vs. Professional Panel Replacement
You might be wondering whether to do the job yourself or hire a pro. Here’s a comparison to help you decide:
| Factor | DIY | Professional |
|---|---|---|
| Cost | Lower (just parts/tools) | Higher (labor + parts) |
| Time | 2-4 hours (if experienced) | 1-2 hours |
| Safety | Risk of injury (springs, heavy parts) | Safer (trained technician) |
| Warranty | No warranty on labor | Usually includes warranty |
| Finish Quality | Depends on skill | Usually professional look |
DIY saves money but requires caution and patience. Professionals cost more but reduce risk and often guarantee their work.
How Much Does It Cost To Change Garage Door Panels?
Garage door panel replacement costs vary. Here’s what to expect:
- Single steel or aluminum panel: $150 – $350 (parts only)
- Wood panel: $200 – $500 (parts only)
- Labor (if hiring a pro): $100 – $300 per panel
- Extra hardware: $10 – $50
If your door is custom or very old, costs can be higher. Compare prices from at least two suppliers before buying.
When To Replace The Whole Garage Door
Sometimes, changing one panel isn’t enough. Replace the whole door if:
- More than two panels are badly damaged
- The door is more than 20 years old and parts are hard to find
- The frame or tracks are bent or rusted
- You want a new style or better insulation
Whole door replacement costs $800 – $2,500, but it can boost security and energy efficiency.
Maintenance Tips For Long-lasting Panels
After your new panel is installed, regular care helps it last longer:
- Inspect Annually: Check for dents, cracks, or rust every year.
- Lubricate Moving Parts: Use silicone spray on hinges and rollers twice a year.
- Clean Panels: Wash with mild soap and water to remove dirt and salt.
- Touch Up Paint: Cover scratches or chips to prevent rust or rot.
- Test Balance: Disconnect the opener and open the door halfway. It should stay in place. If not, the springs may need adjustment.
Neglecting maintenance is a common mistake that shortens panel life.
Environmental Impact And Recycling
Old garage door panels often end up in landfills, but you have greener options:
- Recycle Steel or Aluminum: Most scrap yards accept metal panels.
- Reuse Wood Panels: Old wood can be repurposed for fencing or DIY projects.
- Check Local Rules: Some towns have special recycling days for bulky items.
Disposing of old panels responsibly helps protect the environment.
Troubleshooting After Replacing Garage Door Panels
Sometimes, small problems show up after a panel swap. Here’s how to fix common issues:
- Door Won’t Close Fully: Check for obstructions in the track or misaligned sensors.
- Noisy Operation: Lubricate hinges and rollers. Tighten any loose hardware.
- Panel Sticks or Binds: Recheck panel alignment and tracks for bends.
- Gaps or Drafts: Install or adjust weatherstripping for a better seal.
If problems persist, call a garage door technician for a safety check.
Real-life Example: Successful Diy Panel Replacement
Consider the case of Mark, a homeowner in Ohio. His garage door was dented by a basketball. He measured the panel, ordered a replacement online, and followed the steps above. The process took about three hours, including painting. Mark saved $200 compared to hiring a pro and was proud of his work.
But he noted that having a helper was essential for lifting and aligning the panel.
One more insight: many beginners forget to check the door’s balance after a panel change. Mark learned this the hard way—the door felt heavy, so he called a pro to adjust the springs. This simple check can prevent future problems.
Where To Learn More
If you want deeper information, look for official guides from top brands or visit home improvement websites. One reliable source is the Wikipedia page on garage doors, which explains different door types and their parts in detail.
Frequently Asked Questions
How Do I Know If I Need To Replace Just One Panel Or The Whole Garage Door?
If only one or two panels are damaged and the rest of the door is in good shape, you can usually replace just the panels. But if the door is old, has multiple damaged panels, or the frame is bent, replacing the whole door is best.
Can I Change Garage Door Panels Myself, Or Should I Hire A Professional?
You can change panels yourself if you have basic tools and handyman skills. However, if you’re not comfortable with heavy parts or springs, or if it’s the bottom panel, hiring a professional is safer.
Where Can I Find The Right Replacement Panel For My Garage Door?
Check the door for a label with the brand and model. Bring these details to a garage door dealer or search online. Make sure to measure the panel for a perfect fit.
Do I Need To Repaint The New Panel To Match The Rest Of My Garage Door?
Yes, unless your new panel matches exactly. Most panels come in standard colors, but you may need to paint or stain for a seamless look. Paint the whole door for best results.
What Should I Do With The Old, Damaged Garage Door Panel?
Recycle metal panels at a scrap yard or reuse wood panels for other projects. Check local rules for large item disposal. Avoid sending panels to the landfill if possible.
Replacing garage door panels takes patience, the right tools, and careful steps. With this complete guide, you’re well-equipped to handle the job yourself or to speak knowledgeably with a professional. Remember: safety always comes first, and attention to detail makes all the difference in the final result.