Now Reading: How to Seal Garage Door for Maximum Energy Efficiency
- 01
How to Seal Garage Door for Maximum Energy Efficiency

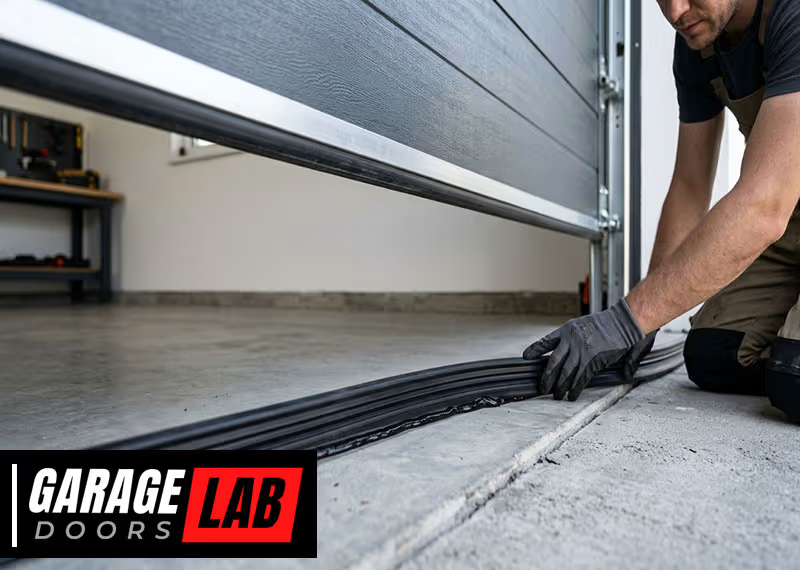
Sealing your garage door might seem like a small detail, but it can make a big difference in your home. Many homeowners don’t realize how much energy, comfort, and even safety can be lost through gaps and cracks around their garage doors.
From keeping out rain and wind to blocking pests and reducing noise, proper sealing is essential. Whether you want to save on energy bills or just keep your garage cleaner, learning how to seal your garage door is a valuable skill.
This guide walks you through everything you need to know—step by step, with practical advice, real examples, and solutions for common mistakes.
Why Sealing A Garage Door Is So Important
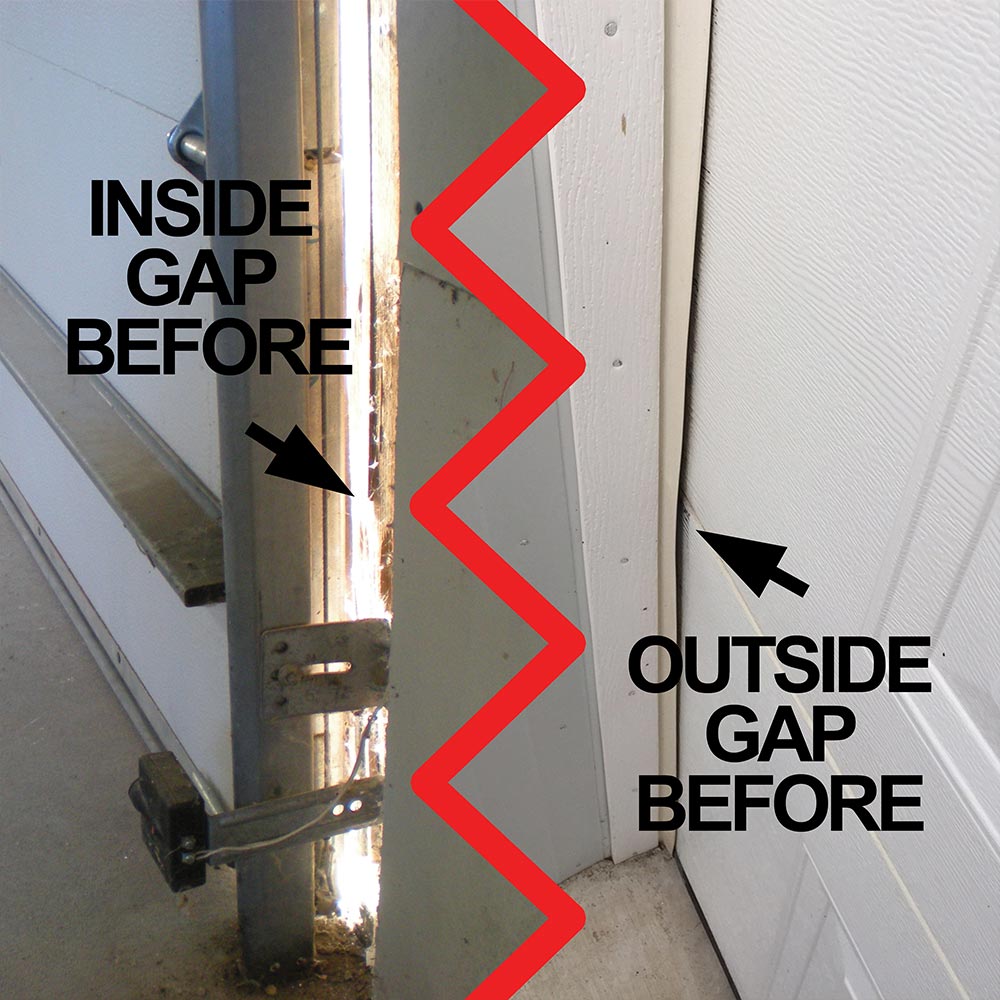
The garage is often the biggest opening in a house. Even a small gap at the bottom or sides of the door can let in cold air, dust, insects, and moisture. Over time, these problems can lead to higher energy bills, mold growth, and even damage to items stored in your garage. Proper sealing does more than keep the elements out—it also improves your home’s insulation and can add value to your property.
Key benefits of sealing:
- Lower energy bills by keeping heated or cooled air inside
- Protection against water leaks and flooding
- Less dust, pollen, and outdoor noise
- Fewer pests like mice, spiders, and insects
- Longer life for your garage door and opener
Many people overlook garage door sealing until problems start. But by acting early, you avoid expensive repairs and enjoy a more comfortable home.
Understanding Different Types Of Garage Door Seals
Not all seals are the same. The right choice depends on your garage door type, climate, and budget. Here’s a breakdown of the most common sealing solutions.
Bottom Seals
These are installed along the bottom edge of the garage door. Usually made of rubber or vinyl, they compress to fill the gap when the door closes.
Common types:
- Bulb seals: Rounded rubber that squashes flat; great for uneven floors.
- T-type seals: Shaped like a “T,” they slide into a track on the door.
- Beaded seals: Snap into a special groove; common on newer doors.
Threshold Seals
This is a strip attached to the garage floor, not the door. It makes a raised barrier to stop water and dust. It works well when your floor is uneven or the bottom seal alone isn’t enough.
Weatherstripping (side And Top Seals)
These are flexible strips that go on the frame around the door—usually made of foam, rubber, or vinyl. They block gaps along the sides and top of the door.
Door Stop Molding
Some doors have wooden or metal trim called “stops. ” Adding a seal to these gives better protection by pressing against the door when closed.
Brush Seals
For industrial or commercial doors, brush seals use stiff bristles to block airflow. These are rare in homes but useful for very uneven surfaces.
Panel Joint Seals
Sectional garage doors have gaps between panels. Adding thin seals at these joints can reduce drafts and heat loss.
Non-obvious insight: Many homeowners only seal the bottom, but air and pests often enter from the sides and top. Sealing all four sides gives full protection.

Tools And Materials You’ll Need
Before starting, gather the right tools and materials. This saves time and ensures a neat job.
Essentials:
- Tape measure
- Utility knife or heavy scissors
- Power drill or screwdriver
- Hammer and nails (for wood stops)
- Caulking gun and exterior caulk (optional)
- Weatherproof adhesive (for threshold seals)
- Replacement seals (bottom, side, top as needed)
- Cleaning supplies (broom, rag, mild detergent)
- Safety glasses and gloves
Pro tip: Check your garage door manual for specific seal types or installation advice.
How To Inspect Your Garage Door For Gaps
Before buying seals, you need to find out where the leaks are. Here’s how to perform a full inspection:
- Close the garage door and look at it from inside the garage during daylight.
- Check for light coming in around the edges and bottom. Wherever you see light, there’s a gap.
- Feel for drafts by running your hand along the edges. Cold air or dust means poor sealing.
- Check for water stains or debris inside the garage—these are signs of leaks.
- Look for worn or cracked seals. If the rubber is hard, brittle, or missing pieces, it’s time to replace it.
Advanced tip: On a windy day, you can use a stick of incense. Watch the smoke near the edges—it will move if there’s a draft.
Step-by-step Guide: How To Seal Your Garage Door
Every door and garage is a little different, but these are the general steps for a thorough, professional-quality seal.
1. Remove Old Seals
Start by taking off any old, damaged seals. Use a flathead screwdriver or utility knife to pry away nails, screws, or adhesive. Be careful not to damage the door or frame.
2. Clean The Surface
A clean surface helps new seals stick better. Sweep the area, then wipe it with a damp rag and mild soap. Let everything dry fully before installing new materials.
3. Measure Carefully
Measure the width of your garage door for the bottom seal. Measure both sides and the top for weatherstripping. Double-check your numbers—cutting seals too short is a common mistake.
4. Install The Bottom Seal
- If your door has a track or retainer, slide the new seal into place.
- For wood doors, nail or screw the seal along the bottom edge. Start in the center and work outward to avoid wrinkles.
- Cut off any excess material with a utility knife.
Practical tip: Close the door and check that the seal touches the floor all the way across. If there are gaps, adjust the seal or use a thicker type.
5. Add A Threshold Seal (if Needed)
- Mark the position where the door touches the floor.
- Dry-fit the threshold, then lift it and apply weatherproof adhesive to the floor.
- Press the threshold into place and let it set according to the manufacturer’s instructions.
- Avoid driving or walking on the seal until the glue dries.
Real-world example: In areas with heavy rain, a threshold seal can stop water that seeps under even a new bottom seal.
6. Weatherstrip The Sides And Top
- Cut weatherstripping to match the length of each side and the top.
- For wood frames, nail or screw the strips in place. For metal frames, use adhesive-backed weatherstripping.
- Press the seal so it touches the door when closed, but doesn’t block movement.
- For best results, overlap the corners slightly to avoid leaks.
7. Seal Panel Joints (optional)
If your garage door has gaps between panels, add thin foam or rubber strips designed for this purpose. These are pressed or glued into place.
8. Caulk And Seal Gaps
Fill any visible cracks in the door frame or floor with exterior-grade caulk. This step blocks water and air leaks that weatherstripping can’t reach.
9. Test Your Work
Close the garage door and check for light, drafts, or leaks again. Adjust seals as needed. Open and close the door several times to make sure nothing catches or tears.
Non-obvious insight: Always check the operation of your automatic opener after installing seals. Sometimes, new seals can change the closing force and need an adjustment.
Choosing The Right Materials For Your Climate
Climate has a big impact on what seals you should use. Not all materials perform the same way in hot, cold, wet, or dry conditions.
| Climate | Best Seal Material | Why |
|---|---|---|
| Cold & Snowy | Flexible rubber | Stays soft in freezing temperatures; blocks drafts and snow |
| Hot & Sunny | Vinyl | Resists cracking, UV damage, and heat warping |
| Rainy & Wet | EPDM rubber, threshold seal | Excellent water resistance; threshold keeps out surface water |
| Dusty & Dry | Brush seal | Blocks fine dust and sand; lasts longer in dry air |
Pro tip: If you live in an area with big temperature swings, look for seals rated for “all-weather” use.
Comparing Garage Door Seal Types: What Works Best?
Each type of seal has pros and cons. Here’s a comparison to help you choose:
| Seal Type | Best Use | Cost | Durability | Ease of Install |
|---|---|---|---|---|
| Bottom Seal | Most homes | Low | 2-5 years | Easy |
| Threshold Seal | Flood-prone, uneven floors | Medium | 5-10 years | Medium |
| Weatherstripping (Side/Top) | All doors | Low | 2-5 years | Easy |
| Brush Seal | Dusty, industrial | High | 5+ years | Medium |
| Panel Joint Seal | Sectional doors | Low | 2-4 years | Easy |
Important: The most effective setup often combines a bottom seal, threshold, and side/top weatherstripping.
Common Mistakes When Sealing Garage Doors
Even simple jobs can go wrong if you skip steps or use the wrong materials. Here are some frequent errors to avoid:
- Measuring wrong: Always measure twice before cutting seals.
- Using the wrong seal: Not all seals fit every door. Check your door’s design and material.
- Poor surface prep: Dirt or oil can stop adhesives from sticking.
- Ignoring the sides and top: Sealing only the bottom leaves many gaps open.
- Not testing the door: New seals can change how the door moves—test several times.
- Forgetting regular checks: Seals wear out, especially in harsh climates. Inspect yearly and replace as needed.
Non-obvious insight: If your garage door opener has auto-reverse, too much resistance from a thick seal can make the door go back up. Adjust the opener’s downforce if needed.

Maintenance Tips For Long-lasting Seals
Good seals can last for years, but only if you care for them. Here’s how to keep your garage door protected:
- Clean seals twice a year with mild soap and water to remove dirt and road salt.
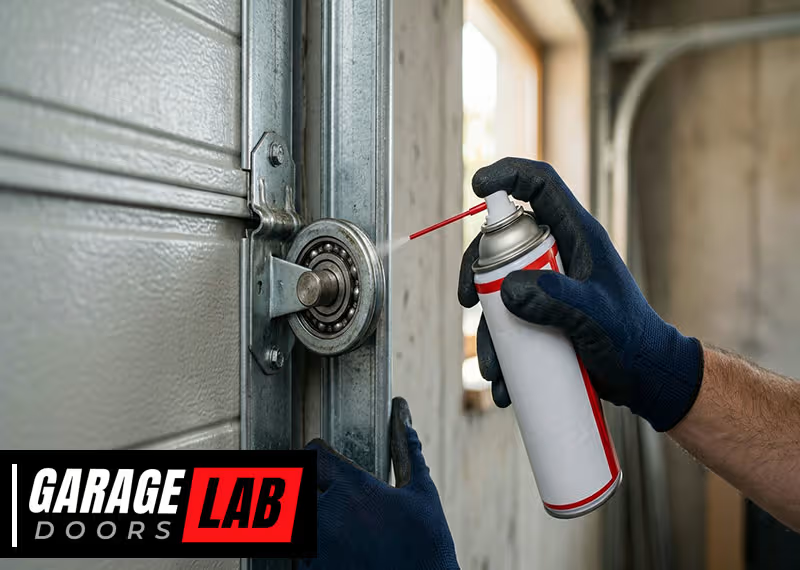
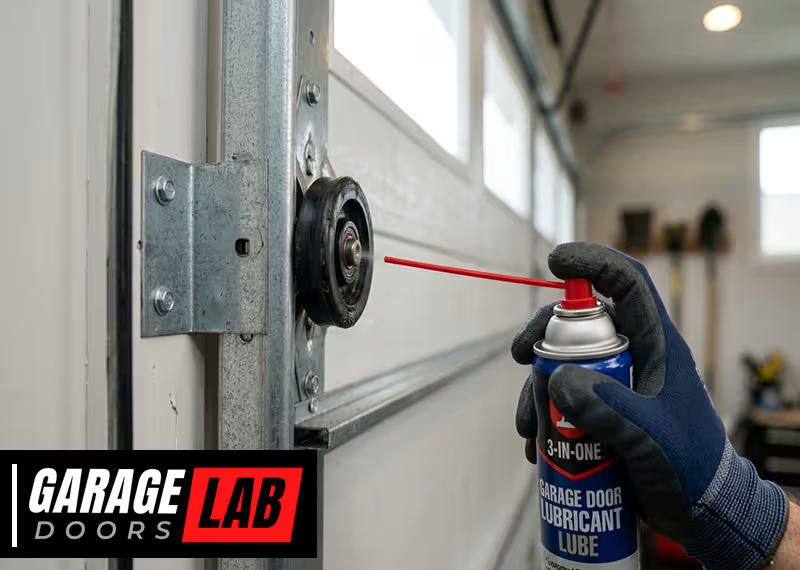
- Lubricate tracks and hinges regularly so new seals don’t add friction.
- Check for cracks, tears, or hardening—replace damaged sections right away.
- Adjust the door if you notice new gaps (from settling or wear).
Practical tip: If you park cars inside, avoid pulling in while the door is still wet—oil and chemicals can break down seals over time.
How To Tell If Your Seal Is Working
After you finish, you want to know your work is effective. Here’s how to check:
- No light leaks: Look for daylight from inside on a sunny day.
- No drafts: Feel for air movement with your hand or a piece of tissue.
- No water or debris: After rain, check for puddles or dirt near the door.
- Door operates smoothly: The door should open and close without extra effort.
If you notice problems, adjust the seal or try a different type for stubborn gaps.
When To Call A Professional
Most homeowners can handle basic sealing, but some situations need expert help:
- Very large or heavy doors that are hard to handle alone
- Damaged frames or concrete that need repair before sealing
- Automatic openers that don’t adjust easily after sealing
- Persistent leaks that don’t stop after sealing all four sides
A professional installer can also recommend advanced solutions, like heated thresholds or custom seals for tricky garages.
How Much Does It Cost To Seal A Garage Door?
Costs vary based on materials and whether you do it yourself or hire a pro. Here’s a rough breakdown:
- DIY basic seal kit: $20–$60 for bottom, side, and top seals
- Threshold seal kit: $30–$70
- Professional installation: $100–$300 (includes materials and labor)
- Specialty seals: $50–$150 (for brush or custom systems)
Example: Most homeowners spend under $100 for DIY supplies and a few hours of work.
Credit: www.snirtstopper.com
Diy Or Professional: Which Is Right For You?
If you’re handy and have basic tools, DIY is usually the best value. Kits come with instructions, and most seals are easy to install. But if your garage door is old, heavy, or oddly shaped, a professional can make sure the job is done right.
Non-obvious insight: If your garage is attached to your house and you use it as a living space, investing in professional-grade sealing can pay for itself in energy savings.
Improving Insulation Beyond Sealing
Sealing is the first step, but you can boost garage comfort even more by adding insulation to the door itself. Insulated doors cut energy loss by up to 70% compared to bare metal doors.
- Foam board kits can be added to most doors for $50–$200.
- Reflective barriers help in hot climates by bouncing heat away.
- Insulation plus sealing delivers the best results for energy savings.
To learn more about garage insulation, check reliable sources like Energy.gov.
Real-world Examples: Sealing Makes A Difference
- A family in Minnesota saw their winter energy bills drop by 10% after replacing worn seals and adding a threshold.
- In Arizona, sealing the garage door and adding insulation cut the temperature inside the garage by 15°F during heat waves.
- In coastal cities, proper sealing stopped saltwater spray from corroding tools and vehicles stored in the garage.
Frequently Asked Questions
What Is The Best Material For Garage Door Seals?
Flexible rubber works best for most climates because it stays soft in the cold and blocks drafts well. Vinyl is good for hot, sunny areas. In wet climates, EPDM rubber or a threshold seal provides extra water resistance.
How Often Should Garage Door Seals Be Replaced?
Most seals last 2 to 5 years, but extreme weather or heavy use can wear them out faster. Inspect your seals once a year and replace any that are cracked, hard, or missing pieces.
Can I Install Garage Door Seals Myself?
Yes, most homeowners can install seals with basic tools in a few hours. Kits are available for different door types. For very large, heavy, or old doors, or if you run into problems, consider hiring a professional.
Will Sealing My Garage Door Lower My Energy Bills?
Sealing the garage door helps keep heated or cooled air inside, especially if your garage is attached to your home. Homeowners report energy savings of 5–10% after sealing and insulating their garage doors.
What Should I Do If Water Still Leaks Under My Sealed Garage Door?
If you still have leaks, try adding a threshold seal to the floor or use thicker bottom seals. Also, check the slope of your garage floor—sometimes, water drains toward the door and needs a drainage solution.
Sealing your garage door is a simple, powerful way to protect your home, improve comfort, and even save money. With the right materials and careful installation, you’ll enjoy a cleaner, quieter, and more energy-efficient garage for years to come.