Now Reading: How Do You Reset a Garage Door: Quick and Easy Steps
- 01
How Do You Reset a Garage Door: Quick and Easy Steps

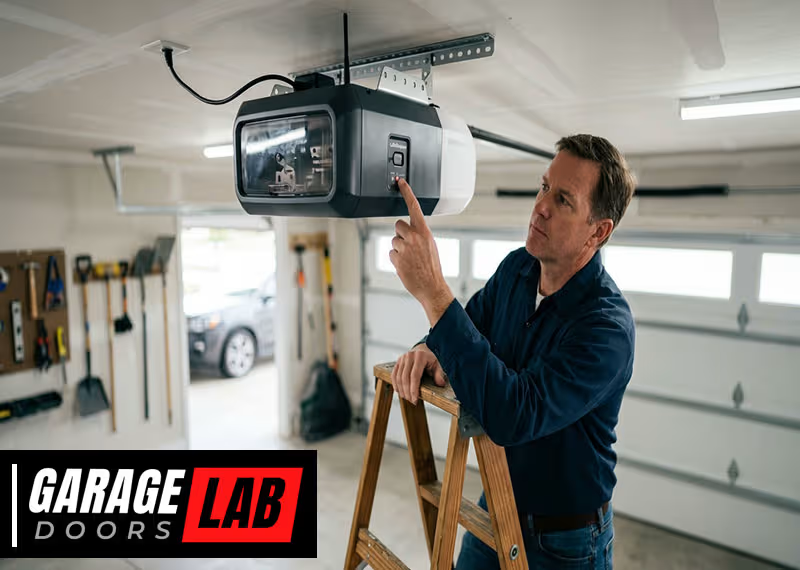
Resetting a garage door can sound complicated, especially if you have never tried it before. Many homeowners worry when their garage door won’t open or close properly. Sometimes, the remote stops working, or the door moves only halfway. While this can be frustrating, most issues can be fixed by resetting the system. If you understand the process, you can save money on service calls and feel more confident about your home’s security.
This guide explains how to reset a garage door in clear, simple language. You’ll learn about the different types of garage door openers, the tools you may need, and how to handle common problems. By following these steps, you can usually fix the issue yourself in less than an hour.
We’ll also share tips that most beginners miss, such as handling sensor problems and what to do if your remote control fails after resetting.
Let’s walk through everything you need to know, from safety checks to detailed reset instructions, so you can get your garage door working again quickly and safely.
Understanding Garage Door Systems
Before you reset your garage door, it’s helpful to know the basic parts and how they work together. A garage door opener is the motorized device that moves the door up and down. Most systems use a combination of:
- Remote control: Sends a wireless signal to open or close the door.
- Wall-mounted switch: A button inside your garage to operate the door.
- Safety sensors: Infrared beams near the floor that stop the door if something is in the way.
- Manual release handle: Lets you open or close the door by hand if the power is out.
There are three common types of openers:
- Chain drive: Uses a metal chain; affordable and strong but noisy.
- Belt drive: Uses a rubber belt; quieter but more expensive.
- Screw drive: Uses a threaded rod; requires less maintenance.
Most modern openers have a reset button or a way to erase and reprogram the remote controls. Some older models use different methods.
Common Reasons You Need To Reset A Garage Door
Garage doors may need resetting for several reasons. Understanding these can help you fix the problem faster.
- Remote control stops working: The remote can lose its connection to the opener.
- Power outage: After a blackout, the opener might need to be reset.
- Sensor misalignment: If the safety sensors are blocked or not lined up, the door won’t close.
- System error: Sometimes, the opener’s internal memory gets confused.
- Lost or new remote: If you buy a new remote or lose the old one, you must program it again.
Many people overlook the impact of power surges. These can scramble the opener’s memory and cause strange behavior, even if the door seems fine at first. Also, if you move into a new house, always reset the garage door opener to erase old remotes.
Safety Tips Before You Start
Working with garage doors can be dangerous if you don’t take the right precautions. Here are important safety steps:
- Disconnect power: Unplug the opener from the wall. This prevents accidental starts.
- Keep children and pets away: Make sure no one is under the door while you work.
- Check the springs: If you see broken or loose springs, call a professional. Springs are under high tension and can cause serious injury.
- Have a sturdy ladder: You may need to reach the opener unit on the ceiling.
- Wear gloves and eye protection: This helps avoid cuts or injury from sharp parts.
Never try to adjust the springs or cables yourself. These parts are not involved in resetting the opener and can be very dangerous.
Tools And Materials You May Need
Resetting a garage door doesn’t require many tools, but having the following on hand can make the process smoother:
- Step ladder: To reach the ceiling-mounted opener.
- Flashlight: For seeing inside the opener or dark garage corners.
- Flathead screwdriver: Some covers need to be removed.
- New batteries: For your remote control.
- Owner’s manual: Each opener is a little different, so this can help.
- Small brush or cloth: To clean sensor lenses.
Most openers only need your hands and the remote, but having these items ready can save time.
Step-by-step: How To Reset A Garage Door Opener
Let’s go through the reset process in detail. Always check your owner’s manual for model-specific steps, but this guide covers the most common methods.
1. Power Cycle The Opener
The first step is simple: reset the system by cutting power.
- Unplug the garage door opener from the wall outlet.
- Wait at least 30 seconds. This allows the internal memory to clear.
- Plug the opener back in.
This basic reset solves many simple errors, especially after a power outage.
2. Locate The Learn/reset Button
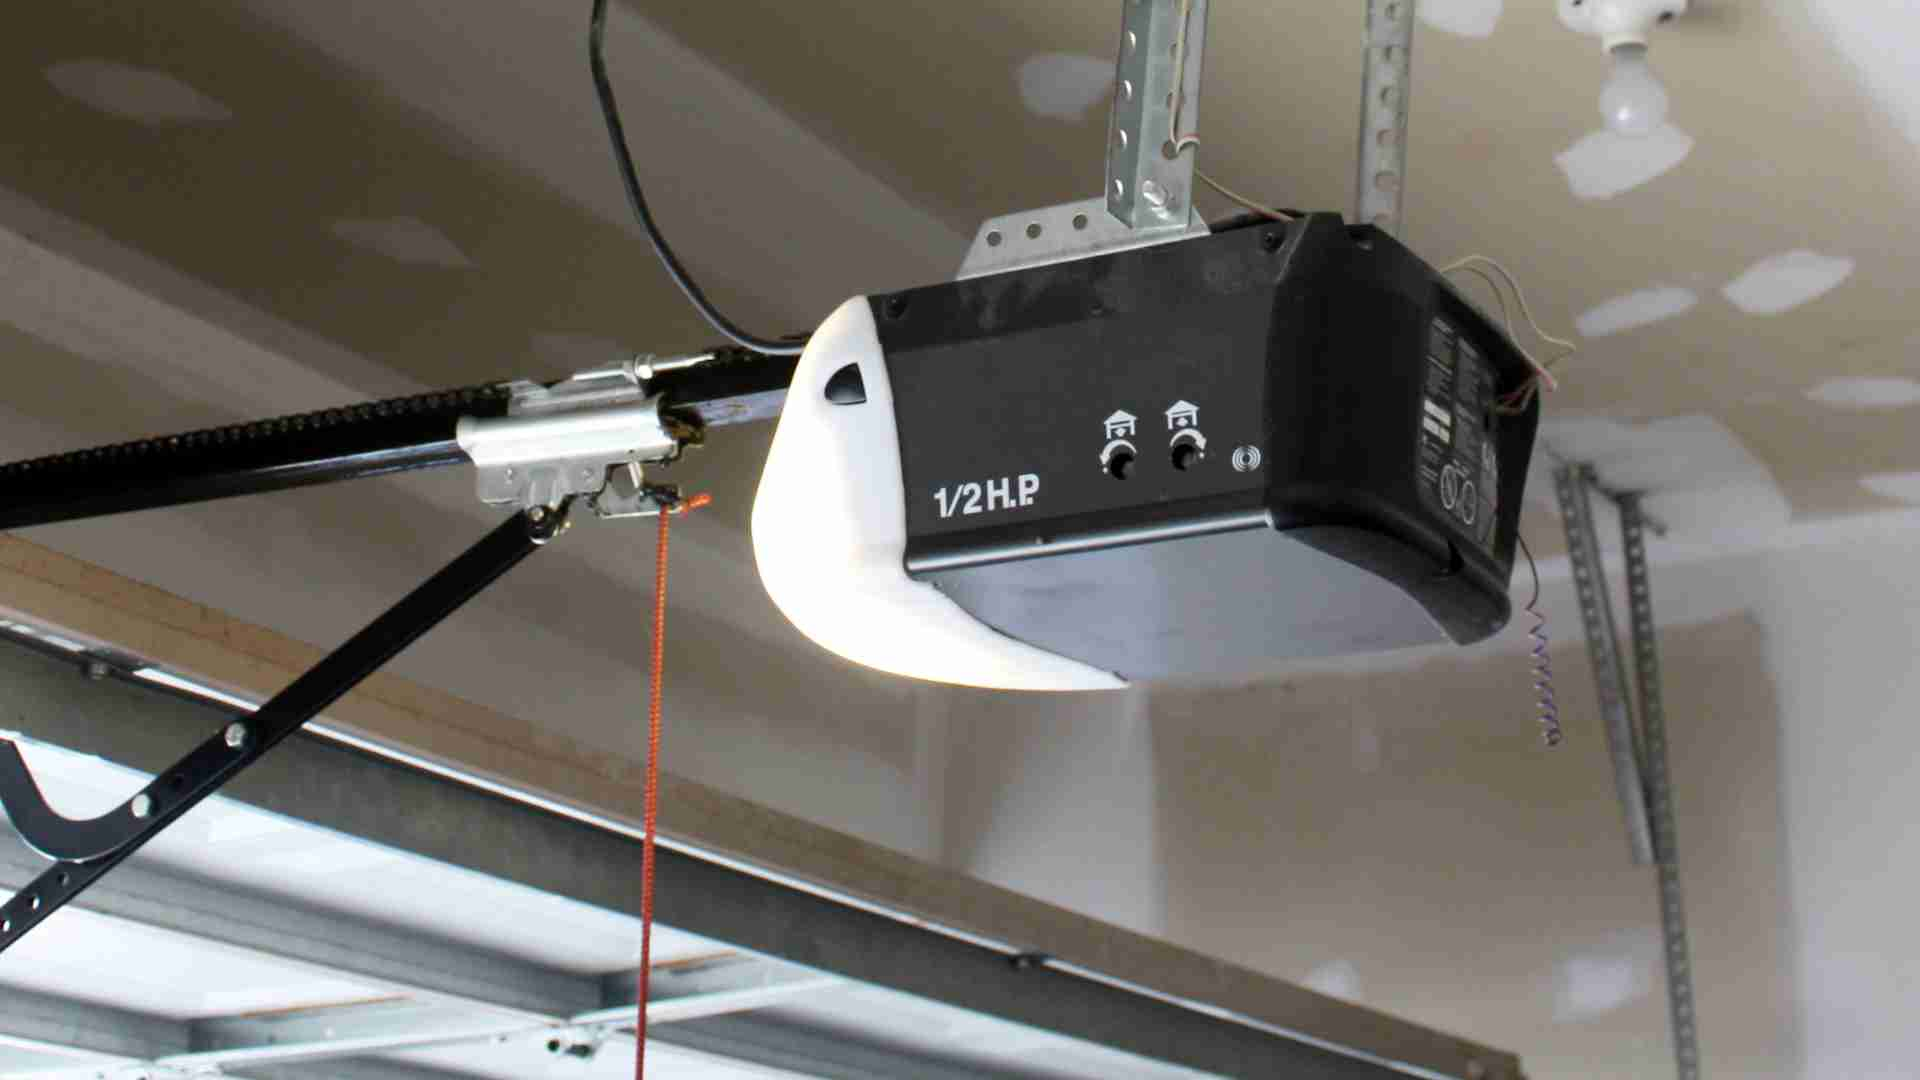
Most garage door openers made after 1993 have a Learn or Reset button. It is usually on the back or side of the opener unit, often under a light cover.
- Use a step ladder to reach the opener.
- Look for a small, usually colored (red, yellow, orange, or purple) button labeled “Learn,” “Set,” or “Reset.”
- You may need to remove a cover using a flathead screwdriver.
Some older units may not have this button and require a different process.
3. Clear Old Remotes And Codes
To erase all old remotes and codes (important if you’ve lost a remote or moved into a new home):
- Press and hold the Learn/Reset button for about 10 seconds.
- The opener light will blink or turn off to show all codes are erased.
- Release the button.
Now, no remotes will work until you reprogram them. This step protects your home from unwanted access.
4. Reprogram The Remote Control
After clearing the old codes, you need to sync your remote again.
- Press the Learn button once (do not hold).
- The indicator light will turn on or blink.
- Within 30 seconds, press and hold the button on your remote you want to program.
- The opener light will flash or click to confirm programming.
- Test the remote by pressing the button to see if the door moves.
If it doesn’t work, repeat the steps, making sure you press the remote within the time limit.
5. Resetting Wall-mounted Keypads
Some garages have an external keypad for keyless entry. To reset it:
- Press the Learn button on the opener.
- Within 30 seconds, enter your chosen code on the keypad and press “Enter” or “Send.”
- The opener light will blink to confirm.
Now, your keypad should open and close the door with your new code.
6. Check The Safety Sensors
If your garage door won’t close or reverses immediately, the safety sensors may be misaligned or dirty.
- Find the sensors near the floor on both sides of the door.
- Make sure they are facing each other and the LED lights are on.
- Clean the lenses with a soft cloth.
- Adjust the angle until both LEDs are steady.
A blinking or off LED means the sensors are not working properly. Most openers won’t reset if the sensors are blocked.
7. Test The Door
After resetting, test the system:
- Use the remote and wall switch to open and close the door.
- Try the keypad if you have one.
- Watch the door as it moves to make sure it opens and closes fully.
- Listen for unusual noises.
If the door stops, reverses, or doesn’t move, repeat the reset steps or check for other issues.
8. Restore Power And Final Checks
Make sure the opener is plugged in, and all covers are back in place. Replace remote batteries if needed. Test the door again.
If you still have problems, see the troubleshooting section below.
Special Cases: Resetting Different Brands
Some brands use different steps. Here are tips for the most popular openers in the US:
Chamberlain, Liftmaster, And Craftsman
These brands share similar technology. The Learn button method described above works for most models. The button color sometimes matches the remote’s compatibility:
- Yellow: Security+ 2.0 (most modern remotes)
- Purple: Security+ (2005–2011)
- Red/Orange: Security+ (1997–2005)
- Green: Billion Code (1993–1997)
Always use the correct remote for your opener.
Genie
Genie openers often use a Program/Set button:
- Press and hold “Program” until the indicator blinks.
- Press the remote button twice.
- The opener light blinks to confirm.
Genie also uses a “Learn Code” button for older models.
Overhead Door
- Press “Learn Code,” then press the remote button.
- The opener light flashes to confirm.
Other Brands
If your opener is not listed, check the owner’s manual or the manufacturer’s website for instructions.
Troubleshooting Common Problems After Reset
Sometimes, resetting doesn’t solve the issue. Here’s how to handle common problems:
Remote Still Doesn’t Work
- Check remote batteries.
- Make sure you pressed the Learn button (not held it) before programming.
- Make sure you are using the correct remote model.
- Try programming closer to the opener.
Door Moves Only Partway
- Check for objects blocking the door track.
- Lubricate the rollers and hinges.
- Adjust the travel limits (see your manual).
Keypad Not Working
- Enter the code slowly and clearly.
- Replace the keypad battery.
- Reprogram the keypad using the steps above.
Opener Makes Noise But Door Doesn’t Move
- Make sure the manual release is not pulled.
- Check for broken springs or cables (call a pro if so).
Sensors Keep Door From Closing
- Clean and align the sensors.
- Check for loose wires.
- Make sure sunlight is not shining directly into the sensor lens.
If all else fails, it may be time to call a professional technician.
When You Should Call A Professional
While many resets are simple, some problems are dangerous or complicated:
- Broken springs or cables: These should only be repaired by an expert.
- Burnt smell or sparks: Indicates electrical problems.
- Repeated resets needed: If you must reset often, there’s a deeper issue.
- Door off its track: Can lead to serious injury or damage.
A professional has the tools and training for these repairs. Remember, your safety comes first.
Data And Insights: Garage Door Opener Trends
Garage doors are found in over 82% of American homes with garages. With the rise in smart home technology, more people are upgrading to wireless and app-controlled openers. Here’s a comparison of traditional vs. smart openers:
| Feature | Traditional Opener | Smart Opener |
|---|---|---|
| Remote control | Yes | Yes (plus phone app) |
| Keypad entry | Optional | Optional (often standard) |
| Wi-Fi connection | No | Yes |
| Reset process | Manual | Often can reset via app |
Upgrading to a smart opener can make resets and troubleshooting easier, but it also means learning new features.
Avoiding Common Mistakes When Resetting
Many homeowners make the same mistakes when trying to reset their garage door. Here are key points to avoid:
- Forgetting to unplug the opener before starting. This can lead to accidental movement or shock.
- Not erasing old remotes when moving into a new house. Old owners may still have access.
- Skipping sensor alignment. Even a small misalignment can prevent the door from closing.
- Using the wrong remote for your model. Opener technology changes, so not all remotes work with all openers.
- Ignoring the manual release. If the door is in manual mode, the opener won’t work until reset.
Noticing these small details can save hours of frustration.
How To Reset After A Power Outage
Power outages are common causes for opener problems. Here’s what to do:
- Unplug and replug the opener to clear errors.
- If the door is stuck in manual mode, push the manual release lever back into place.
- Reprogram remotes if the opener doesn’t respond.
Some newer openers have battery backup. These may need extra steps after the power returns. Always check your model’s instructions.
Upgrading Your Garage Door Opener
If your system needs frequent resets or is over 15 years old, consider upgrading. Modern openers offer:
- Quieter operation (especially belt drive models)
- Smartphone control
- Battery backup
- Better security features
Below is a quick comparison of opener types:
| Type | Noise Level | Cost | Maintenance | Best For |
|---|---|---|---|---|
| Chain Drive | High | Low | Medium | Detached garages |
| Belt Drive | Low | High | Low | Attached garages |
| Screw Drive | Medium | Medium | Low | Moderate climates |
Smart models often use belt drives and have built-in Wi-Fi for easy resets and monitoring.
Preventive Maintenance To Avoid Future Resets
Regular maintenance can prevent many issues that require a reset. Here’s what you can do:
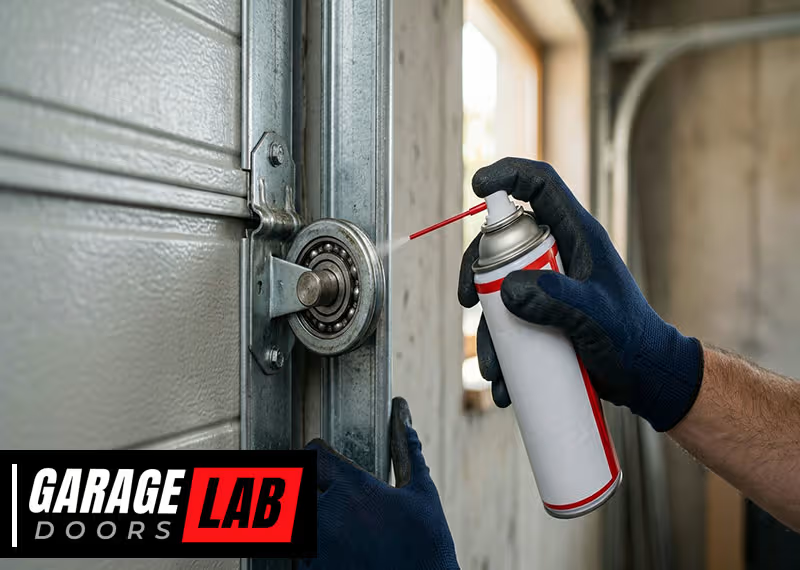
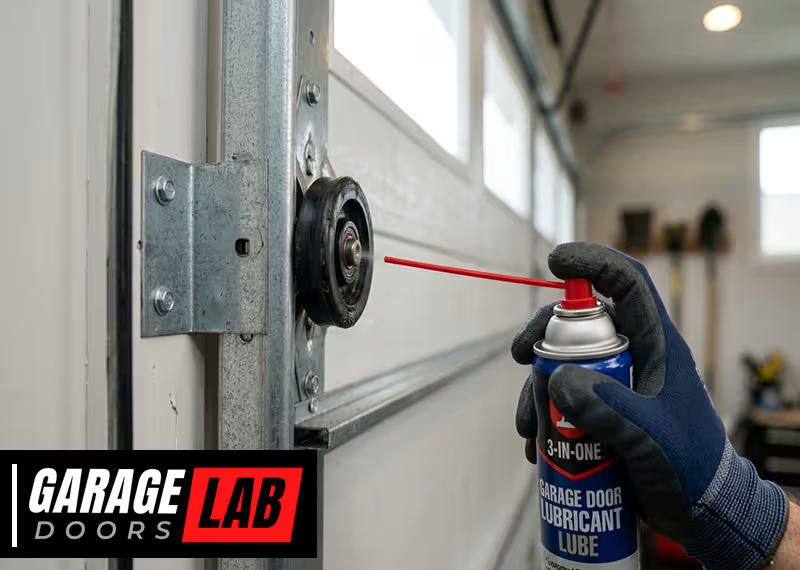
- Lubricate moving parts: Use garage door lubricant on rollers, tracks, and hinges every 6 months.
- Clean the sensors: Dust or spider webs can block the beam.
- Test the door balance: Disconnect the opener and lift the door halfway. It should stay in place. If not, call a pro.
- Replace remote batteries: Weak batteries cause connection problems.
- Check the door’s path: Keep it clear of tools, bikes, and other objects.
These simple habits keep your system running smoothly and reduce the need for resets.
Real-life Example: Resetting A Garage Door After Moving In
Imagine you just bought a house. You don’t know who has old remotes, and the door opener is acting strange. Here’s what you should do:
- Unplug the opener.
- Press and hold the Learn/Reset button for 10 seconds to erase old codes.
- Reprogram your remotes and keypads.
- Check the sensors and lubricate the door.
- Test everything before trusting the system.
This gives you peace of mind and keeps your new home secure.

The Role Of Garage Door Security
Resetting your garage door isn’t just about convenience—it’s about safety. Many burglaries happen through garage doors, especially if old remotes still work. Always reset the opener when you move in, lose a remote, or notice odd behavior.
Modern openers use rolling code technology, which changes the code each time you press the remote. This helps stop hackers from copying your signal. If you have an older opener, upgrading adds security as well as convenience.
For more about security technology, see the Wikipedia page on garage door openers.
Frequently Asked Questions
How Do I Find The Reset Button On My Garage Door Opener?
The reset button (often labeled “Learn” or “Set”) is usually on the back or side of the opener unit, near the light bulb or under a cover. It may be colored red, yellow, or purple. Check your owner’s manual if you can’t find it.
What Should I Do If My Garage Door Remote Still Doesn’t Work After Resetting?
First, replace the remote’s battery. Make sure you followed the steps to erase old codes and reprogram the remote. If it still fails, try programming it closer to the opener or check for interference from nearby electronics.
Can I Reset My Garage Door Without The Remote?
Yes. You can use the wall-mounted button to reset or program the opener, and many systems allow you to reset codes using only the main unit and keypad. If you lost all remotes, you may need to buy a compatible replacement.
Why Is My Garage Door Not Closing Even After Resetting?
The most common reason is sensor misalignment. Make sure nothing blocks the safety sensors and their LEDs are on. Clean the lenses and check that both sensors face each other. Also, check the door path for obstructions.
Is It Safe To Reset My Garage Door Opener Myself?
For most basic resets, yes—it’s safe if you unplug the opener and avoid touching springs or cables. However, if you see broken or damaged parts or smell burning, call a professional for help.
Resetting your garage door is a practical skill that can save you time and keep your home secure. With the right steps and a little care, most homeowners can handle it themselves. Remember, if the problem seems bigger than a simple reset, don’t hesitate to call a trained technician.
Your safety is always the most important thing.