
Replacing a garage door opener may sound like a big task, but it’s more manageable than most people think. With the right tools, clear steps, and some patience, you can upgrade your garage’s convenience and security in just a few hours.
Whether your old opener is failing, too noisy, or missing smart features, installing a new one can make your daily routine easier and safer. This guide will take you through every detail, from choosing a new model to finishing the installation and troubleshooting common problems.
Why Change A Garage Door Opener?
Many homeowners ask, “Why replace my garage door opener if it’s still working?” The answer often comes down to safety, convenience, and modern features. Older models may lack rolling code technology that keeps your home secure. Newer openers are quieter and can connect to your smartphone, letting you open or close your garage from anywhere.
A faulty opener can also become a safety risk. If your door doesn’t reverse when it senses an obstacle, it could harm pets or children. Replacing an outdated or unreliable system is not just about convenience—it’s about peace of mind.
Plus, a new garage door opener can increase your home’s value and curb appeal.
Understanding Garage Door Opener Types
Before you buy a new opener, it’s important to know the main types available. Each has its own strengths and weaknesses, and the best choice depends on your needs and budget.
| Type | Noise Level | Price Range | Best For |
|---|---|---|---|
| Chain Drive | High | $120–$250 | Heavy doors, low cost |
| Belt Drive | Low | $170–$350 | Quiet operation |
| Screw Drive | Medium | $150–$300 | Low maintenance |
| Direct Drive | Very Low | $300–$500 | Long life, top features |
| Jackshaft | Low | $350–$600 | High ceilings, side-mounted |
Key Insights
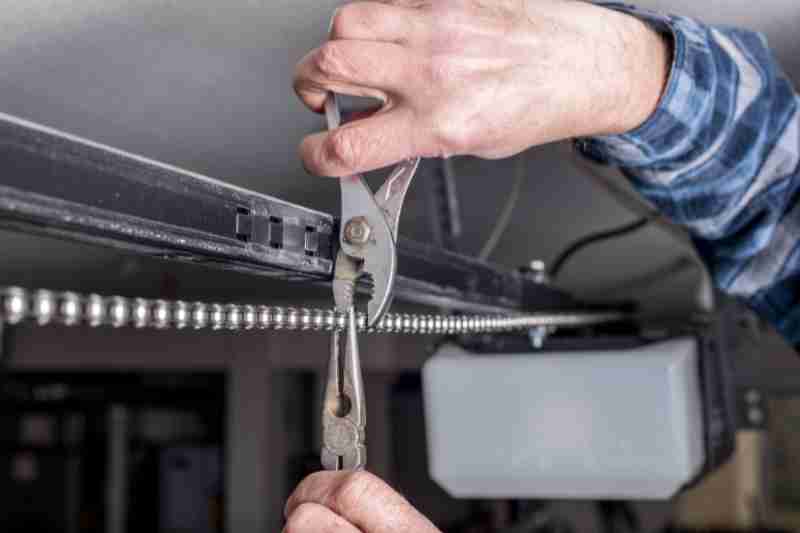
- Chain drive openers are reliable and affordable but can be noisy—best for detached garages.
- Belt drive models cost more but are much quieter, ideal if the garage is next to living spaces.
- Jackshaft openers are mounted on the wall, perfect for garages with high or irregular ceilings.
What To Consider When Choosing A New Opener
Not all openers are created equal. To avoid buying the wrong model, focus on these important factors:
- Garage Door Size and Weight: Heavier or oversized doors need more powerful motors (usually 3/4 HP or more).
- Noise Level: If your garage is close to bedrooms, choose a belt or direct drive.
- Smart Features: Many openers now connect to Wi-Fi, letting you control them with your phone.
- Battery Backup: This keeps your door working during power outages—a must for areas with frequent storms.
- Safety Sensors and Security: Look for models with rolling code technology and reliable sensors.
- Lighting: Some openers have built-in LED lights for better visibility.
- Price and Warranty: Compare the total cost, including installation and possible accessories.
A common mistake is buying a cheaper opener and later finding it can’t lift your door or is too loud. Always check your door’s weight and measure the ceiling height before shopping.
Tools And Materials Needed
Gather all necessary tools and materials before starting. Missing a key tool mid-project can cause delays and frustration.
- New garage door opener kit (includes rail, motor, remotes, and hardware)
- Ladder (at least 6 feet tall)
- Socket set and wrenches
- Power drill and bits
- Screwdrivers (flathead and Phillips)
- Tape measure
- Level
- Adjustable pliers
- Wire stripper/cutter
- Safety glasses and gloves
- Stepladder or assistant (for lifting the opener)
- Extension cord (if needed)
- Stud finder
Some opener kits may require special parts for specific garage setups, so read the manual before buying.
Preparing For Installation
Before you remove the old opener, some preparation is essential for a safe, smooth process.
- Disconnect Power: Always unplug the existing opener from the outlet.
- Clear the Garage Area: Remove vehicles and objects around the door and opener.
- Secure the Garage Door: Lock the door in the closed position or use vice grips to keep it from moving.
- Read Both Manuals: Check your new opener’s instructions and your door’s manual for any special notes.
Many people forget to check for low-hanging pipes, beams, or lights that might block the opener rail. Inspect the ceiling and make adjustments if needed.
Removing The Old Garage Door Opener
Taking out the old opener is a straightforward but careful process. Here’s how to do it:
- Unplug the Power: Double-check that the opener is not connected to electricity.
- Remove Safety Sensors: Detach any photo-eye sensors near the floor.
- Disconnect Wall Controls and Remotes: Take down the wall button and any wires leading to the opener.
- Detach the Opener Arm: Remove the cotter pin or bolt that connects the opener arm to the garage door.
- Take Down the Opener: Support the motor unit with a ladder. Unscrew the mounting brackets from the ceiling and lower the motor to the ground.
- Remove the Old Rail: Unscrew and take down the rail if you’re not reusing it.
Pro Tip
Save all bolts, brackets, and mounting hardware in a small box. Some pieces may work with your new opener, or you can use them as spares.
Installing The New Garage Door Opener
This is the heart of the project. Take your time, follow each step, and ask a friend to help with lifting heavy parts.
1. Assemble The Opener Rail
Lay out all rail parts and follow the manufacturer’s instructions to put them together. Most rails are sectional and snap or bolt together. Make sure the rail is straight and secure—this is key for smooth door movement.
2. Attach The Rail To The Motor Unit
Connect the assembled rail to the motor using the provided bolts. The motor unit is usually heavier, so keep it close to the ground for now.
3. Install The Chain Or Belt
Follow the instructions to thread the chain or belt along the rail. Adjust the tension so it’s firm but not too tight. Too much tension can wear out the motor or rail over time.
4. Mount The Header Bracket
Find the center point above the garage door, about 2 inches above the highest point the door travels. Use a stud finder to locate framing. Secure the header bracket with lag screws into solid wood, not just drywall.
5. Hang The Opener On The Ceiling
With help, lift the motor unit and rail. Connect the rail to the header bracket above the door. Then, attach the motor end to ceiling joists or beams using the supplied mounting brackets. Use a level to ensure the rail is perfectly horizontal.
If your ceiling is higher than 12 feet, you may need additional angle iron or extension kits for proper support.
6. Connect The Door Arm
Attach the straight and curved arm bars to the garage door and opener carriage. Use the provided pins and bolts to connect everything securely. Test the movement by pulling the emergency release and manually opening the door—it should move freely.
7. Install The Safety Sensors
Mount the sensors about 6 inches above the floor, on each side of the door. Make sure they face each other directly. Run wires along the wall, securing them with clips or staples. Connect the wires to the motor unit as directed.
8. Wire The Wall Control
Choose a spot near the garage entry door, away from moving parts. Run the included low-voltage wire to the opener and attach as instructed. Most wall controls have two screws or terminals for easy connection.
9. Plug In And Power Up
Plug the opener into a grounded outlet. Some openers need a dedicated circuit. Avoid using long extension cords for permanent power—they can cause voltage drops and safety issues.
10. Program Remotes And Keypads
Follow the manufacturer’s instructions to pair your remote controls and wireless keypad (if included). Most modern openers use a “Learn” button for easy pairing.
11. Adjust Travel And Force Settings
Use the adjustment screws on the motor unit to set how far the door opens and closes. Also, set the opening and closing force—too much can be dangerous, too little may not move the door. Test the auto-reverse function by placing a 2×4 under the door; it should reverse as soon as it touches the wood.
Common Mistakes To Avoid
Many DIYers run into trouble with a few predictable errors. Being aware can save you hours of frustration.
- Skipping the Manual: Each opener brand has unique steps. Skipping the instructions leads to mistakes.
- Wrong Power Source: Using an overloaded circuit or extension cord can cause failures.
- Improper Sensor Alignment: If sensors aren’t directly facing each other, the door won’t close.
- Loose Mounting Hardware: Bolts and screws must be tight; loose parts cause vibration and noise.
- Incorrect Travel Limits: Setting the opener to travel too far can damage the door or motor.
- Not Testing Safety Features: Skipping the safety test can put people and pets at risk.
Upgrading To Smart Features
Modern openers often include smart technology. This means you can check if your garage is open, close it remotely, or receive alerts on your phone. Some models work with Amazon Alexa, Google Assistant, or Apple HomeKit.
If your new opener is Wi-Fi enabled, connect it to your home network during installation. Download the manufacturer’s app and follow the setup instructions. You may need to update the opener’s firmware for full compatibility with smart home platforms.
An insight many miss: If your Wi-Fi signal is weak in the garage, the smart features won’t work reliably. Consider adding a Wi-Fi extender before installing the new opener.
Maintenance Tips After Installation
Your job isn’t finished when the opener is running. Regular maintenance helps the system last longer and prevents breakdowns.
- Lubricate Moving Parts: Use a garage door lubricant on the rollers, hinges, and rail every 6 months.
- Check the Safety Sensors: Clean the lenses and make sure the alignment is perfect.
- Test the Auto-Reverse: Repeat the safety test monthly.
- Inspect Hardware: Tighten all bolts and screws twice a year.
- Monitor Battery Backups: Replace backup batteries every 1–2 years, or as recommended.
- Update Smart Features: Keep the opener’s app and firmware up to date for security patches.
Neglecting these steps is a common reason openers fail prematurely.

Comparing Top Garage Door Opener Brands
Choosing a brand can be overwhelming. Here’s a quick comparison of popular brands in the US:
| Brand | Warranty | Smart Features | Battery Backup | Average Price |
|---|---|---|---|---|
| Chamberlain | Lifetime (motor) | Yes | Yes | $200–$400 |
| LiftMaster | Lifetime (motor) | Yes | Yes | $250–$500 |
| Genie | 5–15 years | Some models | Some models | $160–$350 |
| Craftsman | 10 years (motor) | Few models | No | $150–$280 |
When To Call A Professional
While many homeowners can handle this project, there are times when it’s smart to hire a pro:
- Heavy or Custom Doors: If your door is unusually large or heavy, special tools and skills are required.
- Hardwired Controls: Some older homes have complex wiring.
- Noisy or Crooked Doors: If the door is not moving smoothly, the problem may be with springs, tracks, or rollers—not just the opener.
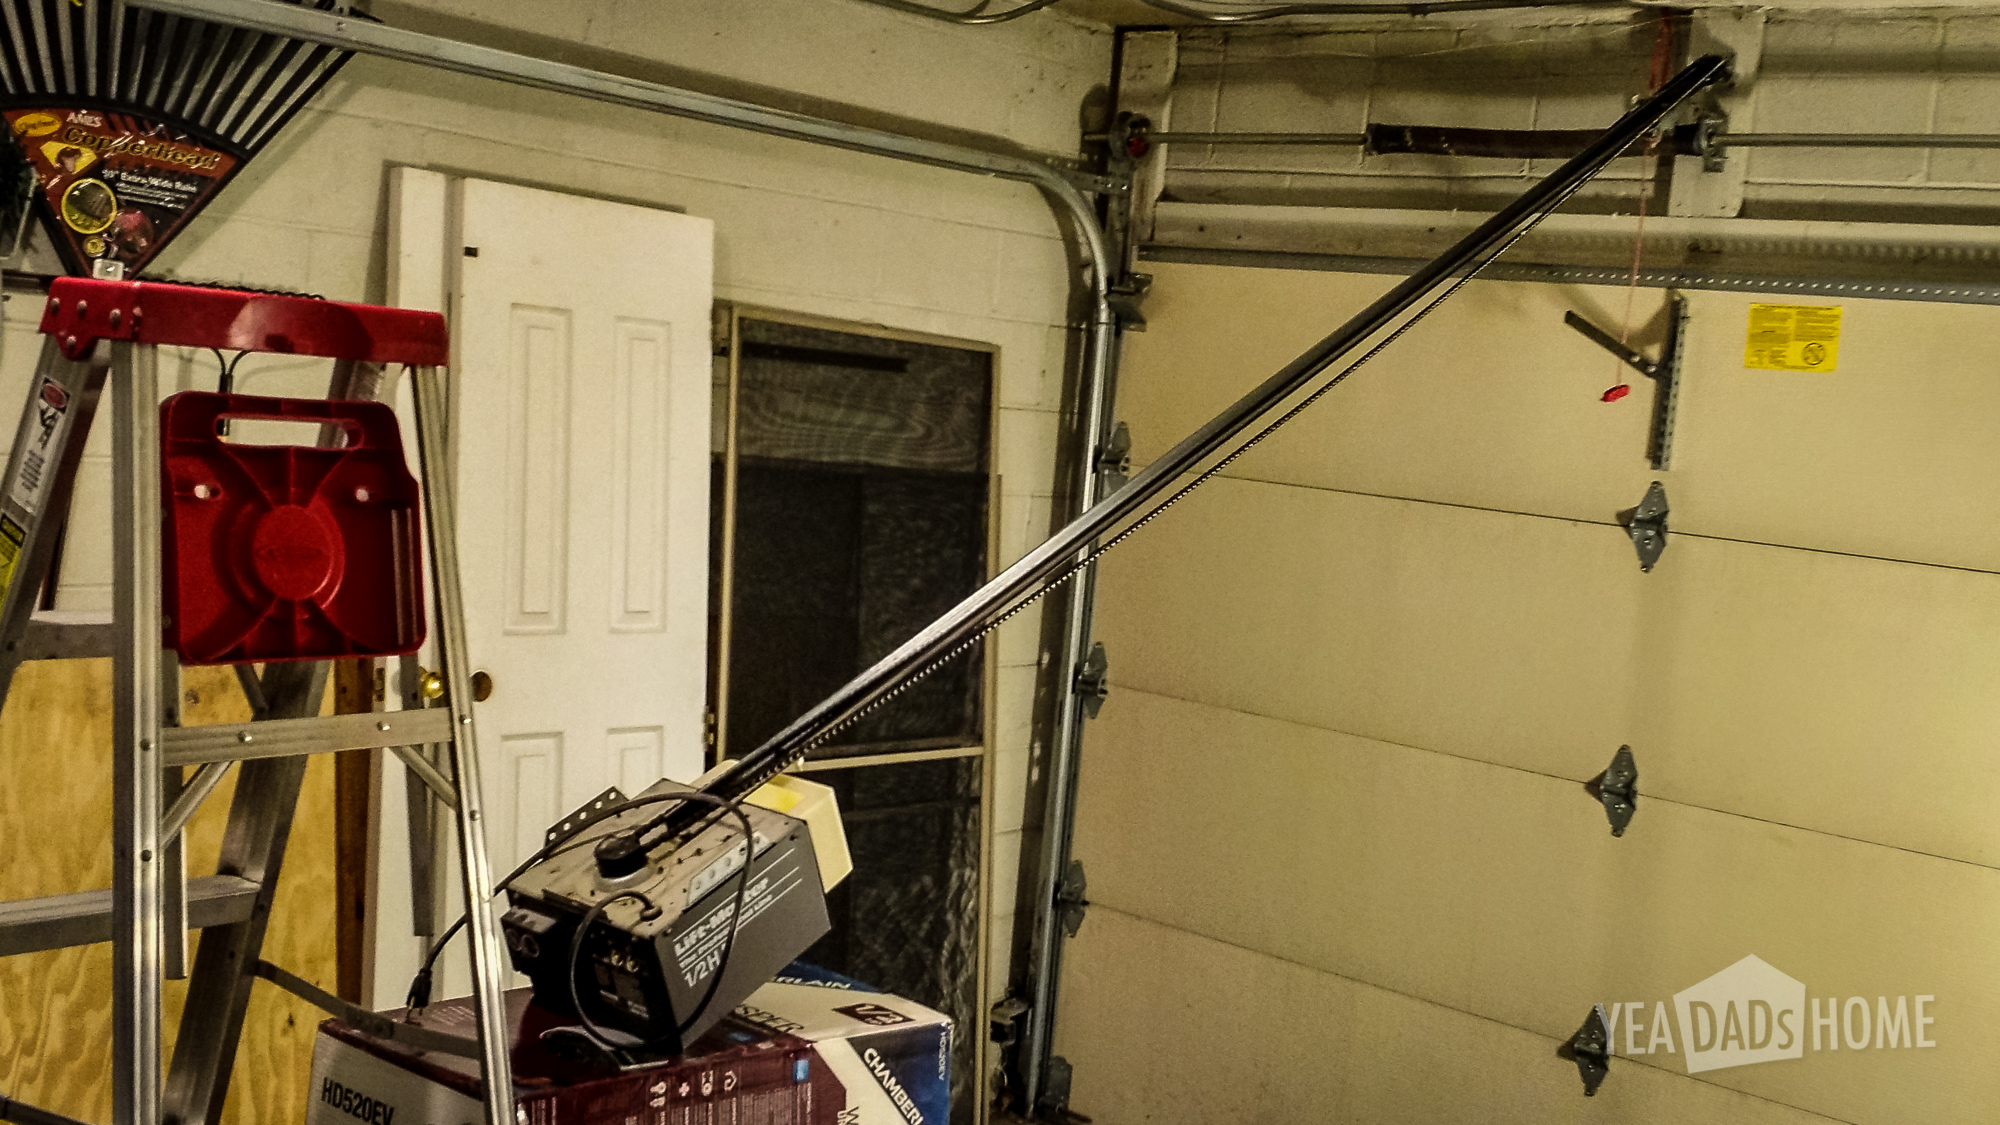
- Lack of Time or Help: The motor unit is heavy and awkward to lift alone.
Professional installation costs between $150 and $400, depending on location and complexity.
Credit: yeadadshome.com
Troubleshooting Common Problems
Even after a careful installation, you might run into issues. Here’s how to solve the most common ones:
Door Won’t Close All The Way
Check the safety sensors first. Make sure nothing blocks the sensor beam and both are aligned. Dirty lenses can also stop the door from closing.
Opener Runs But Door Doesn’t Move
This usually means the opener is disconnected from the door. Check the emergency release handle and reconnect it.
Remote Control Doesn’t Work
Replace the battery in your remote. If the problem continues, reprogram the remote using the “Learn” button on the opener.
Door Reverses Before Closing
Reduce the close-force setting. If the door feels resistance, the opener will reverse to prevent damage. Lubricate the tracks and make sure nothing is blocking the door.
Motor Is Noisy
If you hear rattling or grinding, check that all mounting bolts are tight. Lubricate the rail and moving parts. For chain drives, check chain tension.
Safety Tips And Final Checks
Don’t rush the final steps. Safety is always more important than speed.
- Test the Auto-Reverse Feature: Place a block under the door and close it. The door should reverse immediately.
- Check Manual Release: Pull the emergency handle to ensure the door can be opened by hand.
- Inspect All Wiring: Loose or bare wires can be dangerous. Secure all connections.
- Double-Check Mounts: Make sure the opener and brackets are firmly attached to joists or solid framing.
A tip beginners often miss: If your garage loses power, practice opening the door by hand. This will help in emergencies.
For more detailed information, visit the Garage Door Opener Wikipedia page.
Frequently Asked Questions
How Long Does It Take To Change A Garage Door Opener?
Most installations take 2 to 4 hours for someone with basic DIY skills. If you are working alone or have a complex setup, it can take longer.
Can I Use My Old Remote With A New Opener?
Usually, no. Most modern openers use newer rolling code technology that is not compatible with older remotes. Check the new opener’s manual for specific compatibility.
Do I Need To Replace The Garage Door Springs Too?
Not always. Springs only need replacement if they are worn, rusty, or broken. However, if your door is heavy or doesn’t balance well, check the springs before installing a new opener.
Are Smart Garage Door Openers Safe?
Smart openers with rolling codes and secure apps are safe for most homes. Always use strong passwords for your Wi-Fi and update the opener’s firmware to protect against hacking.
What Horsepower Opener Do I Need?
Most single doors work well with a 1/2 HP opener. Larger or double doors need 3/4 HP or higher. Always check your door’s weight and the opener’s recommendations.
Changing your garage door opener is a project that pays off in convenience, safety, and peace of mind. With the right preparation and careful steps, you can upgrade your garage in just a day and enjoy smooth, quiet operation for years to come.