Now Reading: How to Change Code on Chamberlain Garage Door Opener Easily
- 01
How to Change Code on Chamberlain Garage Door Opener Easily

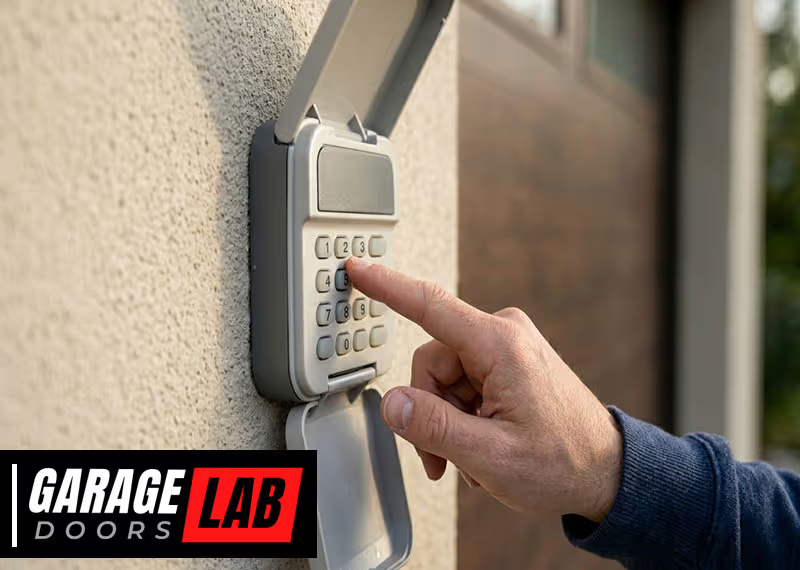
Every time you use your garage door opener, you trust that your home is safe and secure. But what happens if you lose your remote, move into a new house, or just want to make sure only the right people can access your garage? Changing the code on your Chamberlain garage door opener is one of the best ways to keep your family and belongings protected. Many homeowners don’t realize how simple this process can be, and they often overlook important steps that make a real difference for safety.
You might feel nervous about pressing the wrong button or erasing the wrong code, but with a clear guide, you can handle this task yourself—no need to call a professional. This article will walk you through every step, explain what to watch out for, and answer common questions.
Along the way, you’ll pick up practical tips that most beginners miss. Whether you have a keypad, remote, or just the wall button, you’ll learn exactly what to do and why it matters. Let’s get started on making your garage—and your home—safer and smarter.
Why Change The Code On Your Chamberlain Garage Door Opener?
Changing your garage door code isn’t just about convenience—it’s about security. Imagine someone finds or steals your old remote. They could enter your garage and possibly your home. If you move into a new house, previous owners or tenants might still have access. Regularly updating your code ensures that only trusted people can open your garage.
Many people forget that garage doors are a common entry point for burglars. According to recent data from the FBI, about 9% of all burglaries in the US start through a garage. That’s why updating your code is as important as locking your front door. It’s also a simple way to reset access if you give out temporary codes to visitors or service providers.
Types Of Chamberlain Garage Door Openers
Before you start, it’s important to know what type of Chamberlain garage door opener you have. Not all models use the same method for changing codes. Here are the main types:
- Older models with DIP switches: These use small toggle switches inside the remote and opener unit.
- Models with a Learn button: Most Chamberlain openers made after 1993 use a Learn button for programming.
- Keypad entry systems: These let you open the garage with a PIN code.
Knowing your opener type saves time and prevents mistakes. If you’re not sure, look at the back or side of your opener motor—there should be a label with the model number.
Table: Common Chamberlain Opener Types And Features
| Opener Type | Year | Programming Method | Security Level |
|---|---|---|---|
| DIP Switch | Pre-1993 | Manual switches | Low |
| Learn Button | 1993–present | Button press | High (rolling code) |
| Keypad | 1995–present | PIN code entry | High |
What You Need Before You Start
Changing the code is quick if you have the right tools:
- A sturdy ladder (if your opener is ceiling-mounted)
- Your garage door remote(s)
- The wall-mounted control panel (if installed)
- The wireless keypad (if installed)
- The owner’s manual (helpful for model-specific steps)
- Pen and paper (for writing down new codes)
Most importantly, have a few minutes without interruptions. It’s best to do this when you won’t be rushed, as some steps have a time limit.
How To Change The Code: Step-by-step Guide
Let’s break down the process for each type of Chamberlain opener, so you can find the steps that match your system.
For Openers With Dip Switches (older Models)
If your garage door opener is from before 1993, it probably has a row of DIP switches. These are tiny levers inside the remote and the opener unit. Each switch can be flipped up or down, creating a unique code.
Steps To Change The Dip Switch Code
- Unplug the opener: Safety first! Always unplug the garage door opener before you start.
- Open the remote: Use a small screwdriver to open the remote’s battery compartment.
- Locate the DIP switches: You’ll see a row of small switches labeled 1–9 or 1–12.
- Change the switch positions: Flip the switches to a new pattern. Write down your new code.
- Open the opener unit: On the main unit (mounted on your ceiling), remove the cover to reveal matching DIP switches.
- Match the code: Set the switches in the opener to the same pattern as your remote.
- Reassemble everything: Close the covers and plug the opener back in.
- Test the remote: Press the button to make sure the door responds.
Tip: Never use a simple pattern (like all up or all down). Mix it up for better security.
For Openers With A Learn Button (most Common)
Most Chamberlain models made after 1993 use a Learn button. This button is usually found on the back or side of the opener motor, sometimes under a light cover. The button may be red, yellow, purple, or orange.
Steps To Change The Code Using The Learn Button
- Get your remote ready: Hold it near the opener, within arm’s reach.
- Find the Learn button: Use a ladder if needed. Look for a small button labeled “Learn.”
- Press and release the Learn button: The indicator light will come on for 30 seconds.
- Press the remote button: Within 30 seconds, press the button on your remote you want to program. The opener light will blink, or you’ll hear a click.
- Test your remote: Press the remote again to check if the door moves.
If you want to erase old codes (for example, if you lost a remote), hold the Learn button for 6–10 seconds until the indicator light goes off. This wipes all programmed remotes. You’ll need to reprogram any remotes you still use.
Non-obvious tip: After erasing all codes, wait at least one minute before reprogramming. This ensures the opener’s memory resets completely.
For Keypad Entry Systems
If you use a wireless keypad to open your garage, you’ll want to change your PIN code. The process is a bit different but still straightforward.
Steps To Change The Keypad Code
- Locate the Learn button: It’s on the opener motor, just like for remotes.
- Press and release the Learn button: The indicator light will turn on.
- Within 30 seconds, enter your new PIN: On the keypad, type your new 4-digit code, then press the Enter button.
- Wait for confirmation: The opener light will blink, or you’ll hear a click.
- Test your new code: Enter it on the keypad to make sure the door opens.
Expert tip: Avoid using obvious PINs like 1234 or your address. Use something memorable but not easy to guess.
For Myq-enabled Openers (smart Systems)
Some newer Chamberlain models support MyQ smart technology, letting you control your garage from a smartphone app. Changing codes with MyQ is a bit different.
- Open the MyQ app: Log in to your account.
- Go to Device Management: Find your garage door opener.
- Select “Manage Keypad” or “Change PIN”: Follow the prompts to enter a new code.
- Save changes: The new code will sync to your opener and keypad.
Non-obvious insight: MyQ also lets you set temporary codes for guests or deliveries, and you can track when your garage is used. This adds a new layer of control and security.
How To Reset All Codes On Your Chamberlain Opener
Sometimes you want to erase all codes—maybe you lost a remote or moved into a new house. Here’s how to do a complete reset:
- Find the Learn button on your opener.
- Press and hold the Learn button for 6–10 seconds. The LED light will go out.
- All remotes and keypads are now erased.
- Reprogram each remote and keypad using the steps above.
This is a crucial step if you think someone else may have access to your garage. It’s also good practice when buying a new home.
How To Program Multiple Remotes
If you have more than one car or family member, you’ll want multiple remotes. You can program several remotes to the same Chamberlain opener.
- Follow the Learn button steps above for each remote.
- Make sure you program each remote within 30 seconds of pressing the Learn button.
- Test each remote to confirm.
Tip: There is usually a limit (often 5–7 remotes per opener). If you reach this, you may need to erase all codes and start fresh.
How To Change The Keypad Code Without Accessing The Motor Unit
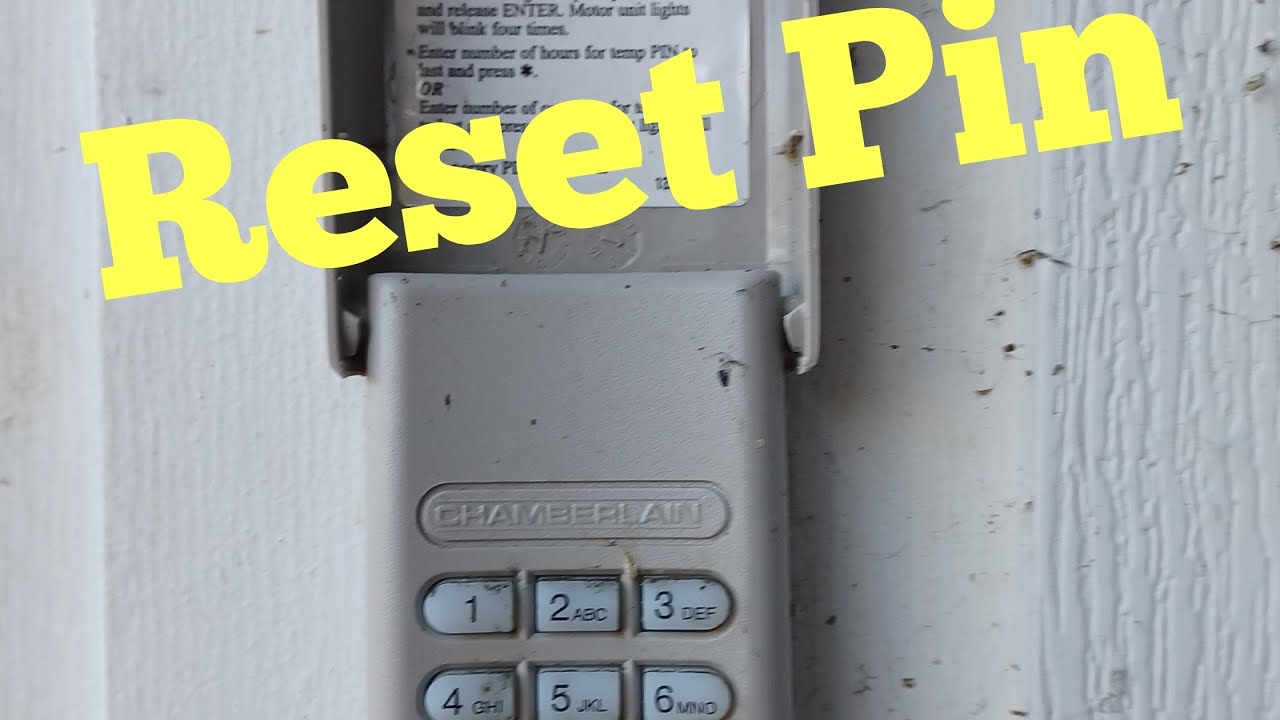
Sometimes the garage is locked, or you can’t reach the motor. If your keypad was installed after 2006, you may be able to change the PIN without using the Learn button.
- Enter your current PIN on the keypad.
- Press and hold the # button until the light blinks.
- Enter your new PIN, then press Enter.
- Wait for the light to stop blinking.
Not all keypads support this feature. If it doesn’t work, you’ll need access to the Learn button.
Programming A Temporary Pin For Guests
Chamberlain keypads let you create a temporary access code. This is useful for visitors, cleaners, or deliveries.
- Enter your main PIN on the keypad.
- Press and hold the button until the light blinks. *
- Type a temporary 4-digit code, then press Enter.
- The light will blink to confirm.
This code will work for a set number of entries (usually 1–5) or a set time, depending on your model. Check your manual for details.
Practical tip: Always erase temporary codes when they’re no longer needed.
What To Do If You Forget Your Code
If you forget your remote or keypad code, don’t worry. You can reset everything using the Learn button. After erasing, you’ll need to reprogram all devices.
Key insight: Write down your new codes somewhere safe, but not in plain sight in your garage or car.
Common Mistakes To Avoid
Many homeowners make small errors when changing their garage door codes. Avoid these for a smooth process:
- Not erasing old codes: Always erase old codes when moving or losing a remote.
- Programming too slowly: Most openers give you 30 seconds to program a remote or keypad. Work quickly.
- Using weak PINs: Pick a code that isn’t easy to guess.
- Forgetting to test: Always check that your new code works before finishing.
- Skipping the manual: Some models have unique steps—always check your manual if things don’t work as expected.
How To Troubleshoot Programming Issues
Sometimes, the code change doesn’t work right away. Here’s what you can check:
- Check the batteries: Weak batteries in remotes or keypads can cause failures.
- Look for interference: Metal objects or electronics near the opener can block signals.
- Reset and try again: If something goes wrong, erase all codes and start over.
- Consult the manual: Chamberlain’s website has digital copies of most manuals.
- Contact support: If your opener still won’t program, call Chamberlain customer service.
Table: Troubleshooting Problems And Solutions
| Problem | Possible Cause | Solution |
|---|---|---|
| Remote not working | Dead battery | Replace battery, reprogram remote |
| Keypad won’t program | Wrong PIN entered | Reset and try again |
| Opener not responding | Interference or power issue | Move opener or remove interference |
Upgrading To A New Chamberlain System
If your opener uses DIP switches, consider upgrading. New Chamberlain openers use rolling code technology (Security+), which changes the code every time you use it. This makes it nearly impossible for thieves to “capture” and reuse your code.
Benefits of upgrading:
- Better security
- Easier programming
- Smartphone control (with MyQ)
- Battery backup in case of power outages
Real-world tip: Newer openers are often quieter and include safety sensors.
How Secure Are Chamberlain Codes?
Chamberlain uses rolling code technology for most openers made after 1993. This means the code changes every time you use the remote, making it much harder for criminals to copy your signal. Older DIP switch models don’t have this feature, so they’re less secure.
If you use a keypad, remember that someone could try to guess your code. Always choose a PIN that’s not obvious, and change it regularly. For smart openers, set a strong password for your MyQ account, and use two-factor authentication if available.
Table: Security Comparison Of Code Types
| Code Type | Security Level | Vulnerability |
|---|---|---|
| DIP Switch | Low | Code guessing, physical access |
| Rolling Code | High | Minimal, if programmed correctly |
| Keypad PIN | Medium-High | PIN guessing (choose carefully) |
| MyQ Smart | Very High | Account security (password strength) |
Additional Security Tips For Your Garage
Changing your code is a great start, but you can do more to keep your garage safe:
- Lock the door between your garage and house.
- Cover garage windows: So people can’t see inside.
- Install motion sensor lights: Thieves hate being seen.
- Keep remotes out of cars: Don’t leave your remote visible in a parked car.
- Regularly update your codes: Every few months is a good habit.
Expert tip: Some Chamberlain openers allow you to disable remote operation at night for extra security.
Real-life Example: Why Code Changes Matter
A homeowner in Texas moved into a new house and didn’t change their garage code. Two weeks later, a previous resident used an old remote to open the garage at night. Luckily, nothing was stolen, but it was a wake-up call.
Always change your codes when you move in or lose a remote.
Where To Find More Help
If you’re stuck, Chamberlain’s official website has detailed guides and videos. You can also find support on forums like the Garage Journal. For professional help, contact a local garage door installer.
For more on garage door security technology, see this overview at Wikipedia.

Frequently Asked Questions
How Often Should I Change My Chamberlain Garage Door Code?
It’s smart to change your code every 6–12 months, or anytime you lose a remote, have a break-in, or move into a new home. Regular updates keep your home safer.
Can Someone Hack My Garage Door Code?
Older openers with DIP switches are easy targets, but newer Chamberlain systems use rolling codes, making them much harder to hack. For smart openers, use strong passwords and change them regularly.
What If My Remote Stops Working After Changing The Code?
First, check the batteries. If it still doesn’t work, erase all codes from your opener and reprogram each remote from scratch. This often fixes programming errors.
Is It Possible To Program More Than One Remote To A Single Opener?
Yes, you can usually program 5–7 remotes to most Chamberlain openers. Just repeat the Learn button process for each remote.
Can I Change The Code Without The Owner’s Manual?
Yes, most Chamberlain openers follow the same steps. But if you have trouble, you can find your manual online at Chamberlain’s official website or contact their support.
Changing the code on your Chamberlain garage door opener is a simple task that brings major peace of mind. With the right steps, you’ll make your home more secure for everyone you care about. Take a few minutes today to update your code—you’ll be glad you did.