Now Reading: How to Open Garage Door Remote: Easy Steps for Quick Access
- 01
How to Open Garage Door Remote: Easy Steps for Quick Access
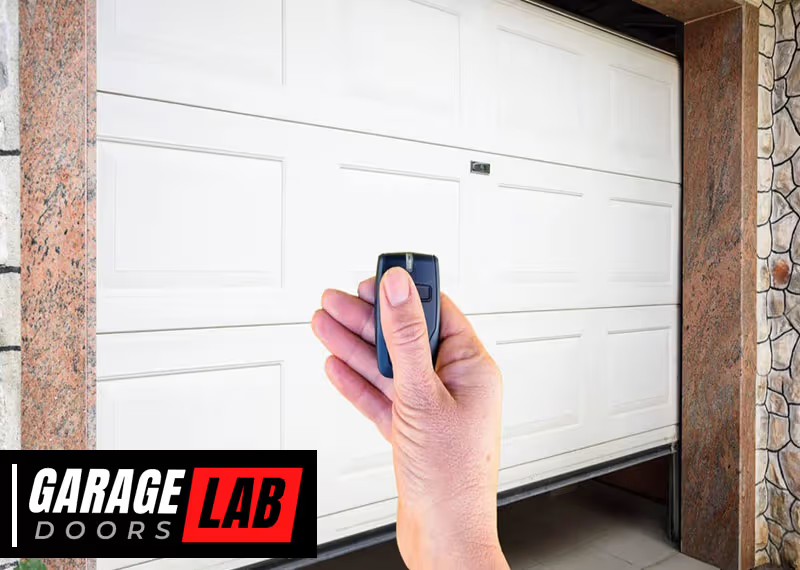
Opening a garage door remote may seem simple, but it’s a task that can feel confusing if you’ve never done it before. Whether you need to replace the battery, fix a stuck button, or just see what’s inside, knowing how to open your remote safely is important. Many people worry about breaking the remote or not being able to put it back together. The good news: with the right steps and a careful hand, anyone can do it—even if you’re not handy. This guide will walk you through everything you need to know, from tools to troubleshooting, so you can open your garage door remote with confidence.
Why Open Your Garage Door Remote?
People open their garage door remotes for several reasons. The most common reason is to replace the battery. Most remotes use small coin cell batteries that last 1-2 years. When the remote stops working or works only up close, a weak battery is usually the cause.
Another reason is cleaning. Dirt, dust, or sticky residue can get inside, making buttons hard to press. Sometimes, remotes stop working because of a loose connection or corrosion on the contacts. Opening the remote lets you fix these problems.
Some people want to reprogram the remote or check the circuit board if the remote is not syncing with the garage door opener. In rare cases, you may want to swap shells or buttons if the remote is physically damaged.
Types Of Garage Door Remotes
Understanding what kind of remote you have makes the process easier. There are three main types:
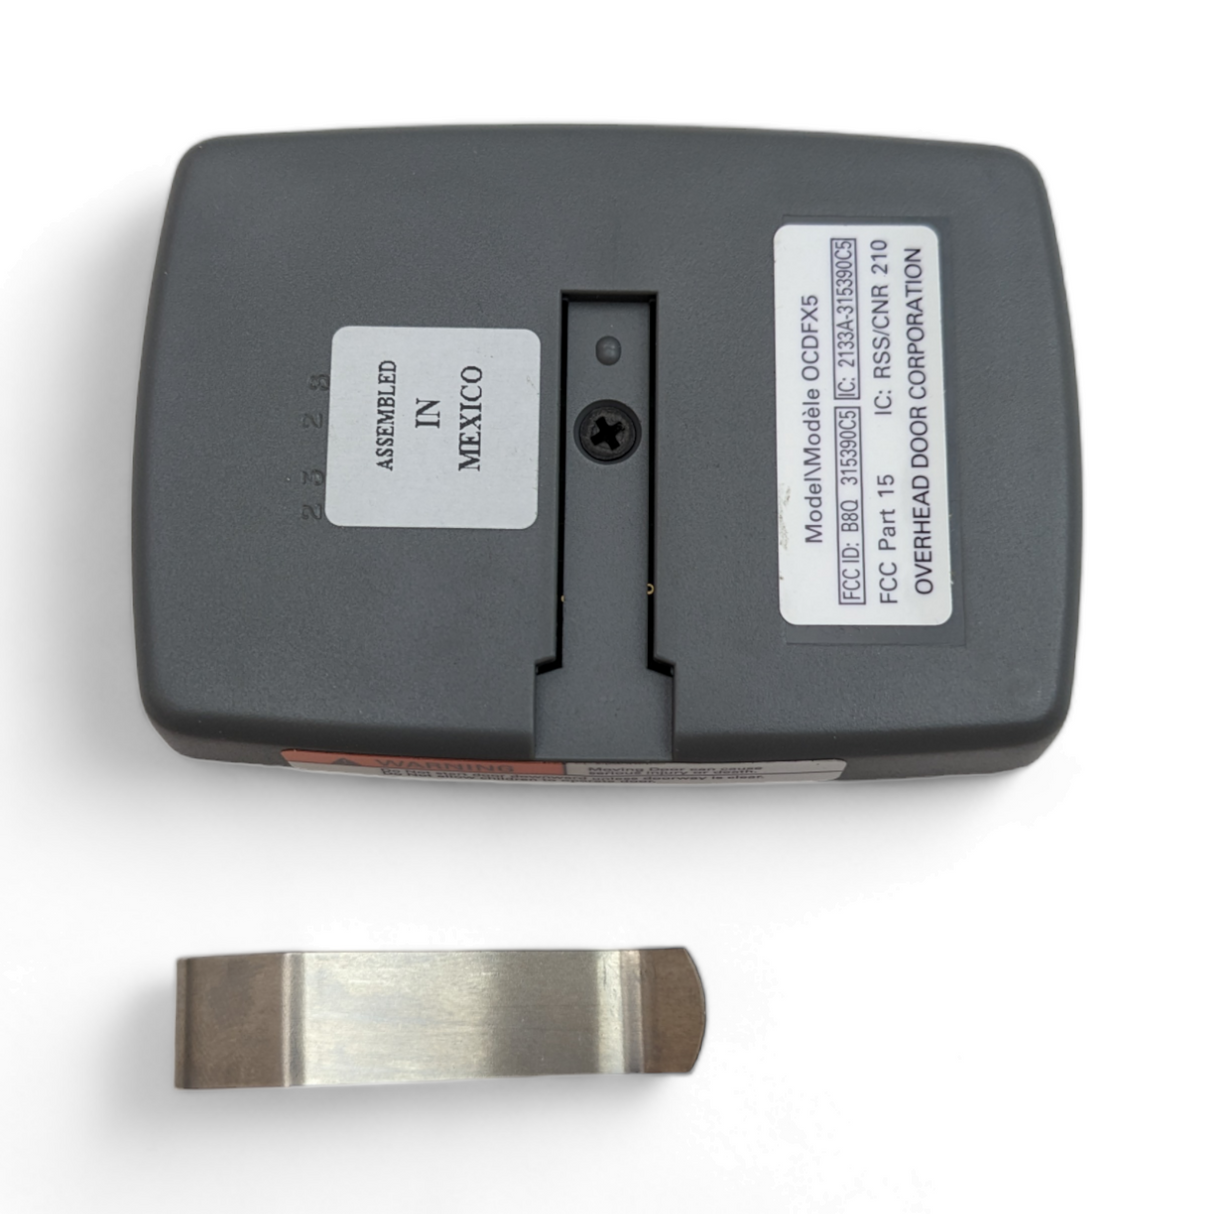
- Snap-together plastic remotes: These are the most common. The top and bottom plastic shells snap together and can be pried apart.
- Screw-secured remotes: These have one or more small screws holding the case together, usually on the back or under the battery cover.
- Sliding or hinged remotes: Some older or specialty remotes have a sliding or hinged compartment for batteries, but you may need to open the full case for repairs.
You’ll usually find these types from brands like LiftMaster, Chamberlain, Genie, Craftsman, and others. Each may have slight design differences, but the basics are similar.
Tools And Preparation
Before you start, gather the right tools. You don’t need anything fancy, but having the right items can prevent damage.
Essential Tools
- Small Phillips screwdriver: For remotes with screws. Usually size #0 or #1.
- Flathead screwdriver or plastic pry tool: For snapping open plastic cases. A plastic tool is safer for the casing.
- Tweezers: Helpful for removing batteries or cleaning inside.
- Soft cloth: To protect surfaces and clean inside the remote.
- New battery: If you’re replacing it. Check your remote for the exact type (often CR2032 or CR2016).
Safety Tips
- Work on a clean, flat surface. A table with a towel or soft cloth is ideal.
- Keep small screws or parts in a cup so they don’t get lost.
- Don’t use excessive force—if something feels stuck, check for hidden screws or clips.
Step-by-step Guide: How To Open Garage Door Remote
Let’s break down the process. The steps below cover all common designs, so adjust as needed for your remote.
1. Inspect The Remote
First, look closely at your remote. Check the back and sides. Look for:
- Screws (often under labels or battery covers)
- Seams where the plastic halves join
- Small slots or notches for prying
Knowing what to expect prevents accidental damage.
2. Remove The Battery Cover (if Present)
Many remotes have a separate battery cover. Slide or lift this off first. This gives you access to the battery and sometimes to screws holding the case together.
3. Remove Any Screws
If you see screws, use a small Phillips screwdriver to remove them. Put them in a safe spot. Some screws are hidden under stickers—gently peel back labels if you can’t find them.
4. Pry Open The Case
If there are no screws, or after removing them, use a flathead screwdriver or plastic pry tool. Insert the tip into the seam or notch and gently twist. Work your way around the case, loosening each side a bit at a time.
Don’t force it—if it feels hard, double-check for missed screws.
5. Open The Remote
Once the case is loose, carefully pull the halves apart. Inside, you’ll see the battery, circuit board, and buttons. Note how everything fits together, especially if the buttons or board are loose.
6. Remove The Battery (if Needed)
If your goal is to replace the battery, gently lift it out with tweezers. Note the + and – polarity so you can insert the new battery correctly.
7. Clean Or Repair As Needed
If you’re cleaning, use a soft cloth to wipe dust or residue. For stuck buttons, check for crumbs or sticky spots. If you see corrosion (green or white powder) on the battery contacts, gently clean it with a cotton swab and a little rubbing alcohol.
8. Reassemble The Remote
When you’re done, line up the buttons and circuit board in their slots. Snap the case back together or replace the screws. Make sure the battery is in place before closing.
9. Test The Remote
Stand near your garage door opener and press the button. The door should respond. If not, check the battery orientation and try again.
Example: Opening A Liftmaster 893max Remote
To show how these steps work, here’s an example with a popular model.
- Locate the seam around the remote. There are no screws.
- Insert a plastic pry tool in the notch on the side.
- Work the tool around the case, popping the halves apart.
- Gently lift the circuit board to access the CR2032 battery.
- Replace the battery and reassemble.
This method works for many modern LiftMaster or Chamberlain remotes.
Common Mistakes And How To Avoid Them
Many people damage their remotes by making simple mistakes. Here’s what to watch out for:
- Using too much force: If it won’t open, check for hidden screws or clips.
- Losing small parts: Use a tray or cup for screws and buttons.
- Forgetting the battery orientation: Take a photo before removing it.
- Breaking plastic clips: Use a plastic pry tool instead of a metal screwdriver.
- Touching the circuit board with bare hands: Oils from fingers can cause problems. Handle by the edges.
What If The Remote Won’t Open?
Some remotes are glued or ultrasonically welded. If your remote won’t open after following all steps, check the brand’s website for a manual. Sometimes, it’s safer to buy a replacement remote, especially if it’s an old or sealed model.
Replacing The Battery: Key Details
The most common reason to open a garage door remote is to replace the battery. Let’s cover the details.
Types Of Batteries
Most remotes use flat coin cell batteries. Popular types:
- CR2032 (20mm diameter, 3.2mm thick, 3 volts)
- CR2016 (20mm, 1.6mm, 3 volts)
- CR2025 (20mm, 2.5mm, 3 volts)
- A23 (small cylindrical, 12 volts)
Always check the old battery for the type number before buying a new one.
How Long Do Batteries Last?
A typical garage remote battery lasts 1 to 3 years. Cold weather and frequent use can shorten battery life. If your remote stops working from a distance or only works sometimes, the battery is likely weak.
Battery Comparison
Here is a simple comparison of the most common batteries used in garage door remotes:
| Battery Type | Voltage | Size (Diameter x Thickness) | Typical Lifespan |
|---|---|---|---|
| CR2032 | 3V | 20mm x 3.2mm | 1-3 years |
| CR2016 | 3V | 20mm x 1.6mm | 1-2 years |
| A23 | 12V | 10mm x 28mm | 1-2 years |
When To Open Vs. When To Replace
Opening your remote is safe for battery changes and cleaning. But if your remote is old or heavily damaged, sometimes replacing is better. Here’s a quick comparison:
| Situation | Open and Repair | Replace Remote |
|---|---|---|
| Battery change | ✔️ | |
| Sticky buttons | ✔️ | |
| Cracked case | Maybe | ✔️ |
| Water damage | ✔️ | |
| Lost remote | ✔️ |
Cleaning And Maintenance Tips
Opening your garage door remote is a good time for basic maintenance.
- Clean the buttons: Dirt can stop them from working. Wipe inside with a soft, dry cloth.
- Check the contacts: Corrosion or rust can block power. Clean gently with rubbing alcohol.
- Inspect for cracks: If the case is damaged, consider using a small piece of tape or replacing the shell if available.
- Avoid moisture: Water is the enemy of electronics. If your remote gets wet, open it, remove the battery, and let it dry completely before reassembling.

Reassembling The Remote
Putting the remote back together is often trickier than opening it. Here’s how to make it easy:
- Align the buttons: Make sure all buttons are in place before adding the circuit board.
- Check the board: The circuit board should sit flat with no wires pinched.
- Snap or screw the case shut: Press around the edges evenly or replace screws.
- Test the fit: The case should close tightly with no gaps.
A common beginner’s mistake is forgetting the order of parts. If you’re unsure, take a photo before you start.
Programming After Opening
Most garage door remotes do not lose programming when you change the battery or open the case. But sometimes, especially with older remotes, you may need to reprogram.
How To Program Your Remote
- Locate the “Learn” button on your garage door opener (usually on the motor unit).
- Press the Learn button (a small LED will light up).
- Within 30 seconds, press the remote button you want to program.
- The opener light will blink or you’ll hear a click, confirming programming.
Always check your remote’s manual for brand-specific steps.
Troubleshooting: Remote Still Not Working?
If your garage door remote isn’t working after opening and replacing the battery, try these steps:
- Check battery orientation: It must match the + and – markings.
- Inspect for damage: Cracked circuit boards or loose parts can prevent operation.
- Clean contacts: Even a small amount of corrosion can cause issues.
- Reprogram the remote: As described above.
- Test the battery: Sometimes new batteries are dead or weak—try another.
If none of these steps help, the remote may be faulty and need replacement.
Advanced Tips And Non-obvious Insights
Most guides stop at the basics, but here are two insights many beginners miss:
- Interference can mimic a dead remote: If your remote works only sometimes, check for Wi-Fi routers, LED lights, or other wireless devices nearby. These can block the remote’s signal.
- Universal remotes are an option: If your remote is broken or lost, you don’t always need the exact same model. Universal garage door remotes can often be programmed to work with many brands.
Also, if your remote uses a rolling code system (common in newer models), opening the case will not reset the code or security features. Only the opener unit controls these.
Environmental Considerations
When you replace your garage door remote battery, don’t just throw the old one in the trash. Coin cell batteries contain chemicals that are bad for the environment. Take them to a battery recycling center. Many hardware stores offer free recycling.
When To Call A Professional
Most people can open a garage door remote themselves. But if the remote is expensive, part of a smart home system, or you’re not comfortable, it’s okay to ask for help. Professional locksmiths and garage door companies can repair or replace remotes for a fee.
Where To Find More Information
Manufacturers like LiftMaster, Chamberlain, and Genie have manuals and troubleshooting guides on their websites. The Wikipedia: Garage Door Opener page offers more technical background for those interested.

Frequently Asked Questions
How Do I Know Which Battery My Garage Door Remote Uses?
Most remotes have the battery type (like CR2032 or A23) printed on the battery itself or inside the battery compartment. If it’s not visible, check your remote’s manual or search for your remote model online.
Will Opening My Remote Erase Its Programming?
No, opening the remote or changing the battery usually does not erase programming. You may need to reprogram only if you reset the remote or if it’s an older model that loses memory when the battery is removed for a long time.
What If My Remote Is Glued Or Won’t Open At All?
Some remotes are sealed for weather protection. If you can’t open it without breaking it, consider buying a replacement. For rare remotes, consult the manufacturer for advice.
Is It Safe To Use A Metal Screwdriver To Pry Open The Remote?
A metal screwdriver can scratch or crack the plastic. If you use one, be gentle and try to use a plastic pry tool instead. Metal can also cause a short if it touches the circuit board.
Can I Add A New Remote If Mine Is Lost Or Broken?
Yes, you can buy a replacement or universal remote. You’ll need to program it to your garage door opener, usually by pressing the Learn button on the opener unit and following the programming steps.
Opening a garage door remote isn’t hard when you know what to do. With patience and the right tools, you can replace the battery, clean the inside, or make simple repairs. This keeps your garage secure and your daily routine smooth.
Take your time, keep track of small parts, and always test your remote before closing everything up. If you run into trouble, there are plenty of resources and professionals who can help.


