Now Reading: How to Put Up a Garage Door Opener: A Step-by-Step Guide
- 01
How to Put Up a Garage Door Opener: A Step-by-Step Guide

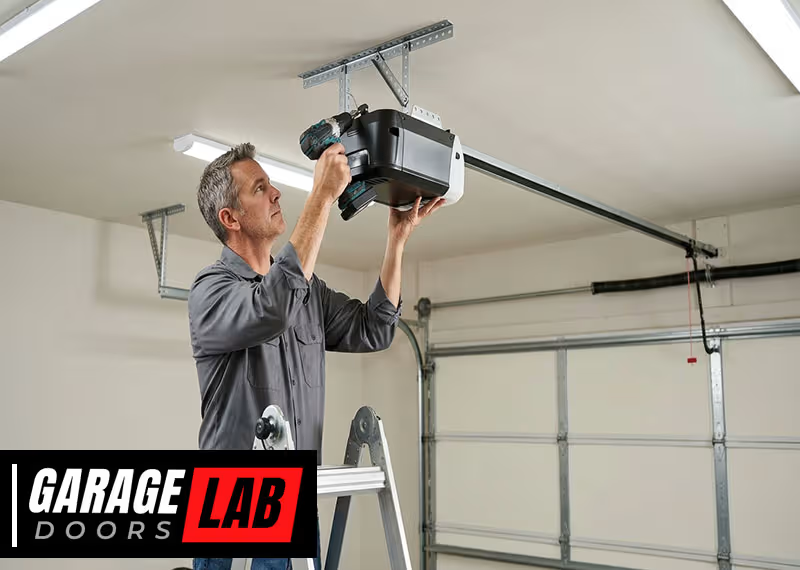
Putting up a garage door opener can seem challenging, but it’s a job many homeowners can handle with the right tools and guidance. A garage door opener offers convenience, safety, and sometimes even a bit of quiet luxury to daily routines.
Whether you’re replacing an old unit or installing one for the first time, understanding each step makes the process smoother and safer. This guide gives you everything you need—clear steps, practical tips, and key insights often missed by beginners. By the end, you’ll know not only how to install a garage door opener but also how to avoid common mistakes and ensure your system works reliably for years.
Understanding Garage Door Openers
Before you start, it helps to know what you’re working with. Garage door openers have evolved, offering more features and better safety. Most openers use either a chain, belt, or screw drive system. Here’s a brief look at each:
- Chain drive: Strong and affordable, but often noisy.
- Belt drive: Quieter, ideal for attached garages, but usually costs more.
- Screw drive: Fewer moving parts, less maintenance, but can be noisy in cold weather.
Every system includes a motor unit, rail, trolley (carriage), wall controls, safety sensors, and remote controls. Understanding these parts helps during installation and troubleshooting.
How Modern Openers Improve Safety
Newer garage door openers include auto-reverse features, safety sensors, and rolling code technology to keep your home secure. Some models offer smartphone integration, so you can open or close your garage from anywhere. If your opener is more than 10 years old, upgrading can bring significant safety benefits.
Tools And Materials You’ll Need
Having the right tools makes installation easier and reduces frustration. Gather these items before starting:
- Power drill with bits
- Wrenches and sockets (usually 7/16″ and 1/2″)
- Screwdrivers (flat and Phillips)
- Adjustable wrench
- Stepladder (at least 6 feet)
- Tape measure
- Level
- Pliers
- Wire stripper (for wiring)
- Hammer
- Safety glasses and gloves
You’ll also need the garage door opener kit, which should include the opener, rail, trolley, mounting hardware, safety sensors, and remotes. If you’re replacing an old opener, check if you need new wiring or brackets.
Table: Chain Vs. Belt Vs. Screw Drive Openers
Here’s a quick comparison to help you choose the right system:
| Type | Noise Level | Maintenance | Cost | Best For |
|---|---|---|---|---|
| Chain Drive | High | Medium | Low | Detached garages |
| Belt Drive | Low | Low | Medium-High | Attached garages |
| Screw Drive | Medium | Low | Medium | Moderate climates |
Preparing The Garage
A well-prepared workspace prevents accidents and errors. Here’s what to do before opening the box:
- Clear the garage ceiling area where you’ll mount the opener. Move vehicles and large objects out of the way.
- Unplug existing openers and remove any hanging wires or old hardware.
- Check your garage door balance. Disconnect the door from any opener and lift it halfway. If it stays in place, the springs are balanced. If not, call a professional—never adjust springs yourself.
- Inspect the door tracks and rollers for damage or wear. Lubricate moving parts if needed.
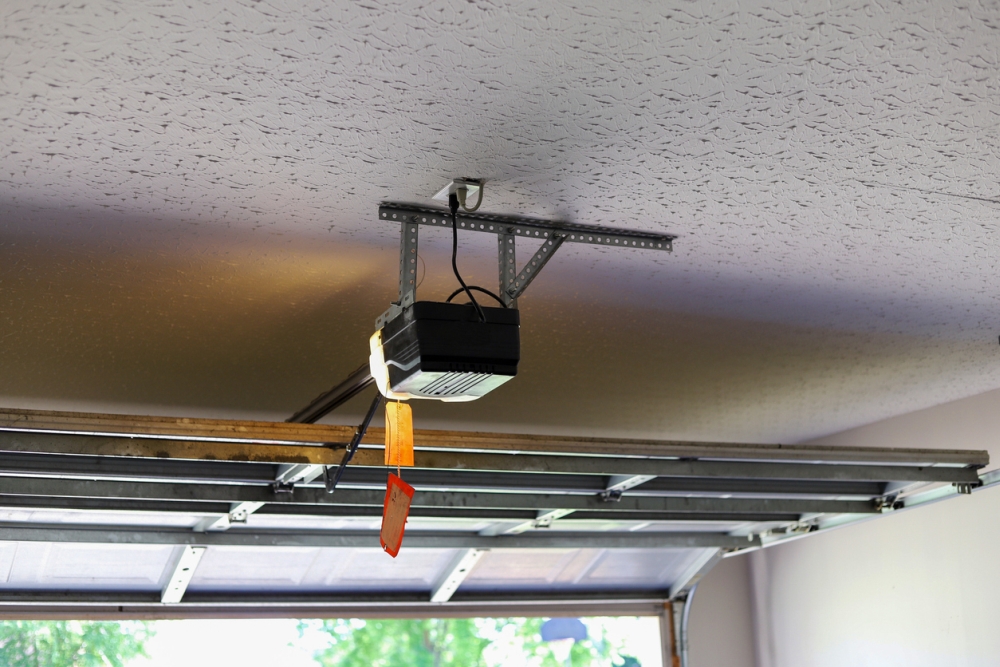
- Ensure a working power outlet is near the opener’s mounting point. Most openers need a grounded outlet within 4-6 feet of the motor unit.
Safety First
Wear safety glasses and gloves throughout installation. Never work alone—garage door components are heavy and awkward, and a helper makes the job faster and safer.
Step-by-step Guide: Installing A Garage Door Opener
Installing a garage door opener involves several steps, each with its own details. This section breaks down the process so you know exactly what to expect.
1. Assemble The Opener Rail And Trolley
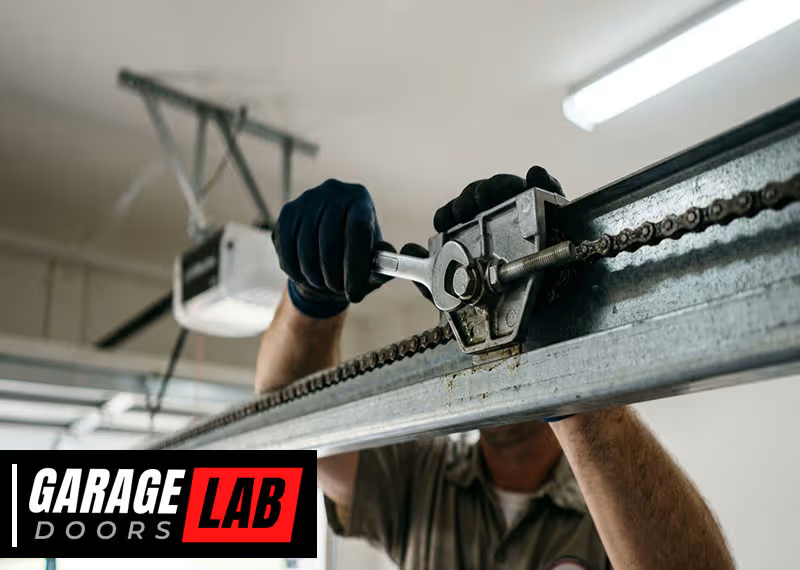
Lay out all the parts and match them to the instructions. Most kits include a rail in sections that you connect.
- Slide the rail pieces together and secure with included bolts.
- Attach the trolley (the part that moves the door) onto the rail.
- Connect the belt, chain, or screw according to your model’s instructions. Tighten to the recommended tension.
Pro tip: Lay the rail on the ground for assembly. Don’t skip the tensioning step—an overly loose or tight chain/belt can cause noise or wear.
2. Mount The Rail To The Motor Unit
With the rail assembled, connect it to the motor housing.
- Attach the end of the rail to the motor using the provided bracket and bolts.
- Make sure the connection is solid—this supports the opener’s weight.
Beginner mistake: Forgetting to align the rail straight with the motor. Double-check before tightening bolts.
3. Position And Mount The Opener
This is where a helper becomes essential.
- Lift the opener assembly and position the rail above the garage door’s centerline.
- The motor unit should hang 7-9 feet from the floor—high enough for vehicles but low enough for maintenance.
- Mark the ceiling joists for mounting brackets. Use a level to ensure everything is straight.
- Secure the opener to the ceiling with lag bolts and angle iron (provided in most kits).
Tip: If your ceiling joists aren’t where you need them, use 2×4 lumber as a cross brace.
4. Attach The Header Bracket
The header bracket anchors the opener to the wall above your garage door.
- Find the door’s center above the top of the door frame.
- Mount the bracket securely into the wall framing, not just drywall.
- Connect the rail to the bracket using the clevis pin and fasteners.
Non-obvious insight: If your door is unusually tall or heavy, you may need a special reinforcement bracket. Standard kits often don’t include these.
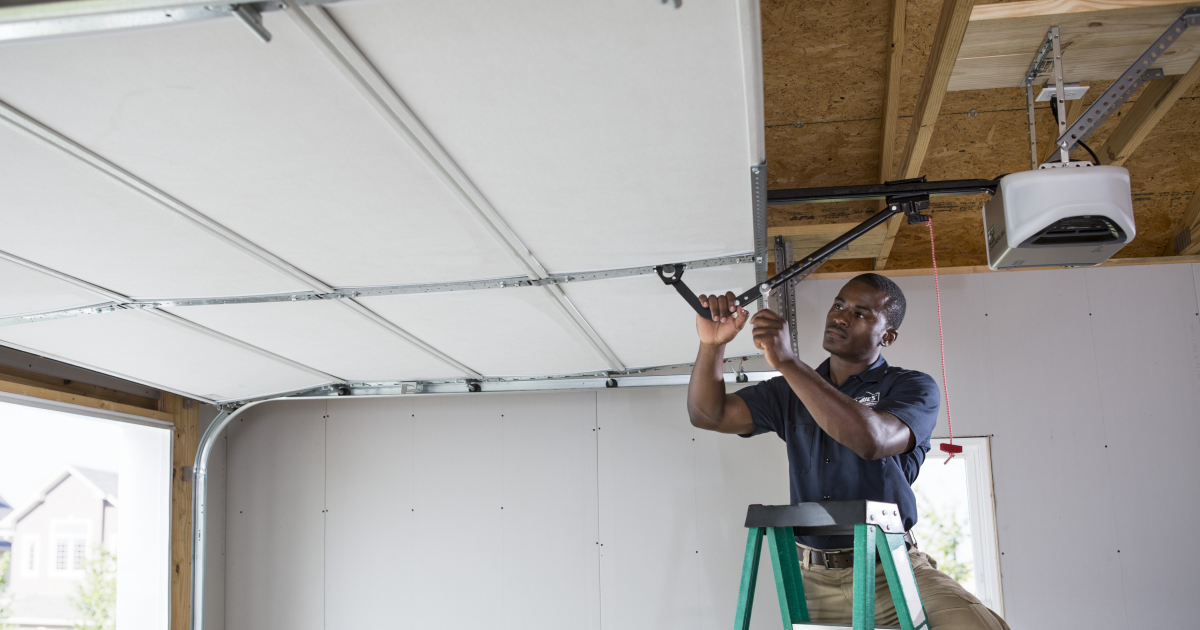
5. Connect The Door Arm
The door arm links the trolley to the garage door.
- Attach one end to the trolley and the other to the door bracket (usually already installed).
- Use the provided pins and bolts, making sure all connections are secure.
Check the manufacturer’s manual for the best arm angle—incorrect angles can cause jerky or uneven movement.
6. Install Safety Sensors
Modern garage door openers require photoelectric safety sensors near the floor on both sides of the door.
- Mount the sensors 4-6 inches above the floor, facing each other.
- Run the sensor wires along the wall and ceiling, attaching them with included clips or staples.
- Connect the wires to the opener’s control terminals. Polarity usually doesn’t matter, but check your manual.
Sensors must be perfectly aligned. If their lights don’t stay on, adjust until they do. Misaligned sensors are the most common source of opener problems after installation.
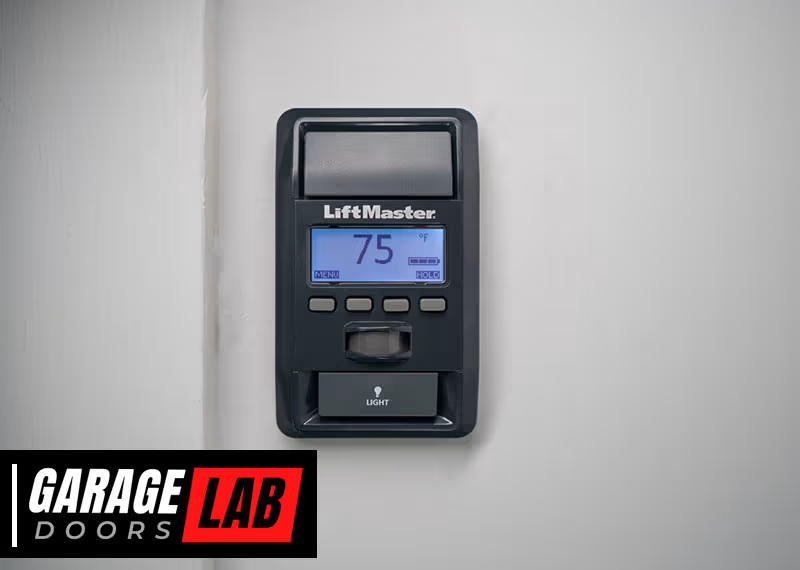
7. Wire The Wall Controls
Your opener will include a wall-mounted control (push button or panel).
- Choose a location near the door to your house, about 5 feet up—out of reach of children.
- Run the wire from the control to the opener, securing it to the wall and ceiling.
- Strip the wire ends and connect to the opener’s low-voltage terminals.
Some advanced models offer wireless controls, but most still need a wired connection for reliability.
8. Plug In And Test The System
With everything connected, plug the opener into the ceiling outlet.
- Test the opener with the wall control and remotes.
- The door should open and close smoothly. Listen for grinding or unusual noises—these indicate alignment or tension issues.
If the door doesn’t move, check power, wiring, and the safety sensors.
9. Set The Travel And Force Limits
Travel limits tell the opener how far to open and close the door. Force limits ensure the opener stops if it meets resistance.
- Use the adjustment screws or digital controls on the motor unit.
- Set the “up” (open) and “down” (close) limits so the door fully opens and shuts without straining the opener.
- Test the safety reverse by placing a 2×4 board flat on the floor under the closing door. The door should reverse when it touches the board.
Non-obvious insight: If the door doesn’t reverse, adjust the down force lower. Excess force is a major safety hazard.
10. Program Remote Controls And Keypads
Most openers include remotes and sometimes a wireless keypad.
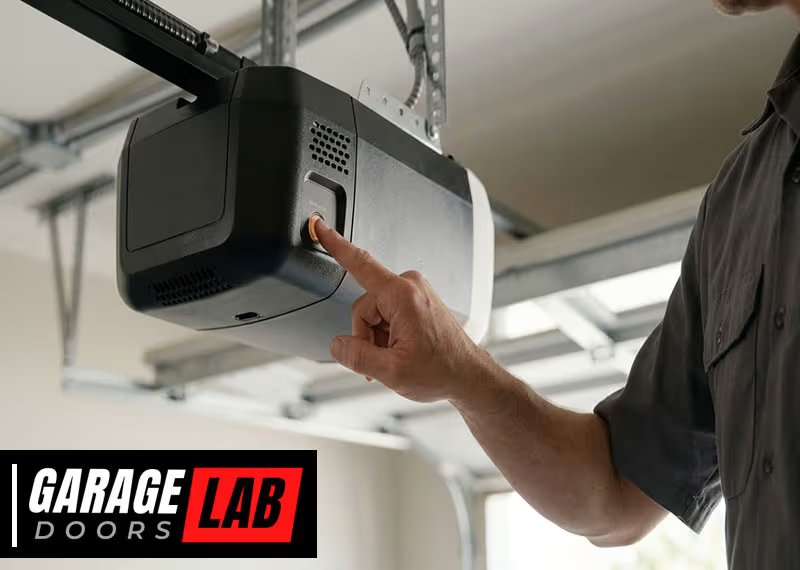
- Follow the manufacturer’s instructions to “learn” each remote. This usually involves pressing a button on the motor unit.
- For wireless keypads, set your code and test at the door.
Security tip: Change default codes immediately. Rolling code technology helps prevent hacking, but unique codes are always safer.
11. Final Inspection And Clean-up
Before calling it done:
- Check all fasteners and brackets for tightness.
- Ensure wires are neatly secured and not dangling.
- Remove tools and packaging from the area.
- Lubricate the door’s rollers and hinges with silicone spray (not grease).
Test the system several times, including the safety sensors and manual release. The door should move smoothly, stop if blocked, and reverse when needed.
Common Installation Mistakes To Avoid
Even careful DIYers can make errors during installation. Here are frequent problems and how to avoid them:
- Incorrect bracket placement: Mounting brackets to drywall only (not framing) can cause the opener to pull out.
- Skipping door balance check: An unbalanced door strains the opener and can break it quickly.
- Improper sensor alignment: Misaligned sensors prevent the door from closing or cause “phantom reversals.”
- Loose chain/belt: A loose drive system creates noise and jerky movement.
- Ignoring travel/force limits: Not adjusting these can damage the door or pose a safety risk.
- Power outlet issues: Extension cords are a fire hazard—install a proper outlet if needed.
- Not testing manual release: In a power outage, you need to open the door manually. Always test this feature.
When To Call A Professional
Some situations require expert help:
- Broken or weak springs: Garage door springs are dangerous to adjust or replace.
- Heavier-than-normal doors: Extra-large or solid wood doors often need special openers or reinforcement.
- No ceiling joists: If your garage ceiling is finished without visible joists, a pro can safely install proper supports.
- Electrical work beyond plugging in: If you need to add or move an outlet, hire a licensed electrician.
Doing it yourself saves money, but safety and long-term reliability come first. Don’t hesitate to call a qualified technician for complex jobs.
Maintenance Tips For Long-term Reliability
After installation, regular maintenance keeps your opener running smoothly:
- Lubricate rollers and hinges twice a year with silicone spray.
- Check safety sensors monthly—clean the lenses and ensure alignment.
- Test auto-reverse every few months using a board or roll of paper towels.
- Tighten brackets and bolts annually.
- Replace opener backup batteries as needed (usually every 1-2 years).
A well-maintained opener lasts longer and works more quietly. Most modern units run reliably for 10-15 years with basic care.
Comparing Diy Vs. Professional Installation
It’s natural to wonder if installing a garage door opener yourself is worth the time and effort. Here’s a quick comparison:
| Factor | DIY Installation | Professional Installation |
|---|---|---|
| Cost | $150–$400 (opener + materials) | $300–$700 (includes labor) |
| Time Required | 4–6 hours | 1–2 hours |
| Skill Needed | Moderate (basic tools and wiring) | None (done for you) |
| Warranty Coverage | Usually parts only | Parts and labor |
| Customization | Full control | Limited to standard installs |
| Risk Level | Higher (if not experienced) | Low |
DIY works well for most homeowners with some mechanical ability and patience. However, complex or custom installations are best left to professionals.
Smart Garage Door Openers: Are They Worth It?
Many new openers come with smart features like Wi-Fi connectivity, smartphone control, and integration with home automation systems. Here’s what they offer:
- Remote access: Open or close your door from anywhere using an app.
- Alerts and activity logs: Know when your garage is opened or closed, even when you’re not home.
- Voice control: Some systems work with Alexa, Google Assistant, or Apple HomeKit.
- Scheduled closing: Set your door to close automatically after a set time.
These features add convenience and peace of mind, especially if you forget to close the door. However, they do require a reliable Wi-Fi signal in your garage.
If your home uses smart devices, upgrading to a smart opener is often a good investment. For more details on smart home technology and compatibility, check this Home Automation resource.
Troubleshooting Common Problems
After installation, you may run into a few issues. Here’s how to solve the most common ones:
Opener Won’t Respond
- Check the power outlet and circuit breaker.
- Make sure the safety sensors are aligned and their indicator lights are on.
- Test the wall control and remotes separately.
Door Reverses Before Closing
- Clean the sensor lenses and ensure they’re facing each other.
- Check for obstructions in the door path.
- Adjust the down travel and force settings.
Remote Control Doesn’t Work
- Replace the battery in the remote.
- Reprogram the remote using the “learn” button on the motor unit.
- Ensure you’re within range (most remotes work up to 100–150 feet).
Opener Is Noisy
- Tighten all hardware on the opener and the door.
- Lubricate the chain, belt, or screw drive as recommended.
- Check for worn rollers or hinges.
Door Doesn’t Open Fully
- Adjust the up travel limit on the opener.
- Check for obstructions or damaged door tracks.
- Make sure the door springs are strong and balanced.
Upgrading Or Replacing An Old Opener
If you’re replacing an existing opener, the process is similar but often quicker:
- Disconnect power and remove the old unit and brackets.
- Inspect existing wiring and brackets—replace if worn or incompatible.
- Follow the installation steps above for your new opener.
- Program new remotes and test all features.
Recycling tip: Take your old opener and metal parts to a recycling center. Many municipalities accept them as scrap metal.
Table: Essential Features To Look For
With so many models available, focus on features that matter for daily use and long-term safety.
| Feature | Benefit | Why It Matters |
|---|---|---|
| Auto-Reverse | Stops and reverses door if blocked | Prevents injury and damage |
| Battery Backup | Opens door during power outages | Essential for emergencies |
| Smartphone Control | Remote monitoring & operation | Convenience and peace of mind |
| Quiet Operation | Reduces noise in attached garages | Comfort for homes with bedrooms above garage |
| Rolling Code Security | Prevents code hacking | Protects against break-ins |
Frequently Asked Questions
How Long Does It Take To Install A Garage Door Opener?
For most homeowners, installation takes about 4 to 6 hours. If you’re replacing an existing unit, it can take less time. Complex setups or electrical work may add to the total time.
Do I Need Special Tools To Put Up A Garage Door Opener?
No special tools are required—just basic hand tools like a drill, wrenches, screwdrivers, and a ladder. Some kits may require a socket set. Always check the instruction manual for any unique tool needs.
Can I Install A Garage Door Opener On Any Type Of Door?
Most standard sectional doors are compatible with openers. However, very heavy, one-piece, or custom doors may need special openers or professional installation. Always check your door’s type and weight before buying.
Why Does My Garage Door Opener Stop And Reverse Before Closing?
This usually means the safety sensors are blocked, dirty, or misaligned. Clean both sensors and ensure they face each other directly. If the problem continues, check for obstructions or adjust the opener’s force settings.
Is Professional Installation Worth The Cost?
Professional installation can be worth it for complex situations, heavy doors, or when you want a full warranty on parts and labor. For standard doors and openers, many homeowners successfully install their own opener with careful planning and basic tools.
Adding a garage door opener improves both convenience and safety. With careful preparation, the right tools, and step-by-step attention to detail, you can complete the installation yourself and enjoy years of reliable service. Taking time to understand each step and avoid common pitfalls makes all the difference—so you can enjoy the comfort of a smoothly working garage every day.