Now Reading: How to Set a Genie Garage Door Opener: Easy Step-by-Step Guide
- 01
How to Set a Genie Garage Door Opener: Easy Step-by-Step Guide
How to Set a Genie Garage Door Opener: Easy Step-by-Step Guide

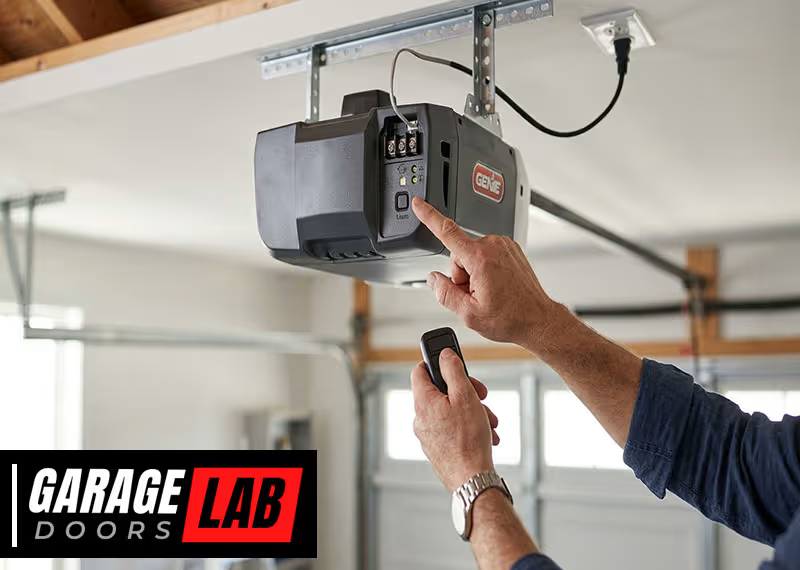
Setting up a Genie garage door opener can feel like a big project, especially if you’re not used to working with tools or electronics. But with the right guidance, you’ll discover it’s a task you can handle, even if you’re not a professional. Installing and programming a Genie opener doesn’t just add convenience; it also boosts your home’s security and safety. In this guide, you’ll learn each step, from understanding the parts to fine-tuning the settings. Along the way, you’ll find practical advice, examples, and even some troubleshooting tips that many beginners overlook.
Whether you’re replacing an old opener or installing one for the first time, this guide will help you avoid common mistakes and set up your Genie opener for years of smooth operation. Let’s dive in and make your garage door smarter, safer, and easier to use.
Understanding Your Genie Garage Door Opener
Before starting the installation, it’s important to know what you’re working with. Genie offers several models, but most share the same core features and setup process.
Genie garage door openers usually include:
- Motor unit (the main power source, often mounted to the garage ceiling)
- Rail assembly (guides the door)
- Trolley and carriage (moves along the rail, pulling or pushing the door)
- Remote controls (for wireless operation)
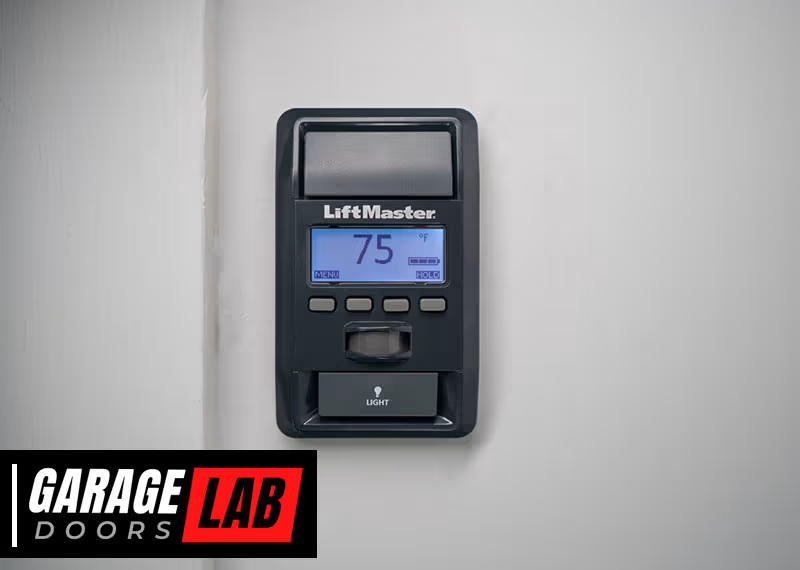
- Wall console (a control panel inside the garage)
- Safety sensors (detect obstacles, preventing accidents)
- Emergency release cord (lets you disconnect the door during a power outage)
- Mounting hardware and brackets
Understanding these parts helps you identify what’s included in your package and what tools you’ll need. Genie openers are designed for residential sectional garage doors. If your door is one-piece or unusually heavy, check your opener’s specifications to ensure compatibility.
Tools And Materials You’ll Need
Having the right tools ready will make your setup faster and safer. Here’s a quick checklist:
- Step ladder (for reaching the ceiling and the top of your garage door)
- Power drill and bits (typically 1/4” and 3/16”)
- Screwdrivers (Phillips and flathead)
- Adjustable wrench and/or socket set
- Tape measure
- Level
- Pliers
- Hammer
- Pencil or marker
- Wire strippers/cutters
- Safety glasses and work gloves
You’ll also need the mounting hardware included in your Genie opener box. If your garage is older or has non-standard framing, you may need extra wood blocks or angle iron for secure mounting.
Pre-installation Checks
Before you start, make sure your garage and door are ready. This step prevents wasted time and potential problems later.
- Test the door balance: Disconnect the opener (if one is installed) and lift the door manually. It should move smoothly and stay at any point. If it’s heavy or drops, the springs may need adjustment. Fixing these issues before installation is critical for safety.
- Check the power outlet: Genie openers need a grounded outlet within reach of the motor unit’s cord (usually 7 feet). Extension cords are not recommended.
- Clear the workspace: Remove cars, bikes, or other obstacles in the garage. You’ll need space for ladders and moving parts.
- Inspect door height and headroom: Measure the space above the door when it’s open. Most Genie openers require at least 2” of clearance between the door and the ceiling.
- Gather manuals and parts: Lay out all parts and read through the installation manual. This helps you avoid missing steps or hardware.
Assembling The Rail And Opener
Most Genie openers use a one-piece rail or a multi-section rail that you assemble. The rail guides the trolley, which moves the door.
Rail Assembly Steps
- Lay out the rail sections on the floor, connecting them in order. Pay attention to the locking tabs—they should snap into place.
- Insert the trolley/carriage into the rail before completing assembly. Some models require you to add the trolley after the rail is in place, so check your manual.
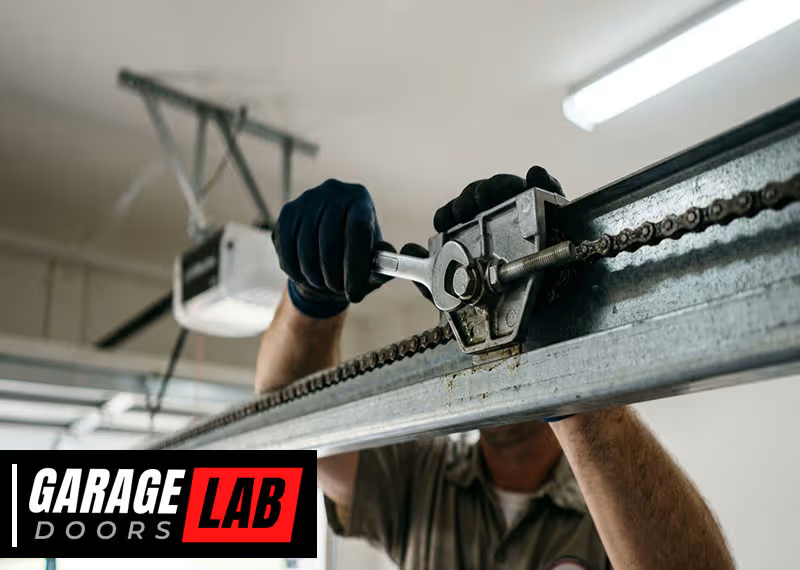
- Attach the rail to the powerhead (motor unit). This usually involves sliding the rail onto the motor unit and securing it with bolts.
- Secure the pulley assembly (if your model uses a chain or belt drive). Make sure the chain or belt is routed correctly, with the tension adjusted as described in your manual.
Here’s a simple comparison of Genie rail types:
| Rail Type | Assembly Complexity | Best For | Notes |
|---|---|---|---|
| One-piece rail | Low | Standard installations | Pre-assembled, faster setup |
| Multi-section rail | Medium | Longer doors or shipping convenience | Needs careful alignment |
Non-obvious tip: Some Genie models have a small plastic or metal insert on the rail ends to reduce noise and wear. Make sure these are in place, as missing them can cause early rail damage.

Mounting The Opener To The Ceiling
Proper mounting is key for safety and reliable operation. The motor unit must be securely fastened to the garage ceiling framing.
Steps For Mounting
- Locate the ceiling joists above your garage door. Use a stud finder or tap to find solid wood.
- Attach the mounting straps or angle iron to the joists. If the joists aren’t in the right position, install a wood support between them.
- Lift the rail and motor assembly into position. The end of the rail should line up with the center of the door.
- Secure the header bracket above the garage door. This bracket anchors the rail to the wall above the door frame. Use lag screws for strength.
- Connect the rail to the header bracket using the provided pin or bolt.
- Attach the motor unit to the mounting straps or angle iron. Use bolts and washers for a tight fit.
Check that the opener is level using a bubble level. An unlevel opener can cause uneven wear and noisy operation.
Practical tip: If your ceiling is finished with drywall, use a long drill bit to reach the joists and lag screws for secure attachment. Never mount the opener directly to drywall or thin plywood.
Installing The Door Bracket And Arm
The door bracket connects the opener to your garage door. Proper alignment is crucial for smooth operation.
- Mark the center of the garage door (top section) using a tape measure.
- Attach the bracket with the supplied screws or bolts. If your door is metal, use self-tapping screws or bolts with nuts.
- Connect the curved door arm to the bracket, then to the straight arm attached to the trolley.
- Adjust the arm position so that the door opens and closes smoothly without binding.
Some Genie models use a “quick-connect” arm, making this process faster. Always double-check that all bolts are tight.
Non-obvious insight: Overtightening the arm bolts can deform the door panel, especially on lightweight doors. Tighten just enough to hold, not to crush.
Wiring The Safety Sensors
Safety sensors are required on all modern openers. These small boxes mount near the floor on each side of the garage door, about 6 inches up.
Installing And Connecting Safety Sensors
- Mount the sensors on each side of the door, facing each other. Use the supplied brackets.
- Run the sensor wires along the wall to the opener. Use insulated staples, but don’t pierce the wires.
- Connect the wires to the opener’s sensor terminals, matching color codes (usually white and black/white).
- Align the sensors so their indicator lights are solid (not blinking). Misalignment is a common reason doors won’t close.
Here’s a quick look at Genie sensor wiring compared to other brands:
| Brand | Wire Colors | Connection Type | Sensor Indicator |
|---|---|---|---|
| Genie | Black/White, White | Screw terminals | Solid red/green light |
| LiftMaster | White, White/Black | Push-in connectors | Solid yellow/green light |
| Chamberlain | White, White/Black | Screw terminals | Solid green light |
Common mistake: Running sensor wires across open garage spaces without support. Always use staples or wire clips to keep wires neat and safe.
Installing The Wall Console And Remote Controls
Your Genie opener comes with a wall console for indoor control and wireless remotes for your car or pocket.
Wall Console Installation
- Choose a location near the garage door entry (usually 5 feet above the floor).
- Run the control wires from the console to the opener’s terminals. Avoid running these wires alongside high-voltage power lines to prevent interference.
- Connect the wires to the appropriate terminals on the opener (marked “wall control” or similar).
- Mount the console with screws.
Programming Remotes
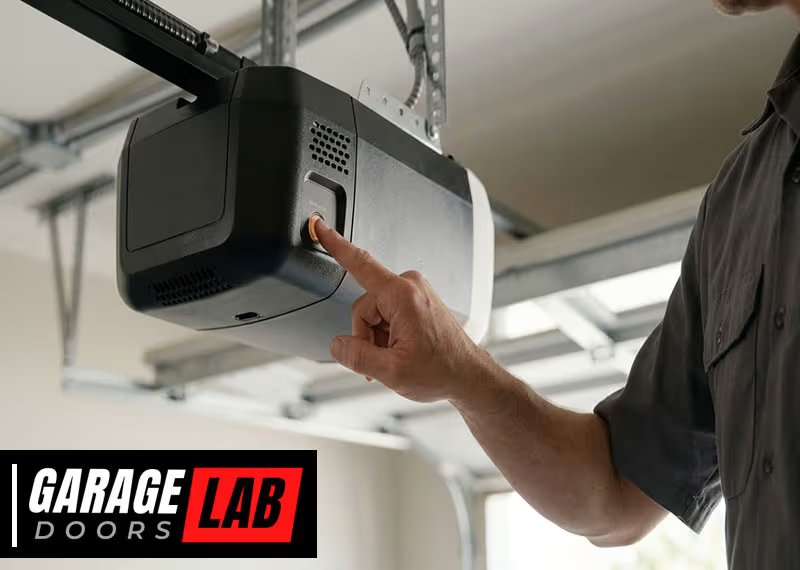
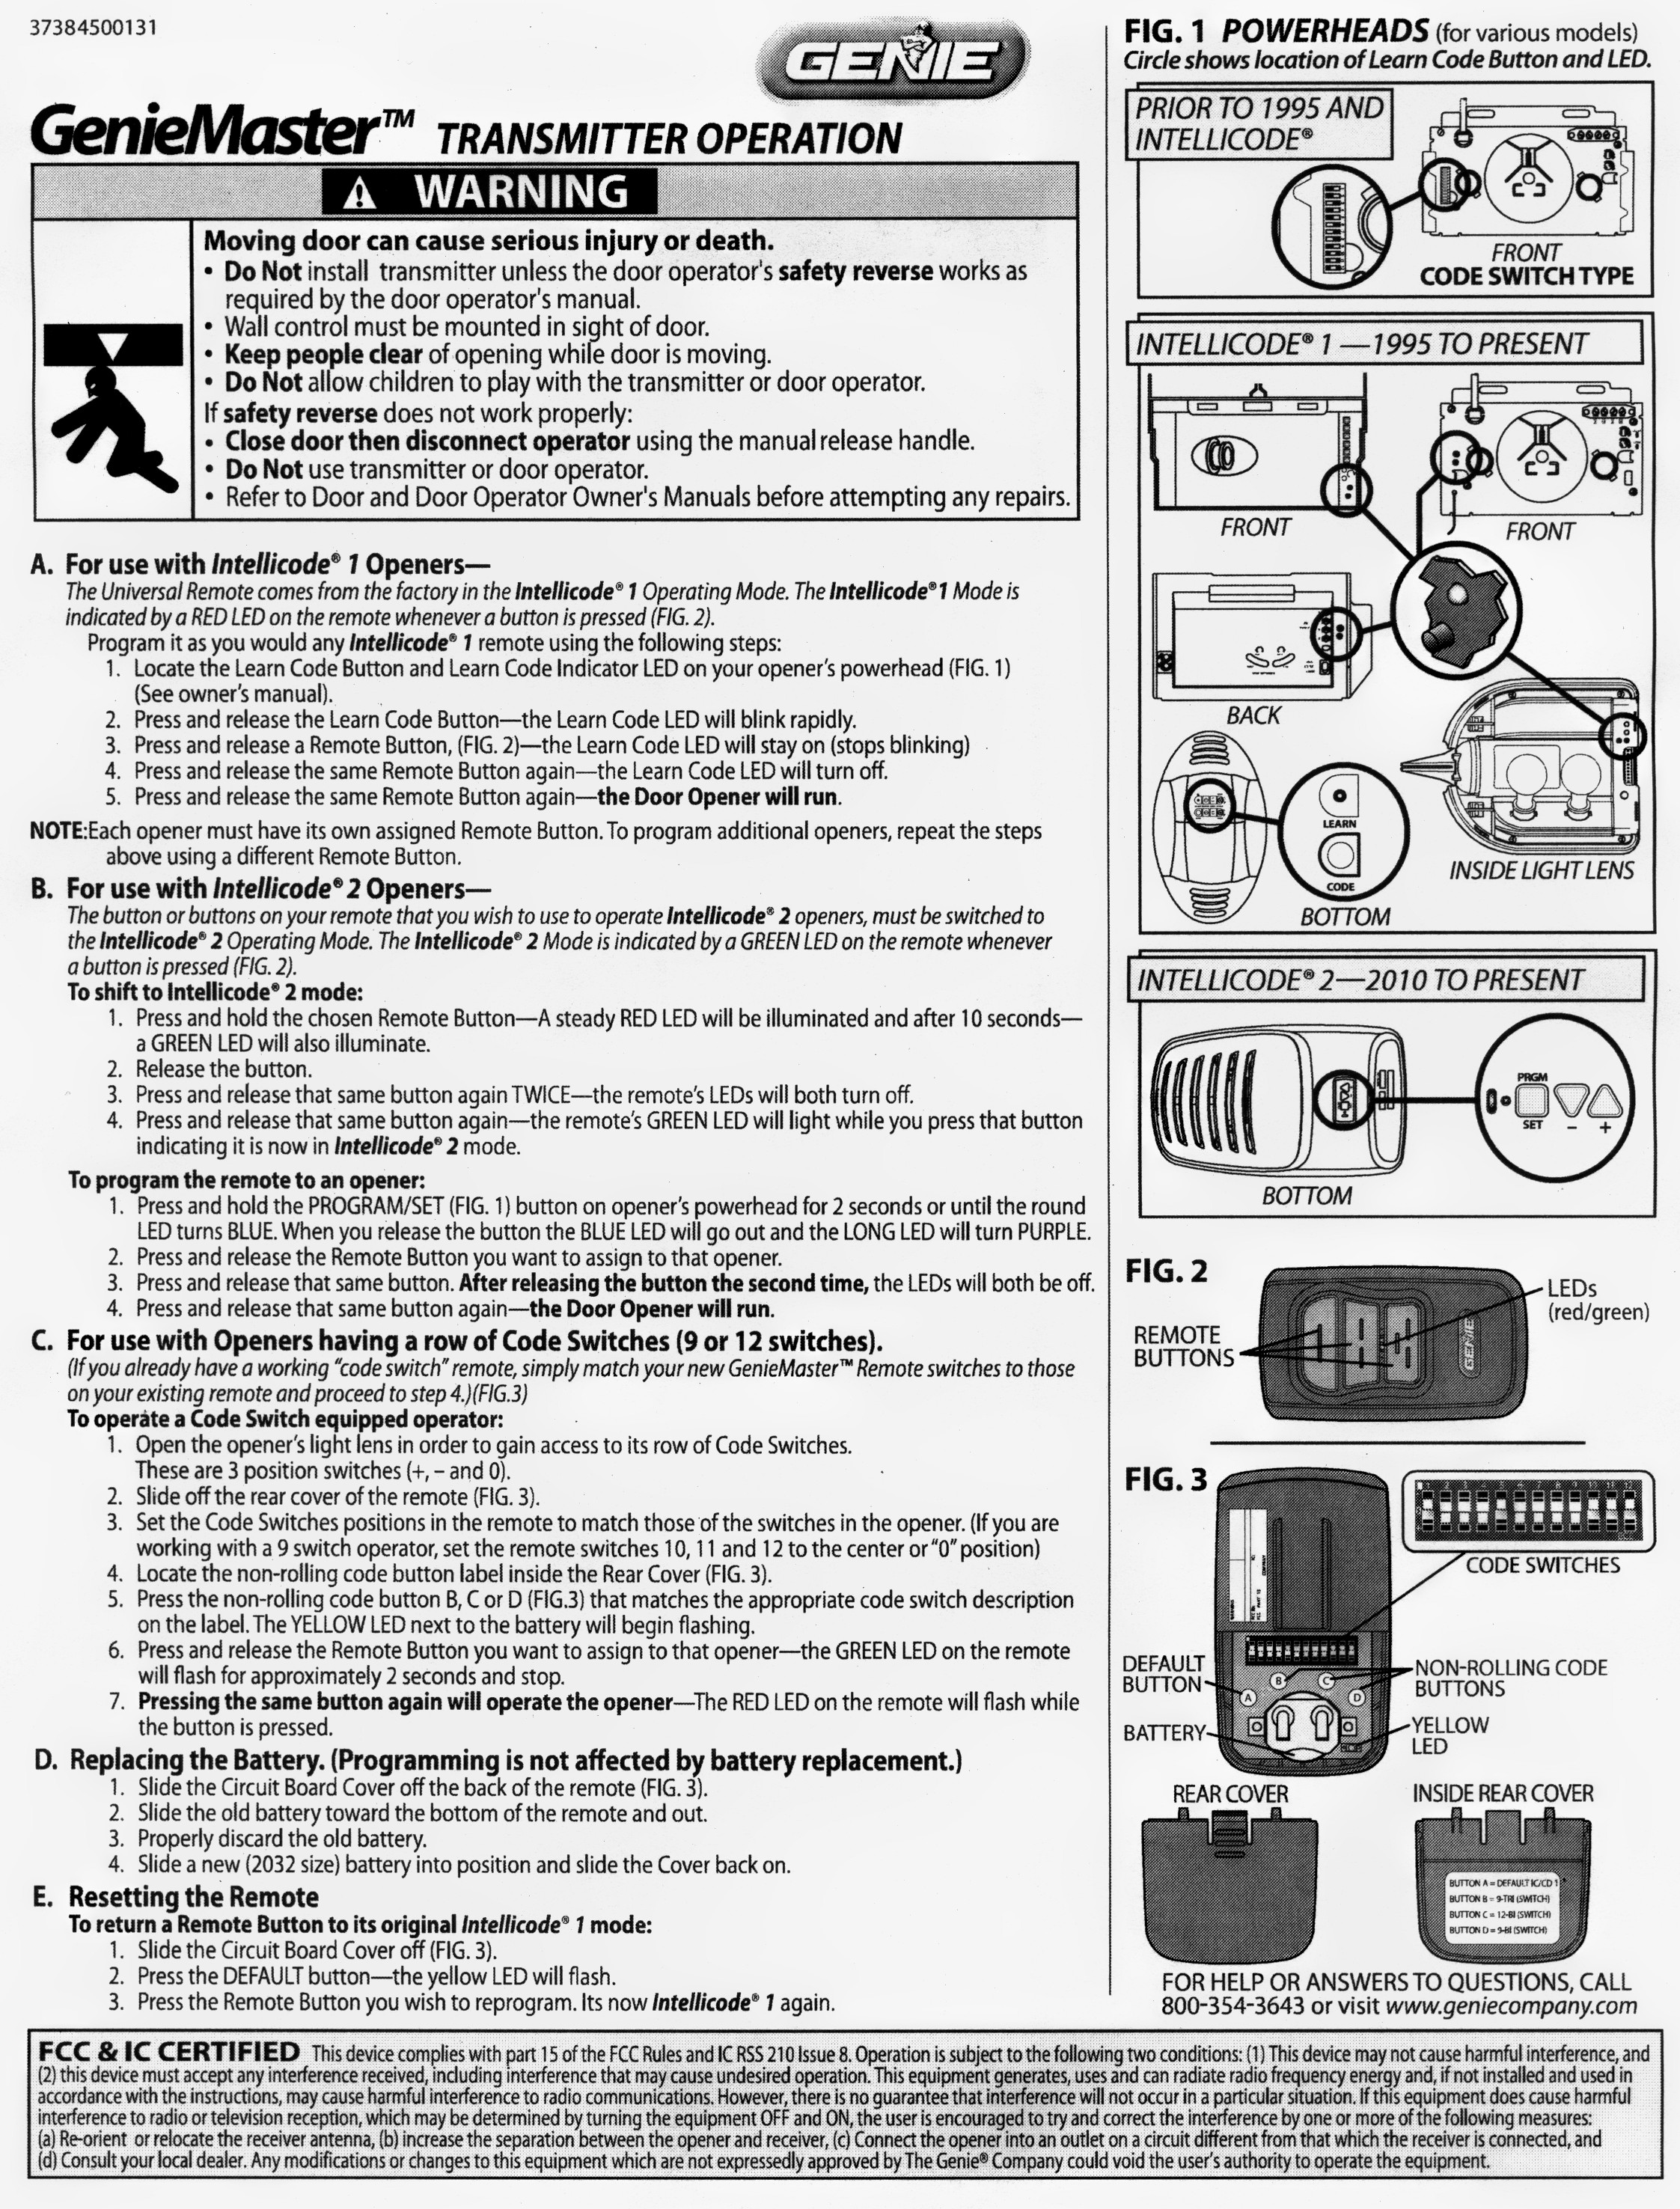
Genie remotes use a “learn” button on the motor unit.
- Press and release the learn button (usually on the back or side of the motor unit). The indicator light will blink.
- Press the button on your remote within 30 seconds. The opener light will flash or you’ll hear a click.
- Test the remote by pressing the button—your door should move.
Non-obvious insight: If you have multiple Genie openers (for different garage bays), label each remote. Mixing them up can cause confusion and accidental operation.
Setting The Travel Limits
Travel limits control how far your garage door opens and closes. Setting these is essential for safe and reliable operation.
Adjusting Travel Limits
- Locate the limit adjustment screws or dials on the motor unit. They’re usually labeled “up” and “down.”
- Open the door fully using the wall console. If it stops too soon or hits the opener, turn the “up” screw to adjust the stop point.
- Close the door and adjust the “down” screw if it stops short or presses too hard on the floor.
- Fine-tune until the door opens and closes smoothly, sealing against the floor but not straining.
Common mistake: Setting the limits too far can cause the door to jam or the opener to overheat. Make small adjustments and test each time.
Setting The Force Controls
Force controls adjust how much power the opener uses to move the door. This protects against damage if the door hits an object.
- Locate the force adjustment dials (often next to the travel limits).
- Test the opener: With the door closing, hold the bottom edge firmly (not with your feet). The door should stop and reverse when you apply pressure.
- Decrease the force if the door does not reverse easily. Increase only if the door is heavy or has stiff spots.
- Repeat the test for both opening and closing.
Practical tip: Too much force can prevent the safety sensors from stopping the door in an emergency. Always use the lowest force that reliably moves the door.
Testing The Opener
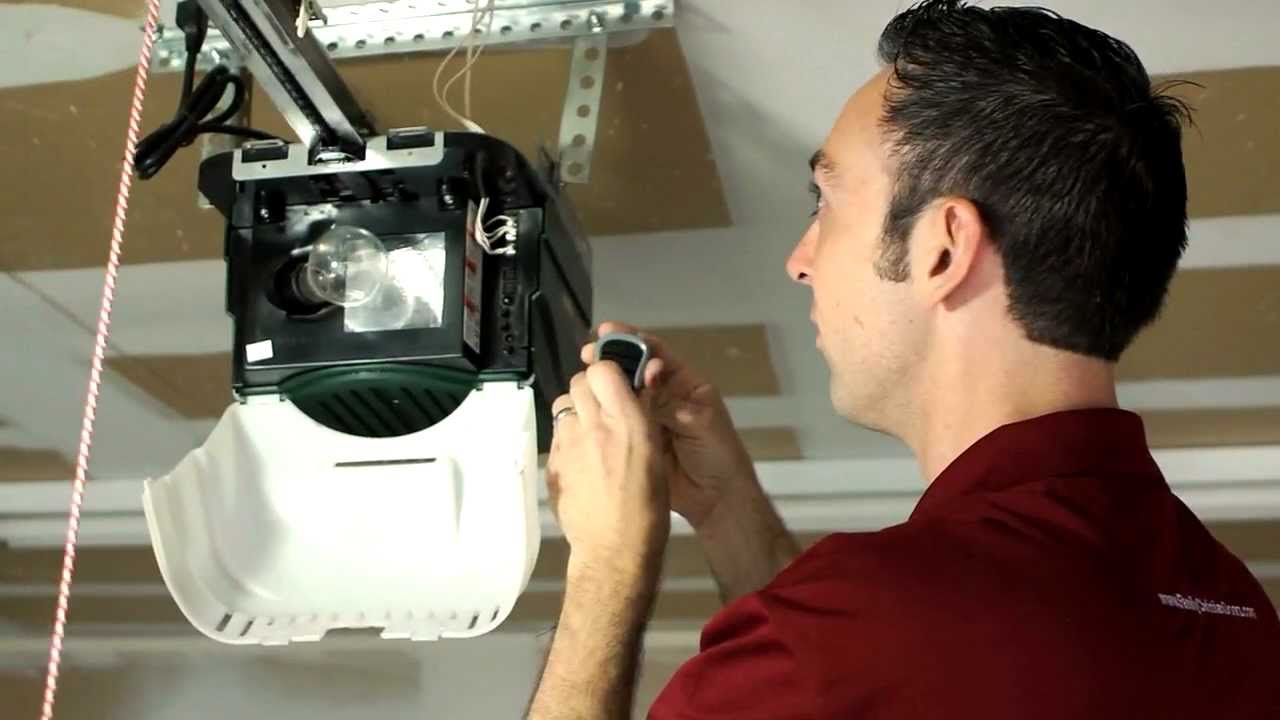
After installation, it’s time to test your work and make sure everything is working as it should.
Key Testing Steps
- Test the remote and wall console to open and close the door.
- Block the safety sensors with a box or your foot. The door should not close and the opener light should blink.
- Pull the emergency release cord with the door closed. You should be able to lift the door manually, and the opener should not move the door until the trolley is re-engaged.
- Test the auto-reverse: Place a soft object (like a roll of paper towels) on the floor in the door’s path. The door should touch it and reverse direction.
Non-obvious insight: Genie openers have a “self-diagnosis” feature. If the opener’s lights blink in a pattern or the door won’t move, count the flashes and check your manual for troubleshooting codes.
Fine-tuning And Troubleshooting
Even after installation, you may need to adjust your Genie opener for best results. Here’s how to handle common issues:
Door Doesn’t Close All The Way
- Check safety sensor alignment and wiring.
- Adjust the down travel limit as needed.
- Make sure nothing is blocking the door’s path.
Opener Makes Excess Noise
- Check that all mounting bolts are tight.
- Lubricate the rail and door rollers with garage door lubricant (not WD-40).
- Make sure the opener is level.
Remote Doesn’t Work
- Check batteries and replace if needed.
- Reprogram the remote using the learn button.
- Make sure you’re within range (usually 50-100 feet).
Opener Light Flashes
- This often means a sensor problem. Check for loose wires or misalignment.
Here’s a Genie troubleshooting reference:
| Problem | Likely Cause | Solution |
|---|---|---|
| Door reverses before closing | Sensors misaligned | Adjust sensor position |
| No response from wall console | Loose wire | Check and secure connections |
| Motor runs but door doesn’t move | Trolley disengaged | Re-engage emergency release |
| Remote not working | Unprogrammed remote | Reprogram via learn button |
Advanced Features: Wi-fi, Smart Home, And Keypads
Many newer Genie openers have Wi-Fi or smart home capabilities. Setting these up adds convenience, but requires a few extra steps.
Connecting To Wi-fi
- Download the Genie Aladdin Connect app from your phone’s app store.
- Follow the app instructions to connect your opener to your home Wi-Fi network.
- Pair your phone with the opener using the serial number or QR code on the unit.
Now, you can open or close your garage from anywhere and get alerts if the door is left open.
Adding A Wireless Keypad
A wireless keypad lets you open the garage with a code.
- Mount the keypad outside your garage, within reach but out of direct rain.
- Program the keypad by pressing the learn button on the motor unit, then entering your chosen code on the keypad.
- Test the keypad to make sure it works.
Practical tip: Change your code every year for better security.
Maintenance Tips For Long-term Performance
A Genie opener can last over 10 years with basic maintenance. Here’s how to keep it running smoothly:
- Lubricate the rail and door hardware every six months with a silicone-based garage door lubricant.
- Check the safety sensors for dust or cobwebs that can block the beam.
- Tighten all bolts and hardware yearly.
- Test the auto-reverse function every few months.
- Replace remote batteries as needed.
- Clean the opener housing and light cover to prevent overheating.
Non-obvious insight: Garage doors expand and contract with the seasons. If your door becomes noisy in winter or sticks in summer, small limit or force adjustments may help.
Safety Reminders
Genie openers are designed for safety, but improper installation can create risks. Keep these points in mind:
- Never remove or disable safety sensors. They are required by law and protect children and pets.
- Do not stand under the door while adjusting limits or force.
- Always disconnect power before working on wiring.
- Do not use the opener if the door is damaged. Fix mechanical issues first.
For more details, you can check the official Genie support page.
Frequently Asked Questions
How Long Does It Take To Install A Genie Garage Door Opener?
Most installations take 4 to 6 hours for someone with basic DIY skills. If you have help or experience, it can be done faster. Plan extra time for wiring and adjustments.
Can I Use My Old Remote Controls With A New Genie Opener?
Usually, old remotes won’t work with new Genie openers unless they use the same frequency and technology (like Intellicode). It’s best to use the remotes included with your opener or buy compatible Genie models.
What Should I Do If My Genie Opener Won’t Close The Door?
First, check the safety sensors for alignment and obstructions. Make sure the indicator lights are solid. If the problem continues, check the travel limits and force adjustments.
Is It Safe To Install A Genie Garage Door Opener Myself?
Yes, if you follow the instructions carefully and use proper safety gear. Always have someone help lift heavy parts, and never bypass safety features.
How Do I Reset My Genie Opener If It Stops Working?
Unplug the opener for 30 seconds, then plug it back in. If problems continue, press and hold the learn button for 10 seconds to erase all remotes, then reprogram them.
Setting up a Genie garage door opener may seem complex, but with patience and the right steps, you’ll soon enjoy the convenience and security of a modern, reliable system. Take your time, double-check your work, and don’t hesitate to consult the official Genie resources or a professional if you run into unusual problems.
Your garage door will thank you—and so will your peace of mind.