Now Reading: How to Setup Garage Door Opener: A Step-by-Step Guide
- 01
How to Setup Garage Door Opener: A Step-by-Step Guide

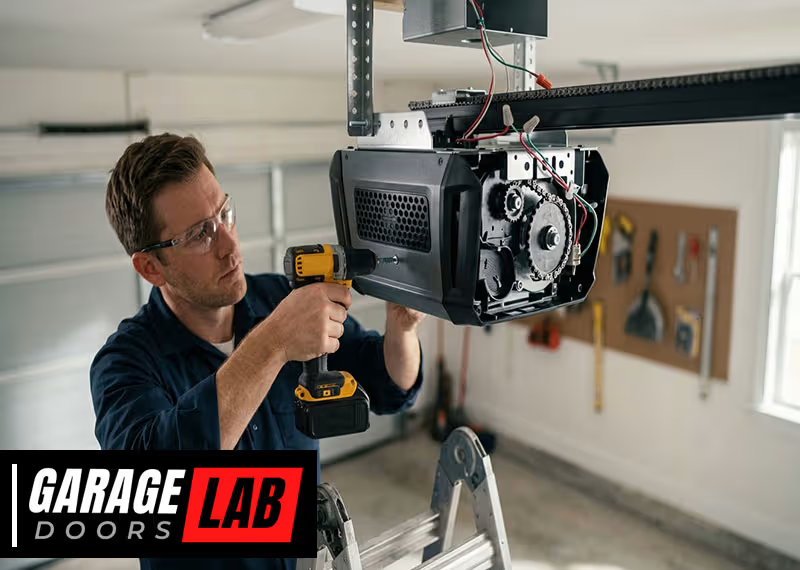
Setting up a garage door opener can feel overwhelming, especially if you have never worked with home improvement projects before. But with some patience, the right tools, and step-by-step guidance, almost anyone can install a modern garage door opener at home.
A good installation brings comfort, security, and convenience to your daily life—you can open and close your garage with just a button or even your smartphone.
In this guide, you’ll learn how to choose the right opener, prepare your workspace, and set up everything safely. We’ll cover every detail, including wiring, remote programming, and troubleshooting. Whether you’re upgrading from an old system or installing from scratch, this article gives you the clear, practical help you need.
Understanding Garage Door Openers
Before you start installing, it’s useful to know how garage door openers work. Modern openers are more than just motors: they include safety sensors, remote controls, backup batteries, and smart features. The main parts include:
- Motor unit (often mounted to the ceiling)
- Rail or track (guides the opener arm)
- Trolley (moves along the rail, pulling the door)
- Emergency release cord
- Safety sensors (stop closing if something is in the way)
- Wall switch and remote controls
Garage door openers come in several types. Here’s a quick comparison:
| Type | Noise Level | Strength | Best For |
|---|---|---|---|
| Chain Drive | Moderate to Loud | High | Heavy doors, lower cost |
| Belt Drive | Very Quiet | Medium to High | Attached garages, smooth operation |
| Screw Drive | Moderate | Medium | Low maintenance, simple design |
| Direct Drive | Quietest | Medium | Long life, low vibration |
If you have bedrooms over your garage, a belt drive or direct drive is often the best choice because of the quiet operation.
Choosing The Right Garage Door Opener
Not every opener fits every garage. Here’s what you need to consider before buying:
1. Door Size And Weight
Check your garage door’s size and material. Standard 7-foot doors work with almost any opener, but heavier, taller, or insulated doors need a stronger motor—look for 3/4 HP or more.
2. Opener Features
Modern openers offer features like:
- Wi-Fi connectivity for smart home integration
- Battery backup for power outages
- Auto-close timer
- LED lighting
- Motion detection
Decide which features you need before shopping. For example, battery backup is now required by law in some places, like California.
3. Drive Type
As shown earlier, chain drives are affordable and strong but noisy. Belt drives cost more but make less noise. Screw drives are simple but can be louder in cold weather.
4. Safety And Security
Look for openers with rolling code technology—each time you use the remote, a new code is sent, making it harder for thieves to hack. Safety sensors are required by law in the US.
5. Budget
Good openers range from $150 to $500, depending on features and strength. Don’t forget to add costs for installation accessories or professional help if you’re unsure about DIY.
Tools And Materials Needed
Before you start, gather all the tools and supplies. Missing just one tool can slow you down.
Essential tools:
- Tape measure
- Stepladder (at least 6 feet)
- Power drill with drill bits
- Screwdrivers (Phillips and flathead)
- Adjustable wrench
- Socket and ratchet set
- Hammer
- Pliers
- Level (2- or 4-foot)
- Stud finder
- Wire stripper/cutter
- Safety glasses and gloves
Materials:
- Garage door opener kit (with rail, motor, sensors, remotes)
- Mounting brackets and hardware (usually included)
- Lag screws or bolts
- Hanging straps (for ceiling support)
- Electrical wire (if needed)
- Extension cord (if outlet is far)
Pro Tip: Before starting, check that your garage door is balanced and works smoothly by hand. An unbalanced door can damage the opener and is a safety risk.
Preparing For Installation
A little preparation saves time and prevents mistakes.
1. Read The Manual
Every opener is a bit different. Read the manual fully before you start—even if you’ve installed one before.
2. Clear The Garage
Move cars, bikes, and boxes away from the work area. You’ll need space to move a ladder and parts.
3. Check Power Supply
Your opener needs its own grounded outlet. If your garage doesn’t have one near the center of the ceiling, you may need to hire an electrician. Never use extension cords as a permanent solution.
4. Examine The Door
Open and close the door by hand. It should move smoothly and stay in place when half-open. If not, call a professional to fix the springs or tracks before installing an opener.
5. Mark Mounting Points
Find the center of the garage door and mark it above the door frame. This is where the opener rail will line up. Use a level to make sure your marks are straight.
Credit: www.allstyledoor.com
Assembling The Garage Door Opener
Most openers come unassembled for easy shipping. Here’s how to put the main parts together:
- Lay out all parts from the box. Group small hardware for easy access.
- Assemble the rail by snapping or bolting sections together. Make sure they’re straight and tight.
- Attach the trolley (the moving part) to the rail.
- Connect the rail to the motor unit. This usually involves sliding the rail into a bracket and securing it with bolts.
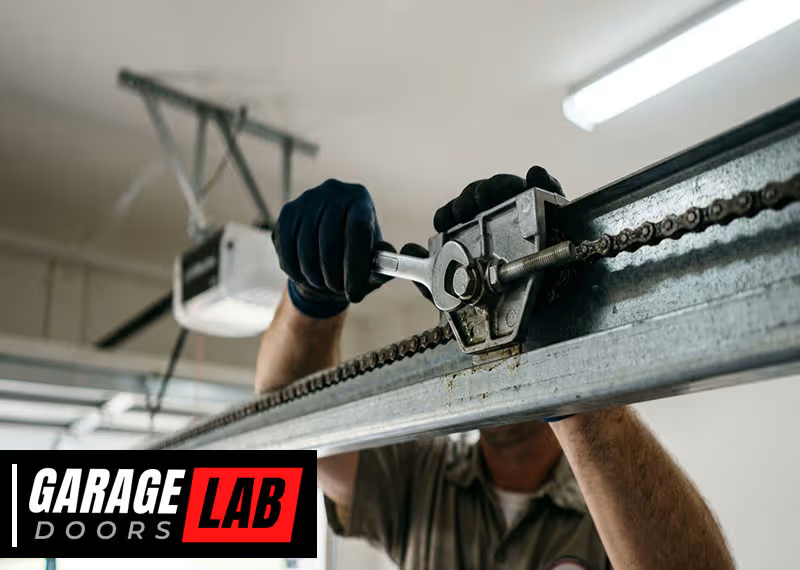
- Install the chain or belt. Follow the instructions for your model. Make sure it’s not twisted.
- Tension the chain or belt. It should be snug, not too tight or loose.
Pro Tip: Don’t plug in the opener until everything is mounted and secure.
Mounting The Opener To The Ceiling
Now it’s time to get the heavy assembly above your head, so work carefully.
1. Attach The Rail Bracket Above The Door
- Secure the header bracket to the wall above the garage door center mark.
- Use lag screws and make sure you hit a wall stud, not just drywall.
- The bracket should be at least 2 inches above the door’s highest travel point.
2. Lift And Support The Opener
- With a helper, lift the rail and rest it on a ladder so the motor unit is near the ceiling.
- Attach the front of the rail to the header bracket with the supplied pin or bolt.
3. Secure The Motor To The Ceiling
- Position the motor unit so it’s parallel to the garage door and centered.
- Use a stud finder to locate ceiling joists.
- Attach hanging straps or angle iron to the joists.
- Secure the opener to the straps using bolts—check with a level to keep the unit flat.
Pro Tip: Never mount the opener to drywall or thin plywood. It must be attached to solid framing.
Credit: www.youtube.com
Connecting The Door Arm
The door arm links the opener to your garage door.
- Attach the straight arm to the trolley.
- Connect the curved arm to the door bracket (usually already installed on the door).
- Bolt the two arms together so they form a rigid link when the door is closed.
Check your manual for the right attachment holes. The arm should allow the door to open and close fully without binding.
Installing Safety Sensors
Safety sensors are small devices that sit near the bottom of the door tracks. They stop the door from closing if something is in the way.
- Mount the sensor brackets to the inside of the door tracks, 4–6 inches above the floor.
- Attach the sensors to the brackets.
- Run the sensor wires along the wall to the opener motor unit.
- Connect the wires to the terminals on the opener—usually color-coded.
Tape or staple the wires neatly to prevent damage. Make sure sensors face each other and the lights on both are solid (not blinking).
Pro Tip: Dirty or misaligned sensors cause most opener problems. Clean and check alignment before calling for repairs.
Wiring The Wall Control And Power
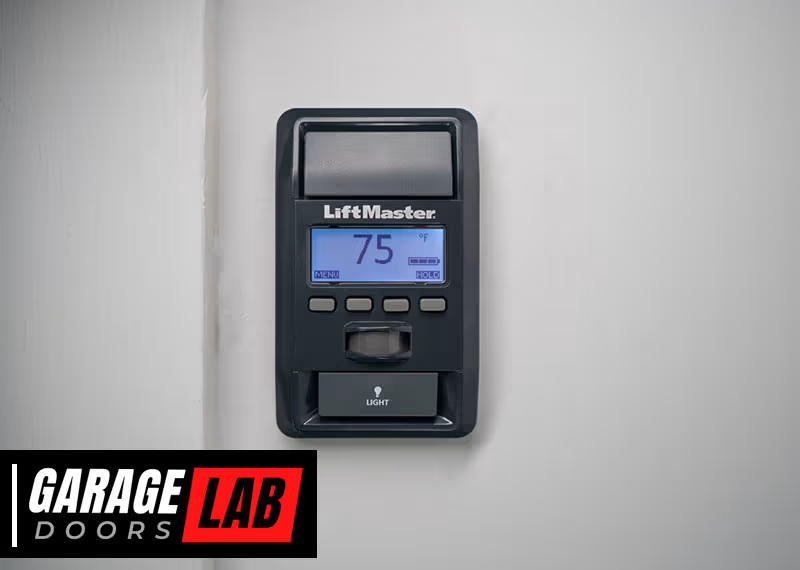
The wall control lets you open or close the door from inside the garage.
1. Mount The Wall Button
- Pick a spot at least 5 feet above the floor, out of reach of children.
- Screw the wall button to the wall near the door to your house.
2. Run The Control Wires
- Route the thin wire from the wall button to the opener along the wall and ceiling.
- Staple the wire every few feet—use only insulated staples to avoid cutting the wire.
- Strip the wire ends and connect them to the correct terminals on the opener.
3. Plug In The Opener
- Plug the power cord into the grounded ceiling outlet.
- Don’t use an extension cord as a permanent solution.
- If your garage lacks an outlet, call an electrician.
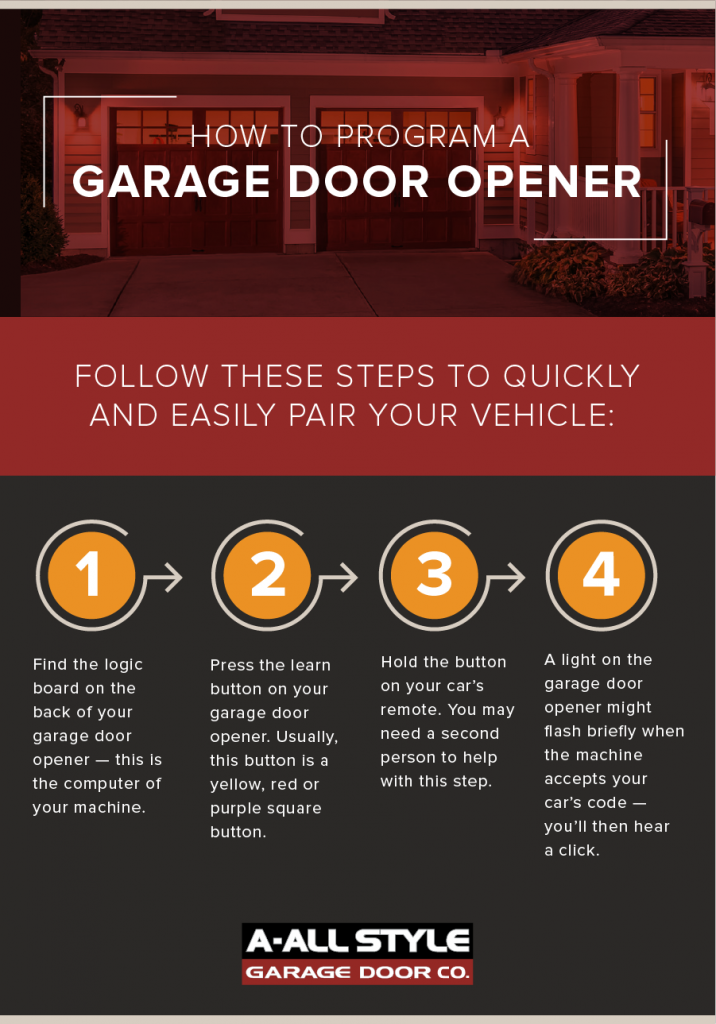
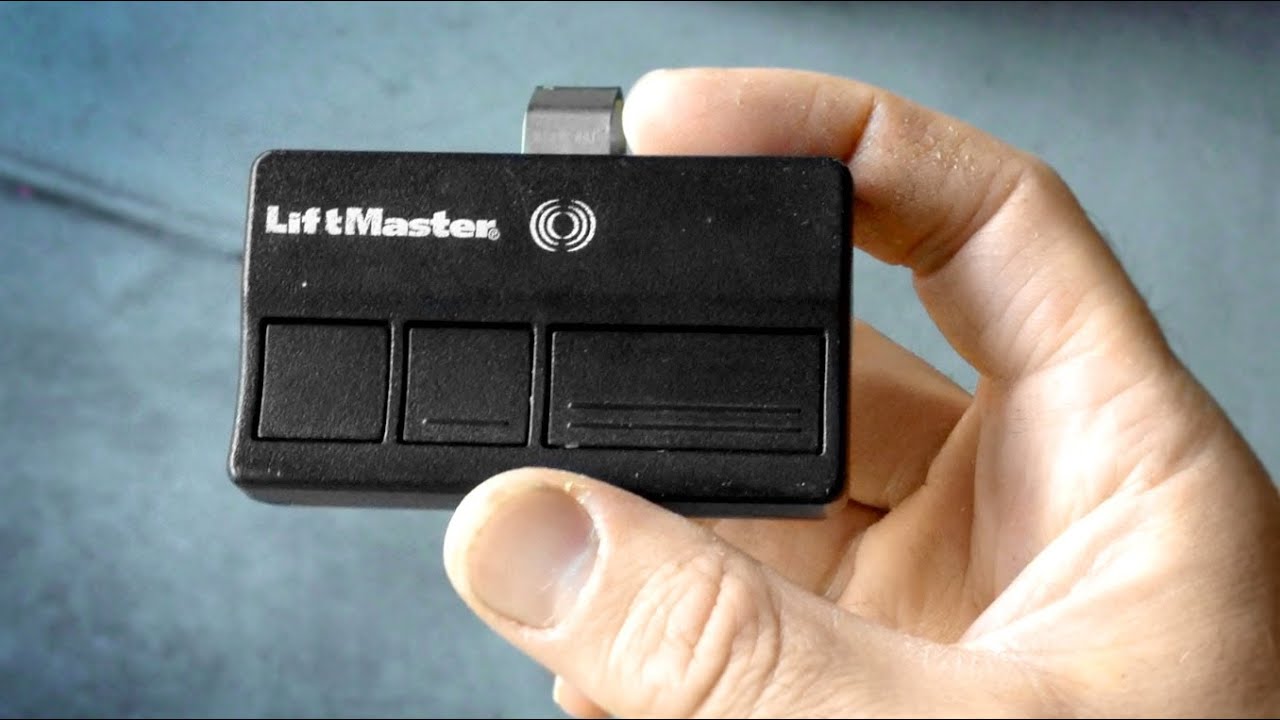
Programming Remotes And Keypads
Most openers include wireless remotes and sometimes a keypad for outside access.
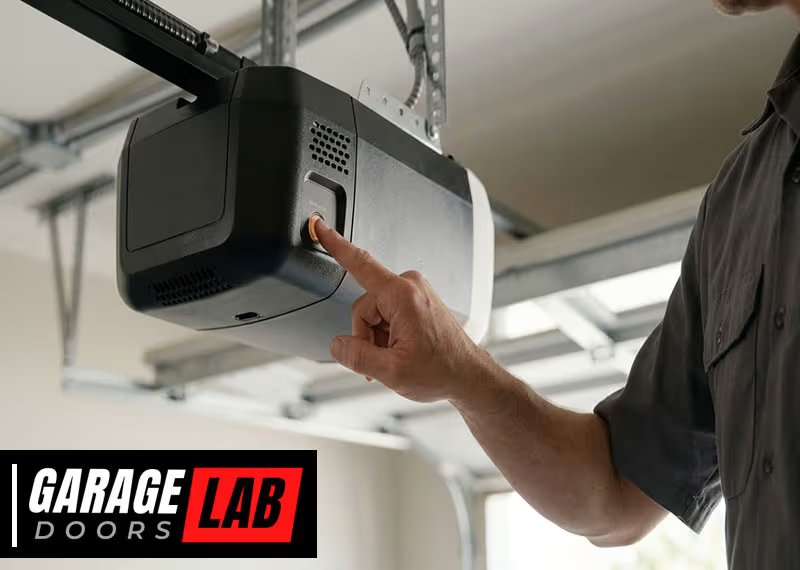
- Press the “Learn” button on the opener motor unit.
- Within 30 seconds, press the button on your remote or enter a code on the keypad.
- The opener light blinks to confirm programming.
Test all remotes and keypad codes to make sure they work from outside the garage.
Pro Tip: Change the access code every few years to increase security.
Adjusting And Testing The Opener
With everything installed, adjust the opener to fit your door’s travel and force.
1. Set The Travel Limits
- Open and close the door using the wall button.
- If the door does not fully open or close, adjust the up and down travel screws or buttons on the motor unit.
- Check that the door stops just above the floor and does not slam shut.
2. Set The Force Controls
- Force controls stop the door if it hits something.
- Adjust the “up” and “down” force as needed—too much force is dangerous and can damage the door.
3. Test The Safety Reverse
- Place a small object (like a 2×4) under the door.
- The door should reverse when it touches the object.
- If not, adjust the force and test again.
4. Test The Sensors
- Start closing the door, then wave your hand between the sensors.
- The door should stop and reverse.
Regular testing keeps your opener safe for children and pets.
Common Problems And Troubleshooting
Even with careful installation, you might face some issues. Here are the most common, with solutions.
| Problem | Possible Cause | Solution |
|---|---|---|
| Door won’t close | Misaligned sensors | Check sensor lights, realign if needed |
| Remote not working | Dead battery, not programmed | Replace battery, reprogram remote |
| Opener runs but door doesn’t move | Disconnected trolley | Reconnect emergency release |
| Door reverses before closing | Obstruction, force set too low | Clear path, adjust down force |
| Door slams shut | Travel limit set wrong | Adjust down travel limit |
Insight: Many beginners forget to remove the shipping lock on the trolley, which can prevent the opener from working. Also, always check the power outlet with another device before assuming the opener is broken.
Safety Tips For Diy Installation
Installing a garage door opener involves heavy parts and electrical work. Follow these safety tips:
- Disconnect the garage door spring only if you are trained—springs are under high tension and can cause injury.
- Turn off power at the breaker when working with wiring.
- Wear safety glasses when drilling or working overhead.
- Use a sturdy ladder and avoid standing on the top step.
- Follow local codes for wiring and installation.
Non-obvious tip: Don’t rush the final testing. Take time to test the safety reverse and force settings multiple times. Many accidents happen because installers skip these tests.
Smart Garage Door Openers
Many new openers can connect to your Wi-Fi and be controlled by your smartphone. Features include:
- Remote open/close from anywhere
- Alerts if you forget to close the door
- Integration with smart home systems like Alexa or Google Assistant
To set this up:
- Download the manufacturer’s app (like MyQ or Aladdin Connect).
- Follow app instructions to connect the opener to your Wi-Fi.
- Create an account and link your devices.
Example: With a MyQ-compatible opener, you can check if your door is open and close it while you are away from home. This helps if you forget to close the garage at night.
If your opener isn’t “smart,” you can often add a smart controller for $50–$100.
For more details about smart home garage openers, see this resource from Consumer Reports.
Maintenance After Installation
A good installation is only the beginning. Regular maintenance keeps your opener safe and quiet.
- Lubricate moving parts (chain, belt, rollers, hinges) every 6 months with garage door lubricant.
- Check sensor alignment monthly.
- Test safety reverse every season.
- Tighten bolts and screws as needed.
- Replace remote batteries when range drops.
Insight: Many people ignore opener noise. If your opener gets louder over time, it’s usually a sign that parts need cleaning or lubrication, not replacement.
When To Call A Professional
While most people can install a garage door opener with basic tools, some situations need an expert:
- Your garage door is very heavy or damaged
- The ceiling joists are hard to access or weak
- You need new electrical outlets or wiring
- You have trouble setting travel or force limits
A professional can usually install an opener in 2–3 hours and can offer a warranty on their work.

Credit: localgaragedoors.co
Frequently Asked Questions
What Horsepower (hp) Opener Do I Need For My Garage Door?
For single-car, non-insulated doors, a 1/2 HP opener is usually enough. Heavier or double doors need 3/4 HP or more. If your door is made of solid wood or is larger than 8 feet tall, always choose a stronger model.
Can I Install A Garage Door Opener By Myself?
Yes, most openers are designed for DIY installation. You should have basic tools and feel comfortable working on a ladder. If you have electrical or heavy lifting concerns, ask for help.
Why Won’t My Garage Door Opener Close The Door?
The most common reason is misaligned safety sensors or an object blocking the sensors. Check the sensor lights and clear any obstructions. If the problem continues, check the force and travel settings.
How Long Does It Take To Install A Garage Door Opener?
For most people, installation takes 4–6 hours, including assembly, mounting, wiring, and testing. If you have help or previous experience, it may take less time.
Is Wi-fi Or Smart Control Worth It?
Smart openers let you control your door from anywhere and send you alerts. They are helpful if you travel often or want extra convenience and security. Most new models include smart features or can be upgraded later.
Setting up a garage door opener is a practical way to improve your home. With the steps above, you can complete the job safely and enjoy the convenience for years to come. Take your time, follow instructions, and don’t be afraid to ask for help if needed.