Now Reading: How to Sync Garage Door Opener With Remote in Minutes
- 01
How to Sync Garage Door Opener With Remote in Minutes

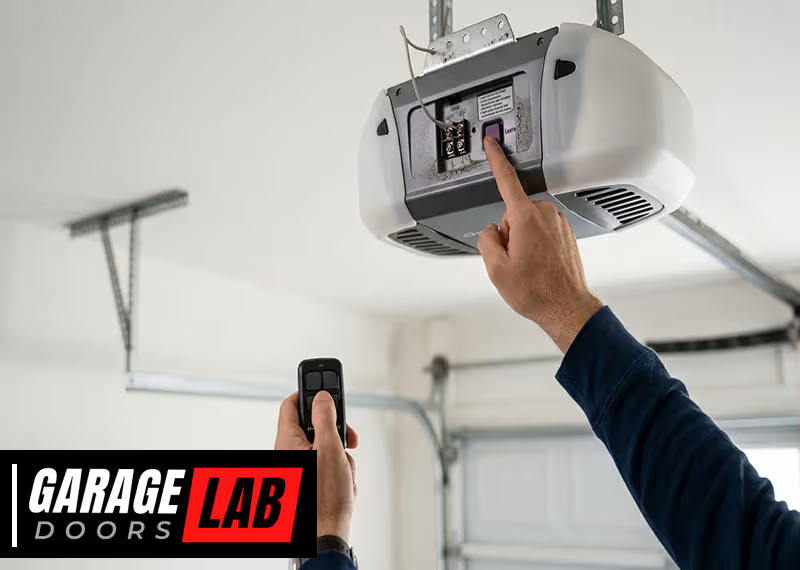
Syncing your garage door opener with a remote may seem technical, but it’s a task most homeowners can handle with a bit of guidance. Whether you’re setting up a new remote, replacing an old one, or troubleshooting connection issues, knowing how to sync your opener ensures smooth, secure access to your garage. In this guide, you’ll find step-by-step instructions, practical advice, and expert tips to get your garage door opener and remote working together reliably. You’ll also discover common mistakes, ways to keep your system secure, and answers to the most frequent questions. With clear explanations and easy-to-follow steps, you’ll feel confident tackling this project—even if English isn’t your first language.
Understanding Garage Door Opener Systems
Before you start syncing, it’s important to know what kind of garage door opener system you have. There are several common types:
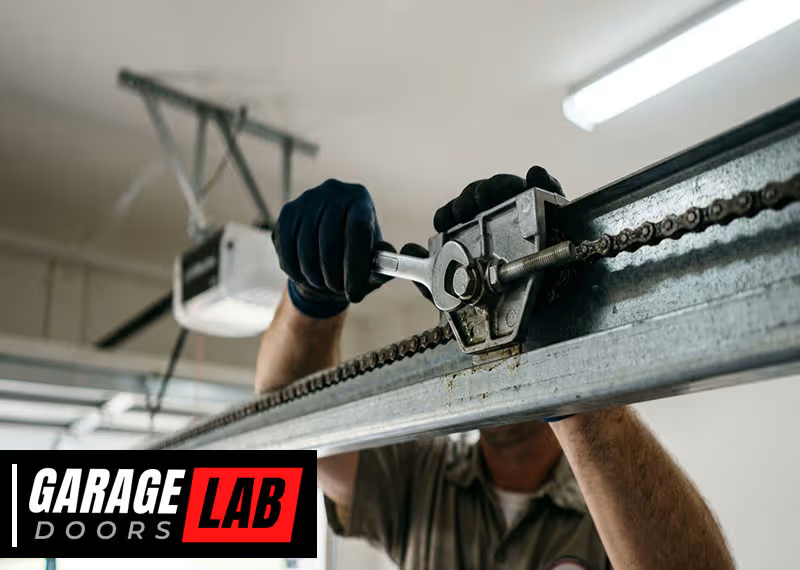
- Chain drive openers: Use a metal chain to move the door.
- Belt drive openers: Use a rubber belt; quieter than chain drives.
- Screw drive openers: Use a threaded steel rod.
- Direct drive openers: The motor itself moves along the rail.
Most modern systems use wireless remotes that communicate with the opener using radio frequencies (RF). The remote sends a coded signal to the opener, which responds by opening or closing the door.
Why Syncing Is Necessary
Each remote and opener must share the same security code or frequency. This prevents others from using their remote to open your garage. If you lose a remote, buy a new one, or install a new opener, you need to sync them so they “recognize” each other.
Security Features To Consider
Many newer openers use rolling code technology. This means every time you use the remote, the code changes. This makes it much harder for thieves to copy your signal. If your opener uses fixed codes, consider upgrading for better security.
Tools And Preparation
Syncing your garage door opener doesn’t require special tools, but being prepared helps:
- Your garage door opener manual (for specific steps)
- The remote to be synced
- A ladder (if your opener is mounted high)
- A pen and paper (to note model numbers or codes, if needed)
- A flashlight (for dark garages)
Safety First
Always make sure the area around your garage door is clear. Never stand directly under the door while working. Unplug the opener if you need to work on internal parts, but for syncing remotes, this usually isn’t necessary.

Step-by-step Guide: How To Sync Garage Door Opener With Remote
The syncing process varies by brand and model, but most follow a similar pattern. Here’s a general approach, which you should adapt to your specific system:
1. Locate The Learn Button
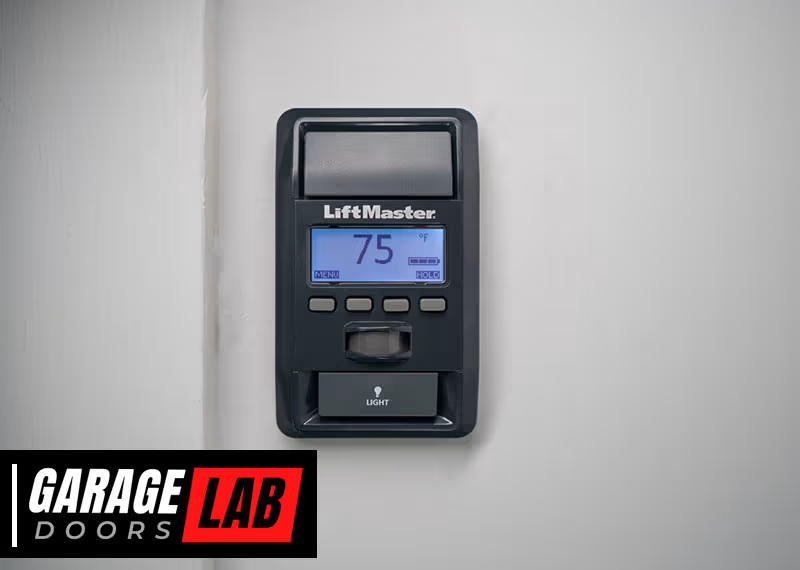
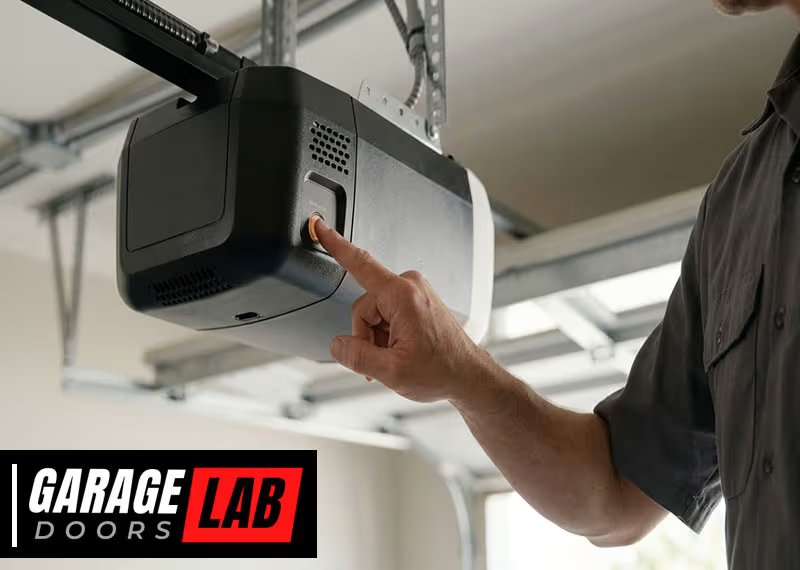
Most garage door openers have a Learn button. This is usually found on the back or side of the opener motor (the box hanging from your ceiling). The button might be labeled “Learn,” “Program,” or have a symbol like a lightbulb.
- For LiftMaster, Chamberlain, and Craftsman: The button is often under a light cover.
- For Genie: The button may be red, purple, or black.
Check your manual if you can’t find it.
2. Prepare The Remote
Make sure your remote has fresh batteries. Weak batteries can cause syncing to fail or make your remote unreliable. Some remotes have a small LED light that glows when you press a button—if it’s dim or doesn’t light, replace the battery.
3. Press The Learn Button
Climb your ladder carefully. Press and release the Learn button on the opener. A small indicator light should turn on and stay lit for 30 seconds. This means the opener is ready to learn a new remote.
- Do not hold the button down unless your manual says to (holding too long can erase all programmed remotes).
4. Press The Remote Button
Within 30 seconds of pressing the Learn button, press the main button on your remote. Hold it for a few seconds. The opener’s light may blink, or you may hear a click—both signal a successful sync.
Some openers can store multiple remotes. Repeat this process for each remote you want to add.
5. Test The System
Step down from the ladder. Stand a safe distance from the door and press your remote. The door should open or close. If it doesn’t, repeat the process or check troubleshooting tips below.
6. Syncing Keypads And Additional Devices
If you have a wireless keypad, the process is similar—press the Learn button, then enter your desired code on the keypad within 30 seconds.
For car-integrated remotes (like HomeLink), you may need to hold the in-car button and the remote together until the car “learns” the code, then press the Learn button on the opener and repeat.
Common Brands: Specific Instructions
While most openers work similarly, some brands have unique steps. Here are summaries for several major brands. Always consult your manual for details.
Liftmaster, Chamberlain, And Craftsman
These brands share similar technology.
- Find the Learn button (usually under the light cover).
- Press and release it. Indicator light turns on.
- Within 30 seconds, press and hold the remote button.
- Light blinks or clicks; remote is synced.
Genie
- Locate the Learn or Program button (usually on the back).
- Press and hold until the indicator light turns on.
- Release the button.
- Within 30 seconds, press the remote button.
- The opener light blinks; remote is ready.
Overhead Door
- Similar to Genie (they share technology).
- Press and release the Learn button.
- Within 30 seconds, press the remote button.
- Opener confirms with a light or sound.
Marantec
- Requires a programming connector or “jumper.”
- Connect the new remote to a working remote with the jumper.
- Press the button on the working remote until the LED blinks.
- Press the same button on the new remote.
- Test both remotes.
Older Openers With Dip Switches
Some very old openers (usually before 1993) use DIP switches—tiny switches inside the remote and opener that set the code.
- Open the battery cover on the remote.
- Find the DIP switches in the opener and the remote.
- Match the pattern (up/down) exactly.
- Close the covers and test the remote.
> Insight: Newer remotes may not work with very old openers. Sometimes, you need a special “universal” remote or an external receiver.
Troubleshooting: When Syncing Doesn’t Work
Syncing a remote should take only a minute, but sometimes issues come up. Here’s how to handle common problems:
Remote Not Responding
- Check the batteries: Replace with new ones.
- Distance: Stand closer to the opener.
- Interference: Electronics, LED bulbs, or metal can block signals.
- Obstructions: Make sure nothing blocks the opener’s antenna.
Learn Button Issues
- No light: The Learn button may be broken, or the opener isn’t plugged in.
- Button stuck: Gently clean around the button.
Too Many Remotes
Most openers can store 4-7 remotes. If you reach the limit, the opener may not accept new remotes until you erase an old one.
- To erase all remotes: Hold the Learn button for about 6-10 seconds until the indicator light turns off. This removes all paired remotes, so you’ll need to re-sync each one.
Remote Works Intermittently
- Weak signal: Try a new battery.
- Antenna position: The opener’s antenna wire should hang down freely.
- RF interference: Some home devices may interfere; try unplugging nearby electronics.
Door Doesn’t Move
- Manual lock engaged: Some garage doors have a manual lock.
- Safety sensors: Make sure the sensors near the ground are clean and aligned.
> Tip: Don’t forget to check your opener’s manual or search for your model online for brand-specific advice. The manufacturer’s website often has videos and FAQs.
Extra Security: Deleting Lost Or Stolen Remotes
If you lose a remote, it’s important to erase all stored remotes from your opener. This prevents someone from using a found remote to access your garage.
- Hold down the Learn button for about 6-10 seconds until the indicator light goes out.
- This erases all remotes and keypads.
- Reprogram only the remotes you still have.
How To Sync Garage Door Opener With Your Car
Many vehicles have built-in garage door remote buttons (like HomeLink or Car2U systems). Syncing these with your opener is a bit different:
- Clear old codes: Hold the two outer car remote buttons until the indicator light flashes (about 20 seconds).
- Program the button: Hold the car button you want to use and your handheld garage remote together, pressing both until the car’s indicator light changes (usually flashes or turns solid).
- Sync with opener: Press the Learn button on your garage opener. Within 30 seconds, press the programmed car button for 2-3 seconds.
- Test: The garage door should operate.
Some openers, especially newer rolling code types, require you to repeat the last step twice.
> Non-obvious insight: Some cars require the ignition to be on during programming. Also, some openers and car remotes are not compatible; check both manuals for a compatibility list.
Comparing Garage Door Opener Technologies
To help you understand your opener and remote system, here’s a comparison of the most common garage door opener technologies:
| Type | Noise Level | Maintenance | Security | Cost |
|---|---|---|---|---|
| Chain Drive | High | Medium | Good | Low |
| Belt Drive | Low | Low | Good | Medium |
| Screw Drive | Medium | Low | Good | Medium |
| Direct Drive | Very Low | Low | Excellent | High |
Universal Remotes Vs Brand-specific Remotes
When replacing or adding a remote, you might consider a universal remote. Here’s how they compare to brand-specific models:
| Feature | Universal Remote | Brand-Specific Remote |
|---|---|---|
| Compatibility | Works with many brands/models | Works only with the same brand/model |
| Price | Usually less expensive | Often more expensive |
| Programming | May require extra steps | Simpler, direct syncing |
| Availability | Widely available | May need to order from manufacturer |
> Practical tip: Universal remotes are handy if you have multiple brands of openers at home or lost your original remote. But always check compatibility before buying.
Smart Garage Door Openers And Wireless Syncing
Modern technology has introduced smart garage door openers. These can connect to your smartphone or home automation system (like Alexa or Google Home). Syncing usually involves downloading an app and following on-screen instructions, not just pressing a button.
- Wi-Fi connection: You connect the opener to your home Wi-Fi.
- App control: Use your phone to open or close the garage from anywhere.
- Notifications: Get alerts if your garage is left open.
Some smart openers can still use traditional remotes, but syncing a smart system may require different steps.
> Non-obvious insight: If your Wi-Fi is weak in the garage, syncing and operation may fail. Consider installing a Wi-Fi range extender for reliable connection.
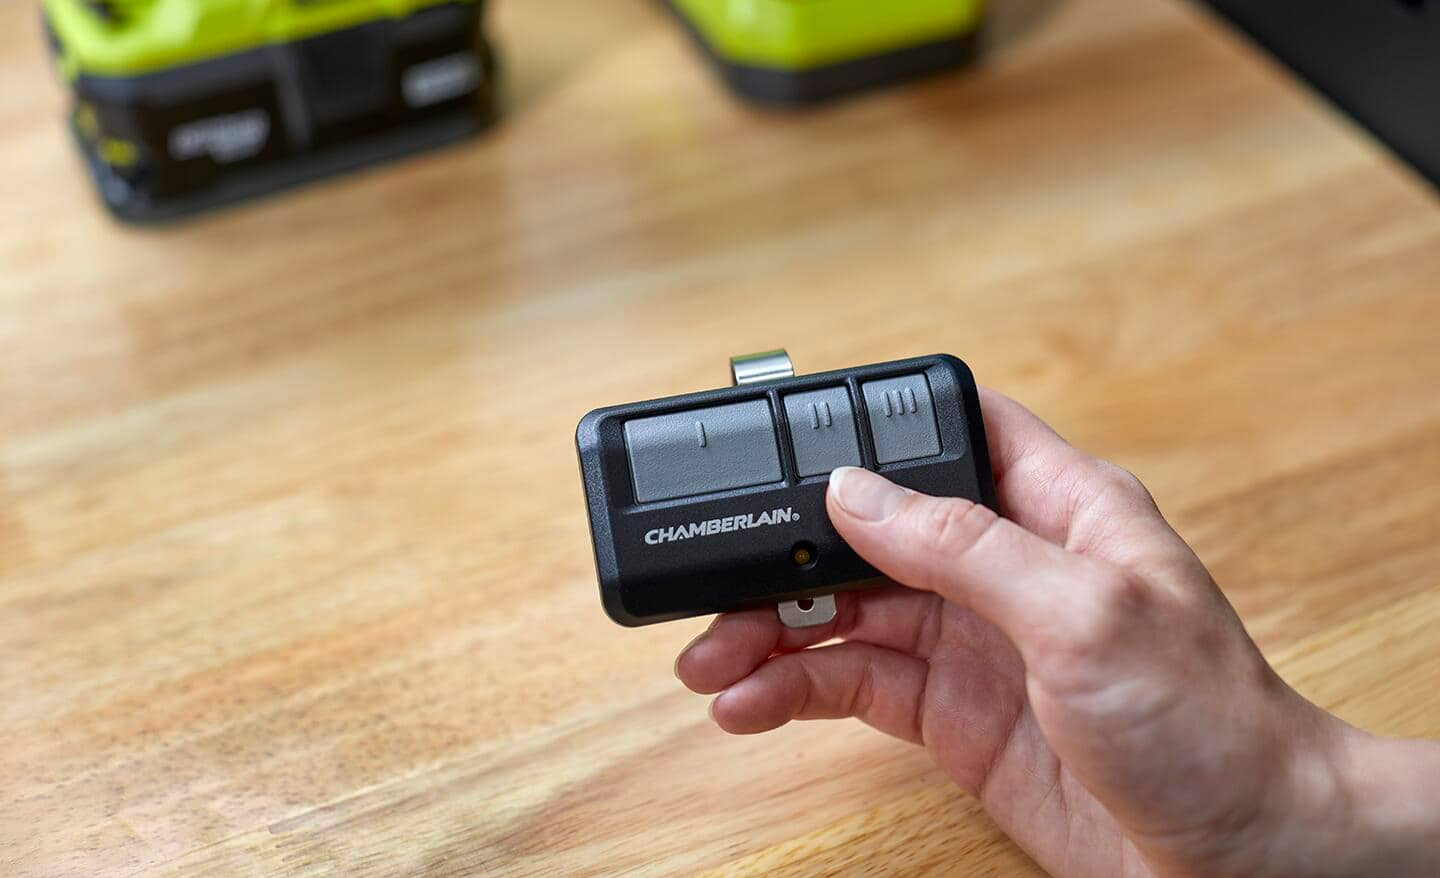
Maintaining Your Garage Door Remote System
Syncing is just the first step. Keeping your system reliable and secure requires regular maintenance:
- Replace batteries every 1-2 years, or sooner if range drops.
- Clean the opener’s antenna and remote contacts to prevent dust buildup.
- Test all remotes monthly to ensure they’re working.
- Check safety sensors and auto-reverse functions—these protect children and pets.
If you move to a new house, always reprogram the opener to remove old remotes.
Security Tips For Garage Door Remotes
Your garage is often a main entry point to your home. Keep it secure:
- Don’t leave remotes in your car if parked outside.
- Erase all remotes if you lose one or move.
- Upgrade to rolling code openers for better protection.
- Install a keypad for keyless entry—change the code regularly.
- Lock the door to your house from the garage.
Real-world Examples And User Experiences
Many people underestimate how easy it is to accidentally “unsync” a remote by holding the Learn button too long. One homeowner, after a power outage, found none of his remotes worked. It turned out he’d erased them by mistake while troubleshooting.
After reprogramming each remote, everything worked again.
Another user installed a smart opener but struggled with weak Wi-Fi. By moving the router closer and using a range extender, syncing was finally successful.
> Expert advice: Always keep a spare battery and backup remote. In emergencies—like power outages—you may need to operate the door manually, so know how to pull the emergency release cord.
How Long Does Syncing Take?
Most syncing processes take less than 5 minutes per remote. The only time it may take longer is if you’re erasing all remotes or setting up a smart system for the first time.
When To Call A Professional
While most people can sync a garage door opener and remote themselves, call a professional if:
- The opener is very old or damaged.
- The Learn button is broken.
- You suspect electrical problems.
- You want to upgrade to a new, safer system.
Professional installers can also set up advanced systems, like keypads or smartphone integration, and ensure everything works perfectly.
Most Common Mistakes When Syncing Remotes
- Holding the Learn button too long: This erases all remotes, not just syncing a new one.
- Not pressing the remote button in time: Most openers only stay in “learn mode” for 30 seconds.
- Weak batteries: Old batteries cause syncing to fail.
- Standing too far from the opener: Always be within a few feet when syncing.
- Forgetting to test after syncing: Always check your work before finishing.

Safety Features And Regulations
Since 1993, US federal law requires all garage door openers to have auto-reverse safety sensors. These prevent the door from closing if something is in the way. If syncing fails, make sure your sensors are clean and aligned.
For more on safety standards, check the Consumer Product Safety Commission.
Garage Door Opener Remote Range Comparison
The range of your remote can vary. Here’s a quick comparison:
| Remote Type | Typical Range (ft) | Factors Affecting Range |
|---|---|---|
| Standard Remote | 100-150 | Batteries, obstacles, interference |
| Mini Remote | 50-100 | Smaller antenna, lower power |
| Smartphone App | Anywhere with internet | Wi-Fi strength, app reliability |
| In-Car System | 100-150 | Car window tint, antenna position |
> Pro tip: If your remote range drops suddenly, check for new sources of interference (like LED bulbs or new devices in your garage).
Frequently Asked Questions
How Do I Know If My Garage Door Opener Is Compatible With A Universal Remote?
Most modern openers (after 1993) are compatible with universal remotes. Check your opener’s model number and compare it with the universal remote’s compatibility list, usually found on the packaging or manufacturer’s website.
Can I Sync Multiple Remotes To One Garage Door Opener?
Yes, most openers can store between 4 and 7 remotes. Follow the syncing process for each remote. If you reach the limit, erase all remotes and reprogram only the ones you want to keep.
Why Does My Remote Only Work Sometimes?
This can be due to weak batteries, interference from electronics, or obstacles blocking the opener’s antenna. Try replacing the battery, moving closer, or checking for signal-blocking devices nearby.
What Should I Do If I Lose A Garage Door Remote?
Immediately erase all stored remotes from your opener by holding the Learn button for 6-10 seconds. Then reprogram only the remotes you still have. Consider upgrading to a rolling code system for better security.
Do I Need To Re-sync My Remote After A Power Outage?
Usually, a power outage does not erase remote codes from the opener’s memory. If your remote stops working after an outage, try re-syncing it. If problems continue, check the opener and remote batteries.
Syncing your garage door opener with a remote is a straightforward task with the right steps and preparation. By understanding your system, following the correct procedure, and avoiding common mistakes, you’ll enjoy reliable and secure access to your garage. Regular testing and good security habits protect your home and family, making this small project well worth the effort.