Now Reading: How to Reset Liftmaster Garage Door Keypad Quickly and Easily
- 01
How to Reset Liftmaster Garage Door Keypad Quickly and Easily

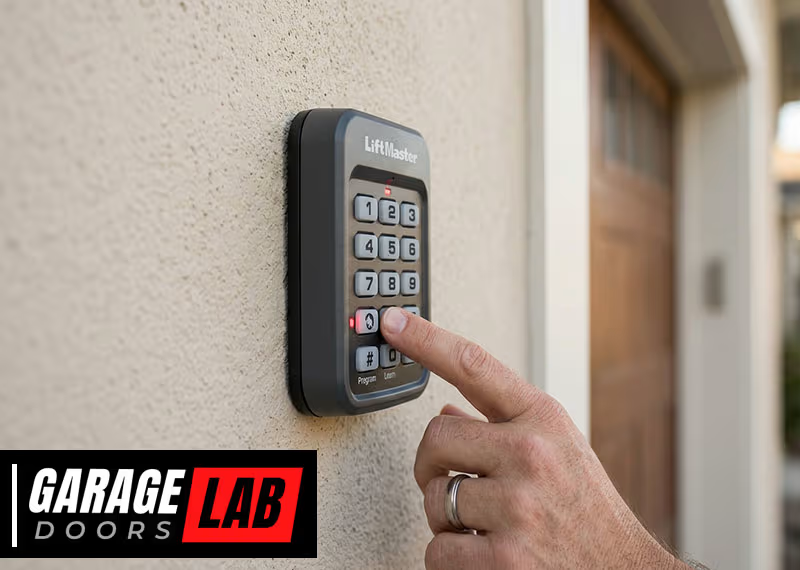
Resetting your LiftMaster garage door keypad can seem confusing, especially if you have never done it before. Maybe you forgot your code, just moved into a new home, or want to improve your home’s security. You are not alone—many homeowners deal with keypad issues every year. The good news? With the right steps and some patience, you can reset your keypad safely and quickly, without needing to call a professional. This guide will walk you through every detail you need to know, from understanding how your keypad works to step-by-step reset instructions, troubleshooting, and tips for keeping your garage secure.
Understanding Your Liftmaster Garage Door Keypad
Before you reset anything, it’s important to know how your LiftMaster keypad works. LiftMaster is one of the most trusted brands for garage door openers in North America, and their keypads are designed for both security and convenience.
A LiftMaster keypad allows you to enter a code to open or close your garage door. These keypads are usually wireless and connected to your garage door opener through a radio signal. Most models use a four-digit PIN code, and some newer models support temporary codes for guests or deliveries.
There are several types of LiftMaster keypads:
- 877MAX: Universal model, works with most LiftMaster openers made after 1993.
- 878MAX: Designed for wall mounting, similar features to 877MAX.
- 877LM: Compatible with Security+ 2.0 openers.
- 376LM/377LM: Older models, still common in homes built before 2010.
Knowing your model helps you follow the correct reset steps. The model number is usually printed inside the battery compartment or on the back of the keypad.
Non-obvious insight: Some older keypads will not work with newer openers and vice versa. Always check compatibility before buying a replacement or attempting a reset.
When Should You Reset Your Liftmaster Keypad?
There are several situations where a keypad reset is needed:
- Forgotten code: The most common reason. If you can’t remember your PIN, a reset is the only solution.
- Moving into a new home: Always reset codes after moving to a new place for security.
- After a power surge: Sometimes, electronics can lose settings after a power outage.
- Malfunctioning keypad: If the keypad stops working or behaves oddly, resetting can often fix it.
- Upgrading your opener: When you install a new LiftMaster opener, the keypad must be reprogrammed.
Pro tip: If you notice the keypad backlight or buttons are not responding, replace the battery before resetting. Many issues are caused by weak or dead batteries.
Tools And Preparation
Resetting a LiftMaster keypad is simple, but you should gather a few things first:
- A sturdy ladder: Most garage door openers are mounted on the ceiling.
- A small flathead screwdriver: Needed for opening the battery compartment.
- New 9-volt battery: In case you need to replace it.
- Pen and paper: Helpful for writing down new codes or steps.
- Your garage door remote: Useful for testing after resetting.
Safety tip: Always make sure the area around your garage door is clear. Avoid standing directly under the door mechanism.
Step-by-step Guide: How To Reset Your Liftmaster Garage Door Keypad
Let’s walk through the reset process. The steps can vary slightly by model, but these instructions cover the most common scenarios.
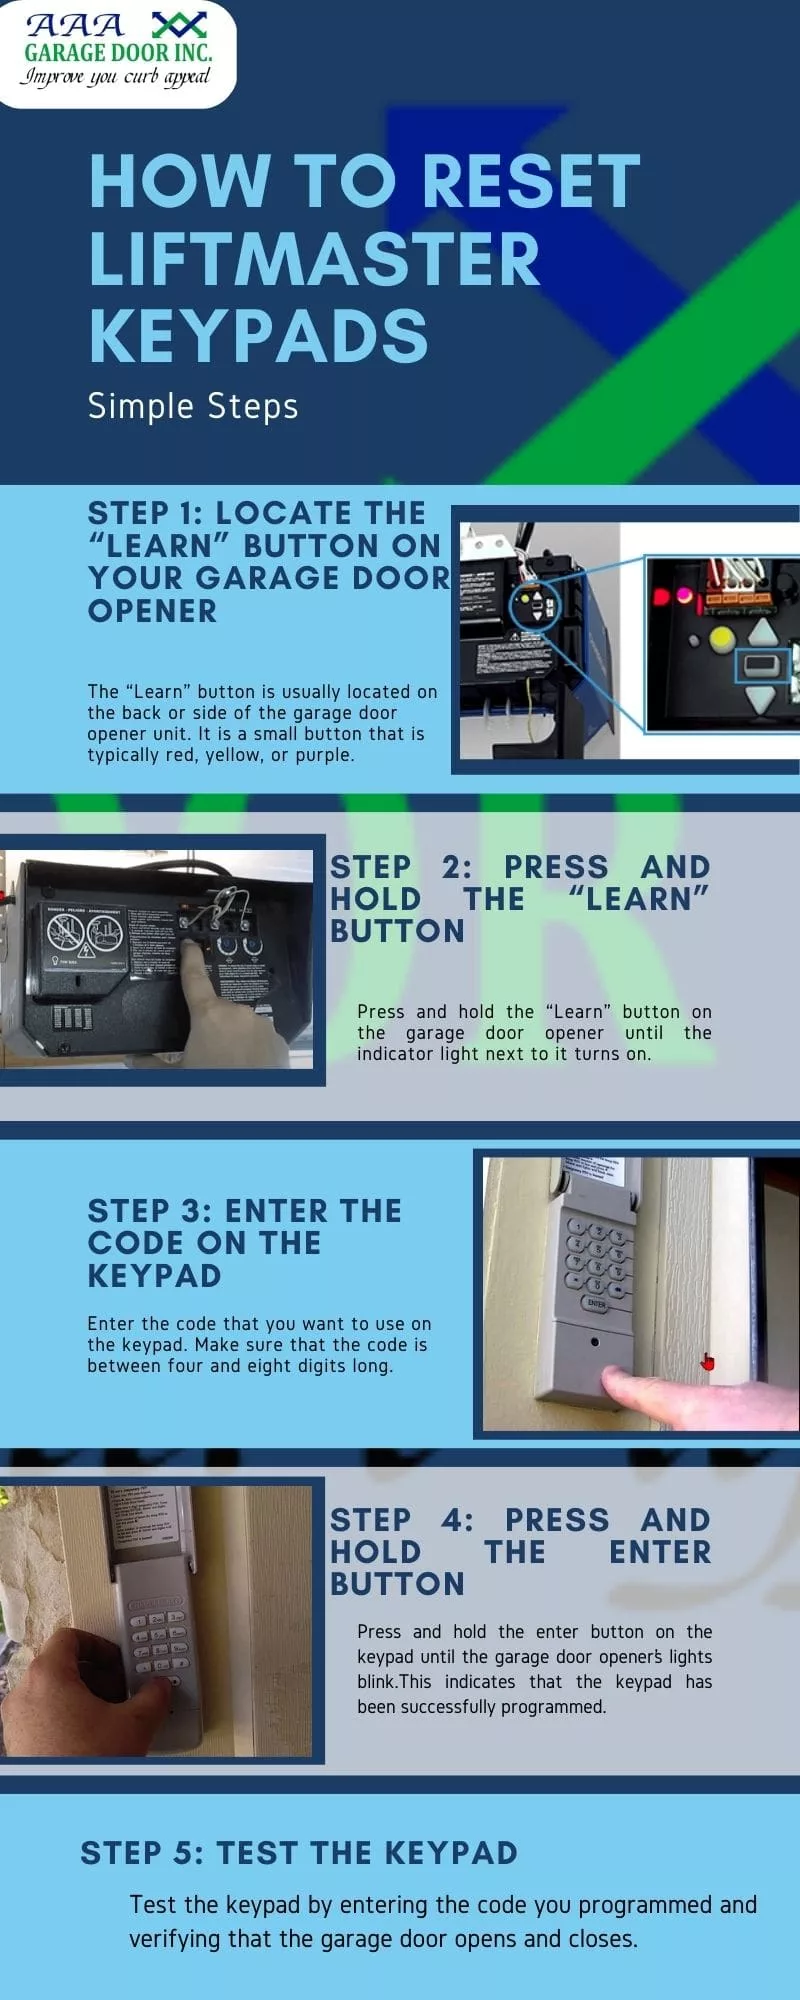
Step 1: Locate The Learn Button
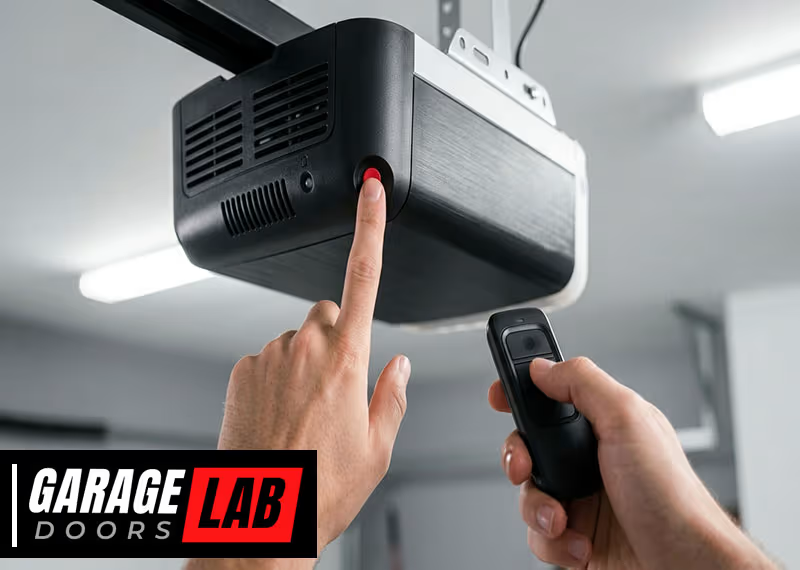
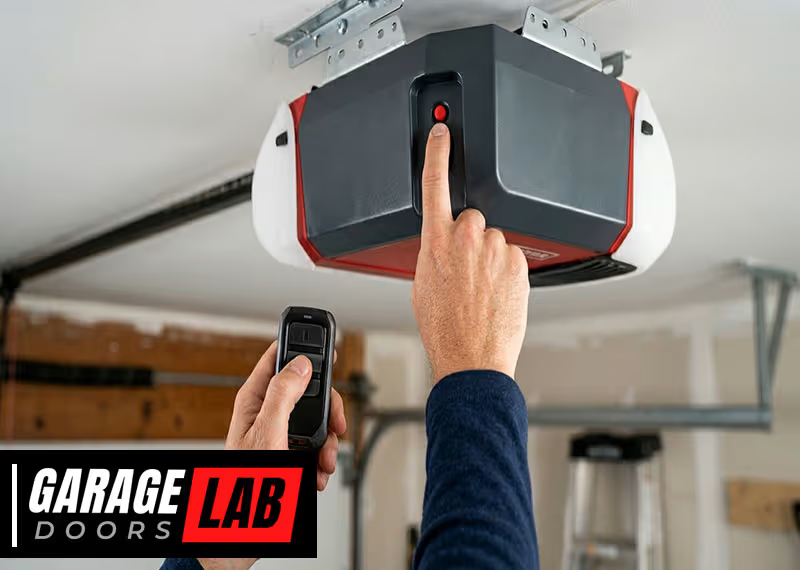
On every LiftMaster opener, there’s a small Learn button. This button is usually found:
- On the back or side of the garage door opener unit (mounted on the ceiling).
- Sometimes behind a light cover that you can easily flip open.
The button color (yellow, purple, red, or green) indicates the type of system you have. The color also helps identify which keypads are compatible.
Step 2: Clear The Old Keypad Code
To erase any old codes:
- Climb your ladder so you can easily reach the opener.
- Press and hold the Learn button for about 6 seconds (until the LED next to it turns off or blinks). This erases all remote controls and keypad codes from memory.
- Wait a few seconds before moving to the next step.
Important: Clearing the codes will disconnect all remotes and keypads. You’ll need to reprogram them individually.
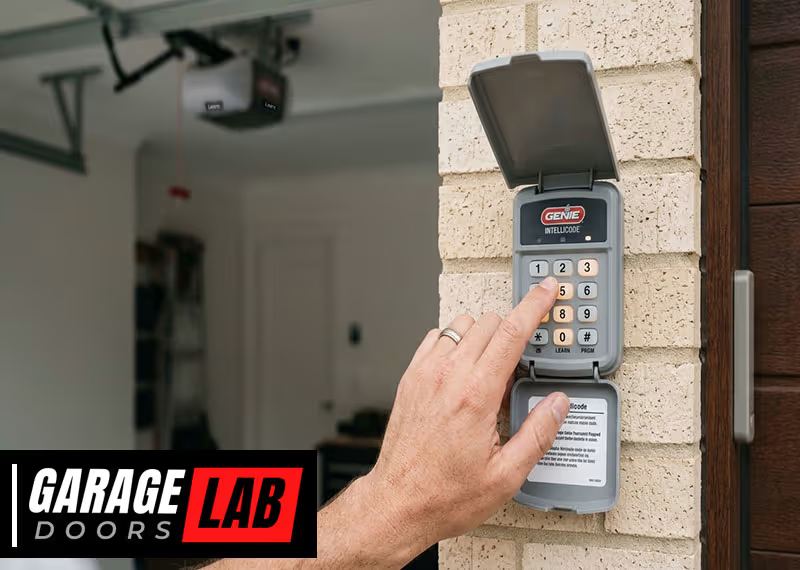
Step 3: Enter A New Code On Your Keypad
Now, set a new PIN code:
- On your keypad, press the “Learn” button once more (quick press, not holding).
- Within 30 seconds, go to your keypad and enter your new four-digit code.
- Press and hold the ENTER button on the keypad until you hear a click or the garage door opener light blinks.
This means the opener has accepted your new code.
Step 4: Test The Keypad
After programming, always check the keypad:
- Enter your new code on the keypad.
- Press ENTER.
- The garage door should open or close.
If it does not respond, repeat the steps above. Make sure you entered the code within 30 seconds of pressing the Learn button.
Special Instructions For 877max, 877lm, And 878max Models
Some newer models have extra features:
- After entering your code, you may need to press the 0 key before ENTER (for some openers).
- Security+ 2.0 systems sometimes require you to press the Learn button twice.
Always check the user manual for your specific model, or visit the official LiftMaster site for more details.
Programming Temporary Pins
If you want to give someone access for a short time, you can set a temporary PIN:
- Enter your main PIN and hold ENTER.
- While holding ENTER, press and hold the keypad number you want to assign as a temporary code.
- Release both buttons. The keypad will blink.
This code will work for a few uses or a set time, depending on the model.
Non-obvious insight: Temporary PINs are a great way to let cleaners, dog walkers, or delivery people into your garage without giving away your main code.

Troubleshooting Common Liftmaster Keypad Problems
Even with correct steps, sometimes things don’t work. Here’s how to solve the most common issues:
Keypad Not Responding
- Check the battery: Most keypads use a 9-volt battery. Replace it if the keypad is dim or dead.
- Clean the keypad: Dust and dirt can block buttons. Use a soft cloth to clean.
- Check for interference: Metal objects, LED lights, or wireless devices can block signals. Move these away from the opener if possible.
Keypad Works Intermittently
- Check range: If you’re too far from the opener, the signal may not reach.
- Inspect wires (wired models): Look for frayed or disconnected wires.
- Reprogram the code: Sometimes, the code is lost after a power outage.
Garage Door Doesn’t Move
- Check safety sensors: If sensors are blocked, the opener won’t work.
- Test the wall button: If the wall button works but the keypad doesn’t, the problem is with the keypad.
- Check lock feature: Some keypads have a lock feature that disables entry. Look for a “lock” or “vacation” button.
Keypad Blinks But Does Not Open Door
- Wrong code entered: Wait 30 seconds and try again.
- Multiple failed attempts: Some openers lock out after several wrong codes. Wait and try again.
If you still have issues, consult the LiftMaster manual or their customer support for your specific model.
Reprogramming Remotes And Other Devices After A Reset
When you reset your opener, all remote controls and keypads are erased. You will need to reprogram each device:
- Press the Learn button on the opener.
- Within 30 seconds, press the button on your remote control.
- The opener light will blink or you’ll hear a click.
Repeat this for every remote you use. This step is essential for restoring full access after a full reset.
Keeping Your Garage Secure After Resetting
Resetting your keypad is a good security practice, but there are more steps to keep your garage (and home) safe:
- Change your PIN regularly: Every 6-12 months, especially after guests or workers have used your keypad.
- Avoid simple codes: Don’t use birthdays, addresses, or “1234.”
- Don’t share your main code: Use temporary codes for visitors.
- Check for physical damage: Make sure no one has tampered with the keypad or opener.
- Consider a rolling code opener: Modern LiftMaster openers use Security+ technology, which changes the code each time you use it.
Practical example: If you rent out your home or go on vacation, always reset your PIN when you return.
Comparison Of Popular Liftmaster Keypads
To help you understand the differences, here is a comparison of the most common LiftMaster keypads:
| Model | Year Introduced | Security Type | Battery | Temporary PIN Support | Compatibility |
|---|---|---|---|---|---|
| 877MAX | 2011 | Security+ 2.0 | 9V | Yes | Most openers after 1993 |
| 877LM | 2009 | Security+ 2.0 | 9V | Yes | Security+ 2.0 only |
| 376LM/377LM | 2004 | Security+ | 9V | No | Openers 1993-2010 |
| 878MAX | 2017 | Security+ 2.0 | 9V | Yes | All Security+ openers |
This table helps you choose the right keypad for your specific opener and needs.
Common Mistakes To Avoid When Resetting
Resetting a keypad is simple, but mistakes can waste time or cause frustration. Here are errors to watch out for:
- Not pressing the Learn button long enough: If you don’t hold it for 6 seconds, codes won’t be erased.
- Waiting too long: Enter your new code within 30 seconds of pressing Learn, or the opener will time out.
- Using the wrong code length: Most LiftMaster keypads require a 4-digit code, not more or less.
- Skipping battery check: A weak battery can block programming.
- Not testing after programming: Always test the keypad right away.
Pro tip: Write down your new PIN in a safe place, just in case you forget it.
How Liftmaster Keypad Security Compares To Other Brands
If you’re considering different brands, it helps to see how LiftMaster stacks up against the competition:
| Brand | Rolling Code | Temporary PIN | Weather Resistance | Average Lifespan |
|---|---|---|---|---|
| LiftMaster | Yes (Security+ 2.0) | Yes | High | 7-10 years |
| Genie | Yes | Yes | Medium | 6-8 years |
| Chamberlain | Yes | Yes | High | 8-10 years |
| Craftsman | Yes | Some models | Medium | 6-8 years |
LiftMaster is known for its strong weather resistance and long lifespan, making it a reliable choice for most homes.
Advanced Tips For Garage Door Keypad Users
Beyond just resetting, here are advanced tips to get the most from your LiftMaster keypad:
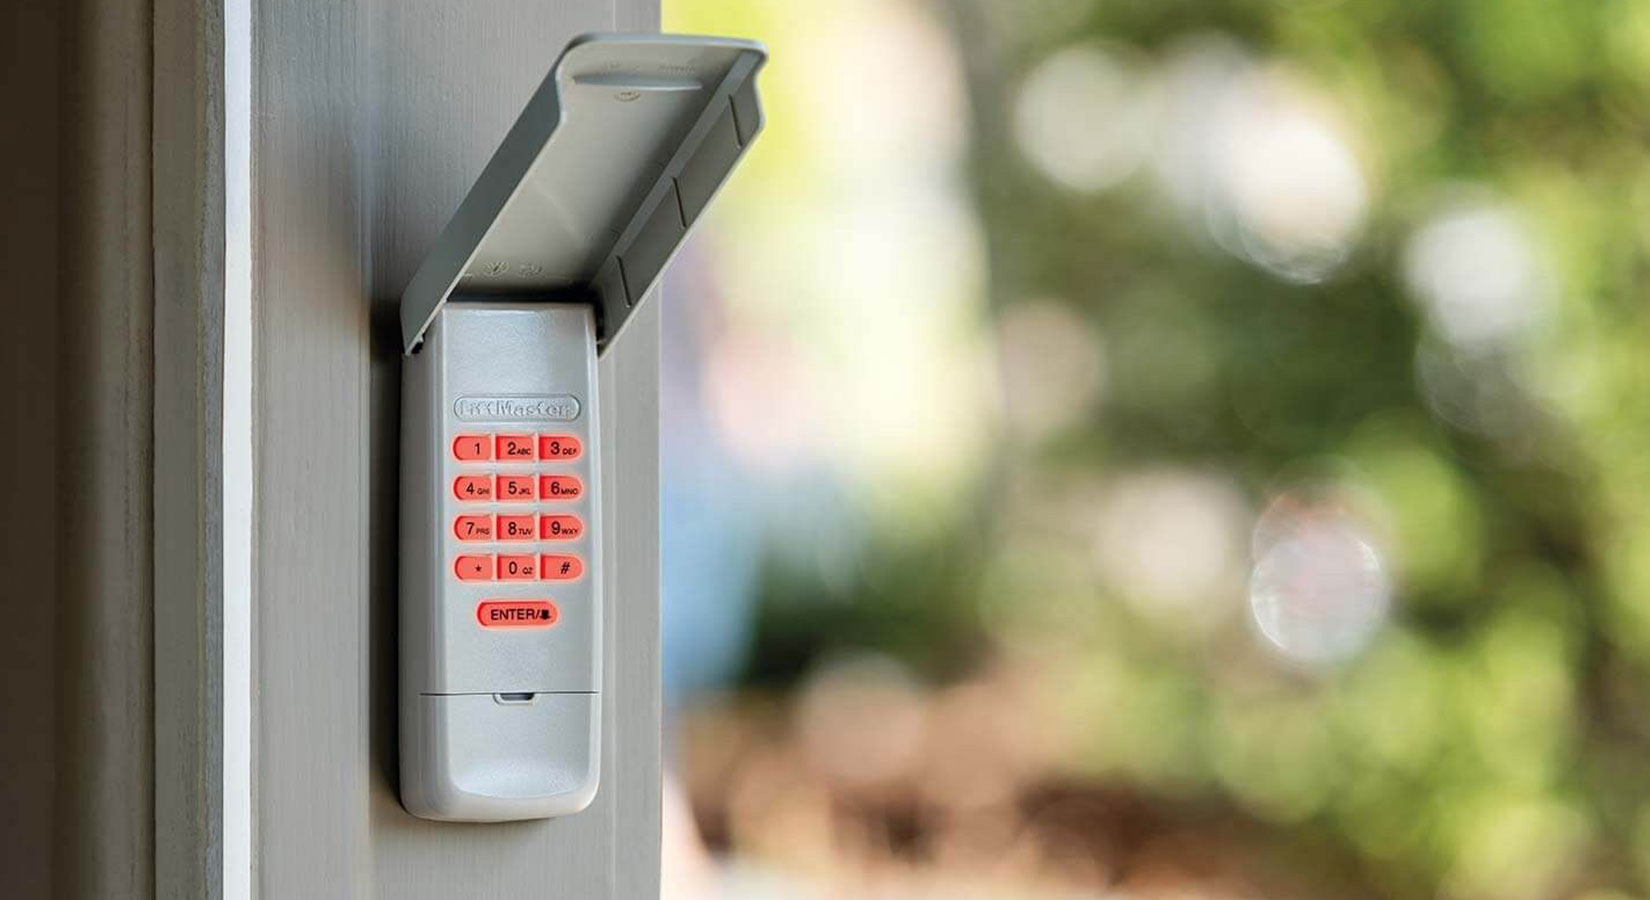
- Use keypad covers: Protect your keypad from rain, sun, and snow to extend its life.
- Install at the right height: For best results, mount the keypad about 5 feet above the ground.
- Update firmware: Some smart openers allow updates—check your user manual.
- Pair with smart home systems: Many LiftMaster openers now work with apps like myQ for remote monitoring and control.
- Regularly inspect wiring: If you have a wired keypad, look for signs of wear and tear.
Practical example: If you live in a cold climate, moisture can freeze inside the keypad. Use a silicone spray around the edges to prevent water from seeping in.
Real-world Example: Resetting A Liftmaster Keypad After Moving
Imagine you just moved into a new house. The old owners left their keypad code, but you want your own for safety.
- Find the Learn button on your opener (usually orange or purple).
- Press and hold it for 6 seconds to erase all codes.
- Press Learn again, then quickly enter your new code on the keypad.
- Test by opening and closing the garage door.
This process takes about 2-3 minutes, and you never have to worry about strangers having access.
Non-obvious insight: Many real estate agents forget to reset the garage keypad. Make this your first step after moving in.
Can You Reset A Liftmaster Keypad Without The Learn Button?
Some homeowners ask if it’s possible to reset the keypad without using the Learn button. The answer is no—the Learn button is essential for security. It ensures only someone with physical access to the opener can reset codes. If your opener is very old and does not have a Learn button, you may need a new system for best security.
When To Call A Professional
Most resets are DIY-friendly, but call a garage door technician if:
- The Learn button is broken or stuck.
- The opener is more than 20 years old and not responding.
- Wiring is damaged or frayed.
- The keypad is physically cracked or water-damaged.
A pro can quickly diagnose and fix more complex problems. For most homeowners, though, a reset is a safe and easy task.
Useful Resources
For more detailed instructions, you can visit the official LiftMaster Support site. They offer manuals, videos, and troubleshooting guides for every model.
Frequently Asked Questions
How Often Should I Reset My Liftmaster Garage Door Keypad?
It’s smart to reset your code every 6-12 months, or after guests have used your keypad. Always reset after moving into a new house or if you think your code is not secure.
What Should I Do If My Keypad Still Does Not Work After Resetting?
Check the battery and make sure you followed the steps carefully. Clean the keypad, remove any objects that may cause interference, and try again. If it still doesn’t work, your keypad may be faulty and need replacement.
Can I Use The Same Code For Multiple Liftmaster Keypads?
Yes, you can program the same code into multiple keypads if they are all compatible with your garage door opener. Just follow the reset and programming steps for each keypad.
Is It Safe To Give Out My Garage Keypad Code To Friends Or Delivery People?
It’s better to use a temporary PIN for short-term access. This keeps your main code private and your home more secure. Always delete temporary codes after use.
Will Resetting My Keypad Erase My Remote Controls Too?
Yes, pressing and holding the Learn button will erase all codes, including remotes and keypads. Be prepared to reprogram each device after a full reset.
Resetting your LiftMaster garage door keypad is not difficult once you know the steps. Doing it yourself saves money and protects your home. Remember: keep your codes private, change them regularly, and always test everything after resetting. With these tips, your garage will stay secure and convenient for years to come.