Now Reading: How to Connect Garage Door Remote: Easy Step-by-Step Guide
- 01
How to Connect Garage Door Remote: Easy Step-by-Step Guide

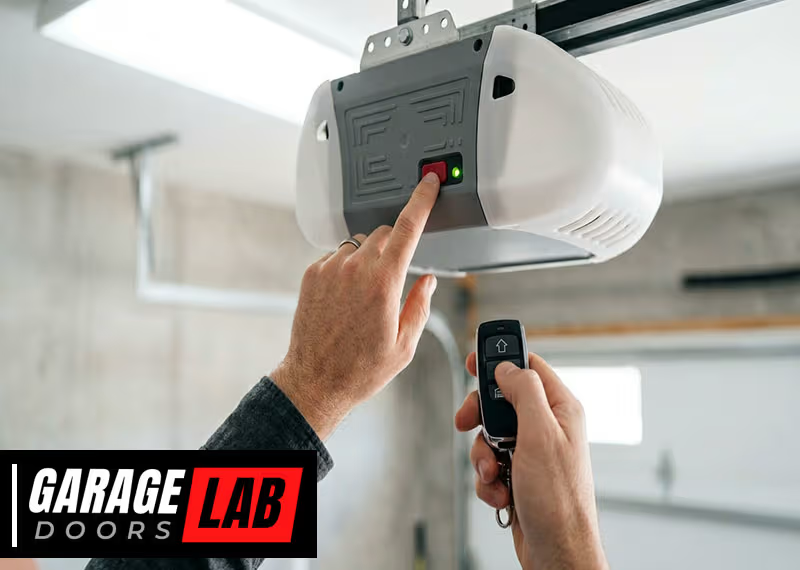
Connecting a garage door remote may seem simple, but the process can be confusing, especially for first-time users or those with older equipment. A well-functioning remote is not just about convenience; it’s also about safety and security for your home and family.
This guide walks you through every detail you need to know about connecting a garage door remote, from understanding your system to troubleshooting common problems. Whether you are setting up a new remote, replacing a lost one, or upgrading to a smart system, you’ll find clear, step-by-step advice here.
Understanding Your Garage Door System
Before you begin connecting a new remote, it’s important to understand the main parts of your garage door system. Most modern systems have a garage door opener unit mounted on the ceiling and one or more wireless remotes. Inside the opener, there’s a circuit board with a “learn” or “program” button. The remote sends a radio signal to the opener, telling it to open or close the door.
There are three main types of garage door opener technologies:
- Dip switch systems – Common in older homes. These use a set of small switches to set a code that must match between the remote and the opener.
- Rolling code systems – Found in most openers made after 1993. These use a changing code for each use, making them more secure.
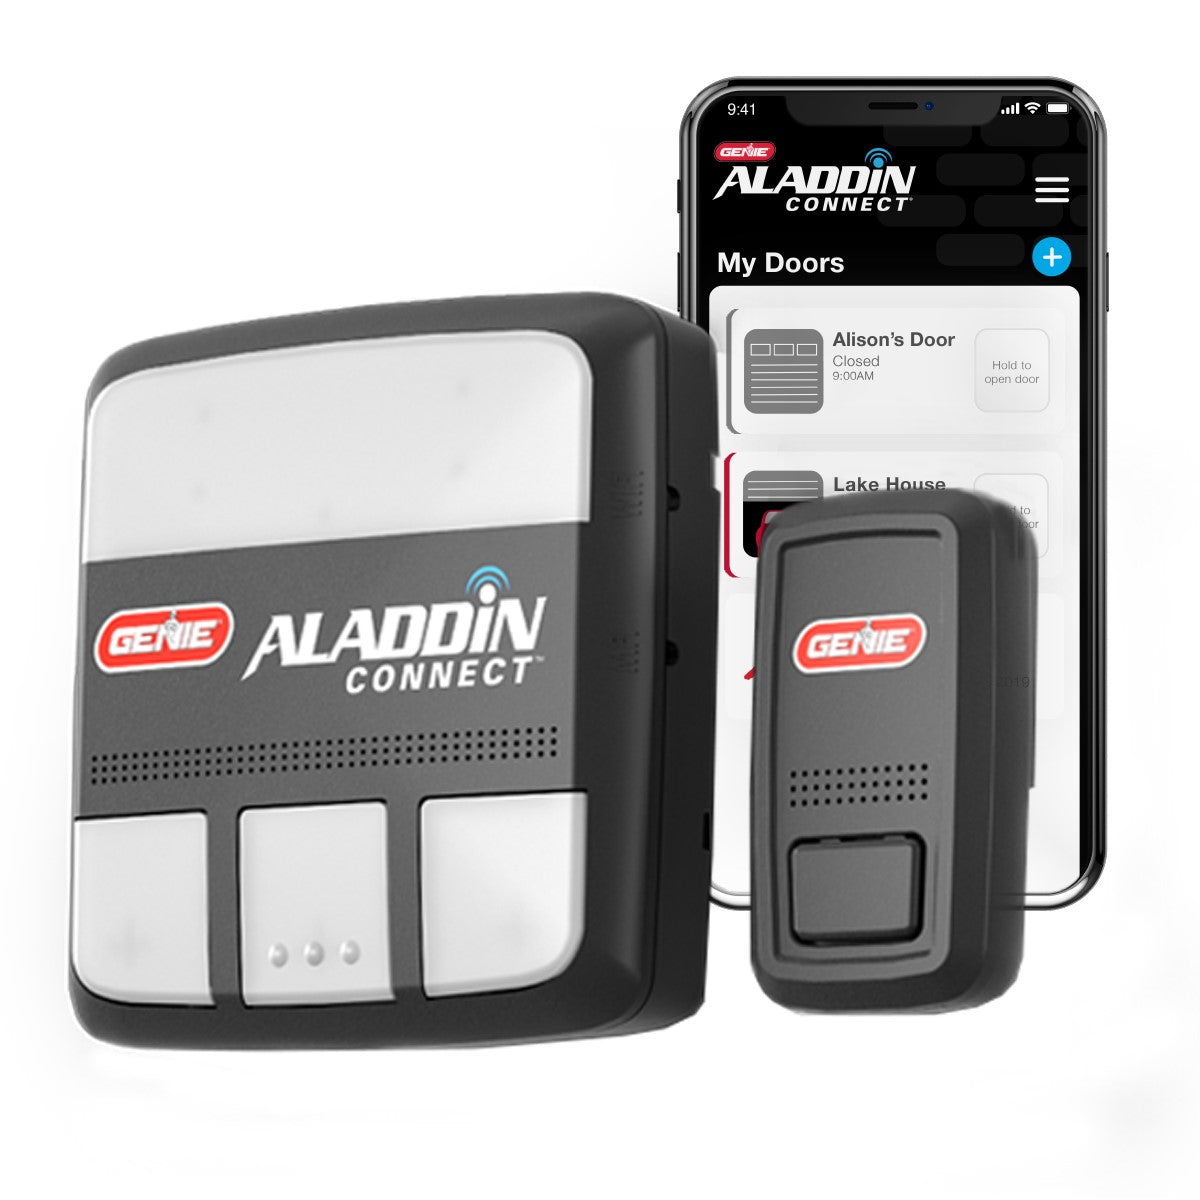
- Smart garage systems – These can connect to Wi-Fi and be controlled by a smartphone app, but still often work with physical remotes.
Knowing which type you have will make the rest of the process much easier. Look for the brand and model on your opener. Common brands include Chamberlain, LiftMaster, Genie, and Craftsman.
Safety First: Preparing For The Process
Working with garage doors can be dangerous if you’re not careful. Always follow these safety tips:
- Unplug the garage door opener before touching any wires or circuit boards.
- Make sure the door is closed before you start.
- Keep children and pets away from the work area.
- If you are using a ladder, make sure it is secure and never stand on the top rung.
You should also have the following tools ready:
- The new remote and its instructions
- A small screwdriver (for battery access)
- A flashlight (if your garage is dimly lit)
- A sturdy ladder
Checking Remote And Opener Compatibility
Not all remotes work with all garage door openers. Here’s how to avoid common compatibility problems:
- Match the brand: Most brands only work with their own remotes.
- Check the frequency: Common frequencies are 315 MHz and 390 MHz. You can find this on the remote’s packaging or the opener’s label.
- Year of manufacture: Openers made before 1993 often use dip switches, while newer ones use rolling codes.
- Smart features: If you have a Wi-Fi enabled opener, look for remotes or apps that support it.
If you’re unsure, check your opener’s manual or search the model number online. You can also consult the manufacturer’s website or contact their support.
Step-by-step: Connecting A Garage Door Remote
Now, let’s walk through the actual process for the two most common types of remotes: rolling code and dip switch.
Rolling Code Remotes (most Common)
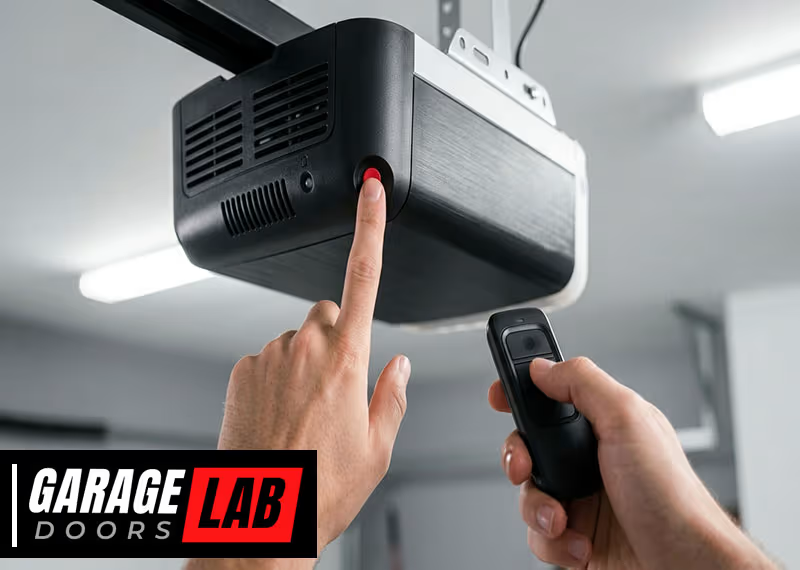
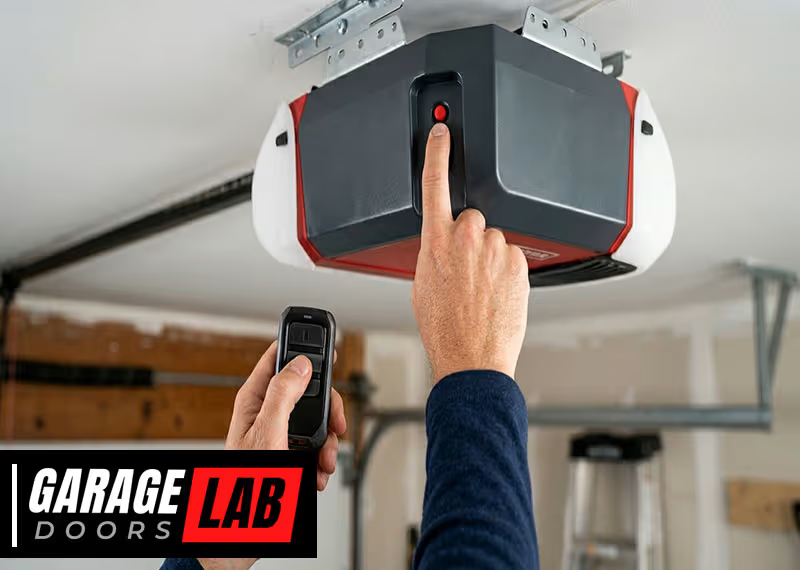
- Locate the “Learn” Button
- Find the opener unit mounted on your garage ceiling.
- Look for a small, usually colored button labeled “Learn,” “Set,” or “Program.” It may be under a light cover or a small panel.
- The button is often yellow, purple, red, or green, depending on the brand.
- Prepare the Remote
- Make sure the remote has a fresh battery.
- Stand on a ladder, keeping the remote with you.
- Press the Learn Button
- Press and release the learn button. An indicator light will usually blink, showing the opener is in programming mode.
- You usually have 30 seconds to complete the next step.
- Press the Remote Button
- On your remote, press the main button you want to program. Hold it for about 2 seconds, then release.
- The opener’s light may blink or you may hear a click, showing the pairing is successful.
- Test the Remote
- Press the remote button from the ground. The garage door should open or close.
- Repeat for additional remotes, if needed.
Example
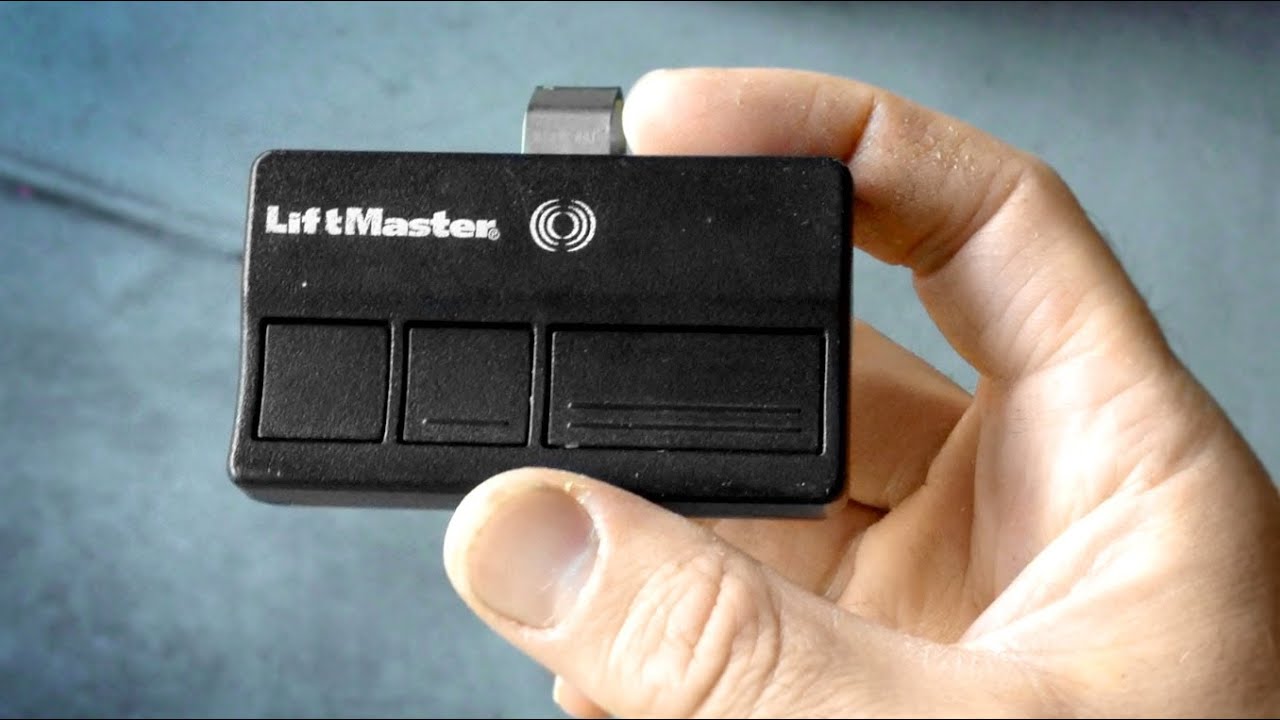
If you have a LiftMaster opener, the learn button is often yellow and located near the wire terminals. After pressing it, you have 30 seconds to press the remote button.
Dip Switch Remotes (older Systems)
- Open the Remote
- Remove the battery cover. Inside, you’ll see a row of tiny switches.
- Find the Opener’s Dip Switches
- On the opener unit, look for a similar row of switches.
- Match the Pattern
- Use a pen or small screwdriver to set the switches in the remote to match the pattern on the opener.
- Test the Remote
- Replace the battery, close the cover, and try the remote.
Example
A Genie opener from the early 1990s will have 9 or 12 dip switches. Set the remote’s switches to match exactly.
Smart Garage Door Remotes
If your opener supports smart features, you can often connect a remote via the brand’s app:
- Download the app (for example, myQ for Chamberlain/LiftMaster).
- Create an account and connect your opener to Wi-Fi.
- Use the app to add or manage remotes.
- Some systems let you add “virtual remotes” for family members.
Not all smart systems support traditional remotes, so check your manual.
What If The Remote Doesn’t Connect?
Sometimes, things don’t work on the first try. Here’s what you can do:
- Check the battery: Weak batteries are the most common issue.
- Start over: Hold the learn button for 10 seconds to clear memory, then try again.
- Distance: Stand closer to the opener when programming.
- Interference: Fluorescent lights or Wi-Fi devices can block signals.
- Reset everything: Sometimes, a full power cycle (unplugging for 30 seconds) helps.
If your opener still won’t connect, you may need a universal remote or a replacement circuit board.
Universal Garage Door Remotes
Universal remotes can work with many brands and models, but they must be programmed correctly. Here’s how to use them:
- Read the Instructions
- Each universal remote is different, so check the guide.
- Set the Brand/Model
- Some remotes have a switch or button to select your opener’s brand.
- Programming
- Follow the steps for rolling code or dip switch, as above.
- Test
- Confirm the remote opens the door reliably.
Universal remotes are helpful if you have multiple doors or lost the original remote.
Comparing Garage Door Remote Technologies
Here’s a comparison of the three main types:
| Type | Year Introduced | Security Level | Ease of Setup | Common Brands |
|---|---|---|---|---|
| Dip Switch | 1970s-1992 | Low | Easy | Genie, Sears |
| Rolling Code | 1993-present | High | Moderate | LiftMaster, Chamberlain |
| Smart/Wi-Fi | 2014-present | Very High | Moderate/Advanced | myQ, Aladdin |
Adding Extra Remotes For Family Members
You may want more than one remote for your household. Most openers can store 5 to 8 remote codes. Just repeat the programming process for each remote. If you run out of memory, you may need to erase all codes (by holding the learn button for 10 seconds) and start over.
Example
If your children drive, giving them each a remote is safer than sharing. If a remote is lost, erase all codes and reprogram only the remotes you still have.
Clearing Old Remotes From Your Opener
If you lose a remote or move to a new home, it’s wise to clear old codes:
- Hold the learn button for 6-10 seconds until the indicator light goes off.
- All remotes are now erased.
- Reprogram only the remotes you trust.
This step protects your home from unauthorized access.
Troubleshooting Common Problems
Even after following all steps, some users face issues. Here’s how to fix them:
The Remote Only Works Up Close
- Replace the battery with a new, high-quality brand.
- Check for metal objects or walls blocking the signal.
- Move any Wi-Fi routers or fluorescent lights away from the opener.
The Door Opens By Itself
- Clear all codes and reprogram remotes.
- Check for stuck buttons on a remote.
- If you live near a military base, rare radio interference is possible.
The Remote Will Not Program
- Confirm the opener is not locked (some have a wall switch “lock” feature).
- Make sure you are pressing the correct learn button.
- Try a universal remote as a backup.
Advanced Tips: Using Keypads And Car Integrated Remotes
Many homes use external keypads or HomeLink systems in vehicles. Here’s how to connect them:
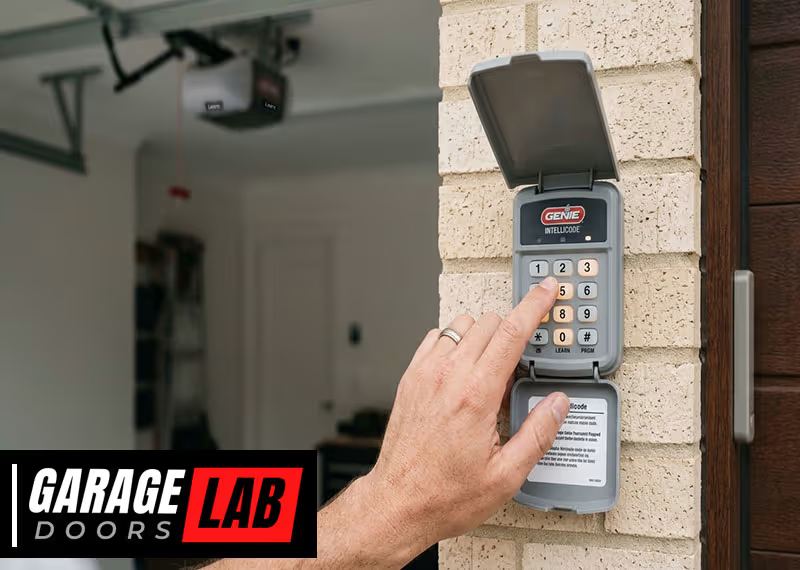
Keypad Programming
- Enter the programming mode (usually by pressing the learn button).
- Enter your chosen PIN on the keypad, then press “Enter.”
- The opener should confirm with a light blink.
Homelink In Cars
Many new cars have built-in buttons for garage doors. To program:
- Hold the car’s HomeLink button until the indicator flashes.
- Press the opener’s learn button.
- Within 30 seconds, press the HomeLink button in your car.
Check your car’s manual for brand-specific steps.
Comparing Remotes: Oem Vs. Universal
Should you choose a brand-specific (OEM) remote or a universal one? Here’s a quick look:
| Feature | OEM Remote | Universal Remote |
|---|---|---|
| Compatibility | Guaranteed | Most brands |
| Price | Higher | Lower |
| Features | All functions | Basic open/close |
| Ease of Setup | Simple | Varies |

How To Choose The Right Garage Door Remote
Choosing a remote isn’t just about price. Consider these factors:
- Brand and Model: Always start with your opener’s brand.
- Features Needed: Do you need multiple buttons for several doors? Do you want a keychain remote?
- Range: Some remotes have a longer range, which is helpful for larger driveways.
- Security: Rolling code or smart options are much safer than dip switch systems.
- Battery Life: Good remotes last 1-2 years on a single battery.
Common Mistakes To Avoid
- Mixing up learn buttons: Some openers have multiple buttons for different functions. Check the manual.
- Programming too slowly: Most openers time out after 30 seconds.
- Not clearing old codes: If you buy a used opener or move into a new house, always clear old remotes.
- Ignoring interference: Nearby electronics can block signals. Move them if needed.
- Using old batteries: Even slightly weak batteries can cause problems.
Maintaining Your Garage Door Remote
A remote should last many years if cared for properly. Here’s how:
- Keep it dry: Avoid getting it wet.
- Change batteries yearly: Don’t wait for it to stop working.
- Clean contacts: If buttons stick, open the remote and clean with a dry cloth.
- Store safely: Don’t drop the remote or leave it in hot cars.
If a remote fails often, consider a higher-quality replacement.
Smart Home Integration
Modern smart openers let you control your garage with your phone, voice assistant, or even from another country. Brands like myQ support Alexa, Google Assistant, and Apple HomeKit. Features include:
- Open/close notifications
- Schedule closing at night
- Grant temporary access to guests or deliveries
If you travel often, this can give you peace of mind.
For more details on smart garage tech, see this Wikipedia page on garage door openers.
Comparing Garage Door Remote Features
Here’s a quick look at which features matter most:
| Feature | Basic Remote | Smart Remote |
|---|---|---|
| Open/Close Door | Yes | Yes |
| Multiple Doors | Some | Yes |
| Remote Monitoring | No | Yes |
| Guest Access | No | Yes |
| Integration with Smart Home | No | Yes |
Two Insights Most Beginners Miss
- Programming wipes all previous remotes only if you hold the learn button for 10 seconds. A quick press lets you add a new remote without removing others. Many people worry about erasing their family’s remotes, but that’s not the case unless you hold it down.
- Not all universal remotes support rolling codes. Some cheaper models only work with old dip switch systems. Always check the packaging and compatibility list before buying.
When To Call A Professional
Some situations require expert help:
- The opener’s circuit board is damaged.
- Remotes won’t program after many tries.
- The door opens but does not close (or vice versa).
- You see sparking, smoke, or hear buzzing from the opener.
A professional can diagnose and fix electrical issues safely.
Frequently Asked Questions
What Should I Do If My Remote Stops Working Suddenly?
First, replace the battery and check for corrosion inside the remote. If it still fails, try reprogramming it as described above. If none of these work, there may be a problem with your opener’s receiver or the remote itself.
Can I Program A New Remote If I Lost The Original?
Yes, as long as you have access to the opener’s learn button. Follow the steps for rolling code or dip switch remotes. If you lost all remotes, you may want to erase all old codes for security.
Is It Safe To Buy A Universal Remote Online?
Usually, yes, but always check the compatibility list for your opener’s brand and model. Read reviews and avoid very cheap, unbranded remotes, as they may not support secure rolling codes.
How Many Remotes Can I Connect To My Garage Door Opener?
Most modern openers allow 5-8 remotes. Check your manual for the exact limit. If you reach the maximum, you must clear all remotes and reprogram the ones you want to keep.
Why Does My Garage Door Open By Itself?
This is rare but can be caused by stuck remote buttons, interference from nearby devices, or someone nearby using the same code (more common with old dip switch systems). Clear all codes and reprogram your remotes to fix this.
Connecting a garage door remote is not just a matter of convenience; it’s also about safety, security, and peace of mind. With the right steps and a little patience, you can handle almost any setup yourself. Take your time, follow the instructions above, and you’ll soon be enjoying easy, reliable access to your garage—no matter what type of system you have.