Now Reading: How to Sync Remote to Garage Door: Easy Step-by-Step Guide
- 01
How to Sync Remote to Garage Door: Easy Step-by-Step Guide

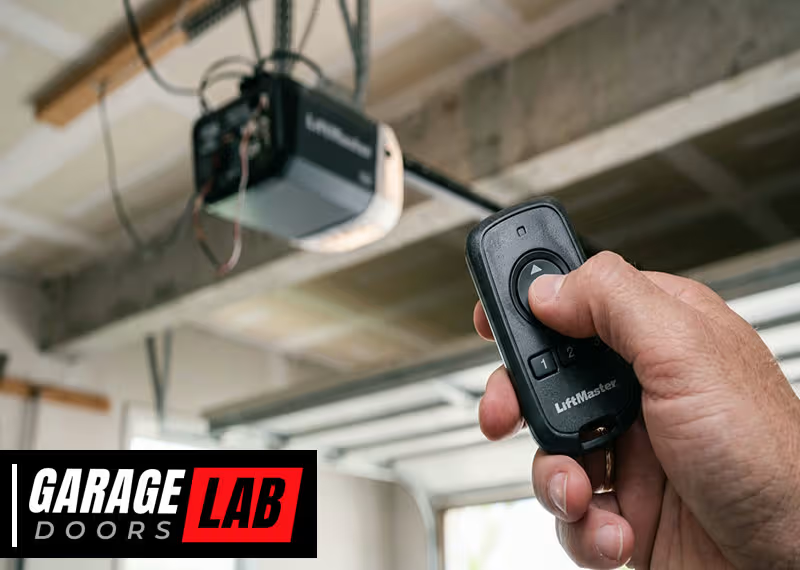
Syncing a remote to your garage door seems simple, but it often brings confusion, especially if you’re trying it for the first time. Many people worry about choosing the right remote, finding the right buttons, or erasing old codes accidentally.
The truth is, syncing a remote to your garage door is straightforward if you follow the right steps and understand how your garage door opener works. This article explains everything you need to know, from choosing the correct remote and preparing your opener, to syncing, troubleshooting, and maintaining your system for safety.
Whether your system is brand new or you’re replacing an old remote, you’ll find clear answers, step-by-step guidance, and expert tips that help you avoid mistakes and get your garage door working smoothly.
Understanding Garage Door Remotes And Openers
Before jumping into the syncing process, it’s important to know how garage door remotes and openers communicate. Most modern systems use radio frequency (RF) signals, with the opener acting as a “receiver” and your remote as a “transmitter.” Security features like rolling codes and encryption are now common to prevent unauthorized access.
Types Of Garage Door Remotes
There are several types of remotes you might encounter:
- Single-button remotes: Operate only one door or function.
- Multi-button remotes: Control multiple doors or lights.
- Universal remotes: Compatible with many brands and models.
- Keychain remotes: Small and portable, often with limited range.
Garage door openers also vary. Some use fixed codes (older systems), while most use rolling codes (change after every use). Knowing your type helps you avoid compatibility problems.
Why Syncing Matters
Syncing links your remote to the opener’s memory. Without proper syncing, your remote cannot open or close the garage door. If you lose your remote, move into a new home, or want to add more remotes, syncing is essential for both convenience and security.
Choosing The Right Remote For Your Garage Door
Not all remotes work with all garage door openers. Using an incompatible remote is a common mistake that wastes time and money.
Match Brand And Model
Check the brand (like Chamberlain, LiftMaster, Genie, or Craftsman) and model of your opener. You’ll usually find this information on the opener unit, often near the light bulb or the back panel.
Frequency Compatibility
Garage door openers use specific frequencies, such as 315 MHz, 390 MHz, or others. Your new remote must match this frequency. Using a remote with the wrong frequency will not work, no matter how many times you try to program it.
Universal Remotes
Universal remotes can be programmed to work with multiple brands, but not all openers support them. Always check the packaging and compatibility list before buying.
Rolling Code Vs. Fixed Code
If your opener uses rolling code technology (most systems built after 1993), your remote must support this feature. Some universal remotes are only for fixed code openers, so read details carefully.
Table: Remote Compatibility By Brand
To help you compare, here’s a quick reference for popular brands and their remote compatibility.
| Brand | Common Frequencies | Rolling Code Support | Universal Remote Support |
|---|---|---|---|
| Chamberlain | 315 MHz, 390 MHz | Yes (Security+) | Most models |
| LiftMaster | 315 MHz, 390 MHz | Yes (Security+) | Most models |
| Genie | 315 MHz, 390 MHz | Yes (Intellicode) | Some models |
| Craftsman | 315 MHz, 390 MHz | Yes (Security+) | Most models |
| Linear | 318 MHz | Some models | Check compatibility |
Non-obvious Insight
Many people don’t realize that two openers from the same brand may use different frequencies or code systems. Always check your opener’s details, not just the brand name.
Preparing To Sync Your Remote
A little preparation goes a long way. Skipping these steps can lead to frustration and wasted time.
Gather Your Tools
- Your new or replacement remote
- A stable ladder (if your opener is mounted on the ceiling)
- The opener’s manual (if available)
- Pen and paper (to note down codes or steps, if needed)
- Fresh batteries for the remote
Safety First
Always unplug or disconnect power to the garage door opener if you need to open any panels or work inside the unit. Avoid standing directly under the door while working.
Identify The “learn” Button
Most modern openers have a “Learn” button for syncing remotes. This button is often located:
- Under a light cover or panel on the opener unit
- Near the antenna wire
- Sometimes color-coded (yellow, red, purple, or orange)
If you cannot find it, check your opener’s manual or look up the model online.
Table: Learn Button Colors And Years
Here’s a handy guide to what the color of your “Learn” button means:
| Learn Button Color | Approximate Year Range | Frequency | Code Type |
|---|---|---|---|
| Yellow | 2011–Present | 390 MHz/315 MHz | Security+ 2.0 Rolling Code |
| Purple | 2005–2011 | 315 MHz | Security+ Rolling Code |
| Red/Orange | 1997–2005 | 390 MHz | Security+ Rolling Code |
| Green | 1993–1997 | 390 MHz | Fixed Code |
Non-obvious Insight
Some openers have “lock” or “vacation” modes. If your opener is in this mode, syncing will not work until you disable it (usually by holding the “lock” button on your wall control for several seconds).
How To Sync A Remote To Your Garage Door: Step-by-step
Here’s the heart of the process. Follow these steps carefully, and your remote should sync with your opener in just a few minutes.
Step 1: Power Up And Prepare
Ensure the garage door opener is powered and the garage is clear of obstructions. If you’re replacing a lost remote, consider erasing all previous codes (see later section on “Erasing Old Remotes”).
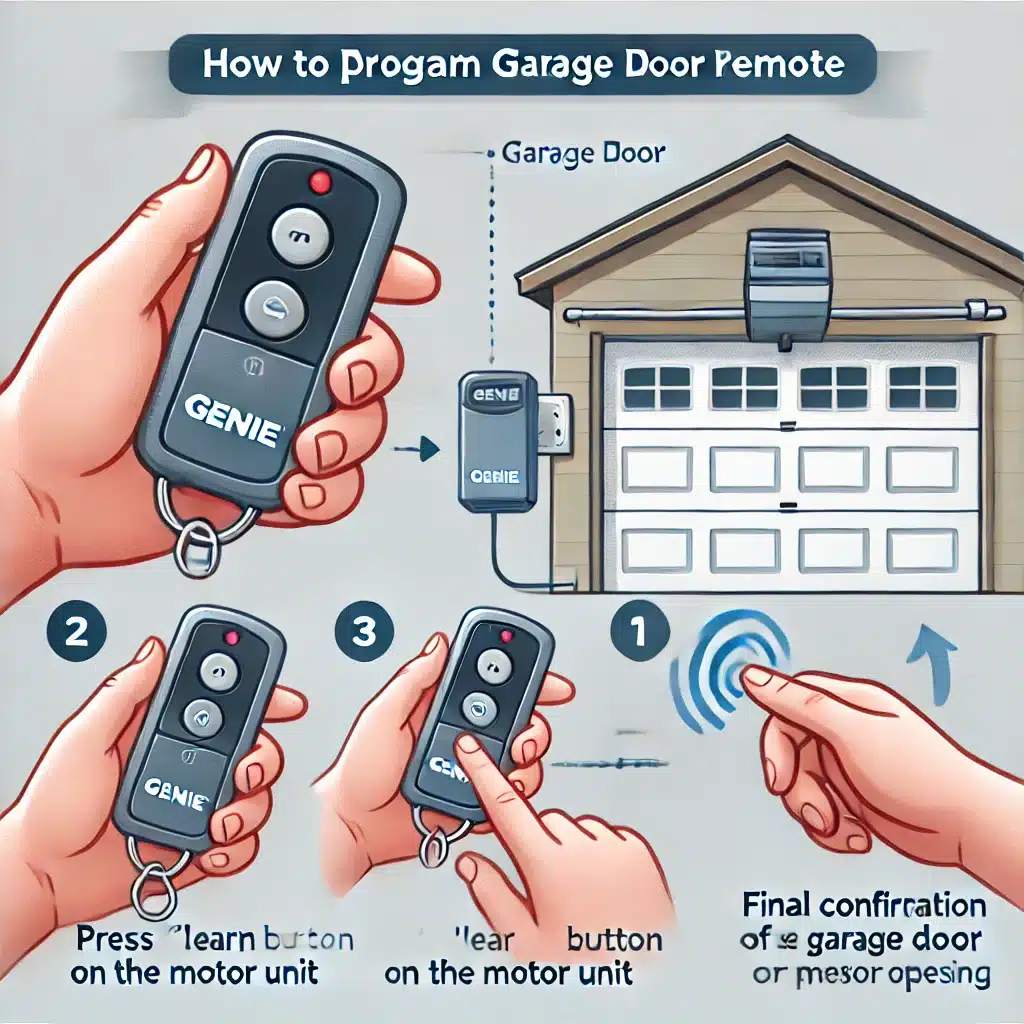
Step 2: Locate And Press The Learn Button
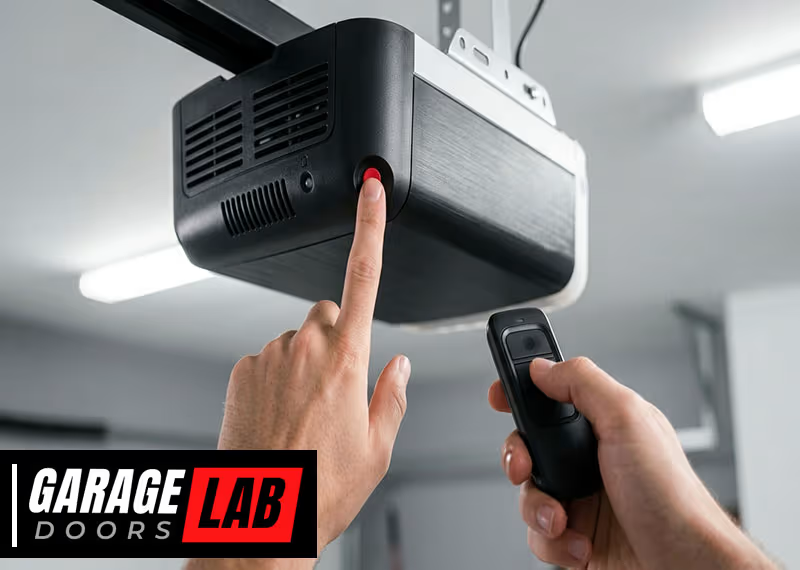
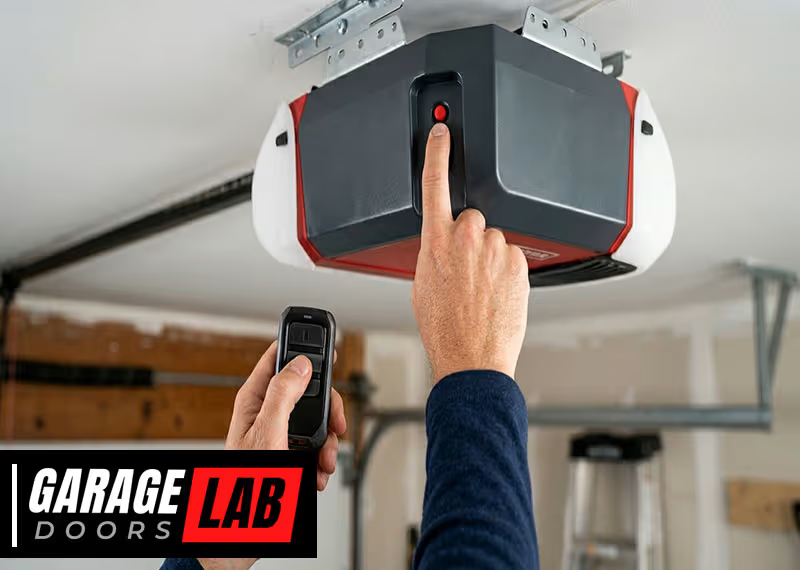
Climb your ladder safely and find the Learn button on your opener. Press and release this button. Usually, an indicator light will turn on or blink, showing the opener is ready to learn a new remote.
Important: After pressing the Learn button, you usually have 30 seconds to program your remote.
Step 3: Press The Remote Button
Within 30 seconds, press and hold the button on the new remote you want to sync. Hold it until you hear a click, see the opener light flash, or notice the garage door move slightly. This means the remote is now linked to the opener.
Step 4: Test The Remote
Step down, and try using the remote to open or close the garage door. If it works, the sync was successful. If not, repeat the steps or check for compatibility issues.
Step 5: Repeat For Additional Remotes
Most openers allow you to sync multiple remotes (usually up to 5). Repeat the process for each one, using the same Learn button.
Example: Syncing A Liftmaster Remote
Suppose you have a LiftMaster opener with a yellow Learn button. Here’s how you’d sync:
- Locate the yellow Learn button under the light lens.
- Press and release the Learn button (indicator light glows).
- Within 30 seconds, press and hold the button on your remote.
- The opener light blinks, confirming the sync.
- Test the remote by pressing the button again.
Special Cases: Universal Remotes And Car Integrated Remotes
Many people now use universal remotes or built-in car remotes (like HomeLink or Car2U). These require extra steps.
Universal Remotes
Universal remotes often need to be programmed for your opener brand and frequency before syncing. Follow the manufacturer’s instructions, which usually involve:
- Selecting the brand using a combination of button presses
- Syncing as usual with the Learn button
Universal remotes may not support rolling code openers made after 2011, especially those with Security+ 2. 0 technology.
Car Integrated Remotes
Many modern cars have built-in garage door buttons. To sync these:
- Clear previous codes in the car system (hold both outer buttons for 20 seconds).
- Hold the remote close to the car’s garage button and press both until the car’s indicator blinks.
- Press the Learn button on your opener.
- Within 30 seconds, press the programmed car button.
- Wait for the opener to respond (light flash or click).
Some cars require a second person to help or may need multiple attempts.
Table: Universal Vs. Integrated Car Remotes
Here’s a look at the main differences:
| Feature | Universal Remote | Car Integrated Remote |
|---|---|---|
| Setup Method | Manual programming | Car system programming + opener sync |
| Number of Doors | Usually 2–4 | Usually 3 |
| Compatibility | Varies by model | May not support newest openers |
| Portability | Can be moved to any car | Fixed in one vehicle |
Erasing Old Remotes And Re-syncing
If you’ve lost a remote, moved into a new home, or suspect someone else has access, it’s smart to erase all previously synced remotes.
How To Erase All Remotes
- Locate the Learn button on your opener.
- Press and hold the Learn button for about 6–10 seconds until the indicator light goes out.
- All remotes are now erased. You will need to sync each remote you want to use again.
This action does not affect the wall-mounted opener button inside your garage.
Tip: Always erase old codes when moving into a new home for maximum security.

Common Problems And How To Fix Them
Sometimes, things don’t go as planned. Here are the most common syncing problems and how to solve them.
1. Remote Does Not Work After Syncing
- Check that the remote battery is fresh.
- Make sure the remote and opener are compatible (brand, frequency, rolling code).
- Re-do the syncing process. Sometimes it takes more than one try.
2. Opener Light Blinks, But Door Doesn’t Move
- The opener may be in “lock” mode.
- Safety sensors may be blocked or misaligned.
- The opener’s travel limits might need adjustment.
3. Remote Range Is Very Short
- Replace the remote battery.
- Check for interference (LED lights, Wi-Fi routers, or other electronics).
- The opener’s antenna wire may be damaged or tucked inside the unit.
4. Syncing Works For One Remote, Not Others
- Some openers have a limit on how many remotes can be synced.
- Erase all codes and start over.
5. Car Integrated Remote Will Not Sync
- Make sure your car system supports the opener’s security technology.
- Try using a hand-held remote to “train” the car system.
- Consult your car’s manual or the HomeLink website for special instructions.
Tips For Maintaining Garage Door Remotes And Openers
Keeping your system in good condition helps prevent issues and extends the life of both opener and remote.
Replace Batteries Regularly
Most remote batteries last 1–2 years. Weak batteries can cause unpredictable behavior, such as reduced range or failed syncing.
Clean Contacts
Occasionally open your remote and clean the battery contacts with a dry cloth to ensure good electrical connection.
Check For Firmware Updates
Some newer openers have firmware that can be updated to support new remotes or fix bugs. Check your opener brand’s website for updates.
Re-sync After Power Outages
A strong power surge or outage may clear the opener’s memory. If your remote stops working after a storm, try re-syncing it.
Keep Remotes Secure
Treat your garage remote like a house key. Don’t leave it in an unlocked car. If lost, erase all codes and re-sync.
Safety And Security Considerations
Garage doors are a common entry point for break-ins. Here’s how syncing and maintaining your remote helps keep your home safe.
Rolling Code Technology
Modern openers use rolling codes to prevent “code grabbing.” Each time you use the remote, the code changes, making it nearly impossible to copy.
Erase Codes When Moving
If you buy a new house, always erase all old remotes from the opener. You never know who might still have a remote.
Secure Universal Remotes
Buy universal remotes from reputable brands. Cheap knock-offs may not support rolling code security, making your home vulnerable.
Physical Safety
Never let children play with garage door remotes. Always keep remotes out of reach, and test the auto-reverse feature on your garage door regularly.
Example: Common Security Mistake
A surprising number of homeowners leave their remote in an unlocked car parked outside. If someone steals your remote, they can access your garage easily. Always keep your remote secure.
When To Call A Professional
While syncing a remote is usually a DIY task, some situations require expert help:
- Your opener is very old (pre-1993) or missing safety sensors
- You’re uncomfortable working on a ladder or electrical device
- Syncing fails repeatedly, even after following all steps
- The opener shows error codes or makes unusual noises
A professional can quickly diagnose problems, update your system, or recommend a new opener if needed.
Real-world Example: Syncing Gone Wrong
Consider Mike, who bought a universal remote for his Genie opener. He followed the steps but could not get the remote to work. The problem? His opener used Intellicode rolling codes, but his universal remote only supported fixed codes. After buying the correct remote, syncing took less than two minutes.
This shows why checking compatibility is critical before starting.
What To Do If You Lose All Remotes
Losing all remotes can be stressful. Here’s how to regain control:
- Buy a compatible remote or universal remote with rolling code support.
- Erase all codes from the opener using the Learn button.
- Sync your new remote as described above.
If you cannot access your garage (e. g. , power outage, no manual release), consider calling a locksmith or garage door pro.
Expert Tips For Smooth Syncing
These tips, learned from years of experience, will save you time and prevent headaches.
- Always write down your opener’s model, frequency, and learn button color before shopping for a remote.
- If you’re unsure, bring your old remote to the store for comparison.
- Don’t stand directly under the opener when pressing the Learn button—some openers may move the door as a test.
- If syncing fails repeatedly, unplug the opener for 30 seconds, then try again. This resets the system.
- For smart openers with Wi-Fi, check the app for extra syncing steps.
Additional Resources
If you need more details about your specific opener, the manufacturer’s website is the best source for manuals and troubleshooting guides. For general advice, you can visit the Wikipedia page on garage door openers.
Frequently Asked Questions
What If My Garage Door Opener Doesn’t Have A Learn Button?
Older openers (before 1993) may use DIP switches instead of a Learn button. Open your remote and opener, match the switches in the same up/down positions, and your remote should work. For safety reasons, consider upgrading to a modern opener with rolling code technology.
How Many Remotes Can I Sync To One Garage Door Opener?
Most openers allow 4–5 remotes. Some advanced models support even more. If you reach the limit, you may have to erase all remotes and start over to add new ones.
Can I Use My Smartphone As A Garage Door Remote?
Yes, many newer openers support Wi-Fi and smartphone control through apps. You’ll need to set up the opener’s Wi-Fi connection and download the manufacturer’s app. This is convenient and secure, but always protect your phone with a password.
My Remote Worked Before, But Now It Doesn’t. What Should I Do?
Check and replace the remote battery first. If that doesn’t help, re-sync the remote following the steps above. Power surges, interference, or opener memory resets can cause remotes to lose connection.
Are Universal Remotes Safe To Use?
Universal remotes from reputable brands are safe if they support rolling code security. Avoid very cheap or unbranded remotes, as they may not support all safety features or could be easily cloned.
Syncing your remote to your garage door is a task you can do with confidence if you follow these guidelines. With the right preparation, understanding, and a bit of patience, you’ll enjoy smooth, secure, and reliable garage door access for years to come.