Now Reading: How to Reset Keypad for Garage Door: Step-by-Step Guide
- 01
How to Reset Keypad for Garage Door: Step-by-Step Guide

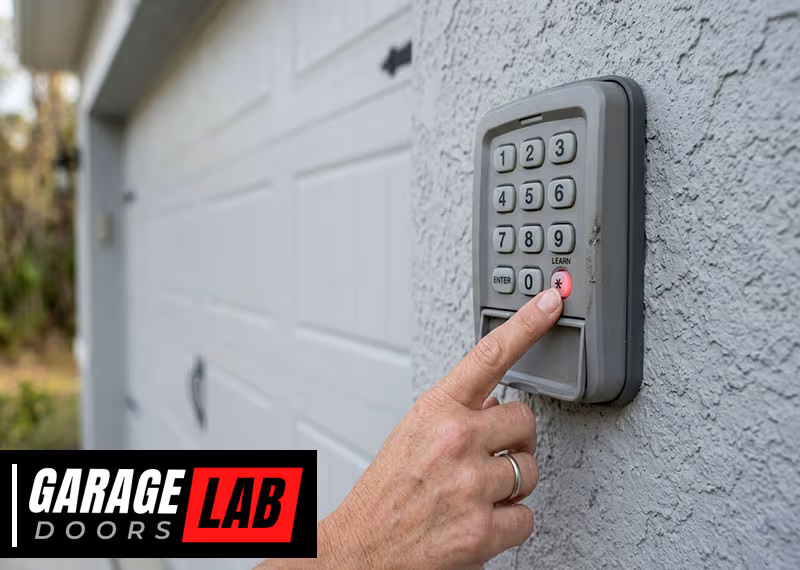
Resetting a garage door keypad is a simple task, but it can feel confusing if you haven’t done it before. Many people worry about doing something wrong and causing the garage door to stop working. The good news is, most garage door keypads are designed to be reset easily at home.
With a little guidance, you can reset your keypad in minutes—no need to call a professional or buy expensive tools.
In this guide, you’ll learn every step you need to reset the keypad for your garage door. Whether you lost your code, bought a new house, or want better security, this article gives clear directions for all major brands. You’ll also get troubleshooting tips, expert insights, and answers to questions beginners often have.
By the end, you’ll feel confident about taking control of your garage door security.
Why Reset Your Garage Door Keypad?
Resetting your garage door keypad isn’t just about fixing a problem. There are several important reasons to do it:
- Security after moving in: If you move into a new house, previous owners or renters may still know the old code. Resetting the keypad keeps your home safe.
- Lost code: If you forget the code, resetting is usually the only way to regain access.
- Code sharing: If too many people know your code—neighbors, friends, or workers—you can reset it to keep control.
- Malfunctioning keypad: Sometimes, the keypad starts acting strange. A reset can fix most issues.
- Routine maintenance: Changing your code every 6-12 months is a smart habit for home security.
Many homeowners don’t realize how easy it is to reset the keypad themselves. You don’t need a professional unless there’s a deeper electrical issue. Resetting regularly can prevent break-ins and keep your family safe.
Understanding Garage Door Keypads
Before you start, it helps to know the basics of how garage door keypads work.
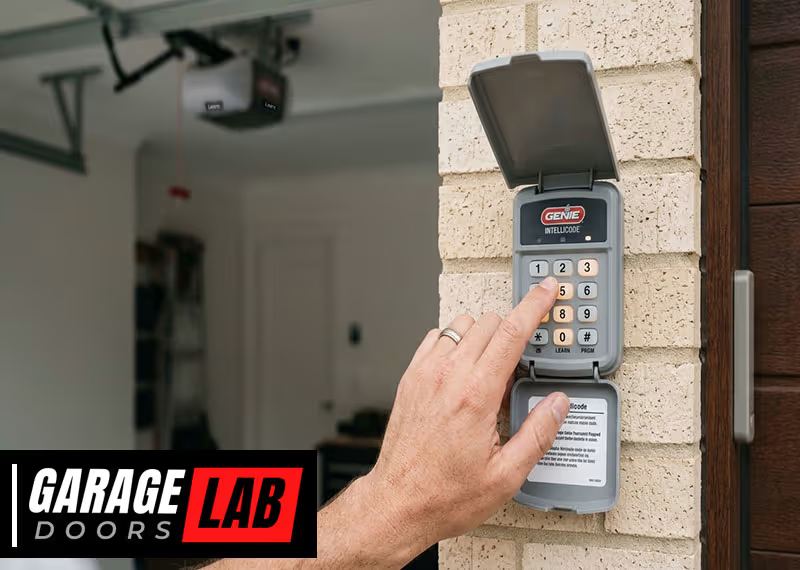
A garage door keypad is a small, weatherproof box mounted outside your garage. You enter a code to open or close the door. The keypad sends a wireless signal to the garage door opener inside your garage. Most keypads work with a rolling code system, which means the code changes every time you use it to prevent hackers.
There are two main types of keypads:
- Keypad with a Learn button: Most common on newer openers. This button is inside the garage on the opener unit. Pressing it puts the system into programming mode.
- Keypad with a default code: Some older systems use a fixed code that you can change directly on the keypad.
Most modern openers (like Chamberlain, LiftMaster, Genie, and Craftsman) use the Learn button method. If you have a very old system, instructions may be different. Always check your opener’s manual if you’re unsure.
Tools And Preparation
Before you start, gather these items:
- A ladder: Most garage door openers are mounted on the ceiling.
- A flashlight: Some garages are dark, and the Learn button can be hard to see.
- Your keypad’s manual: If you have it. If not, look for the brand and model number on the keypad or opener.
- Paper and pen: To write down the new code.
Safety tip: Never reset the keypad while standing on a moving garage door or in a way that blocks the door’s path.
How To Identify Your Garage Door Keypad Brand
Not every keypad resets the same way. The steps below cover the major brands, but first, find out which one you have.
Look for the brand name on the keypad or the opener unit. Common brands include:
- Chamberlain
- LiftMaster
- Genie
- Craftsman
- Linear
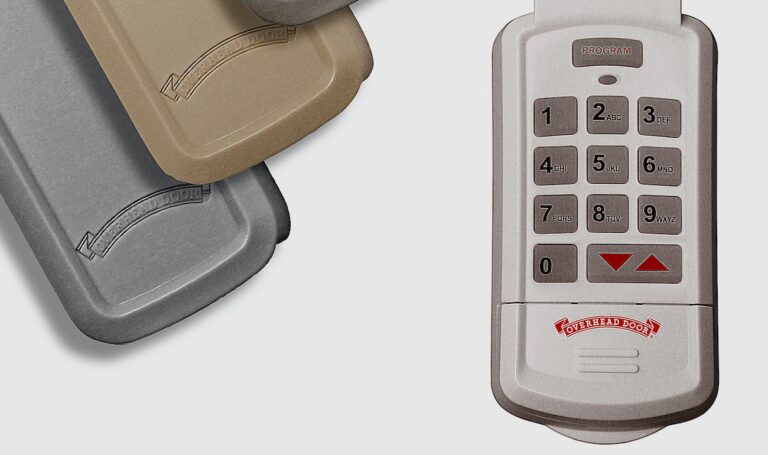
- Overhead Door
The model number is usually on a sticker on the keypad’s back or under the flip cover. If you still have the manual, check it for the brand and model number.
Step-by-step: Resetting A Garage Door Keypad (all Major Brands)
Let’s walk through the reset process for each major brand. If your keypad is not listed, use the “Other Brands” section or check the manufacturer’s website.
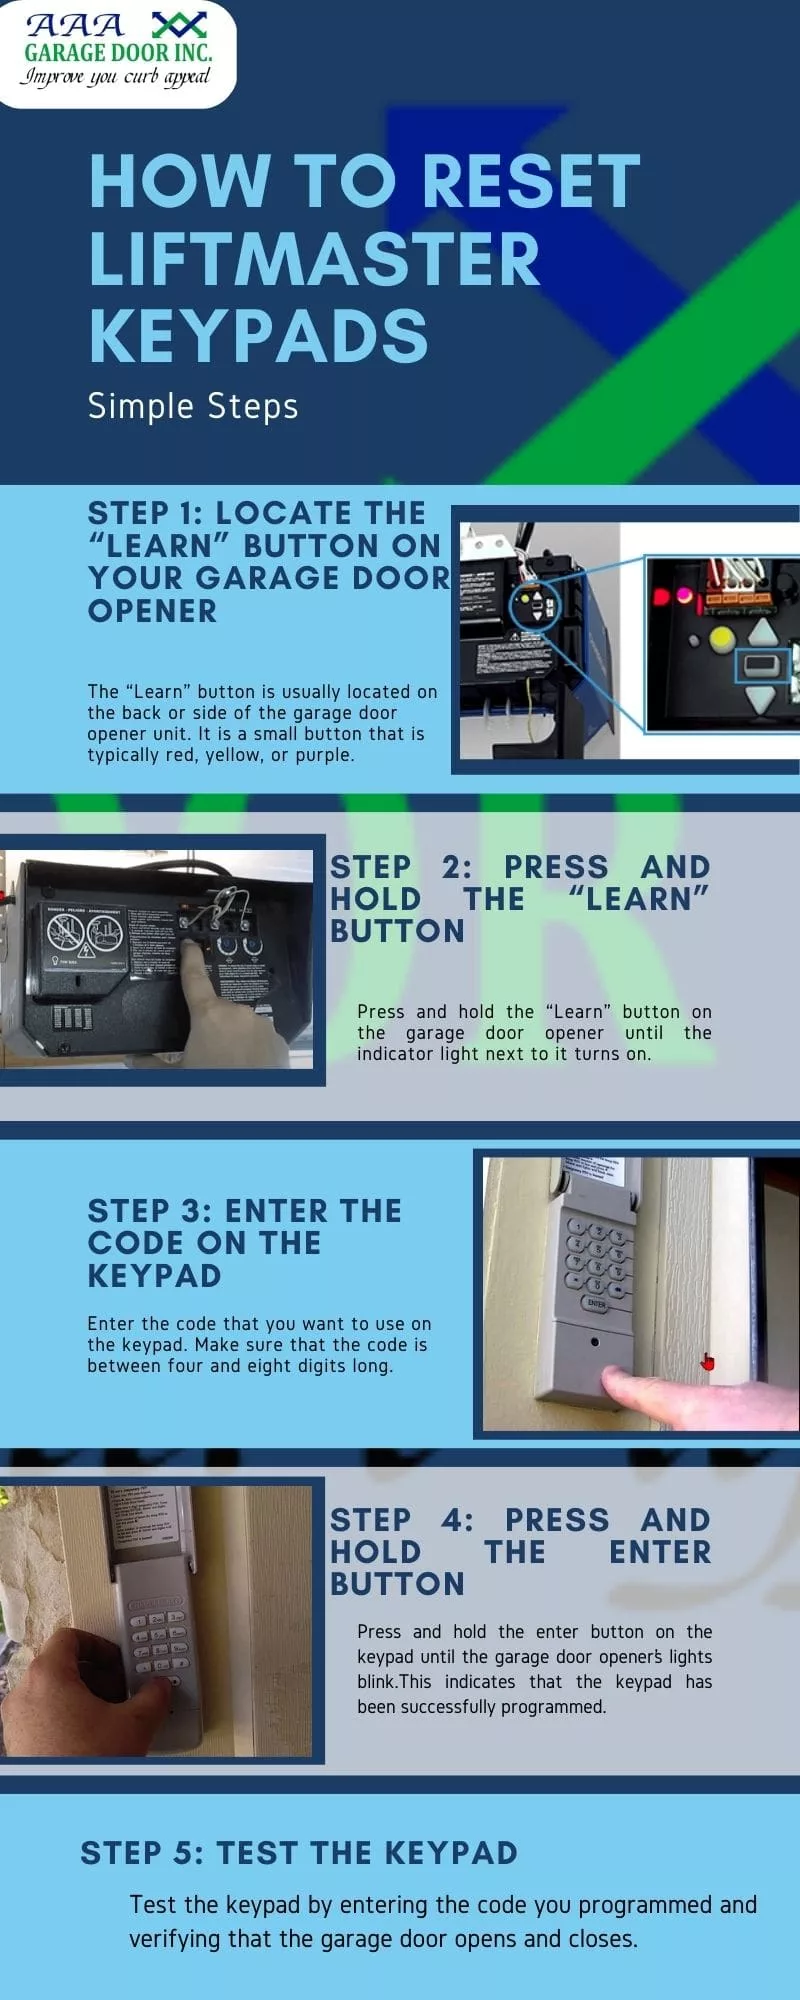
Chamberlain And Liftmaster Keypads
These two brands are often made by the same company, so their process is nearly identical.
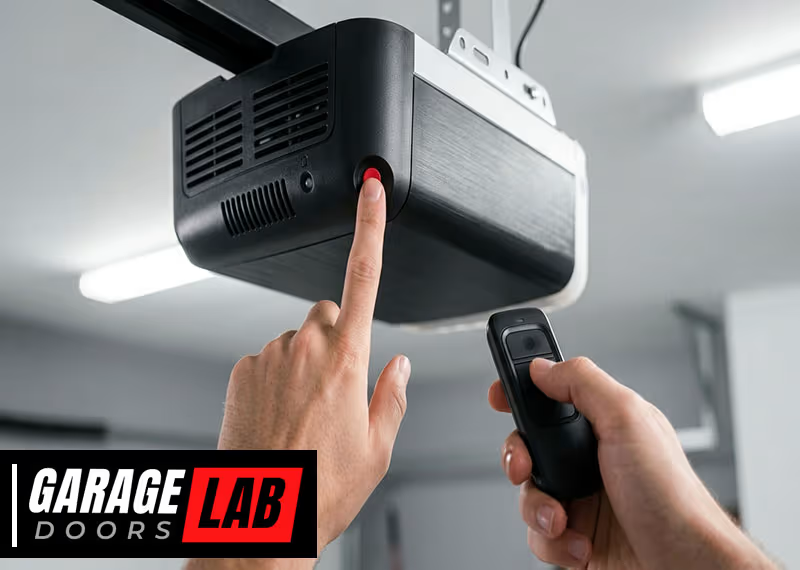
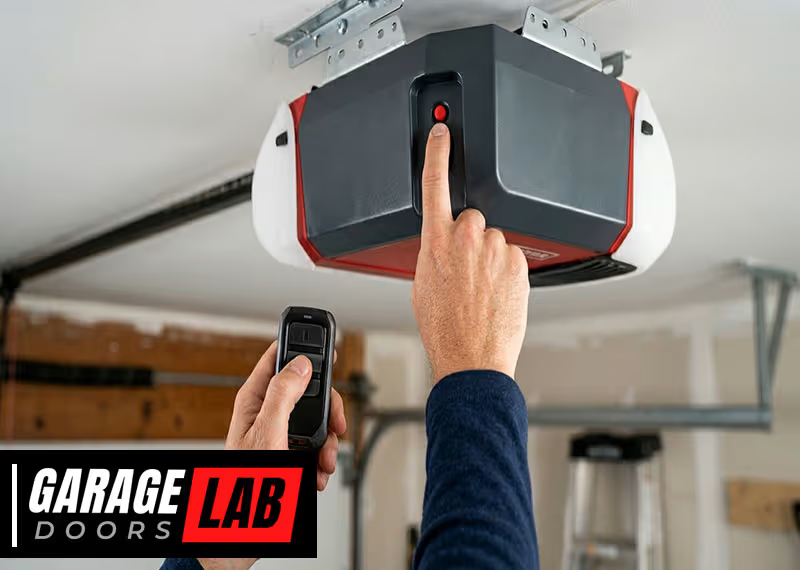
- Locate the Learn Button
- Find the garage door opener unit (usually on the ceiling).
- Look for a button labeled Learn. It might be yellow, red, orange, or purple.
- Clear the Old Code
- Press and hold the Learn button for about 6 seconds. The indicator light will turn off. This erases all remote controls and keypads from memory.
- Set a New Code on the Keypad
- On the keypad, enter your new 4-digit code.
- Press and hold the Enter button.
- While holding Enter, press and release the Learn button on the opener.
- Release the Enter button on the keypad.
- Test the new code. The door should open.
Insight: Many people forget to test the code before stepping down from the ladder. Always check it works before putting tools away.
Genie Keypads
Genie uses a slightly different process but is also simple.
- Find the Program Button
- The Program or Learn button is usually behind the light cover on the opener.
- Erase the Old Code (Optional)
- Hold the Program button until the indicator light turns off (about 10 seconds).
- Program the New Code
- Enter your desired code (3-8 digits) on the keypad.
- Press the Program button on the keypad twice.
- On the opener, press the Learn button. The indicator will blink.
- Within 30 seconds, enter your code and press Enter.
- The opener light should blink, confirming the code is set.
Craftsman Keypads
Craftsman openers are often rebranded Chamberlain units, so the process is similar.
- Find the Learn Button
- On the opener unit, press and release the Learn button.
- Set the New Code
- Within 30 seconds, enter a new 4-digit code on the keypad.
- Press Enter.
- The opener should click or its light will blink.
Common mistake: Waiting too long after pressing the Learn button. You only have about 30 seconds.
Linear And Overhead Door Keypads
These use a different approach, sometimes without a Learn button.
- Remove the Keypad Cover
- Open the keypad and look for a reset button or program switch.
- Reset the Code
- Press and hold the reset button until the keypad light blinks.
- Enter your new code.
- Press Enter.
Note: Some Overhead Door models require you to flip a physical switch inside the keypad.
Other Brands And Universal Keypads
If your brand isn’t listed, try this general method:
- Clear Memory
- Unplug the opener for 1 minute, then plug it back in.
- Hold the keypad’s program button (often under the battery cover) until the light blinks.
- Program New Code
- Enter your new code.
- Press Enter.
- Sync with the opener by pressing the Learn button as above.
If this doesn’t work, search for your model’s manual online. Most manuals are available on the manufacturer’s website.
Visual Comparison: Keypad Reset Methods
To help you see the differences, here’s a comparison of reset methods for popular brands.
| Brand | Reset Button Location | Steps to Reset | Code Length |
|---|---|---|---|
| Chamberlain/LiftMaster | Opener Unit (Learn Button) | Press Learn, set code on keypad, sync | 4 digits |
| Genie | Opener Unit (Program/Learn) | Enter code on keypad, Program button, sync | 3-8 digits |
| Craftsman | Opener Unit (Learn Button) | Press Learn, enter code on keypad, Enter | 4 digits |
| Linear | Keypad (Reset Switch) | Reset button, enter code, Enter | 3-8 digits |
| Overhead Door | Keypad (Switch inside) | Flip switch, enter code, Enter | 3-8 digits |
Practical Example: Resetting A Chamberlain Garage Door Keypad
Let’s walk through a real-life example. Imagine you’ve just moved into a new house with a Chamberlain garage door opener and want to set your own code.
- Bring a ladder and flashlight.
- Find the opener unit on your garage ceiling. Look for a yellow or orange Learn button.
- Press and hold the Learn button for 6 seconds. The indicator light goes off.
- Go to the keypad outside. Enter your new 4-digit code (for example, 2580).
- Press and hold Enter on the keypad.
- While holding Enter, press and release the Learn button again inside the garage.
- Release Enter on the keypad.
- Test the new code. The garage door should open.
If it doesn’t work, check that you held the buttons for the right amount of time and try again. Always write your new code down and keep it in a safe place.
Common Problems When Resetting Garage Door Keypads
Resetting a keypad is usually simple, but sometimes things don’t go as planned. Here are some common issues and how to solve them.
- Keypad doesn’t light up
- The battery may be dead. Replace it with a fresh one (usually a 9V).
- Check for corrosion on battery contacts.
- Code not accepted
- Make sure you’re following the reset steps for your exact brand.
- Press buttons firmly and slowly.
- Some keypads have a “lockout” period after multiple wrong entries. Wait 5-10 minutes.
- Keypad works but remote controls don’t
- You may have erased all devices from the opener’s memory. Re-sync your remotes using the Learn button.
- Keypad only works close to the opener
- Weak battery or interference from metal objects. Try changing the battery or moving metal items away.
Expert insight: Many people forget that wireless keypads can wear out after 8-10 years. If your keypad is old and often fails, it may be time for a replacement.
How To Reset A Garage Door Keypad Without The Code
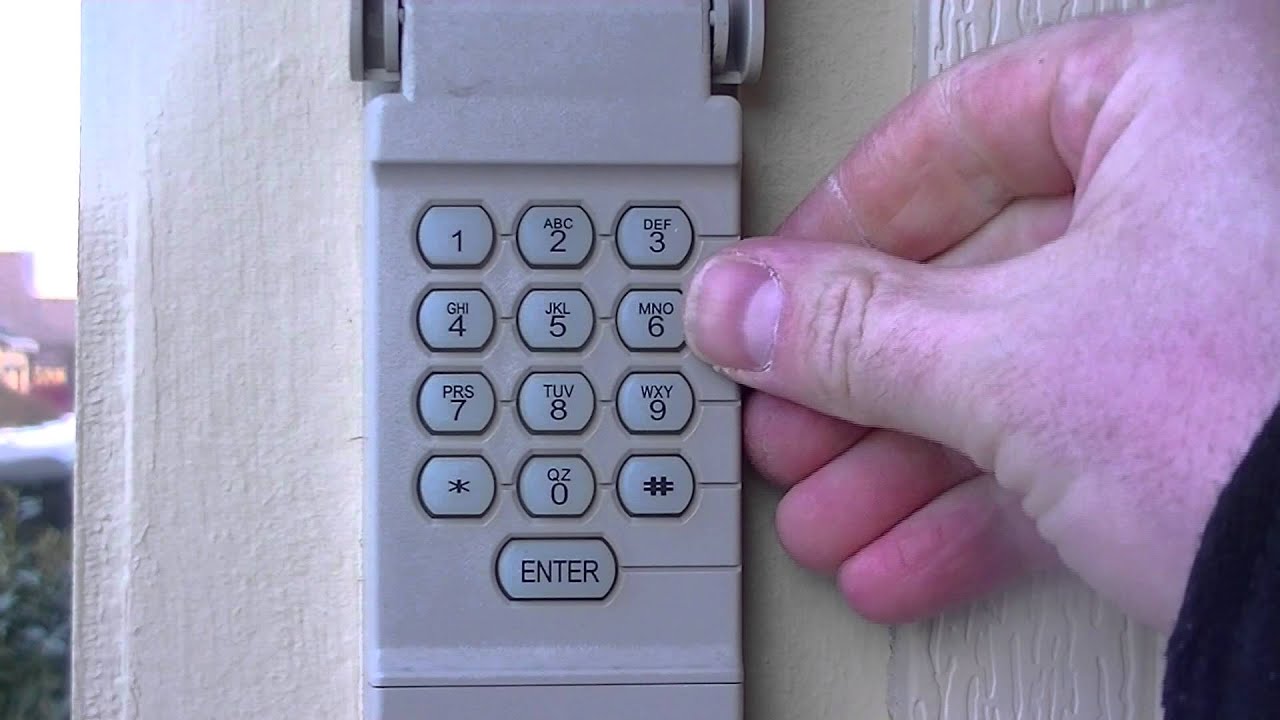
If you don’t remember the old code, don’t worry. Most systems let you erase the old code using the Learn or Program button.
- Chamberlain/LiftMaster/Craftsman: Hold the Learn button for 6 seconds to erase all codes. Then set a new one.
- Genie: Hold the Program button until the light goes off. Then set a new code.
- Linear/Overhead Door: Use the reset switch inside the keypad. You don’t need the old code.
Never try to guess the code too many times, as some models will lock out for several minutes after 5-10 wrong attempts.
Security Tips After Resetting Your Keypad
Resetting your keypad is a good time to review your garage security. Here are some ways to stay safe:
- Choose a strong code: Don’t use easy codes like 1234 or your address.
- Change the code regularly: Every 6-12 months is a smart habit.
- Don’t share your code: Only tell family members who need access.
- Check the keypad for tampering: Look for scratches or dirt that could mean someone tried to guess your code.
- Keep your keypad clean: Wipe it with a dry cloth to avoid sticky buttons.
Non-obvious insight: If your garage is attached to your home, a weak keypad code is like leaving a key under the doormat. Treat your garage code as seriously as your front door key.
When To Replace Your Garage Door Keypad
Most keypads last for many years, but you may need a new one if:
- The buttons stick or don’t register presses.
- The keypad is cracked, faded, or broken.
- The range becomes very short, even with a new battery.
- The keypad doesn’t work after resetting.
Replacement keypads cost $25–$50 and are easy to install yourself. Look for a model that matches your opener brand and frequency.
Comparing Keypad Features
Not all keypads are the same. If you’re thinking of replacing yours, consider these features.
| Feature | Basic Keypads | Advanced Keypads |
|---|---|---|
| Backlit Buttons | No | Yes |
| Weather Resistance | Standard | Improved seals |
| Multiple Codes | No | Yes |
| One-Touch Close | No | Yes |
| Battery Indicator | No | Yes |
If you live in an area with cold winters or hot summers, look for a keypad with extra weatherproofing.
Troubleshooting: Why Won’t My Keypad Reset?
Even after following all the steps, sometimes the keypad just won’t reset. Here are less obvious reasons:
- Weak or old batteries: Some keypads act odd with low batteries, even if the light turns on.
- Radio interference: Wi-Fi routers, LED lights, or metal siding near the garage can block signals.
- Wrong frequency: Keypads and openers must use the same radio frequency (usually printed on the opener).
- Worn-out buttons: If some numbers never register, the keypad is likely failing.
If you’ve tried everything and it still doesn’t work, look for your opener model’s support page or contact the manufacturer. Some brands offer live chat or phone help on their websites.
How To Reset A Garage Door Keypad For Rental Properties Or Multiple Users
If you rent your property or have several people using the garage, managing codes is important.
- Reset the code after each tenant: This protects privacy and prevents old tenants from coming back.
- Use a keypad with multiple user codes: Some advanced models let you set temporary codes for guests, workers, or deliveries.
- Record each code: Keep a log of who has which code, and update it when someone leaves.
Non-obvious insight: For short-term rentals (like Airbnb), use a keypad that lets you add and delete codes without erasing the main code. This saves time between guests.
Professional Help: When To Call An Expert
Resetting a keypad is usually a DIY job. But call a professional if:
- The opener doesn’t respond to any remote or keypad.
- You see sparks, smoke, or hear strange noises from the opener.
- The keypad wiring is damaged or exposed.
- You’re uncomfortable working on a ladder or with electrical equipment.
A pro can also upgrade your opener for better security or smart features.
Additional Resources
If you need more details or your brand isn’t covered here, check the manufacturer’s support page. Most companies have manuals, videos, and troubleshooting guides. For example, the Chamberlain Support page has step-by-step instructions and helpful diagrams.
Frequently Asked Questions
How Often Should I Reset My Garage Door Keypad?
It’s best to reset your code every 6-12 months for security. Also reset it after moving in, after giving out the code to workers, or if you think someone else may know it.
What Should I Do If My Keypad Still Doesn’t Work After Resetting?
Check the battery first. If the keypad lights up but doesn’t operate the door, try reprogramming it slowly, making sure you follow each step. If it still fails, the keypad may be faulty and need replacement.
Can Someone Hack My Garage Door Keypad?
Most modern keypads use rolling code technology, which is very hard to hack. But older keypads with fixed codes are less secure. Change your code often and upgrade to a newer keypad if you’re worried about hacking.
Will Resetting The Keypad Erase My Remote Controls?
If you erase all codes using the Learn button, your remotes will also be deleted. You’ll need to re-sync them. If you only program a new code without erasing memory, remotes will usually keep working.
Is It Possible To Reset The Keypad Without The Owner’s Manual?
Yes, most keypads can be reset using the Learn or Program button on the opener. If you’re unsure, look up your brand’s instructions online or contact their support team for a digital manual.
Resetting your garage door keypad is a simple way to keep your home secure and your life convenient. With the steps and tips in this guide, you’ll always be in control of who enters your garage. Take a few minutes today to reset your code—and rest easy knowing your home is safer.