Now Reading: How to Change Garage Door Seal: Easy DIY Guide for Homeowners
- 01
How to Change Garage Door Seal: Easy DIY Guide for Homeowners

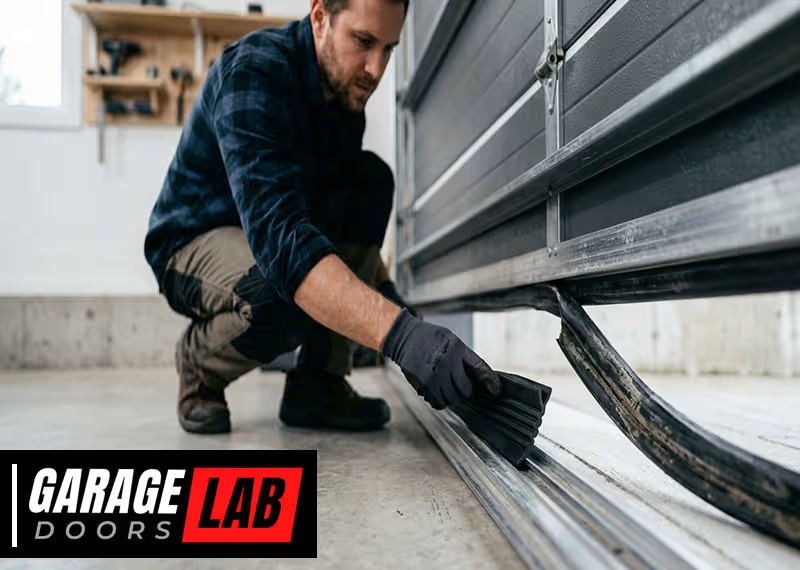
Changing a garage door seal might sound like a small task, but it can make a big difference for your home. Over time, garage door seals wear out. This leads to dust, water, bugs, and even cold air sneaking into your garage.
If you notice puddles, drafts, or daylight coming in under your garage door, it’s a clear sign your seal needs attention. Many homeowners ignore the garage door seal until there’s a problem, but replacing it is an easy way to protect your belongings, reduce energy costs, and keep your garage cleaner.
Anyone with basic tools can change a garage door seal. You don’t need to be a professional to do it right. This guide explains everything you need to know: choosing the right seal, removing the old one, installing the new seal, and avoiding common mistakes. You’ll find practical tips, expert advice, and little-known insights that most tutorials miss. By the end, you’ll be confident handling this task yourself, saving money, and extending the life of your garage door.
Understanding Garage Door Seals
A garage door seal, also called a bottom seal or weatherstrip, is a strip of flexible material attached to the bottom edge of your garage door. Its main job is to close the gap between the door and the ground.
But not all garage door seals are the same. They come in different shapes, sizes, and materials, each with specific uses.
Why Is The Seal So Important?
Many people overlook the garage door seal until they notice problems. Here’s why it matters:
- Energy efficiency: A good seal keeps cold air out in winter and hot air out in summer, lowering your heating and cooling bills.
- Cleanliness: It blocks dust, dirt, and leaves from blowing into your garage.
- Pest control: Gaps under the door invite mice, insects, and even snakes.
- Waterproofing: Rainwater can seep in through a worn seal, causing puddles and mold.
A small investment in a new seal often prevents bigger problems later.
Types Of Garage Door Seals
Not all seals fit every garage door. Choosing the right one is important. Here are the main types:
- Bulb seals: Rounded and flexible, good for uneven floors.
- T-type (T-end) seals: Shaped like a “T,” slide into tracks under the door.
- Beaded seals: Have a round bead, fit into a track.
- Flat seals: Simple strips, attach with nails or adhesive.
- Threshold seals: Attach to the floor, not the door; used for big gaps or water.
Some doors use a combination. Always check your current seal’s shape and how it attaches before buying a new one.
Materials Used
Garage door seals are made from different materials:
- Rubber: Flexible, durable, works well in cold climates.
- Vinyl: Cheaper, good for mild climates, not as tough as rubber.
- Silicone: High flexibility, handles extreme temperatures, more expensive.
Rubber is the most common for garage door bottoms.
How To Choose The Right Garage Door Seal
Selecting the right seal is the first step. Get this wrong, and the new seal might not fit or work as well as it should.
Measure Your Garage Door
Before shopping, measure your garage door:
- Width: Most standard doors are 8, 9, 16, or 18 feet wide. Measure from one side to the other.
- Thickness: Check the thickness of your door’s bottom edge.
- Track type: Look at how the current seal attaches. Is it a track, slot, or just nailed on?
If your old seal is missing, look for a model number or manufacturer’s label on the door.
Compare Seal Profiles And Sizes
Matching the profile is key. Here’s a quick reference for the most common types:
| Seal Type | Shape | Best For | Common Attachment |
|---|---|---|---|
| Bulb | Round, flexible | Uneven floors | Track/slot |
| T-type | T-shaped ends | Metal doors | Double tracks |
| Beaded | Round bead edge | Some wood/metal doors | Single track |
| Flat | Flat strip | Wood doors | Nails/adhesive |
| Threshold | Flat, thick | Floor mounting | Adhesive/screws |
Material Choice
- For very cold or hot climates, choose rubber or silicone.
- For mild weather and low traffic, vinyl is okay but less durable.
Don’t Forget The Retainer
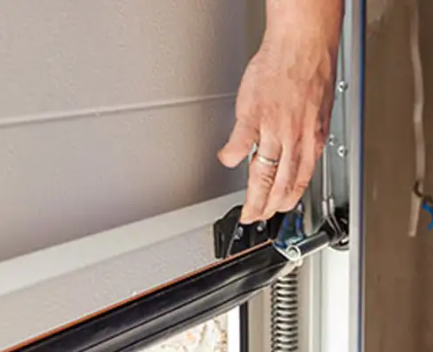
The retainer is the metal or plastic channel at the bottom of your door that holds the seal. If it’s damaged or missing, you might need to replace it too. Some retainers are U-shaped, others have double slots. Bring a photo or your old seal when buying a replacement.
Pro Tip
Some homeowners try to use “universal” seals. These rarely fit as well as the original style. Always match the type and size to your door for best results.
Tools And Materials Needed
Changing a garage door seal is a simple job if you have the right tools. Here’s what you’ll need:
- Replacement garage door seal (make sure it’s the correct type and length)
- Tape measure
- Utility knife or heavy-duty scissors
- Flathead screwdriver
- Pliers
- Soap and water (for cleaning the track)
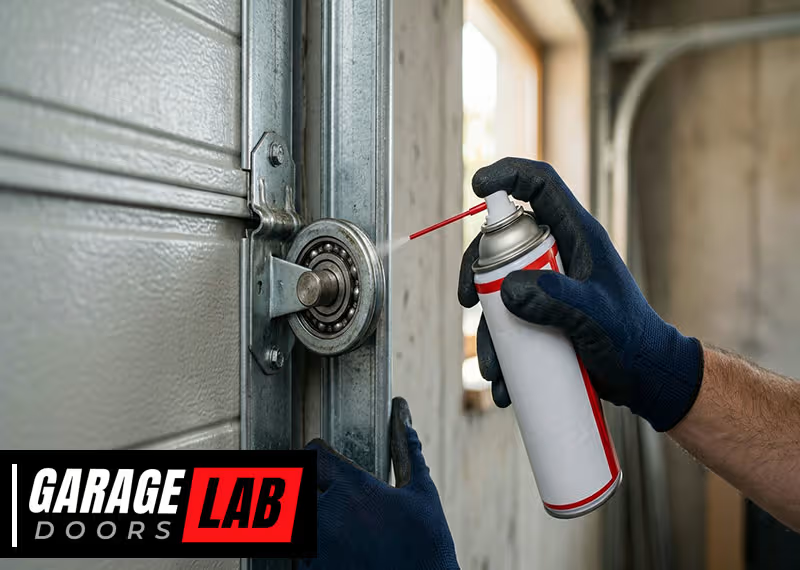
- WD-40 or silicone spray (optional, for stubborn seals)
- Cordless drill or screwdriver (if your seal is screwed in)
- Hammer and nails (for wood doors with nailed seals)
- Work gloves (protect your hands)
For threshold seals (mount to the floor), you’ll also need:
- Strong adhesive (usually included)
- Caulking gun (for adhesive or sealant)
Safety First
Garage doors are heavy. You don’t need to remove the door, but always work with the door fully open and supported. Never put your hands near the springs or cables.
Removing The Old Garage Door Seal
Before you can install a new seal, you need to remove the old one. This part is often dirtier and tougher than it sounds, especially if the seal is old or has hardened.
Step-by-step Removal
1. Open The Garage Door
Raise the door so the bottom edge is easy to reach. Lock it in place if possible.
2. Inspect The Seal Attachment
Look closely at how the old seal attaches. Is it in a track, nailed, or glued? Take a photo for reference.
3. Loosen The Ends
Use a flathead screwdriver to gently pry up one end of the seal. For nailed seals, remove nails with pliers.
- Slide Out or Pull Off
- For track-mounted seals, pull the seal out of the track. Sometimes, spraying a little WD-40 or soapy water helps loosen it.
- For nailed or glued seals, pull carefully to avoid damaging the door.
- Clean the Area
Dirt and debris collect under the old seal. Clean the bottom edge and tracks with soap and water. Let it dry before installing the new seal.
Common Problems And Solutions
- Seal won’t slide out: Try more lubricant. If it’s stuck, carefully cut it with a utility knife and pull it out in pieces.
- Retainer is damaged: If the track is bent or broken, you may need to replace it before installing the new seal.
- Paint or rust: Remove loose paint and rust with a wire brush to ensure a smooth fit for the new seal.
Tip: Don’t rush. Removing old glue or nails fully helps your new seal last longer.

Installing The New Garage Door Seal
Now the fun part—installing the new seal. Take your time, and you’ll get a snug, professional result.
Step-by-step Installation
1. Match Length
Lay the new seal next to your door. If it’s too long, measure and cut to length with a utility knife. Always cut a little longer than needed—you can trim more later.
- Align the Seal
- For track or T-type seals: Squeeze the new seal so the ends fit into the slots on the retainer.
- For nail-on or flat seals: Line up the seal with the bottom edge of the door.
- Feed or Attach the Seal
- Track-mounted: Start at one end and feed the seal through the track. This can be tough—apply a little soapy water to help it slide.
- Nail-on: Hold the seal in place and hammer in nails every 6-8 inches.
- Adhesive: Apply adhesive as directed, press the seal into place, and hold until it sticks.
- Check the Fit
Lower the garage door and check for gaps. The seal should compress slightly against the floor, but not bunch up.
5. Trim Excess
If the seal sticks out on the sides, trim flush with the door.
6. Test The Door
Open and close the door a few times. Listen for scrapes or resistance—if the door doesn’t close smoothly, adjust the seal.
Installation For Threshold Seals
A threshold seal mounts to the floor, not the door. Here’s how:
1. Clean The Floor
Sweep and scrub the area where the seal will go. Let it dry fully.
2. Position The Seal
Close the garage door. Set the threshold seal in place so it meets the door edge.
3. Mark And Cut
Mark the length, cut to size.
4. Apply Adhesive
Run a bead of adhesive along the floor as directed. Press the seal into place.
5. Let It Cure
Keep the door closed (or weight on the seal) for several hours so the adhesive sets.
A Few Pro Tips
- When feeding a seal through a track, work slowly. Bunching or twisting can make it harder.
- If your door is old, consider replacing the retainer for a perfect fit.
- For very uneven floors, thicker bulb seals work better than flat ones.
Double-check For Proper Seal
After installing your new garage door seal, it’s important to check your work. Even a small gap can let in water or pests.
Test For Gaps
- Daylight test: Close the garage door and turn off the lights. Look for daylight under the door.
- Water test: Pour a small amount of water outside the door. Does it seep under?
- Draft test: On a windy day, check if you feel a breeze or notice dust blowing in.
If you find a problem, adjust the seal or add a threshold seal for extra protection.
Table: Common Seal Problems And Fixes
| Problem | Possible Cause | How to Fix |
|---|---|---|
| Gap at one end | Seal too short or uneven floor | Trim seal to fit, use thicker seal, or add threshold |
| Seal bunches up | Seal too long or not aligned | Reposition and trim excess |
| Seal doesn’t touch floor | Retainer bent or wrong seal profile | Straighten retainer, use correct seal type |
| Door hard to close | Seal too thick or installed incorrectly | Use thinner seal or reinstall |
Maintenance Tips For Longer-lasting Seals
A new garage door seal should last 3–5 years, but you can make it last longer with some basic care.
Regular Cleaning
Sweep debris away from the door often. Dirt, leaves, and gravel can wear down the seal or create gaps.
Check Seasonally
- Inspect the seal each spring and fall.
- Look for cracks, hardening, or gaps.
- Replace at the first sign of major wear—don’t wait for leaks.
Protect From Chemicals
Avoid spilling oil, gasoline, or harsh cleaners on the seal. These can cause rubber or vinyl to break down faster.
Lubricate Tracks (if Needed)
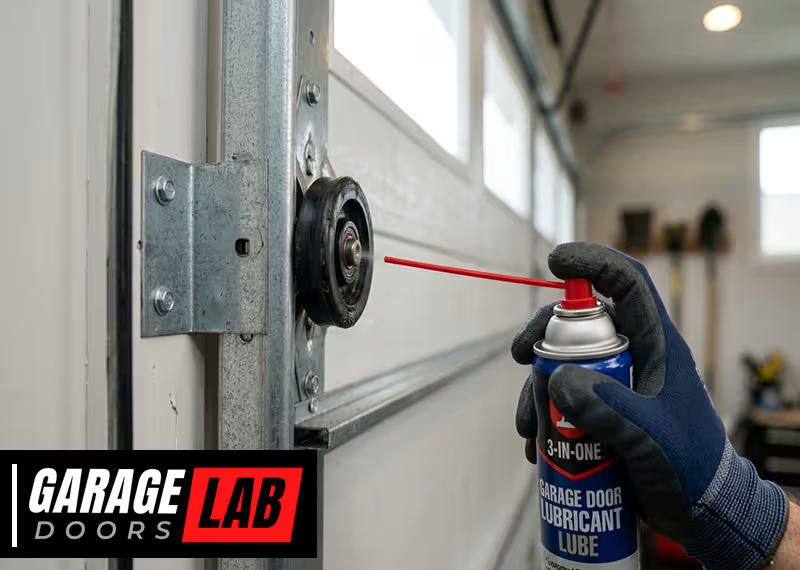
If your retainer has metal tracks, a little silicone spray keeps the seal sliding smoothly and prevents rust.
Avoid Common Mistakes
- Don’t stretch the seal when installing. It should rest naturally.
- Don’t use nails or screws with track-mounted seals—they can pinch or tear the material.
- Don’t ignore uneven floors. If the gap is large, consider a thicker seal or threshold.
When To Call A Professional
Most homeowners can replace a garage door seal themselves. But sometimes, you need expert help:
- The retainer is bent, rusted, or missing and you’re unsure how to replace it.
- The garage door is very heavy or hard to lift (possible spring issues).
- The door doesn’t close evenly after seal replacement.
- You want to upgrade to commercial-grade weatherproofing.
If you’re not comfortable working around garage doors, it’s okay to call a pro. Safety comes first.
Cost Of Replacing A Garage Door Seal
Most DIY seal replacements cost between $10 and $50 for materials, depending on the length and material. Hiring a professional usually adds $50 to $150 for labor.
Table: Estimated Costs
| Type | DIY Cost (Materials) | Pro Installation Cost |
|---|---|---|
| Standard rubber seal (16 ft) | $15–$30 | $75–$125 |
| Threshold seal (floor mount) | $25–$50 | $100–$150 |
| Retainer (if needed) | $20–$40 | + $50 labor |
Tip: Always compare prices and read reviews before buying a seal. Quality varies a lot.
Two Insights Most People Miss
- The floor matters as much as the door. If your garage floor is cracked, sloped, or uneven, even the best seal won’t work perfectly. Sometimes, leveling the floor or adding a threshold seal solves problems that a new door seal alone cannot.
- Retainers wear out too. Many people replace the seal but ignore the metal or plastic track. If this is bent, rusty, or cracked, the new seal won’t sit right. Replacing the retainer is often as easy as changing the seal and gives a much better result.
Environmental And Energy Benefits
Changing your garage door seal isn’t just about convenience. It can also reduce your home’s energy use. According to the U.S. Department of Energy, sealing air leaks can cut heating and cooling costs by up to 20%. For more information, check the Energy Saver guide by the U.S. Department of Energy.

Frequently Asked Questions
How Often Should I Replace My Garage Door Seal?
Most seals last 3–5 years. Check your seal every year for cracks, hardening, or gaps. Replace it if you see daylight under the door or notice leaks and drafts.
Can I Install A New Seal Without Removing The Garage Door?
Yes, you can change the seal with the door in place. Open the door to a comfortable height and support it. Never try to remove the door or adjust springs yourself.
What If My Garage Door Is Very Old Or The Seal Type Is Hard To Find?
If you can’t find an exact match, measure your door and bring the old seal to a hardware store. Many stores carry universal or adaptable seals. If nothing fits, you may need to replace the retainer along with the seal.
Is It Better To Use A Threshold Seal Or A Door-mounted Seal?
Each has its use. Door-mounted seals are standard and work for most homes. Threshold seals are best for very uneven floors, flooding issues, or when you want extra protection. Sometimes, using both together gives the best results.
Will Changing The Garage Door Seal Lower My Energy Bills?
Yes. A good seal blocks cold drafts in winter and hot air in summer, helping keep your garage and home more comfortable. This can reduce heating and cooling costs, especially if your garage is attached to your house.
Changing your garage door seal is a simple DIY project that pays off in comfort, cleanliness, and energy savings. With the right seal, tools, and a bit of patience, you can protect your garage from weather, pests, and wear. Remember to check your seal regularly and address small problems before they become big headaches.
This small job goes a long way in keeping your home safe, efficient, and looking its best.