Now Reading: How to Change Rollers on Garage Door Easily and Safely
- 01
How to Change Rollers on Garage Door Easily and Safely

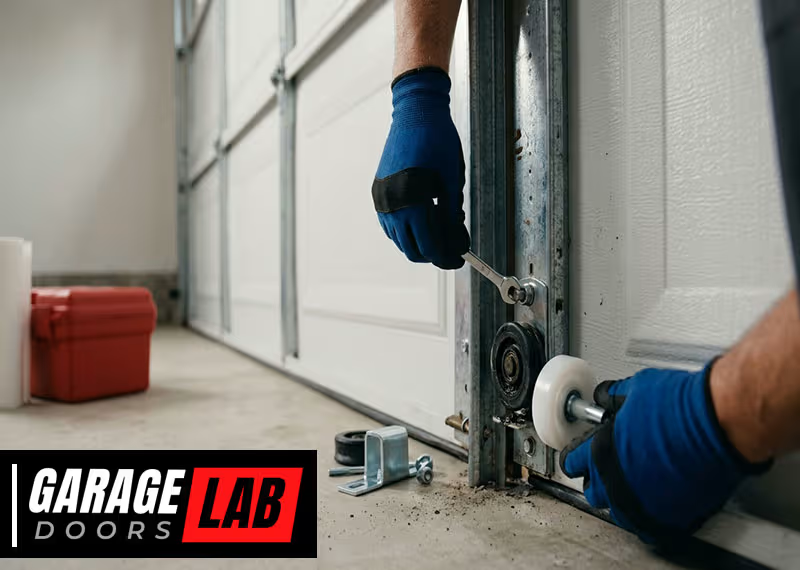
Changing the rollers on your garage door is one of those jobs that looks simple—but there’s a lot more to it than meets the eye. With every use, the rollers inside your garage door tracks carry a heavy load, guiding the door up and down smoothly. Over time, these garage door rollers wear out, causing noise, jerky movement, or even making the door get stuck. Many homeowners put up with these problems for months, not realizing how much smoother their door could run with fresh rollers.
If you’ve never changed garage door rollers before, this guide will walk you through every step—safely and confidently. We’ll cover not just the basics, but also the common mistakes people make, essential safety tips, how to choose the right rollers, and insider tricks that even some professionals skip.
By the end, you’ll know exactly what to do, what tools you’ll need, and how to get the best results for years of trouble-free operation.
Why Roller Replacement Matters
Many people ignore garage door rollers until something goes wrong. But the rollers do much more than just move the door. They support the door’s weight and keep it aligned in the track. When they wear out, you might notice:
- Squeaky or grinding noise
- The door shakes or wobbles
- The door opens unevenly or gets stuck
- Rollers come off the track
Bad rollers put stress on your garage door opener and other parts, leading to bigger repair bills later. Replacing them when you see signs of wear saves time and money.
One thing most homeowners miss: even if only one or two rollers look bad, it’s smart to replace them all at once. This keeps the door balanced and extends the life of the whole system.
Understanding Garage Door Rollers
Before you start, it helps to know the different types of rollers and why choosing the right one matters.
Types Of Garage Door Rollers
There are three main types:
- Plastic rollers – Usually found on new, lower-cost doors. They’re quiet but wear out quickly (often in 2-3 years). They don’t have ball bearings.
- Steel rollers – Durable and strong, usually with ball bearings for smoother movement. They can be noisy unless lubricated.
- Nylon rollers – Best for most homes. They combine quiet operation with long life (up to 10-15 years). High-quality nylon rollers have ball bearings and sealed designs to keep out dirt.
Key Features To Compare
Here’s a quick look at how the main types compare:
| Type | Noise | Lifespan | Price | Maintenance |
|---|---|---|---|---|
| Plastic | Low | 2-3 years | Low | Replace often |
| Steel | High | 5-7 years | Medium | Lubricate regularly |
| Nylon | Very low | 10-15 years | High | Minimal |
Nylon rollers cost a bit more but often pay for themselves by reducing noise and lasting much longer.
How Many Rollers Does A Garage Door Have?
Most standard residential garage doors have 10 to 12 rollers—five or six on each side. Large or heavy doors may have more. Always count before ordering replacements.
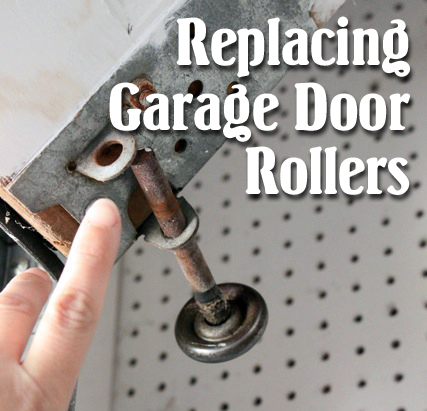
Safety First: What You Need To Know
Changing garage door rollers is not extremely hard, but safety is critical. Garage doors are heavy (100-300 lbs) and under strong spring tension. One wrong move can cause injury.
Here are the most important safety tips:
- Never remove bottom rollers with the door closed. The bottom bracket is connected to the spring system.
- Unplug the garage door opener. You don’t want it to start moving by accident.
- Wear gloves and safety glasses. Old rollers and tracks can have sharp edges.
- Work with a friend if possible. It’s easier and safer to hold the door steady.
If you’re not comfortable working around springs or heavy doors, hire a pro for the bottom roller replacement. Many people do the top and middle rollers themselves, then call a technician for the bottom ones.
Tools And Materials Needed
Having the right tools ready saves time and frustration. Here’s what you’ll need:
- Replacement garage door rollers (buy the full set—make sure the size matches your current rollers)
- Wrench or socket set (usually 7/16” or 1/2” for most doors)
- Flathead screwdriver
- Pry bar or large screwdriver (for gently moving the track)
- Stepladder (for reaching the top rollers)
- Pliers
- Work gloves
- Safety glasses
- Garage door lubricant (not WD-40, but a silicone or lithium-based spray)
- Rags or paper towels
- Tape or clamp (to hold the door in position)
An often-missed tip: double-check roller size before buying. Most are 2-inch, but some older or custom doors use 1-3/4” or 3” rollers. Measure the roller wheel, not the shaft.
Preparing For Roller Replacement
Before you start, there are a few steps you should always take:
- Close the garage door fully. Never work on rollers with the door open.
- Unplug the opener. This prevents accidental movement.
- Lock the door in place. Use locking pliers or a clamp on the track just above one of the rollers, so the door cannot move up suddenly.
Many people skip step 3, but it’s a key safety move that protects you if something slips.
- Check the spring tension. If your door is extremely heavy or hard to lift, the springs may be weak. Don’t try to change bottom rollers if you suspect spring problems—call a professional.
Step-by-step Guide To Changing Rollers
Now you’re ready to start the real work. Most of the process is the same for both steel and nylon rollers.
1. Remove The Hinge Bolts
Start with the middle and upper rollers. Leave the bottom rollers for last (or for a pro).
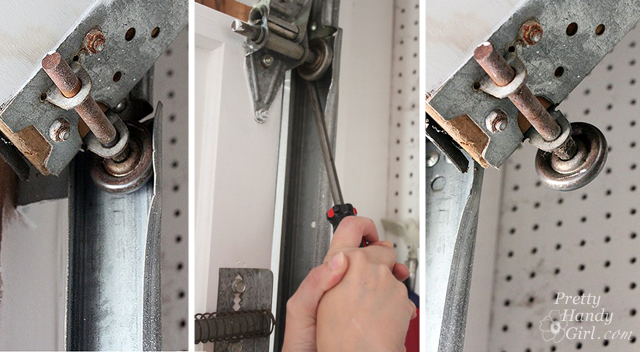
- Use your wrench or socket to remove the bolts holding the hinge to the door panel.
- Slide the hinge and roller out together.
If bolts are rusty, add a little lubricant and let it soak for 5-10 minutes.
2. Remove The Old Roller
- Pull the old roller out of the hinge.
- Wipe away any dirt or old grease from the hinge.
A common mistake: Not cleaning the hinge. Dirt and old lubricant can cause new rollers to wear out early.
3. Insert The New Roller
- Slide the new roller into the hinge.
- Make sure the roller spins freely.
Quality check: Give the roller a quick spin. If it catches or feels rough, check for debris or consider replacing the hinge.
4. Reinstall The Hinge And Roller
- Line up the hinge and roller with the door and track.
- Insert and tighten the bolts by hand first, then use your wrench for a snug fit.
Don’t over-tighten—just firm enough that the hinge doesn’t move.
5. Move To The Next Roller
- Repeat the process for each middle and upper roller on both sides of the door.
- Only remove one hinge at a time. This keeps the door stable.
6. Replacing Top Rollers
The top roller is a bit different:
- Open the door slightly to relieve pressure on the top hinge.
- Remove the top hinge bolts.
- Pull the hinge and roller out together.
- Swap the roller and reinstall.
Tip: The top roller can sometimes stick in the track. If it does, gently pull the track outward with a pry bar just enough to free the roller, but don’t bend the track.
7. Replacing Bottom Rollers (advanced/optional)
Caution: The bottom bracket is under spring tension. If you’re not experienced, skip this and call a pro.
If you choose to do it:
- Fully open the garage door. This removes most of the tension from the cable.
- Clamp the door in the open position.
- Use pliers to carefully disconnect the cable from the bottom bracket.
- Remove the bottom bracket bolts and slide out the roller.
- Replace the roller, then reattach everything carefully.
Never remove the bottom bracket with the door closed or partially open.
Lubricating And Testing The New Rollers
With all rollers in place, it’s time to finish up:
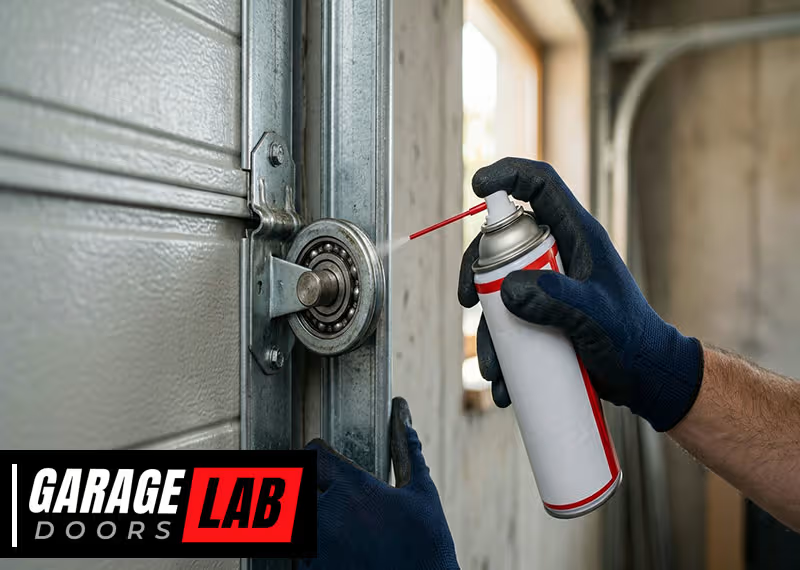
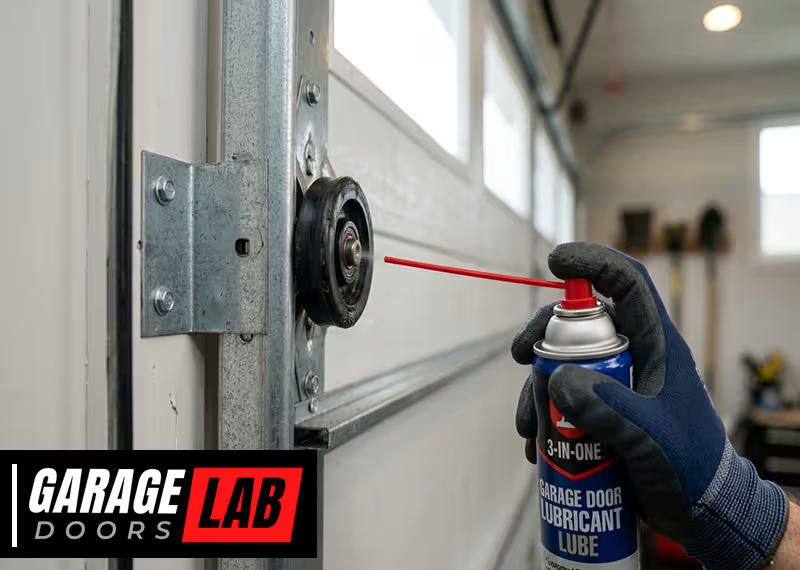
- Spray lubricant on each roller bearing and the track (use a silicone or lithium-based spray).
- Open and close the door by hand a few times to check for smooth movement.
- Listen for noise—it should be much quieter than before.
- Tighten any loose bolts or hinges.
- Plug the opener back in and test the door using the remote.
If the door sticks or binds, double-check that each roller is seated correctly in the track.
Common Mistakes To Avoid
Even careful DIYers make these mistakes:
- Forgetting to unplug the opener—this can cause the door to move unexpectedly.
- Not supporting the door—always clamp the track or use locking pliers.
- Mixing up hinge positions—each hinge is numbered (1, 2, 3, etc.) And must go back in the same spot.
- Using the wrong lubricant—WD-40 is not a long-term solution. Use garage door-specific products.
- Trying to change all rollers at once—work one at a time for safety and door alignment.
How To Choose The Best Rollers For Your Door
Picking the right rollers is more important than most people realize. Here’s what to consider:
- Material: Nylon is best for most homes—quiet and long-lasting.
- Ball Bearings: More bearings mean smoother, quieter operation. High-quality rollers have 10+ ball bearings.
- Sealed vs. Unsealed: Sealed bearings keep out dust and last longer.
- Weight Rating: Heavier doors need heavy-duty rollers. Check your door’s specs.
- Size: Measure the roller diameter and shaft length to match your old rollers.
Here’s a quick comparison of common roller types:
| Roller Type | Ball Bearings | Noise Level | Typical Use |
|---|---|---|---|
| Plastic, no bearing | 0 | Low | Light doors |
| Steel, 7 bearing | 7 | Medium | Standard doors |
| Nylon, 13 bearing | 13 | Very Low | Heavy/quiet doors |
If you want a quieter garage, go for nylon rollers with sealed bearings.
Maintenance Tips For Longer Roller Life
Changing rollers is not something you want to do every year. With good maintenance, quality rollers can last 10+ years.
Here’s how to keep them running smoothly:
- Lubricate rollers and tracks every 6-12 months. Use garage door lubricant, not general oil.
- Check for wear during seasonal maintenance.
- Clean tracks to remove dirt and debris. Don’t use water—wipe with a dry rag.
- Listen for new noises—squeaks mean it’s time to lubricate or check for damage.
- Inspect hinges and brackets for rust or bending.
One insider tip: If your garage is very dusty, consider sealed rollers. They keep out dirt that causes early wear.
When To Call A Professional
Most homeowners can change middle and upper rollers. But you should call a pro if:
- The door is extremely heavy or unbalanced
- The springs or cables look worn or broken
- You need to replace bottom rollers and aren’t sure about spring tension
- You hear a loud snap or see the door move suddenly
Springs store a lot of energy and can cause serious injury. Professionals have the right tools and experience for these high-risk jobs.
The Cost Of Roller Replacement
How much will you spend? Here’s a rough guide:
- DIY (parts only): $25–$70 for a set of 10–12 nylon rollers
- Professional service: $80–$200 (includes parts and labor)
Nylon rollers cost more upfront, but with a lifespan up to 15 years, they’re a smart investment.
Roller Replacement Vs. Other Garage Door Repairs
Some people wonder if changing rollers will fix all door problems. Here’s a quick comparison:
| Problem | Roller Replacement Helps? | Other Fix Needed? |
|---|---|---|
| Noisy operation | Yes | Lubricate other parts |
| Door sticks/jams | Sometimes | Check tracks/springs |
| Broken springs | No | Replace springs |
| Uneven closing | Maybe | Check cables/track |
If your door has major issues after new rollers, have it checked by a technician.
Environmental Factors And Roller Wear
Garage doors exposed to salt air, high humidity, or a lot of dust will wear out rollers faster. If you live near the ocean or in a dusty area, check your rollers every year.
Also, cold weather can cause older steel or plastic rollers to crack. Nylon rollers with sealed bearings perform best in extreme conditions.
Recycling And Disposal Of Old Rollers
Don’t just toss old rollers in the trash. Steel and nylon rollers can often be recycled with scrap metal. Check your local recycling center’s rules. Plastic rollers should go in the trash unless your city accepts them with other plastics.
What To Do If The Door Comes Off The Track
If you accidentally pull the door off the track while changing rollers:
- Stop and don’t force the door.
- Support the door so it doesn’t fall.
- Use a pry bar to gently guide the roller back into the track.
- Check alignment before moving the door again.
If you can’t get it back on easily, call a garage door professional. Forcing the door can bend tracks or damage panels.

Extra Tips For A Smooth Diy Experience
- Take photos of each hinge and roller before removing them. This helps you remember placement.
- Work during daylight—garage doors are heavy and it’s safer if you can see clearly.
- Keep pets and kids away from the work area.
- Have all tools and parts ready before starting.
- If you get stuck, search for your door model’s manual online—many are available free on manufacturer websites.
For more background on garage door systems, the Wikipedia page on garage doors has technical details and history.
Frequently Asked Questions
How Often Should I Replace Garage Door Rollers?
Most high-quality nylon rollers last 10 to 15 years with regular lubrication. Plastic rollers may need replacement every 2–3 years, while steel rollers can last 5–7 years if kept lubricated.
Can I Replace Garage Door Rollers Without Removing The Door?
Yes, you can change most rollers without removing the whole door. Work one hinge and roller at a time, and keep the door clamped in place for safety. Only the bottom rollers may require extra caution or professional help.
What Size Garage Door Roller Do I Need?
Most residential doors use 2-inch rollers, but some may use 1-3/4” or 3” sizes. Measure the diameter of the roller wheel, not the shaft, to match your replacements exactly.
Is It Safe To Change Bottom Rollers Myself?
No, not for most people. The bottom rollers are attached to the door’s spring system, which is under high tension. Removing them incorrectly can cause injury. Leave this part to a professional unless you have experience.
How Do I Know If My Rollers Are Bad?
Look for flat spots, excessive noise, wobbling, or sticking. If the rollers don’t spin freely or have visible cracks or chips, it’s time to replace them.
Changing your garage door rollers takes patience, the right tools, and attention to detail—but the payoff is a door that glides smoothly and quietly, year after year. Remember, safety comes first, and quality parts make all the difference. With these steps, even a first-timer can get pro-level results and extend the life of their garage door system.