Now Reading: Garage Door Keypad Not Working After Changing Battery? Fix It Fast
- 01
Garage Door Keypad Not Working After Changing Battery? Fix It Fast
Garage Door Keypad Not Working After Changing Battery? Fix It Fast

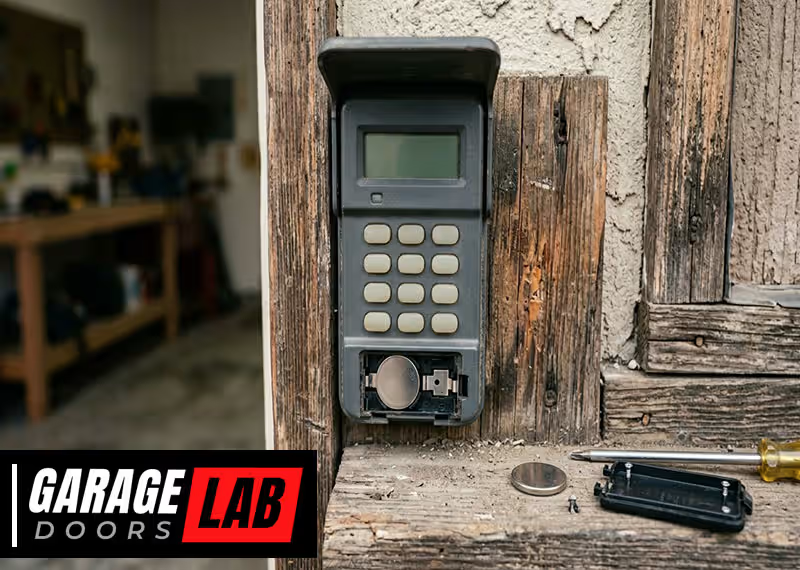
When you change the battery in your garage door keypad, you expect everything to work smoothly. But sometimes, after installing a fresh battery, the keypad just won’t respond. Maybe the keys don’t light up, or your code no longer opens the garage. This situation is frustrating, especially if you rely on your keypad for daily access. The good news: most keypad failures after battery change have clear causes and practical solutions. Let’s explore why this happens, how to fix it step by step, and what to do if your keypad still doesn’t work.
Why Your Garage Door Keypad Might Stop Working After A Battery Change
Most keypads are reliable, but changing the battery can sometimes interrupt their normal operation. Here’s why:
- Power interruption: Some keypads reset or lose their memory when the battery is removed. For example, if the battery is out for more than a minute, the keypad may forget your code or settings, especially on older models.
- Loose connections: During battery replacement, wires can get disconnected or terminals may not be tight. Even a small movement can loosen a wire, especially if the keypad is mounted on a wall exposed to vibration or weather.
- Programming loss: A few models forget the user code after losing power. This happens more often in keypads without backup memory or a capacitor.
- Battery polarity error: If the battery is installed backward, the circuit won’t work. Some keypads have small diagrams inside, but these can be hard to see in poor lighting.
- Corroded contacts: Old battery leaks can damage metal contacts, stopping the keypad from working. Corrosion often looks like a green or white powder, but sometimes it’s just a dull or dark spot on the metal.
Another less obvious cause is static electricity. When you touch the keypad or battery, a static discharge can confuse the circuit temporarily. Waiting a few minutes and then retrying sometimes solves this.
Knowing these causes is the first step to fixing the problem. If you understand why keypads fail, you can avoid common mistakes and fix issues faster.
Common Symptoms Of Keypad Problems After Battery Change
Identifying the exact issue is easier when you know what to look for. Here are the most frequent symptoms:
- No lights or response: Pressing keys does nothing. No beeps, no lights. This usually means no power or a serious circuit problem.
- Keys light up but code fails: The keypad lights up, but the garage door won’t open. Often this means the code was lost, or the keypad needs to be reprogrammed.
- Partial code recognition: Some numbers work, but others don’t register. This can be caused by dirty or corroded contacts, or worn-out buttons.
- Random beeping or flashing: Unusual sounds or lights that were not present before. Sometimes this is a sign of a keypad reset or an error code. Check the manual for what the beeps mean.
- Keypad works only sometimes: Intermittent operation, often worse in cold or wet weather. Moisture inside the keypad or weak battery voltage can cause this.
Each symptom points to a different root cause. For example, if only some buttons work, cleaning the contacts or replacing the keypad may be necessary. If nothing works, check battery installation and wiring first.
It’s helpful to pay attention to when the problem started. If the keypad worked before the battery change and stopped immediately after, focus on power, programming, and wiring. If the problem developed slowly, it might be age-related or due to weather.
Step-by-step Troubleshooting Guide
Fixing a non-working keypad after a battery change doesn’t require advanced skills. Just follow these steps:
1. Check Battery Installation
Start with the basics. Many keypad failures happen because of simple battery mistakes.
- Correct orientation: Make sure the battery’s positive (+) and negative (–) ends match the diagram inside the battery compartment. Some keypads have spring contacts for the negative end, others have flat plates.
- Firm contact: Press the battery firmly so both terminals touch the contacts. If the contacts seem loose, gently bend them with a small screwdriver for better grip.
- Use the recommended battery type: If your keypad uses a 9V battery, don’t try to fit in AA or AAA cells. Using the wrong type can damage the contacts or the circuit.
A surprising number of “dead” keypads start working once the battery is seated correctly. Sometimes, a battery that seems to fit can be slightly too small, especially with generic brands. Always use batteries from trusted manufacturers.
2. Inspect Battery Contacts For Corrosion
Remove the battery and look at the metal contacts. If they are:
- Shiny and clean: Reinstall the battery.
- Green, white, or rusty: Clean with a cotton swab dipped in white vinegar, then dry thoroughly. If the corrosion is heavy, use a small piece of sandpaper or a pencil eraser to gently rub the contacts.
Corroded contacts prevent the battery from powering the keypad. Even a thin layer of corrosion can block electricity. If you clean the contacts and the keypad works, consider checking the contacts again in a few months.
3. Test The Battery
Even new batteries can be faulty. Test the battery with a multimeter or try a different fresh battery.
- 9V battery: Should read at least 8.5 volts. Anything less can cause weak operation or memory loss.
- AA/AAA batteries: Should be at least 1.5 volts each. If you don’t have a multimeter, try the battery in another device to check if it works.
Don’t rely on “it’s new” as proof the battery is good. Cheap or old stock batteries can be weak. Some stores sell batteries that have been on the shelf for years, which can lose power even if never used.
4. Reset The Keypad
Some keypads require a reset after battery replacement. This usually involves:
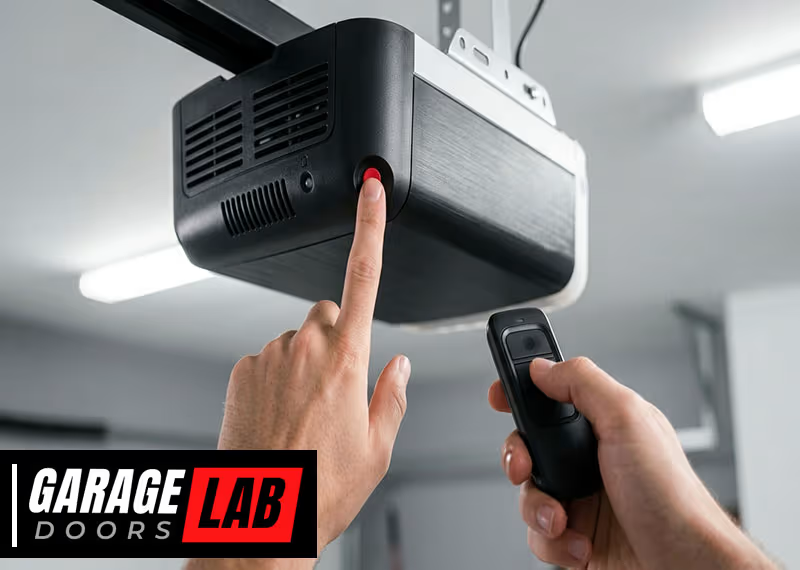
- Pressing and holding the “Learn” or “Reset” button inside the keypad or on the garage door opener motor.
- Entering your code after the reset.
Refer to your keypad’s manual for the exact reset steps. If you lost your manual, most manufacturer websites have downloadable guides. Sometimes, the reset button is hidden under the battery cover or behind a small hole that you press with a pen.
5. Reprogram The Keypad
If the keypad lost its code during the battery change, you need to program it again. The basic process:
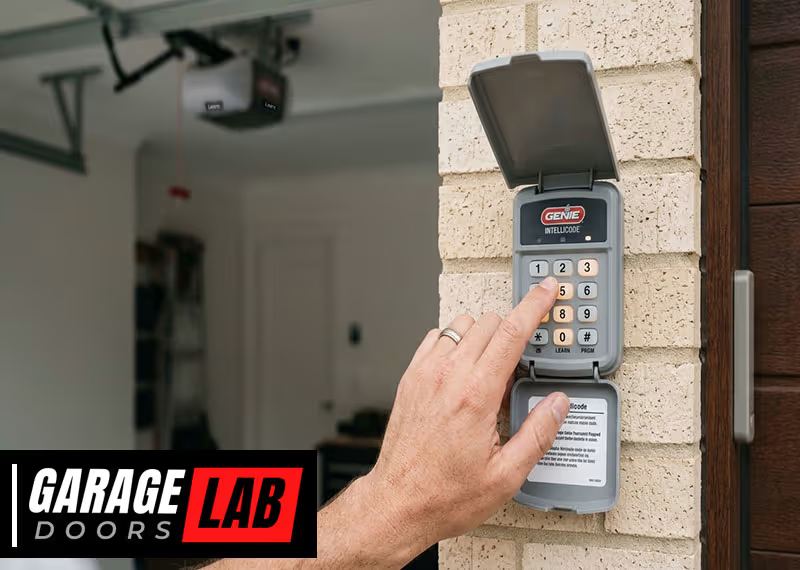
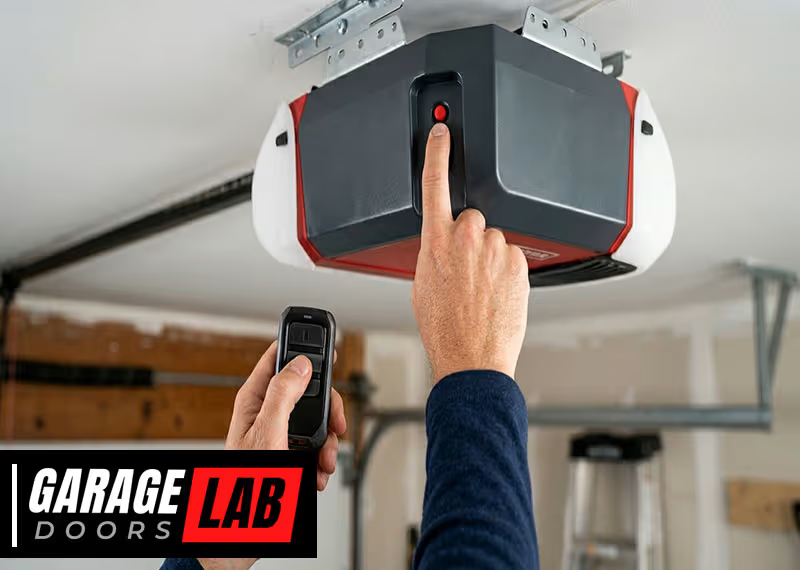
- Press “Learn” or “Program” button on the opener unit (often mounted on the garage ceiling).
- Within 30 seconds, enter your chosen code on the keypad.
- Press the “Enter” button.
You should hear a click or see a light flash, confirming the code is saved. If you don’t, try again and make sure you press the buttons firmly.
Some keypads have special instructions for programming multiple doors or temporary codes. Always check the manual or manufacturer’s website for your model.
6. Check For Loose Wiring (wired Keypads)
Some older or high-security keypads connect directly to the garage opener with wires. If you have this type:
- Remove the keypad’s faceplate.
- Check all wires are attached firmly and not frayed. If wires are loose, twist them together and secure under the screw.
- Secure any loose wires with a screwdriver. Make sure there is no corrosion on the wire ends.
Loose connections can break the circuit, especially after handling the keypad. If wires look damaged or brittle, replace them with similar gauge wire.
7. Test Keypad Range And Interference (wireless Keypads)
Wireless keypads communicate with the opener using radio signals. After battery change, interference can sometimes block the signal.
- Try using the keypad closer to the opener. If it works up close, the problem is likely interference, not the keypad itself.
- Move away from large metal objects or electronics that might block the signal. Wi-Fi routers, large appliances, or metal shelving can cause issues.
- Replace the battery cover and check for improvement. Sometimes, the battery cover helps shield the circuit from outside signals.
If the keypad works up close but not at a distance, signal interference is likely. Try changing the location or shielding the keypad from other electronics.
8. Review Keypad Model And Compatibility
Some older keypads are not fully compatible with newer garage door openers, especially after a reset. Double-check that your keypad model matches your opener brand and year.
- Look for model numbers inside the battery compartment.
- Search the manufacturer’s website for compatibility charts.
If you replaced your opener but kept your old keypad, this could explain the issue. Some brands use different frequencies or programming methods.
9. Inspect For Physical Damage
Handling during battery change can sometimes crack or damage the keypad’s circuit board. Look for:
- Cracked plastic
- Broken wires
- Bent metal contacts
If you spot damage, keypad replacement is usually the best option. Broken circuit boards or water damage are hard to fix at home.
10. Try A Factory Reset
As a last resort, some keypads allow a full factory reset. This wipes all codes and settings. The process is often:
- Hold a specific button (usually “Program” or “Learn”) for 10-20 seconds.
- Wait for lights to flash or beep.
- Reprogram the keypad from scratch.
Factory reset instructions are model-specific. Always check your manual. After a factory reset, set a new code and test all buttons.
What To Do If The Keypad Still Doesn’t Work
If you’ve tried all troubleshooting steps and the keypad remains dead, consider these possibilities:
- The keypad is broken: Age, weather exposure, or rough handling can cause permanent failure. Plastic cracks, water inside, or worn buttons can stop the keypad from working.
- The garage door opener is faulty: If the wall button or remote also stopped working, the problem may be with the opener, not the keypad. Try another remote or wall switch to confirm.
- Interference from new electronics: New Wi-Fi routers, smart home devices, or metal shelving can block the signal. Moving these items away from the keypad can help.
Try opening the garage with other remotes or the wall switch. If those fail, the opener needs attention. Sometimes, a blown fuse or loose wire in the opener causes the problem.
If you replaced the keypad and it still does not work, check the opener for error lights or sounds. Some openers beep or flash to show errors.

When To Call A Professional
Not every garage door keypad issue is a DIY fix. Call a garage door technician if:
- You see visible damage you can’t repair, like broken circuit boards or stuck buttons.
- Repeated resets and reprogramming don’t work.
- You suspect wiring or circuit board failure.
- The keypad is under warranty (don’t open or modify it yourself).
A pro can test the system, replace faulty parts, and ensure everything is safe. Professionals also have tools for testing signal strength and opener logic boards.
If your keypad is still under warranty, contact the manufacturer first. Opening the keypad may void the warranty.
Preventing Future Keypad Problems
A few simple habits can help you avoid keypad trouble next time:
- Change batteries before they are fully dead to prevent memory loss. Set a reminder to check batteries every year.
- Use high-quality, name-brand batteries for stable power. Cheap batteries often fail early or leak.
- Seal the keypad edges with weather-resistant tape if exposed to rain or snow. This prevents water from entering and causing corrosion.
- Clean contacts every year to prevent corrosion. Use vinegar or a pencil eraser for gentle cleaning.
- Keep a backup entry method (like a physical key or remote) in case of keypad failure. Don’t rely on the keypad as your only way in.
Regular care can extend your keypad’s life by several years. Some homeowners install their keypad under a small roof or awning to protect it from weather.
Comparing Garage Door Keypad Brands
Some brands are more reliable and easier to maintain. Here’s a quick comparison of popular brands:
| Brand | Average Lifespan | Ease of Reprogramming | Weather Resistance |
|---|---|---|---|
| Chamberlain/LiftMaster | 6-8 years | Easy | Good |
| Genie | 5-7 years | Moderate | Good |
| Craftsman | 5-6 years | Moderate | Average |
| Overhead Door | 7-8 years | Easy | Excellent |
Chamberlain, LiftMaster, and Overhead Door models tend to have fewer post-battery change issues. Overhead Door keypads are known for strong weather resistance, making them a good choice for harsh climates.
Some brands also offer keypads with larger buttons, backlighting, or easier programming for seniors and people with vision problems.
Wireless Vs Wired Keypads: Which Fails More After Battery Change?
Let’s see how wireless and wired keypads compare for post-battery change problems:
| Type | Typical Issues | Battery Dependency | Difficulty After Change |
|---|---|---|---|
| Wireless | Signal loss, programming reset | High | Moderate |
| Wired | Loose wire, less programming loss | Low | Low |
Wireless keypads are more affected by battery changes, especially in cold or humid climates. Wired keypads rarely lose programming but can suffer from loose wires or corrosion.
If your garage is far from the opener, wireless keypads may struggle with signal strength. In such cases, consider installing a range extender or moving the opener antenna closer to the door.
Real-world Examples: What Homeowners Experience
Let’s look at some actual situations:
- Case 1: Sarah changed her keypad battery and it stopped working. She found the battery was slightly too small, so it did not touch both contacts. A small piece of folded foil fixed the contact and restored function. This is a simple trick, but only use foil if you cannot buy the correct battery size soon.
- Case 2: Mike’s keypad lights worked, but the code was forgotten. He reprogrammed the code using the “Learn” button on his Chamberlain opener and everything worked again. Mike also kept a backup remote, so he never got locked out.
- Case 3: The Johnson family had a keypad that beeped but didn’t open the garage. The cause? Corroded battery contacts. A quick cleaning fixed it. They started changing batteries every year to prevent future issues.
- Case 4: Priya’s keypad stopped working after battery change, but other remotes failed too. The opener’s logic board needed repair, not the keypad. After replacing the board, all devices worked again.
Another example: A keypad in a humid climate stopped working after battery change. Opening the keypad and drying it indoors for 24 hours fixed the issue. Moisture can cause invisible short circuits.
These examples show most problems have simple fixes once you know what to check. Don’t assume the keypad is broken until you’ve checked battery, contacts, and programming.
Key Tips And Non-obvious Insights
Many guides miss these important points:
- Some keypads “wake up” slowly after battery change. Wait a full minute before testing. The internal circuit may need time to reset.
- Check the battery expiration date before installation. Even new packs can be expired. Always buy batteries from stores with high turnover.
- Humidity can cause invisible corrosion inside the keypad. If you live in a damp area, open the keypad and let it dry indoors for a few hours. Use silica gel packets to absorb moisture.
- Some keypads have a backup capacitor that holds memory for a few minutes. If you leave the battery out too long, the code may be lost. Change batteries quickly to avoid memory loss.
- Manufacturer support lines can help with model-specific resets or known defects. If your keypad is acting strangely, call support before replacing it.
Also, if your keypad is exposed to direct sunlight, the plastic can crack over time. Installing a small shade can prevent damage.
These small steps can prevent hours of frustration. Most keypad issues are preventable with careful battery changes and regular maintenance.

Garage Door Keypad Maintenance Schedule
Prevention is better than cure. Here’s a suggested maintenance schedule:
| Task | Frequency |
|---|---|
| Change batteries | Every 12-18 months |
| Clean contacts | Yearly |
| Test keypad | Monthly |
| Check for physical damage | Every 6 months |
| Reprogram code | As needed (after battery change or security concern) |
Following this schedule reduces surprise failures. For best results, mark battery change dates on your calendar or set reminders on your phone.
If your keypad is used daily, check it more often. Frequent use can wear out buttons or battery faster.
Where To Find Model-specific Instructions
If your keypad needs a special reset or reprogramming, the fastest way is to check the manufacturer’s official site. For example, Chamberlain and Genie both have support sections with manuals and troubleshooting guides.
Some manufacturers also have video tutorials showing battery replacement and programming steps. Watching a video is often easier than reading a manual.
For more technical details, you can also check resources like Wikipedia on garage door openers, which explains the basic electronics and history.
Local hardware stores may also have printed instructions or offer advice for your keypad model.

Frequently Asked Questions
Why Does My Garage Door Keypad Stop Working Only After Battery Changes?
Changing the battery can interrupt power and, on some models, erase the memory or code. It can also expose loose wires, corroded contacts, or make small alignment issues worse. Always double-check installation and reprogram the keypad if needed. If problems keep happening, try changing batteries more often or switching to a different keypad model.
How Do I Know If My Keypad Needs To Be Replaced?
If the keypad has physical damage, corrosion that won’t clean, or fails after all troubleshooting, it’s time to replace it. Keypads usually last 5-8 years. If your model is near this age, new keypads are more reliable and secure. Newer models often have better weather protection and easier programming.
Can A Dead Keypad Affect My Garage Door Opener?
A dead keypad will not damage the opener, but if the wiring shorts or is incorrectly installed, it can cause opener malfunctions. Always handle wiring with care and disconnect power if you need to check connections. If your opener stops working after keypad problems, check wiring and consult a professional.
Is It Safe To Clean Battery Contacts With Vinegar?
Yes, a little white vinegar on a cotton swab cleans battery contact corrosion. Dry thoroughly before installing the battery. Avoid using too much liquid, and never pour vinegar directly into the keypad. If corrosion is heavy, repeat cleaning until contacts are shiny.
What Should I Do If I Lost My Keypad Manual?
Most manufacturers offer free manuals online. Search for your keypad model number (usually under the battery cover) and download the guide. If you can’t find it, the support line can often email you instructions. Some local hardware stores also keep printed manuals for popular brands.
A non-working garage door keypad after a battery change is annoying, but usually easy to fix. Start with the basics, follow the troubleshooting steps, and keep your keypad well-maintained. When in doubt, professional help is just a call away. With these tips, you’ll have reliable, secure garage access year-round.