Now Reading: How to Pair Remote Control for Garage Door: Easy Step-by-Step Guide
- 01
How to Pair Remote Control for Garage Door: Easy Step-by-Step Guide
How to Pair Remote Control for Garage Door: Easy Step-by-Step Guide
Pairing a remote control with your garage door opener can seem confusing at first, especially if you’ve never done it before. But with the right steps, clear instructions, and a little patience, you can get your garage door remote working smoothly in less than an hour.
Whether you’re replacing a lost remote, adding a new one, or troubleshooting a stubborn connection, understanding the process will save you time and frustration. This guide will walk you through everything you need to know about how to pair remote control for garage door—explaining different garage door opener systems, giving clear step-by-step instructions, and offering practical tips that help you avoid common mistakes.
Modern garage door systems come in many types, and each manufacturer might use slightly different programming methods. But the core process is similar: put your opener into pairing mode, press a button on the remote, and confirm the connection. Still, details matter. There are important safety steps, compatibility checks, and troubleshooting methods that beginners often miss. By the end of this article, you’ll have the confidence and knowledge to pair almost any standard garage door remote—and know what to do if things don’t go as planned.
Understanding Garage Door Remotes And Opener Types
Before you start pairing, it helps to know what kind of garage door system you have. Not all remotes work with all openers. Technology has changed a lot in the last 30 years, and today’s openers use rolling codes, wireless receivers, and smart home features.
Common Opener Technologies
- Fixed Code Openers: Older systems use DIP switches inside both the remote and opener. These must match exactly.
- Rolling Code Openers: Most modern systems use rolling codes for better security. Each time you use the remote, the code changes automatically.
- Smart Garage Door Openers: Newer models can pair with remotes, smartphones, or even Wi-Fi-enabled devices.
Identifying Your System
- Check the Motor Unit: Most openers have a brand and model number on the motor box near the ceiling.
- Look for a Learn Button: A colored button (often yellow, red, purple, or green) on the motor unit signals it uses rolling codes.
- Read Your Manual: The user manual will list which remotes are compatible.
Compatibility Matters
Garage door remotes are not always universal. Even remotes from the same brand might not work with all opener models. Always check if your remote is made for your opener’s frequency (commonly 315 MHz or 390 MHz in the US).
Trying to pair incompatible devices is a top beginner mistake.
Preparing For Pairing: What To Do Before You Start
Getting ready is as important as the actual pairing. A few simple steps can prevent headaches later.
Safety First
- Unplug the Opener Only if Required: For most remotes, you do not need to unplug the opener. But always keep the garage area clear of kids and pets when working.
- Ladders and Lighting: Use a sturdy ladder to reach the opener. Good lighting helps you see small buttons and switches.
Gather What You Need
- Your Remote: Make sure it has fresh batteries.
- Garage Door Opener Manual: If you don’t have it, you can often find a PDF online with your model number.
- A Pen and Notepad: Write down any codes or settings.
- Smartphone: Helpful for taking pictures of DIP switches or settings.
Clear The Area
Remove cars, bikes, and obstacles from under the garage door. This prevents accidental damage and lets you test the door safely.

Step-by-step Guide: How To Pair Remote Control For Garage Door
Now let’s go through the actual pairing process. The steps below cover most major brands including Chamberlain, LiftMaster, Genie, Craftsman, and more. Always check your manual for special instructions.
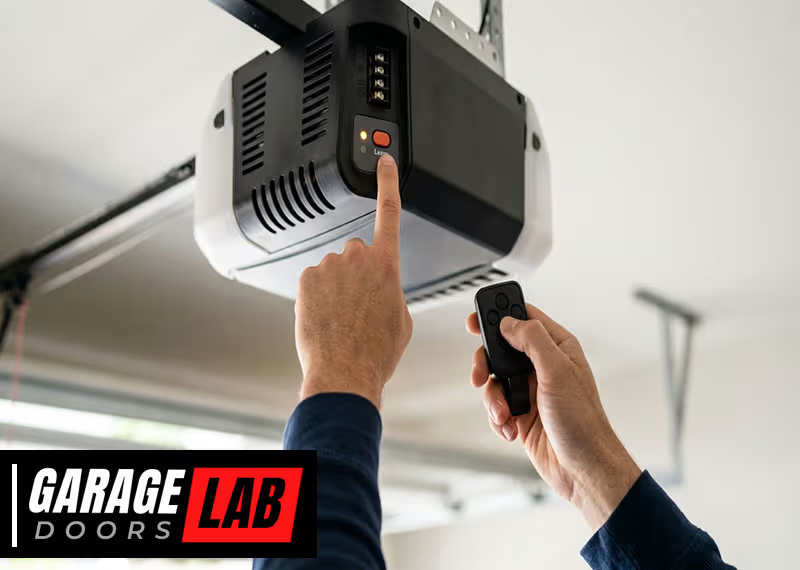
1. Locate The Learn Button
Find the Learn button on your opener’s motor unit. This is usually on the back or side, under a light cover, or near the antenna wire. The button may be red, yellow, orange, purple, or green. On some units, you’ll see “Learn” or “Program” next to it.
- Tip: Write down the color and label. Some brands use button color to indicate programming method.
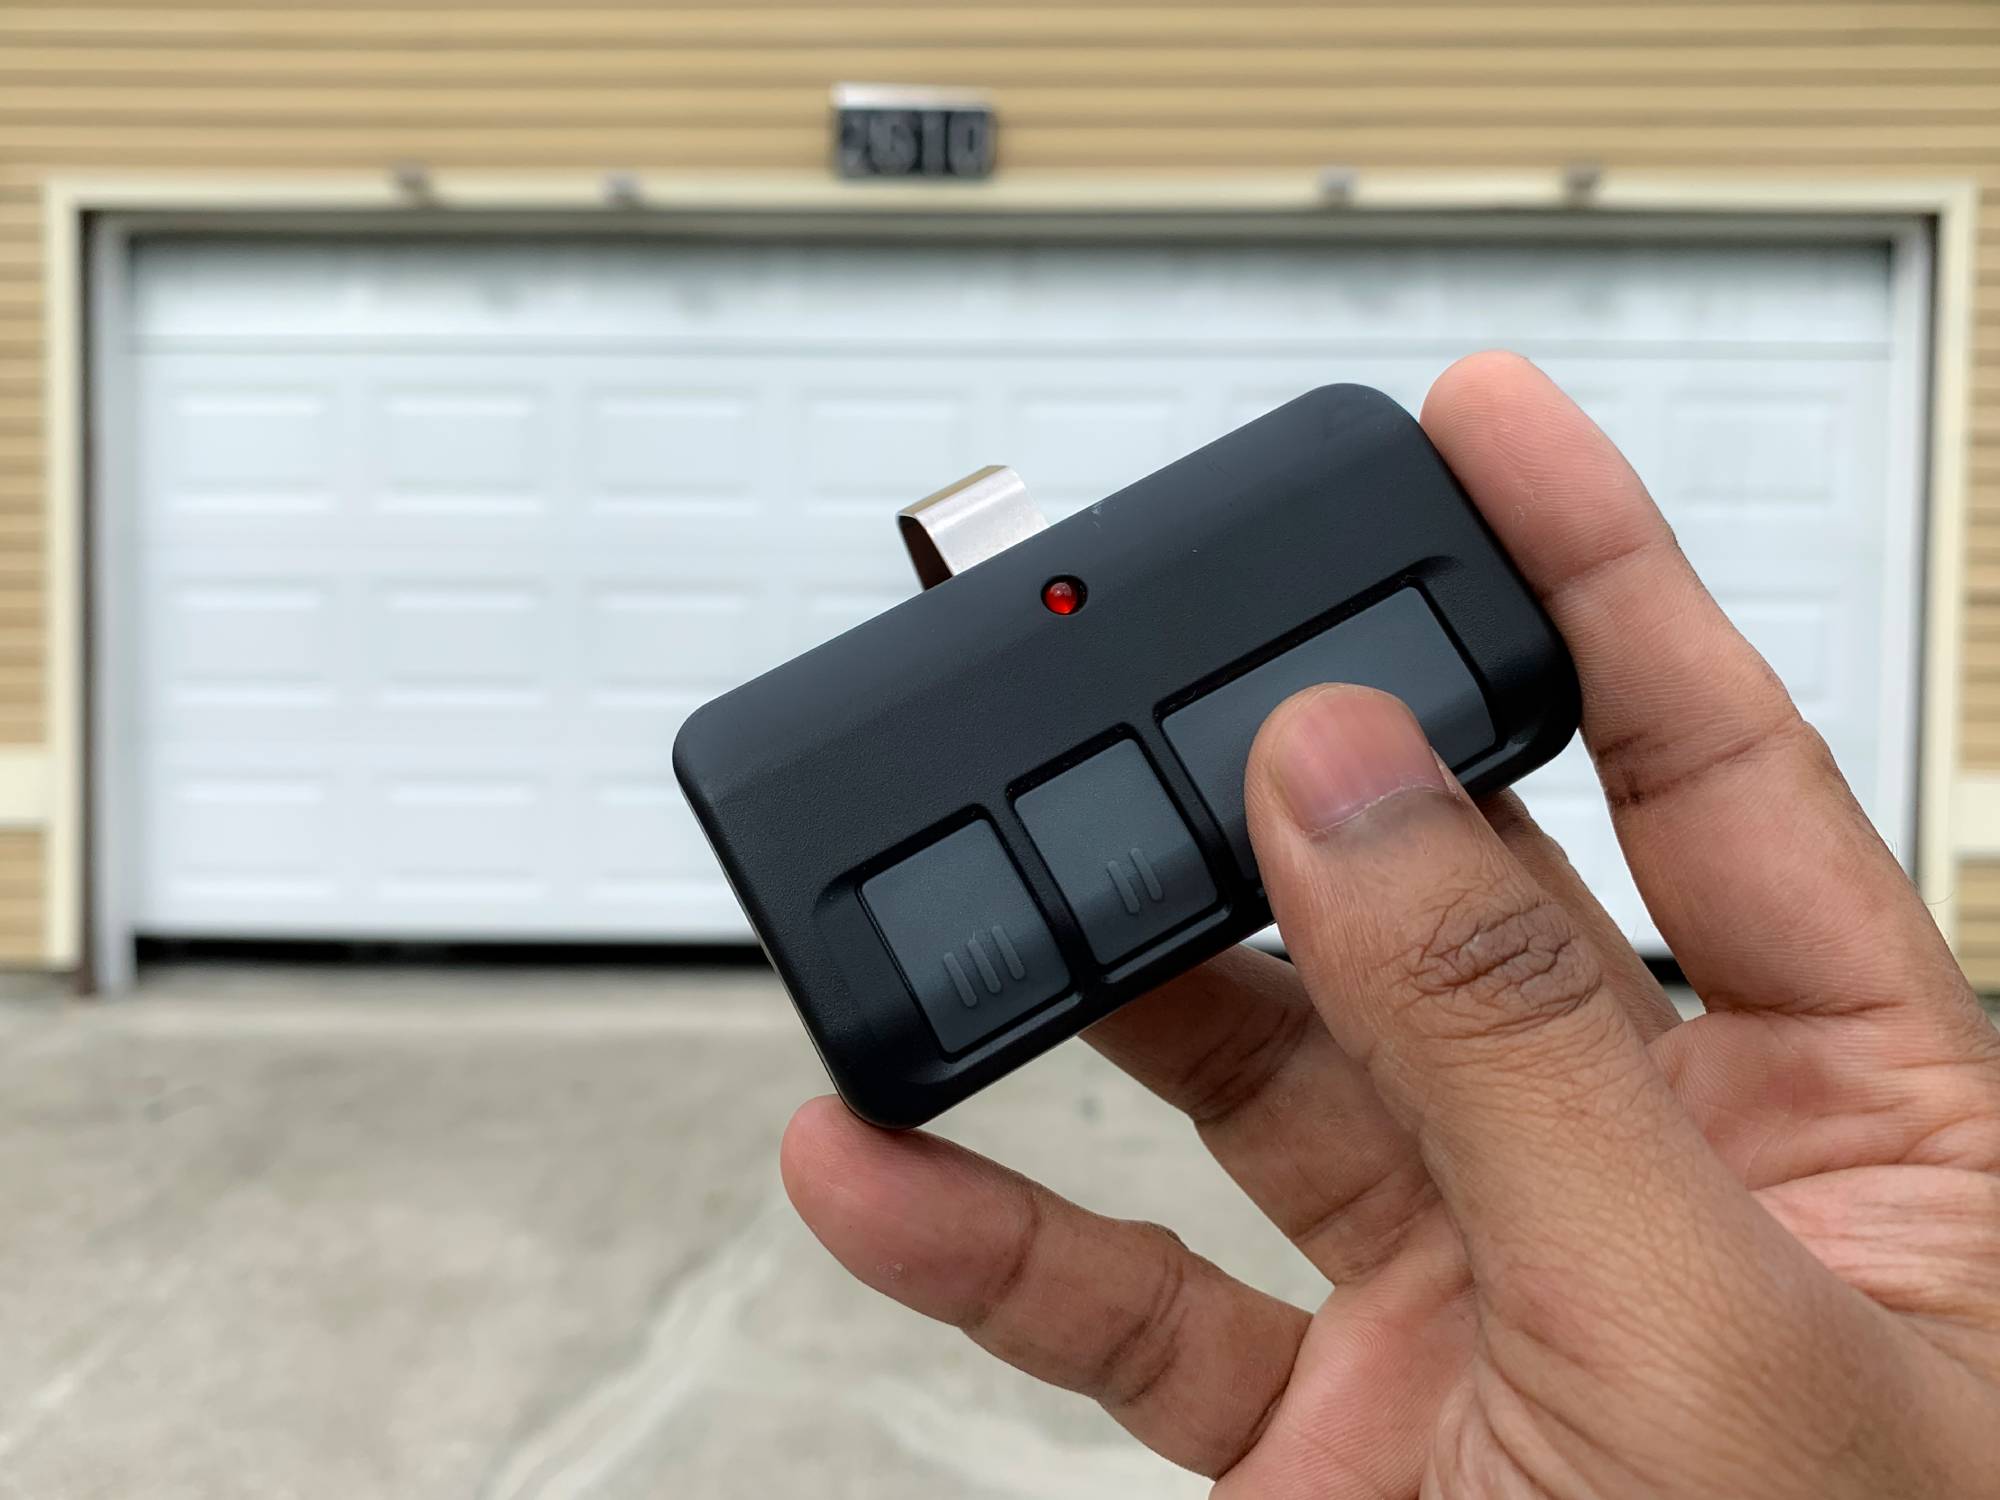
2. Prepare The Remote
Open the remote’s battery compartment. Insert fresh batteries. If your remote has a program or learn button, locate it (sometimes it’s inside the battery compartment).
3. Enter Pairing Mode On The Opener
Press and release the Learn button on the opener. A small LED light will come on. You usually have 30 seconds to complete the next steps. The opener may beep or the light may blink.
- Common Mistake: Holding the Learn button too long can erase all remote settings. Only press and release—don’t hold unless the manual says so.
4. Press The Remote Button
Within 30 seconds, press the button on your remote that you want to use for the garage door. Hold it for 2–3 seconds, then release. The opener light should blink or you may hear a click, beep, or see the door move slightly.
This means pairing worked.
- If There’s No Response: Try again. Some systems need you to press the remote twice.
5. Test The Remote
Step back and test the remote from different distances. The door should open and close smoothly.
- If Not Working: Check battery orientation, try again, or consult your manual.
6. Program Additional Remotes (if Needed)
Repeat steps 3–5 for each new remote. Most openers allow 3–5 remotes to be paired. Some can store up to 8 or more.
7. Secure The System
Once you’re done, keep all remotes in a safe place. If you ever lose a remote, erase all codes and reprogram for safety.
Special Instructions For Popular Brands
Every major brand has small differences. Here’s what you need to know for the most common garage door openers.
Chamberlain & Liftmaster
- Learn button is usually yellow, purple, or red.
- Press and release Learn. Press remote button for 2 seconds.
- For keypads, enter the code and press Enter within 30 seconds of pressing Learn.
Genie
- Learn button may be labeled “PRGM” or “Learn Code.”
- Press Learn, then remote button.
- Some models require holding the remote until the opener’s LED flashes.
Craftsman
- Similar to Chamberlain/LiftMaster (they often share technology).
- Use the same colored Learn button method.
Overhead Door
- Learn or Program button, often red or black.
- Press and release, then remote button.
Linear, Marantec, And Others
- May use “Learn,” “Program,” or DIP switches.
- For DIP switches, set the switches in the remote to match the opener.
Table: Learn Button Colors And Frequencies By Brand
To help you identify your opener’s system, here’s a quick reference.
| Brand | Learn Button Color | Frequency | Notes |
|---|---|---|---|
| Chamberlain/LiftMaster | Yellow, Purple, Red, Green | 315 or 390 MHz | Button color affects remote compatibility |
| Genie | Black, Red, Green | 315 or 390 MHz | Look for PRGM/Learn Code label |
| Craftsman | Yellow, Purple, Red | 315 or 390 MHz | Similar to Chamberlain |
| Overhead Door | Red, Black | 390 MHz | May use DIP switches on old models |
Pairing With Dip Switch Remotes
Older openers (pre-1993) often use DIP switches. These are tiny on/off switches inside both the remote and the opener. To pair:
- Open both the remote and the opener’s receiver box.
- Set the switches in the remote to match the pattern inside the opener.
- Close up and test. If the switches don’t match exactly, the remote will not work.
- Non-obvious Insight: Some older remotes have 9 or 12 switches. Even one switch in the wrong position will prevent pairing.
How To Pair A Universal Remote
Universal remotes are designed to work with many brands, but setup is more involved.
Steps For Universal Remote Pairing
- Find Compatibility List: Check the remote’s instructions for supported opener brands and frequencies.
- Enter Programming Mode: Usually involves holding a program button until an LED flashes.
- Select Brand/Mode: Some remotes require you to press a certain button sequence for your opener brand.
- Pair with Learn Button: Use the opener’s Learn button as before.
- Tip: Universal remotes may need to be very close to the opener during programming.
Table: Universal Remote Features Comparison
Here’s a look at popular universal remote features.
| Model | Number of Doors Supported | Keypad Option | Smartphone Compatible |
|---|---|---|---|
| Chamberlain KLIK3U | 2 | No | No |
| Genie G3T-R | 3 | No | No |
| Clicker KLIK1U | 2 | No | No |
| MyQ Smart Remote | Up to 3 | Yes | Yes |
Pairing Keypads And Wall Controls
Keypads and wireless wall controls are programmed much like remotes but often need a PIN code.
- Press the Learn button on the opener.
- Within 30 seconds, enter your chosen PIN on the keypad and press Enter.
- The opener light should blink or beep.
- Practical Tip: Avoid common PINs like 1234 or your house number for better security.
Troubleshooting: What To Do If Pairing Fails
Even if you follow every step, pairing can sometimes fail. Here’s how to fix common issues.
1. Check Remote Batteries
Weak batteries are a top cause of pairing problems. Try new batteries before anything else.
2. Confirm You Have The Right Remote
Not all remotes work with all systems. If you bought a replacement, double-check the model number and frequency.
3. Reset The Opener
If you’ve tried many times, the opener’s memory may be full. Find the “Reset” or “Erase” button (usually near Learn). Hold for 6–10 seconds to clear all remotes, then start fresh.
4. Interference Issues
Other wireless devices (LED lights, routers, security systems) can cause interference. Try unplugging nearby electronics during pairing.
5. Consult The Manual
Some brands require special sequences or have unique quirks. The manual often lists error codes or LED patterns.
- Non-obvious Insight: For openers installed before 1995, a safety sensor malfunction can block remote pairing.
Table: Common Pairing Problems And Solutions
Here’s a quick reference for troubleshooting.
| Problem | Possible Cause | Solution |
|---|---|---|
| Remote won’t program | Wrong frequency or model | Check compatibility, try another remote |
| Opener beeps but door won’t move | Safety sensors blocked | Clear sensors, check alignment |
| Remote works up close, not far | Weak battery, interference | Replace batteries, remove interference |
| All remotes stopped working | Opener memory full or erased | Reset opener, reprogram remotes |
Advanced Tips: Security, Smart Remotes, And Multiple Doors
Pairing a remote is about more than just convenience—it’s about security and smart living.
Erasing Lost Or Stolen Remotes
If you lose a remote, always erase all codes from your opener and reprogram only the remotes you have. This stops anyone who finds the old remote from accessing your garage.
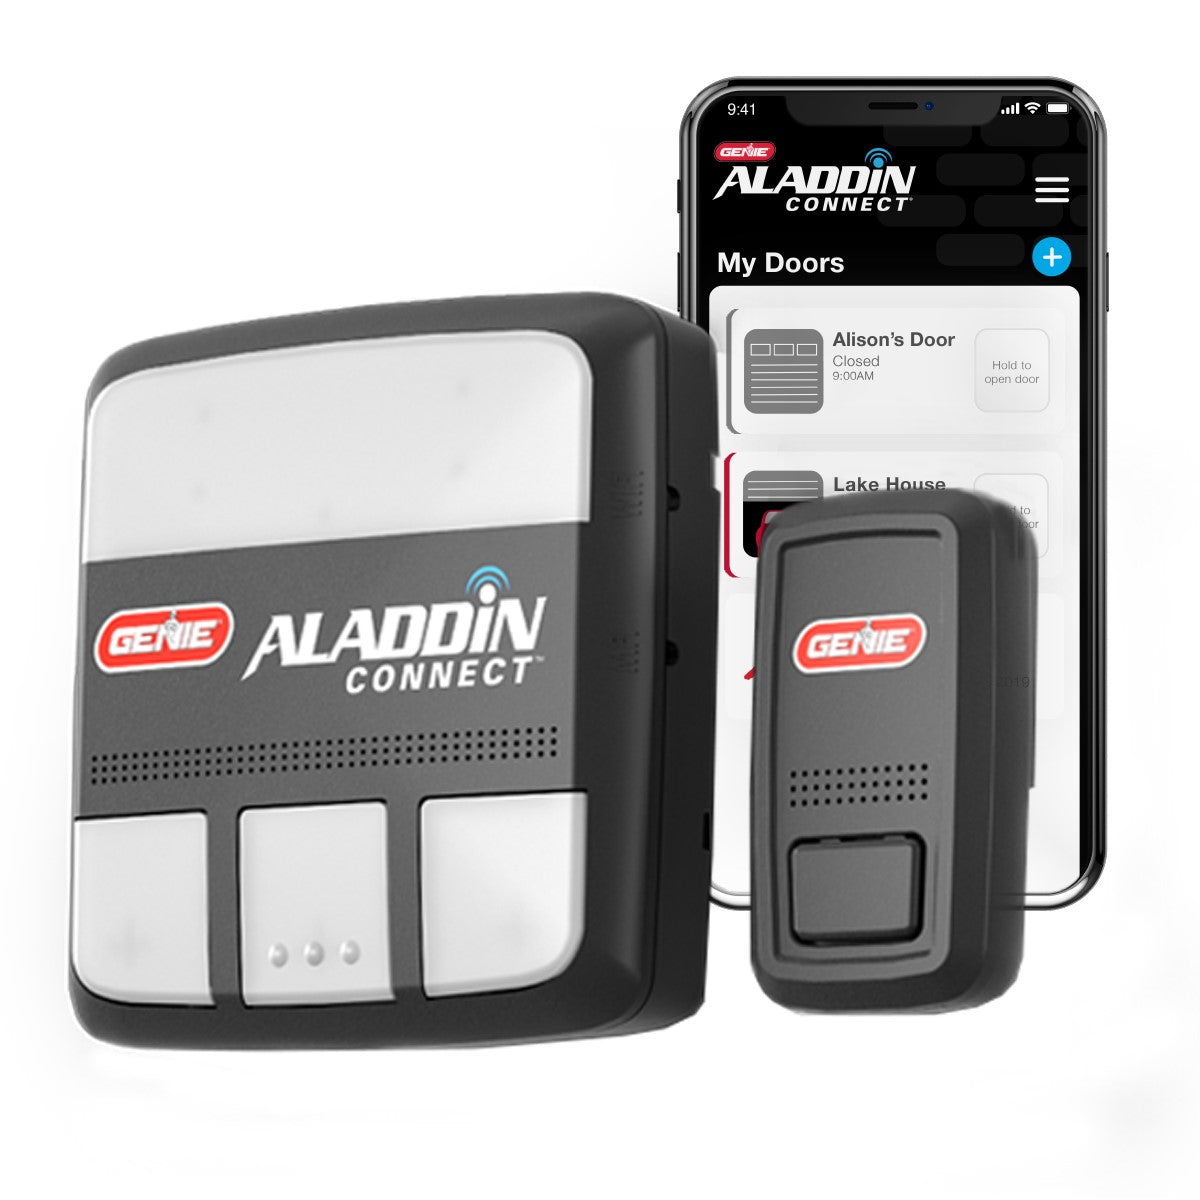
Upgrading To Smart Remotes
Smart garage door openers let you control your door with your phone. Brands like Chamberlain MyQ or Genie Aladdin Connect offer apps for real-time alerts, scheduling, and remote operation. Pairing usually involves connecting the device to your Wi-Fi and following app instructions.
Operating Multiple Garage Doors
Many universal remotes can control two or three doors. Assign a different button to each door. Make sure you know which button opens which door—label them if you need to.
- Practical Tip: Color-code or sticker your remotes to avoid confusion in families with multiple cars.
Common Mistakes And How To Avoid Them
Pairing a garage remote isn’t hard, but small mistakes can cause big headaches.
- Holding Learn Button Too Long: This erases all remotes. Press and release quickly.
- Not Checking Compatibility: Always confirm remote and opener frequencies.
- Ignoring Battery Condition: Even new remotes may have weak batteries.
- Programming in Poor Lighting: Missed DIP switch positions or button presses are common in dim garages.
- Forgetting to Test from Outside: Always test remote from your car—garage door signals can be blocked by metal or thick walls.
When To Call A Professional
If you’ve tried every step and your remote still won’t pair, it might be time for help. Call a qualified garage door technician if:
- Your opener is very old (pre-1993) or has visible wiring problems.
- You see burned wires, smell burning, or hear unusual noises.
- The door moves on its own or doesn’t respond to wall controls.
A professional can check for deeper issues like motor failure, faulty receivers, or wiring problems.
Maintenance Tips For Long-term Performance
Keeping your garage door system in good shape helps remotes work reliably.
- Change remote batteries every 1–2 years.
- Keep the opener’s antenna wire straight and unbroken.
- Test safety sensors monthly—doors should reverse if something blocks the sensors.
- Lubricate door rollers and hinges every 6 months.
- Store spare remotes in a safe place.
Frequently Asked Questions
How Many Remotes Can I Pair With My Garage Door Opener?
Most modern garage door openers allow you to pair 3 to 5 remotes. Some advanced models support up to 8 or more. Check your opener’s manual for the exact number.
Can I Use A Universal Remote With Any Garage Door Opener?
Not always. Universal remotes work with most major brands, but not every model. Always check the compatibility chart in the remote’s instructions. For very old or specialty openers, a brand-specific remote is usually required.
What Should I Do If My Remote Stops Working After Pairing?
First, replace the batteries in your remote. If it still doesn’t work, try re-pairing. If you have multiple remotes and all stop working, you may need to reset the opener and reprogram each remote. Interference from electronics or a malfunctioning opener can also cause problems.
Is It Safe To Pair A Garage Remote Myself?
Yes, for most modern openers, DIY pairing is safe. Just make sure the area is clear, use a stable ladder, and follow instructions carefully. For old or damaged openers, or if you’re not comfortable, call a professional.
How Do I Erase Lost Or Stolen Remotes From My System?
Press and hold the Learn or Erase button on your opener for 6–10 seconds. This clears all paired remotes and keypads. Then, reprogram only the remotes you have. For more details, visit the LiftMaster official support page.
Garage door remote pairing is a task nearly every homeowner faces at some point. By understanding your system, following clear steps, and using smart troubleshooting, you can keep your garage secure and convenient. If you ever get stuck, remember that manuals and online support are just a click away—and that safe operation is always the top priority.


