Now Reading: How to Reprogram Chamberlain Garage Door Keypad Easily
- 01
How to Reprogram Chamberlain Garage Door Keypad Easily
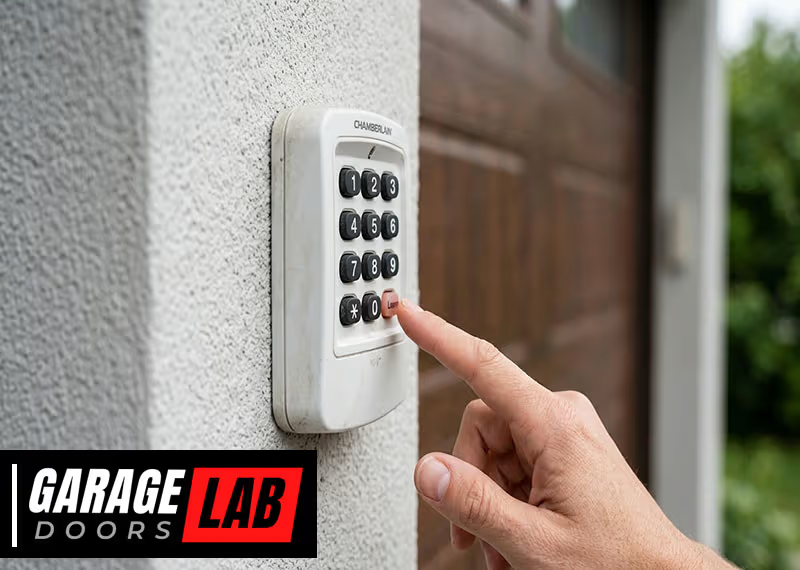
Every day, millions of people rely on their garage door keypads for quick, secure access to their homes. But sometimes, your Chamberlain garage door keypad may stop working, need a new code, or require a reset after a power outage or battery change. If you’re facing these problems, learning how to reprogram your Chamberlain garage door keypad can save you time and prevent frustration.
Many homeowners think keypad reprogramming is complex, but with the right approach, it’s easier than you might expect. This guide will walk you through everything you need to know, from understanding your keypad model to step-by-step programming, troubleshooting, and keeping your system secure.
Whether you’re replacing old codes for safety or solving keypad errors, you’ll find clear answers here. If you’re not very technical, don’t worry—most steps take just a few minutes, and you don’t need special tools or advanced skills.
Why Reprogram Your Chamberlain Garage Door Keypad?
Garage door keypads are convenient, but their security and functionality depend on proper programming. Here are the main reasons you might need to reprogram your keypad:
- Security Concerns: If you’ve shared your code with guests or contractors, it’s wise to change it regularly. This prevents unauthorized access.
- Malfunctioning Keypad: Sometimes, the keypad stops working after battery changes or power surges. Resetting and reprogramming often fixes these issues.
- Forgotten Code: If you can’t remember your old code, resetting the keypad allows you to set a new one.
- New Homeowner: When moving into a new home, always reprogram the keypad. You never know who has the old code.
- Adding or Removing Users: If your family grows or you need to restrict access, changing the code is simple and effective.
Non-obvious insight: Many people don’t realize that old codes often remain active even after a battery swap. Always reprogram after maintenance, not just when problems appear.
Another reason people overlook: If you notice your garage door opens or closes by itself, someone nearby might have a similar code, or an old remote could still be programmed. Reprogramming resets all codes, shutting out unwanted signals.
Understanding Chamberlain Garage Door Keypads
Before jumping into the steps, it’s important to know a bit about the keypad you’re using. Chamberlain produces several models, but the reprogramming process is similar for most.
Key Features Of Chamberlain Keypads
- Wireless design: No wires to run, making installation and reprogramming easier.
- Backlit keys: Useful for nighttime use.
- Temporary codes: Lets you give guests or workers access for a short time.
- Weather resistance: Designed for outdoor mounting.
Some models also have a sliding cover to protect keys from rain and dust, and some newer versions support smartphone integration. If your keypad is very old or doesn’t light up, consider upgrading for better features and security.
Common Chamberlain Keypad Models
Here’s a quick comparison of some popular models:
| Model | Keypad Type | Compatible Openers | Main Feature |
|---|---|---|---|
| 940EV-P2 | Wireless | All Chamberlain Security+ 2.0 | Backlit, temporary codes |
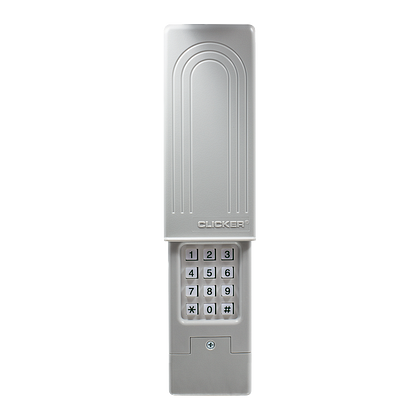
| KLIK2U-P2 | Wireless, universal | Most brands | Works with many openers |
| 940ESTD | Wireless | Chamberlain/Sears/Craftsman | Easy programming |
Pro tip: Check your opener’s “Learn” button color (yellow, purple, red, or green), usually found on the motor unit. This color affects the programming steps.
If you’re not sure which model you have, look for a label on the back of the keypad or check your garage door opener’s manual.

Before You Start: What You’ll Need
To reprogram your keypad, gather these items first:
- A ladder (if your garage door motor is mounted high)
- The Chamberlain keypad (and manual, if available)
- Your garage door remote (optional, but can help with testing)
- A pen and paper to note your new code
- Fresh batteries (if your keypad is old or dim)
If your keypad is mounted with screws, have a screwdriver handy in case you need to open the unit for battery replacement.
Safety Tips
- Never share your new code with people you don’t trust.
- Program the keypad when the garage door is fully closed.
- If you have more than one garage door, check which keypad controls which opener.
Extra safety: If you have children, explain that the keypad is not a toy. Unwanted code sharing or accidental presses can affect your garage security.
Step-by-step Guide To Reprogramming Your Chamberlain Keypad
Now, let’s get practical. Follow these instructions carefully to reprogram your keypad, whether you’re setting a new code, resetting after a battery change, or troubleshooting.
1. Locate The Learn Button On Your Garage Door Opener
The Learn button is usually on the back or side of your garage door opener’s motor unit, under a light cover. It may be yellow, purple, red, or green.
- Yellow: Security+ 2.0 (most newer models)
- Purple: Security+ (mid-2000s)
- Red/Orange: Older Security+ models
- Green: Very old models
Insight: The Learn button’s color tells you which programming sequence to follow.
On some openers, the Learn button is hidden under the light lens. Slide or pop off the cover carefully—don’t force it or you could break the plastic tabs.
2. Clear Old Keypad Codes (if Needed)
If you want to remove all previous codes, press and hold the Learn button for about 6-10 seconds until the indicator light goes out. This erases all keypads and remotes from the opener’s memory.
- Caution: This will disconnect ALL remotes and keypads. You’ll need to reprogram each one.
If you only want to change the code for one keypad, you don’t need to clear all codes—just follow the programming steps for your keypad.
3. Enter Programming Mode On The Keypad
- Press and hold the Program or Learn button on the keypad until the keypad light turns on or blinks.
- Release the button. The keypad is now in programming mode.
Some models require you to open the battery cover to access the program button. If your keypad doesn’t have a Program button, go straight to entering your new code after pressing the Learn button on the opener.
4. Program A New Code
Depending on your opener’s Learn button color, follow the matching instructions below:
For Yellow (security+ 2.0) Models
- On the keypad, enter your desired 4-digit code.
- Press and hold the ENTER button.
- While holding ENTER, press and release the Learn button on the opener (use your ladder if needed).
- Continue holding ENTER on the keypad for about 3 seconds, then release.
- Wait for the opener lights to blink or hear a click—this means the code was accepted.
For Purple, Red/orange, Or Green Models
- Press and release the Learn button on the opener (do not hold).
- Within 30 seconds, go to the keypad and enter your new 4-digit code.
- Press and hold the ENTER button until the opener lights blink or you hear a click.
Non-obvious tip: Some older keypads require you to enter the code, then press the “Learn” button, then ENTER on the keypad. If the code doesn’t work, try both sequences.
If you’re programming a universal keypad (like the KLIK2U-P2), you may also need to enter a brand code before the main code. Always check the keypad’s manual for special instructions.
5. Test Your New Code
After programming, wait about 10 seconds. Enter the code on the keypad and press ENTER. The door should open or close.
- If nothing happens, repeat the steps. Sometimes the opener needs a few seconds to accept the code.
If your door moves but then reverses, check for obstructions in the door path or sensors.
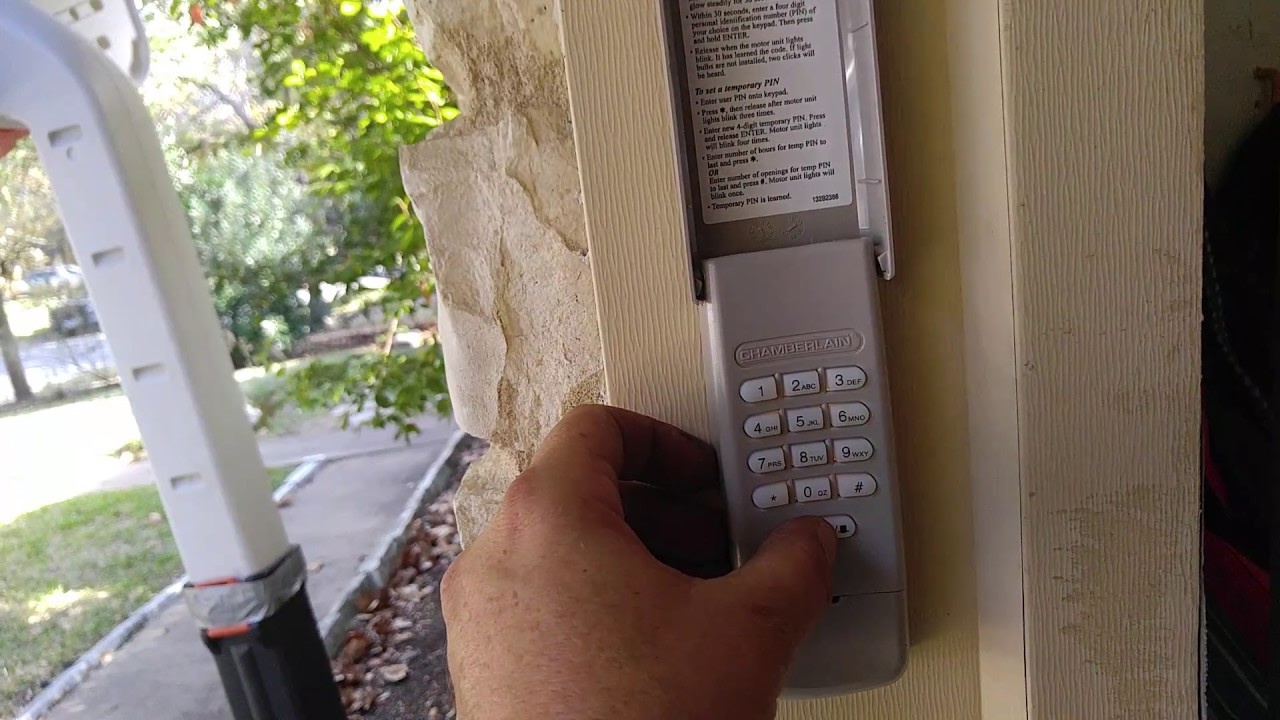
6. Set Temporary Or Guest Codes (optional)
Most Chamberlain keypads let you create a temporary code for visitors:
- Enter your main code, press and hold “” until the light blinks.
- Enter a temporary 4-digit code, then press ENTER.
- The guest code will work for a limited time or number of uses.
Some models let you set how many times the guest code works (for example, just once or for 24 hours). Read your keypad’s instructions for these options.
7. Replace Keypad Batteries (if Needed)
If your keypad is unresponsive or dim, slide off the cover, replace the battery (usually a 9V), then reprogram using the above steps.
It’s a good idea to mark your calendar for a yearly battery check. Weak batteries are a common reason for code failures, especially in cold weather.
Table: Common Learn Button Colors and Programming Steps
| Learn Button Color | Year Range | Keypad Programming Sequence |
|---|---|---|
| Yellow | 2011-present | Code > Hold ENTER > Press Learn on opener > Release ENTER |
| Purple | 2005-2011 | Press Learn on opener > Code > ENTER |
| Red/Orange | 1997-2005 | Press Learn on opener > Code > ENTER |
| Green | Pre-1997 | Press Learn on opener > Code > ENTER |
Troubleshooting Common Keypad Issues
Even after following all steps, you might run into problems. Here’s how to solve the most frequent issues:
Keypad Not Lighting Up
- Check the battery. Replace with a new 9V battery.
- Make sure the wires and contacts inside the keypad are clean and not corroded.
If the keypad still doesn’t light up, check for signs of water damage or spider webs inside the unit, which can block contacts.
Keypad Not Programming
- Double-check the Learn button color.
- Make sure you press buttons in the correct order and time frame (within 30 seconds).
- Try resetting the opener by holding the Learn button for 6-10 seconds, then reprogramming.
Also, confirm you’re not using an old or incompatible keypad model. Universal keypads sometimes need extra steps.
Code Works Intermittently
- Check for interference from LED bulbs or wireless routers nearby.
- Move wireless devices away from the garage opener.
- Ensure the keypad is securely mounted and not exposed to water.
Cold weather can also affect battery performance. If issues happen only in winter, try lithium 9V batteries, which perform better in low temperatures.
Keypad Works, But Door Doesn’t Move
- Test the door with your handheld remote. If the remote doesn’t work, the problem is with the opener, not the keypad.
- Check the opener’s antenna for damage or blockage.
If you have safety sensors near the floor, make sure they’re aligned and clean—misaligned sensors can prevent the door from closing.
Practical example: Jane reprogrammed her keypad but found it only worked sometimes. Moving her Wi-Fi router away from the garage solved the issue—many people miss this step.
Tips For Secure And Reliable Keypad Use
Keeping your garage secure means more than just changing codes. Follow these best practices:
- Change codes regularly: Every 6-12 months is a good habit.
- Avoid simple codes: Don’t use “1234” or your house number.
- Check for firmware updates: Some smart openers can update via Wi-Fi for better security.
- Use guest codes for visitors: Delete them after use.
- Shield your keypad: If possible, mount it where it’s not easily seen from the street.
Non-obvious insight: If your keypad is very old, consider upgrading. Newer models use rolling codes, making them much harder for thieves to hack.
Also, make a habit of checking the keypad for signs of tampering, like scratches near the buttons or loose mounting.
How To Reprogram If You’ve Lost Or Forgotten Your Old Code
Don’t worry if you can’t remember your old code. You can always reset the keypad:
- Press and hold the Learn button on your opener until the light turns off (6-10 seconds).
- This erases all codes—including remotes.
- Reprogram your keypad and remotes using the steps above.
Note: You don’t need the old code to set a new one. The Learn button reset wipes all memory.
It’s best to keep a record of your new code in a safe place, just in case.
Special Cases: Programming Multiple Keypads Or Doors
Some homes have more than one garage door or need multiple keypads.
Programming Multiple Keypads To One Opener
- Simply program each keypad using the same Learn button.
- Each keypad can have a different code.
- You can add up to five devices (keypads/remotes) to most openers.
This is helpful if you have separate entrances for different family members or a rental unit.
Programming One Keypad For Multiple Doors
Certain Chamberlain keypads support controlling two doors. You’ll need to check your keypad model for this feature.
- Each door will have a unique code sequence.
- Follow the manual’s instructions for multi-door programming.
If you’re not sure, look for a “door” or “#” button on your keypad—these are often used for multi-door models.
Table: Device Limitations
| Device Type | Max Devices per Opener | Special Notes |
|---|---|---|
| Keypads | 5 | Each can have unique codes |
| Remotes | 5 | Includes car HomeLink systems |
| Smartphone Apps | Unlimited | For Wi-Fi models only |
Keeping Your Keypad In Top Condition
To make sure your Chamberlain keypad works for years:
- Replace the battery every 1-2 years.
- Clean the keypad with a damp cloth, not harsh cleaners.
- Check for cracks or water damage after storms.
- Reseal around the edges if you see signs of moisture.
Expert guidance: If your keypad gets stuck or buttons don’t respond, remove it from the wall, open the case, and clean the inside contacts with rubbing alcohol.
If your keypad is exposed to direct sun, check for fading or brittle plastic. Sun damage can make buttons stick or break.
What To Do If Reprogramming Doesn’t Work
If you’ve followed every step and your keypad still won’t program:
- Double-check you have the correct model and opener compatibility.
- Check for physical damage to the keypad or opener.
- Try a full system reset (clear all codes and start from scratch).
- Contact Chamberlain support or hire a local garage door technician if you suspect a hardware issue.
If you hear a clicking sound but the door doesn’t move, the opener’s internal gears could be worn out—this needs professional repair.
External resource: For more on Chamberlain keypads and troubleshooting, see the official Chamberlain support page.
Frequently Asked Questions
How Do I Reset My Chamberlain Keypad Without The Old Code?
You don’t need the old code to reset your keypad. Just press and hold the Learn button on your garage opener for 6-10 seconds until the light goes out. This clears all codes. Then, set a new code using the programming steps above.
Why Isn’t My New Code Working After I Reprogram The Keypad?
This usually means there was a mistake in the sequence or the opener didn’t receive the code. Try repeating the steps, making sure to press the buttons in the correct order and within 30 seconds. Replace the keypad battery if it’s old, and check for interference from nearby wireless devices.
How Often Should I Change My Garage Door Keypad Code?
For security, change your code every 6-12 months, or anytime you think someone else may know it. Always change codes when moving into a new home or after you’ve given out temporary access.
Can I Use The Same Keypad For More Than One Garage Door?
Some Chamberlain keypads can control two doors, but not all models. Check your keypad’s manual. If supported, you’ll set a different code for each door by following the manufacturer’s multi-door programming instructions.
What Should I Do If My Keypad Gets Wet Or Damaged?
If water gets inside, remove the battery immediately and let the keypad dry completely. Clean the inside with a dry cloth. If the keypad still doesn’t work, you may need to replace it. Protect your keypad by mounting it under an overhang or using a weatherproof cover.
If you’re dealing with frequent keypad failures, check your home’s electrical wiring for surges or ask an electrician for advice.
Reprogramming your Chamberlain garage door keypad is a practical skill every homeowner should have. With clear steps, the right tools, and a bit of patience, you can boost your home’s security and convenience. If you ever feel stuck, don’t hesitate to reach out to Chamberlain support or a trusted local technician. A well-programmed keypad is the first step to a safer, smarter garage—take charge of your system today.


